1. Spring Security
-
Spring Security는 사용자 정의가 가능한 인증 및 액세스 제어 프레임워크이다.
-
Spring Security를 이용하여 쇼핑몰의 기본인 회원을 관리하기 위한 로그인 / 로그아웃 / 회원가입을 구현하도록 한다
2. Depedency - build.gradle 구성
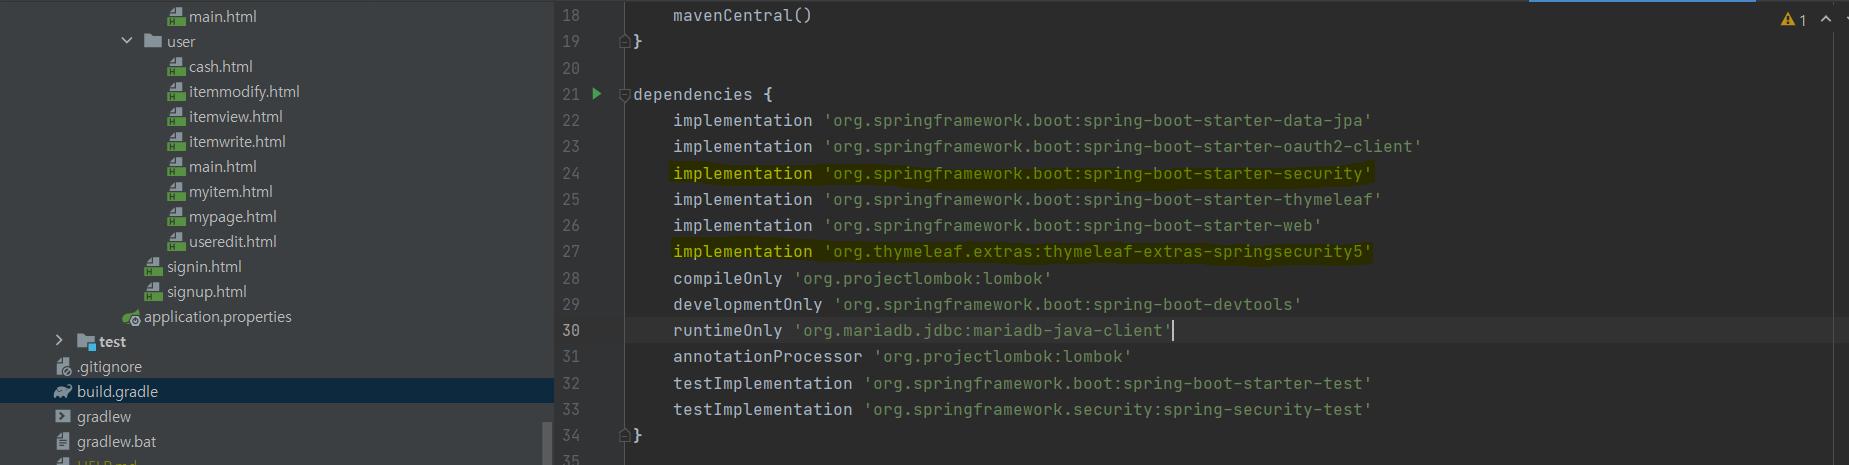
- 아래와 같은 코드를 추가하여 Security 기능을 사용한다.
implementation 'org.springframework.boot:spring-boot-starter-security'
implementation 'org.thymeleaf.extras:thymeleaf-extras-springsecurity5'- 수정을하게 되면 코끼리모양 새로고침 버튼이 나오는데 이것을 클릭하여야 수정을 하게된다.

3. application.properties 구성
server.port=8080

spring.datasource.driver-class-name=org.mariadb.jdbc.Driver
spring.datasource.username=root
spring.datasource.password=0517
spring.datasource.url=jdbc:mysql://localhost:3306/shop

# create, update, none, create-drop, validate,
spring.jpa.hibernate.ddl-auto=update

## Jpa Properties
spring.jpa.properties.hibernate.show_sql=false
spring.jpa.properties.hibernate.format_sql=true

## Logging Level
logging.level.org.hibernate.type.descriptor.sql=debug

spring.security.user.name=root
spring.security.user.password=root
spring.security.user.roles=ADMIN- 로그인에 사용하도록 다음과 같은 코드를 추가한다
4. config 구성
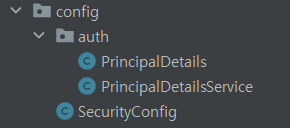
- 다음과 같이 config 패키지를 생성하고 그 아래에 auth 패키지를 생성한다.
SecurityConfig.java
@EnableWebSecurity
@Configuration
public class SecurityConfig extends WebSecurityConfigurerAdapter {
    @Bean
    public BCryptPasswordEncoder encoder() {
        // DB 패스워드 암호화
        return new BCryptPasswordEncoder();
    }

    @Override
    protected void configure(HttpSecurity http) throws Exception {
//      super.configure(http); // 이 코드 삭제하면 기존 시큐리티가 가진 모든 기능 비활성화
        http.csrf().disable(); // csrf 토큰 비활성화 코드

        http.authorizeRequests()
                //.antMatchers("/main", "/item/**").authenticated() // 이 주소로 시작되면 인증이 필요
                .anyRequest().permitAll() // 그게 아닌 모든 주소는 인증 필요 없음
                .and()
                .formLogin()
                .loginPage("/signin") // 인증필요한 주소로 접속하면 이 주소로 이동시킴
                .loginProcessingUrl("/signin") // 스프링 시큐리티가 로그인 자동 진행 POST방식으로 로그인 진행
                .defaultSuccessUrl("/main"); // 로그인이 정상적이면 "/" 로 이동
    }
}-
WebSecurityConfigurerAdapter 를 상속받아 그 안에 있는 메소드를 사용할수 있도록 한다.
-
@Bean Annotation 은 Spring 에서 이 메소드를 Bean으로 등록하는 메소드이다.
!!! 주의 !!!
반드시 class 설계시 @Configuration Annotaion을 명시하여 Bean을 사용한다 설계해야 함. -
HttpSecurity를 사용하기 위해 configure 메소드 override
.antMatchers()
- 로그인이 필요한 url을 정의
.formLogin()
- 로그인 페이지와 로그인 성공 시 보내줄 url을 정의
PrincipalDeatail.java
@Data
public class PrincipalDetails implements UserDetails {

    private static final long serialVersionUID = 1L;

    private User user;

    public PrincipalDetails(User user) {
        this.user = user;
    }

    @Override
    public Collection<? extends GrantedAuthority> getAuthorities() {

        Collection<GrantedAuthority> collector = new ArrayList<>();
        collector.add(() -> { return user.getRole();}); // 람다식

        return collector;
    }


    @Override
    public String getPassword() {
        return user.getPassword();
    }

    @Override
    public String getUsername() {
        return user.getUsername();
    }

    @Override
    public boolean isAccountNonExpired() {
        return true;
    }

    @Override
    public boolean isAccountNonLocked() {
        return true;
    }

    @Override
    public boolean isCredentialsNonExpired() {
        return true;
    }

    @Override
    public boolean isEnabled() {
        return true;
    }
}-
Security 태그에서도 사용하고 컨트롤러에서도 자동으로 전달해주는 객체
-
로그인을 하게되면 로그인 객체 ( User ) 를 저장하는 역할
PrincipalDetailService.java
@RequiredArgsConstructor
@Service
public class PrincipalDetailsService implements UserDetailsService {
    private final UserRepository userRepository;

    @Override
    public UserDetails loadUserByUsername(String username) throws UsernameNotFoundException {

        User userEntity = userRepository.findByUsername(username);

        if(userEntity == null) {
            return null;
        } else {
            return new PrincipalDetails(userEntity);
        }
    }
}
5. AuthService, AuthController 설계
- AuthService는 BCrypt를 이용한 패스워드 암호화 적용하는 함수와
신규 회원의 기본 Role 값을 적용하는 로직적용,
user를 Repository를 통해서 데이터베이스에 저장한다.
AuthService.java
@RequiredArgsConstructor
@Service
public class AuthService {
    private final UserRepository userRepository;
    private final CartService cartService;
    private final BCryptPasswordEncoder bCryptPasswordEncoder;

    @Transactional // Write(Insert, Update, Delete)
    public User signup(User user) {
        String rawPassword = user.getPassword();
        String encPassword = bCryptPasswordEncoder.encode(rawPassword);
        user.setPassword(encPassword);
        user.setRole("ROLE_USER"); // 기본 user 권한

        User userEntity = userRepository.save(user);
        return userEntity;
    }

    @Transactional // Write(Insert, Update, Delete)
    public User userUpdate(User user) {
        User userEntity = userRepository.save(user);
        return userEntity;
    }
}
AuthController.java
@RequiredArgsConstructor
@Controller
public class AuthController {
private final AuthService authService;
@GetMapping("/signin")
public String SigninForm() {
return "signin";
}
@GetMapping("/signup")
public String SignupForm() {
return "signup";
}
@PostMapping("/signup")
public String signup(SignupDto signupDto) {
// User에 signupDto 넣음
User user = signupDto.toEntity();
User userEntity = authService.signup(user);
return "signin"; //
}
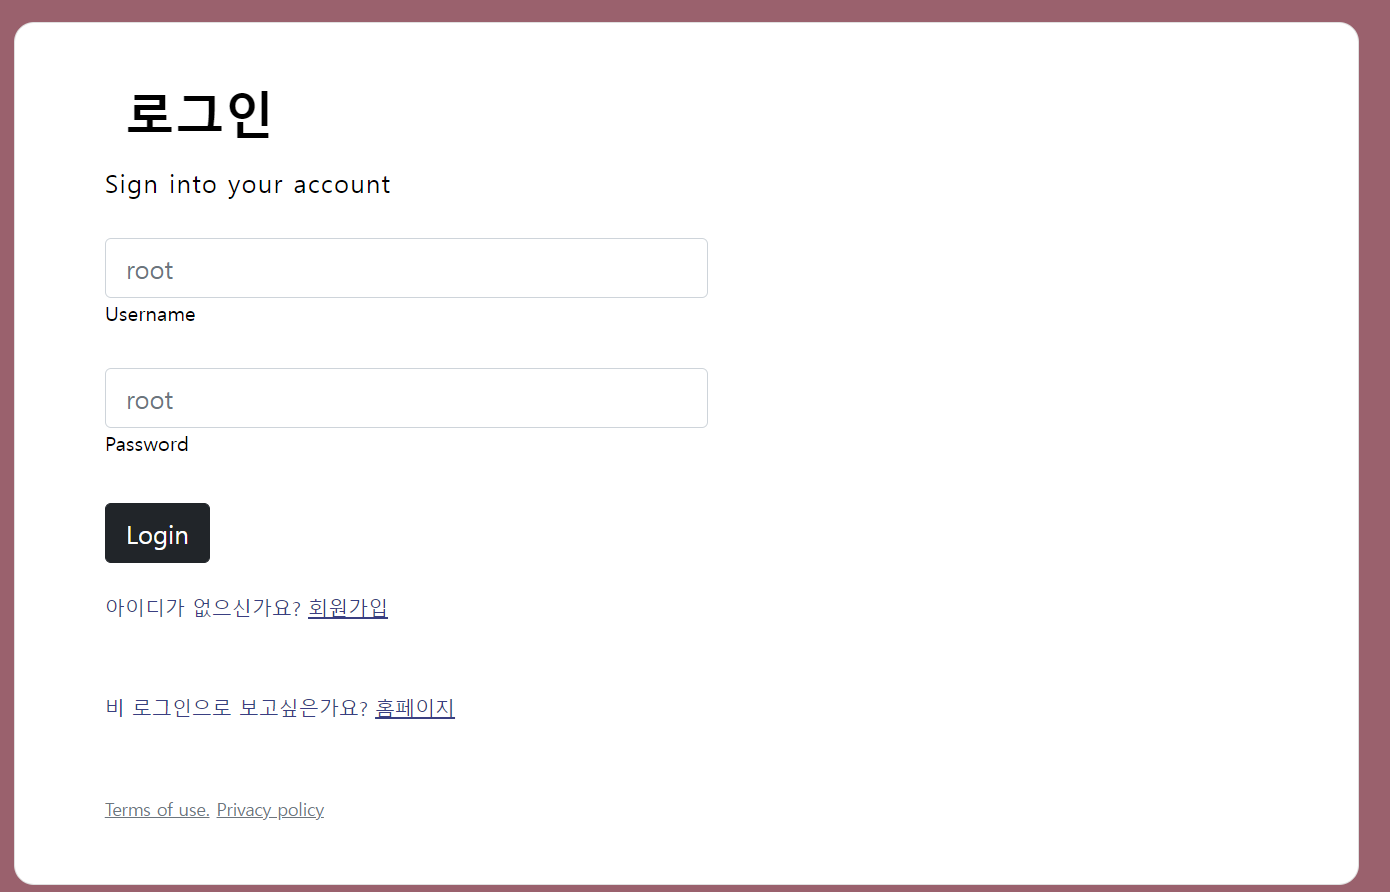
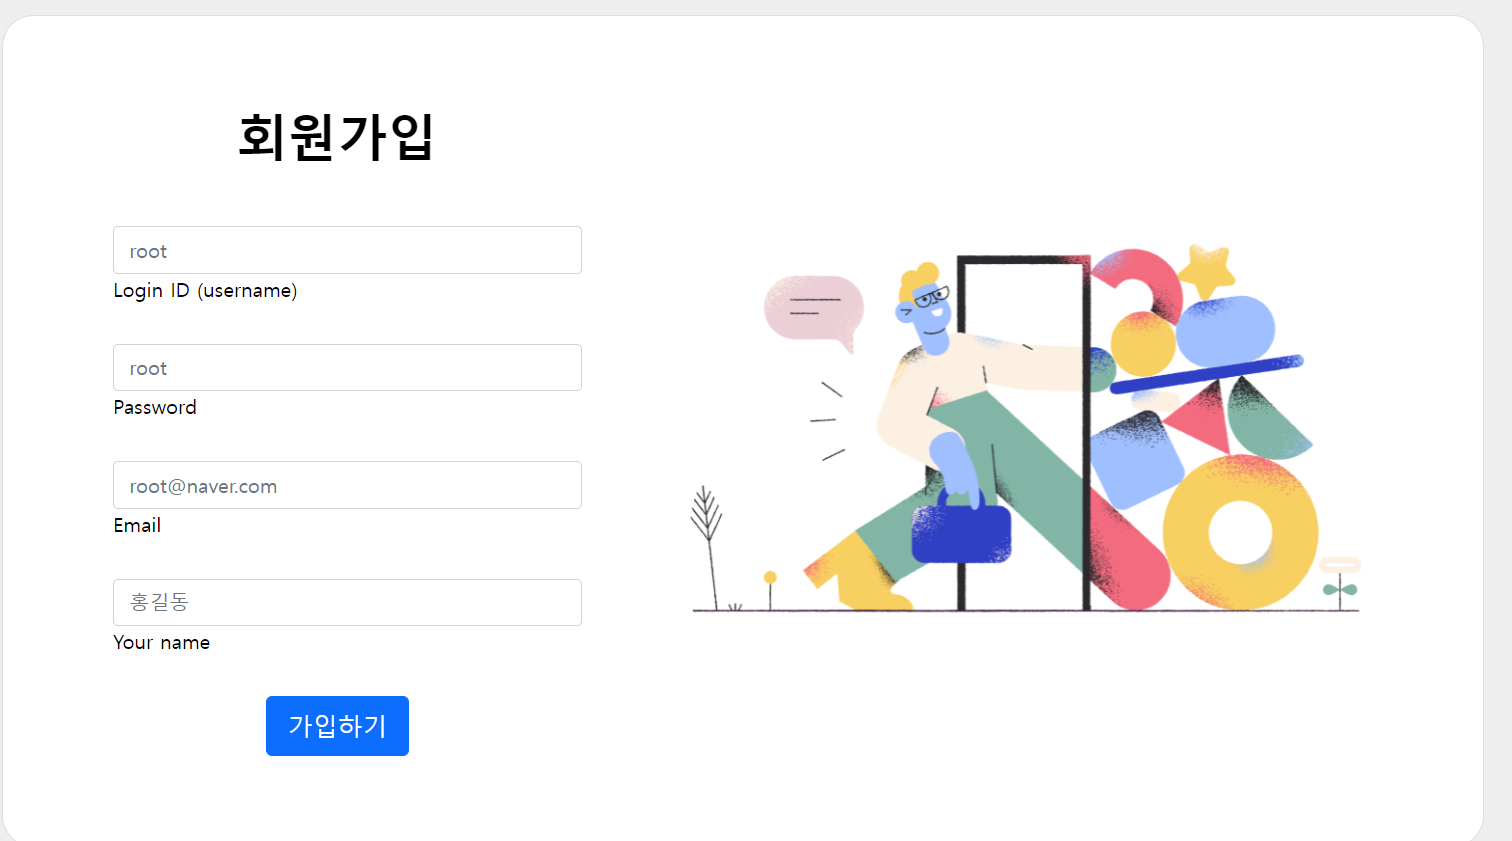
}6. 프론트 엔드 설계
구현을 완료했다면, 프론트 엔드를 설계하여 실제 화면에 띄우도록 한다.
7. 마무리!!!!
다음과 같이 Spring Security를 이용하여 Spring boot 쇼핑몰에 회원가입 및 로그인을 구현하였다.
이제 구현한 로그인을 이용하여 쇼핑몰의 회원별로 다른 서비스를 적용해 보도록 하겠다!!!
아직.. 회원가입, 로그인시 예외처리는 하지 못하였지만 추후에 다시 업데이트 할 예정입니다.......................