📌 서버 액션(Server Action) 사용하기
🔗 Next.js 공식문서 : Server Actions
서버 액션은 사실 NextJS 특유의 기능이 아니라 리액트 자체에서 지원하는 기능이다. NextJS와 같은 프레임워크로 인해 잠금해제가 되는 기능이다.
📖 폼 액션 설정
우선 리액트 자체에 내장된 formAction을 사용할 것이다. formAction과 서버 액션과는 차이가 있다.
formAction은 단순히 개발자가 작성하는 함수로 컴포넌트 내에서 직접 정의하거나 별도의 파일에서 지정한다. 그리고 이 함수에는 원하는 이름으로 지정할 수 있다. 이렇게 완성한 함수를 양식 요소의 action 프로퍼티로 전달하면 formAction을 사용하게 되는 것이다.
리액트가 아닌 일반 프로젝트나 폼 액션을 지원하지 않는 리액트 버전에서<form>의 action 프로퍼티는 사실 URL을 정의한다. 양식이 제출되면 브라우저가 자동으로 요청을 보낼 URL을 의미한다. → 브라우저의 기본 동작
폼 액션을 지원하는 리액트나 NextJS에서
<form>의 action 프로퍼티는 URL 대신 함수를 받아들이고 브라우저의 기본 동작을 막아 URL로 요청을 전송하지 못하게 하며 양식이 제출될 때 그 함수를 작동시킨다.
다음엔 리액트 formData를 받아 양식의 입력란에 입력된 데이터들을 추출할 수 있게 된다.
formAction을 사용할 때는 값을 추출하려하는 모든 입력값에 name 속성을 부여해야한다.
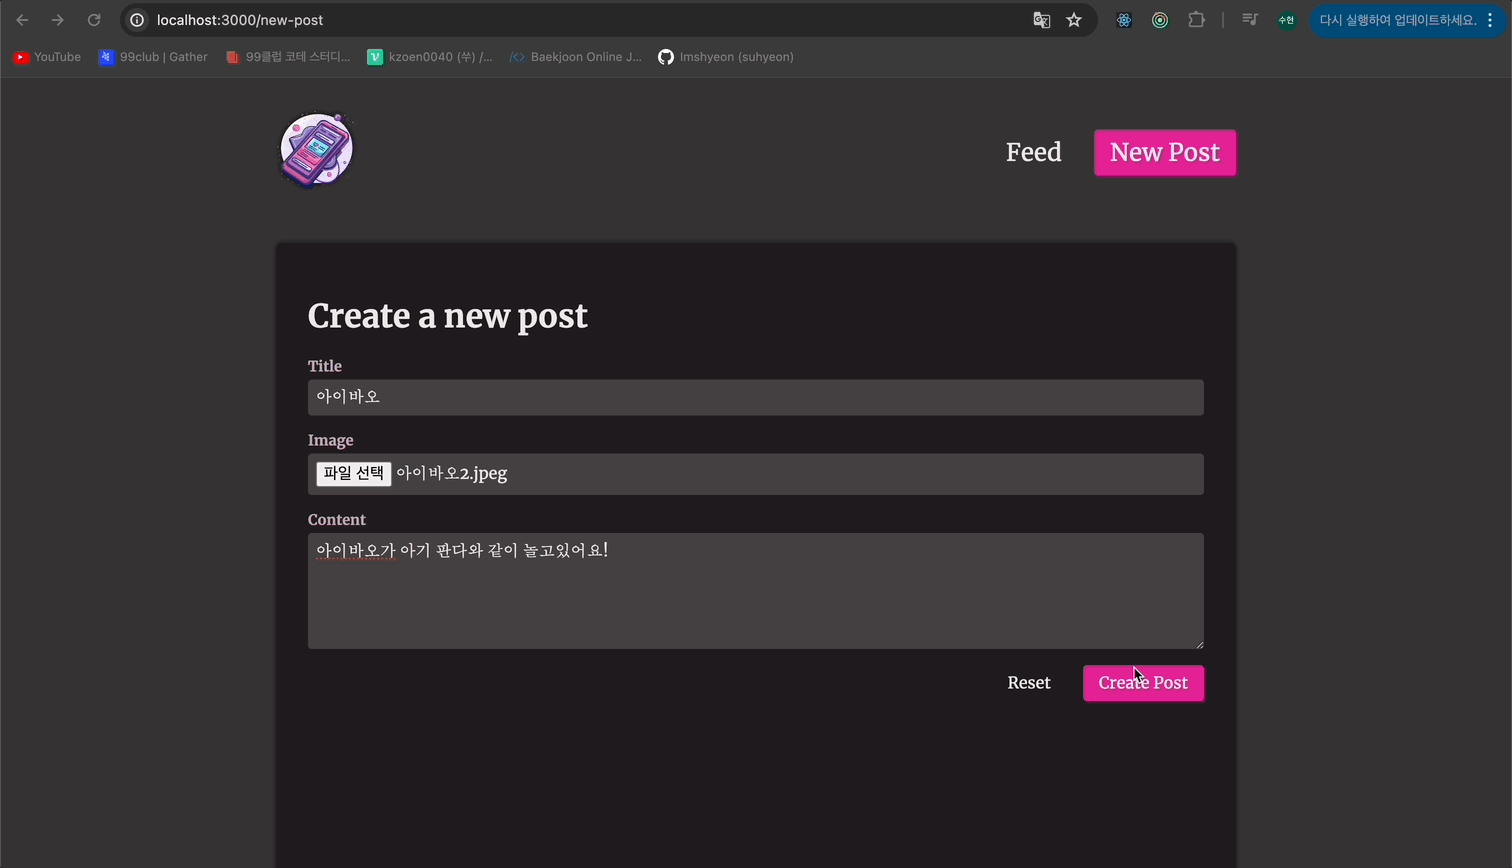
💎 /app/new-post/page.js
import { storePost } from "@/lib/posts";

export default function NewPostPage() {
  function createPost(formData) {
    const title = formData.get("title");
    const image = formData.get("image");
    const content = formData.get("content");

    console.log(title, image, content);
  }

  return (
    <>
      <h1>Create a new post</h1>
      <form action={createPost}>
        <p className="form-control">
          <label htmlFor="title">Title</label>
          <input type="text" id="title" name="title" />
        </p>
        <p className="form-control">
          <label htmlFor="image">Image URL</label>
          <input
            type="file"
            accept="image/png, image/jpeg"
            id="image"
            name="image"
          />
        </p>
        <p className="form-control">
          <label htmlFor="content">Content</label>
          <textarea id="content" name="content" rows="5" />
        </p>
        <p className="form-actions">
          <button type="reset">Reset</button>
          <button>Create Post</button>
        </p>
      </form>
    </>
  );
}
이렇게 한다고 해도 'use server'를 사용하라는 오류가 발생한다.
📖 서버 액션 설정
함수 안에 'use server'를 추가함으로써 서버 액션을 사용할 수 있게 된다. → 단순한 지시어이지만 컴포넌트를 서버 컴포넌트로 표시할 필요가 없다. 왜냐하면 서버 컴포넌트가 기본값이기 때문이다. 하지만 서버 액션을 생성하는데 필요한 지시문이다.
대신 서버 액션은 비동기 함수여야 한다.
💎 /app/new-post/page.js
import { storePost } from "@/lib/posts";

export default function NewPostPage() {
  async function createPost(formData) {
    "use server";
    const title = formData.get("title");
    const image = formData.get("image");
    const content = formData.get("content");

    console.log(title, image, content);
  }

  return (
    <>
      <h1>Create a new post</h1>
      <form action={createPost}>
        <p className="form-control">
          <label htmlFor="title">Title</label>
          <input type="text" id="title" name="title" />
        </p>
        <p className="form-control">
          <label htmlFor="image">Image URL</label>
          <input
            type="file"
            accept="image/png, image/jpeg"
            id="image"
            name="image"
          />
        </p>
        <p className="form-control">
          <label htmlFor="content">Content</label>
          <textarea id="content" name="content" rows="5" />
        </p>
        <p className="form-actions">
          <button type="reset">Reset</button>
          <button>Create Post</button>
        </p>
      </form>
    </>
  );
}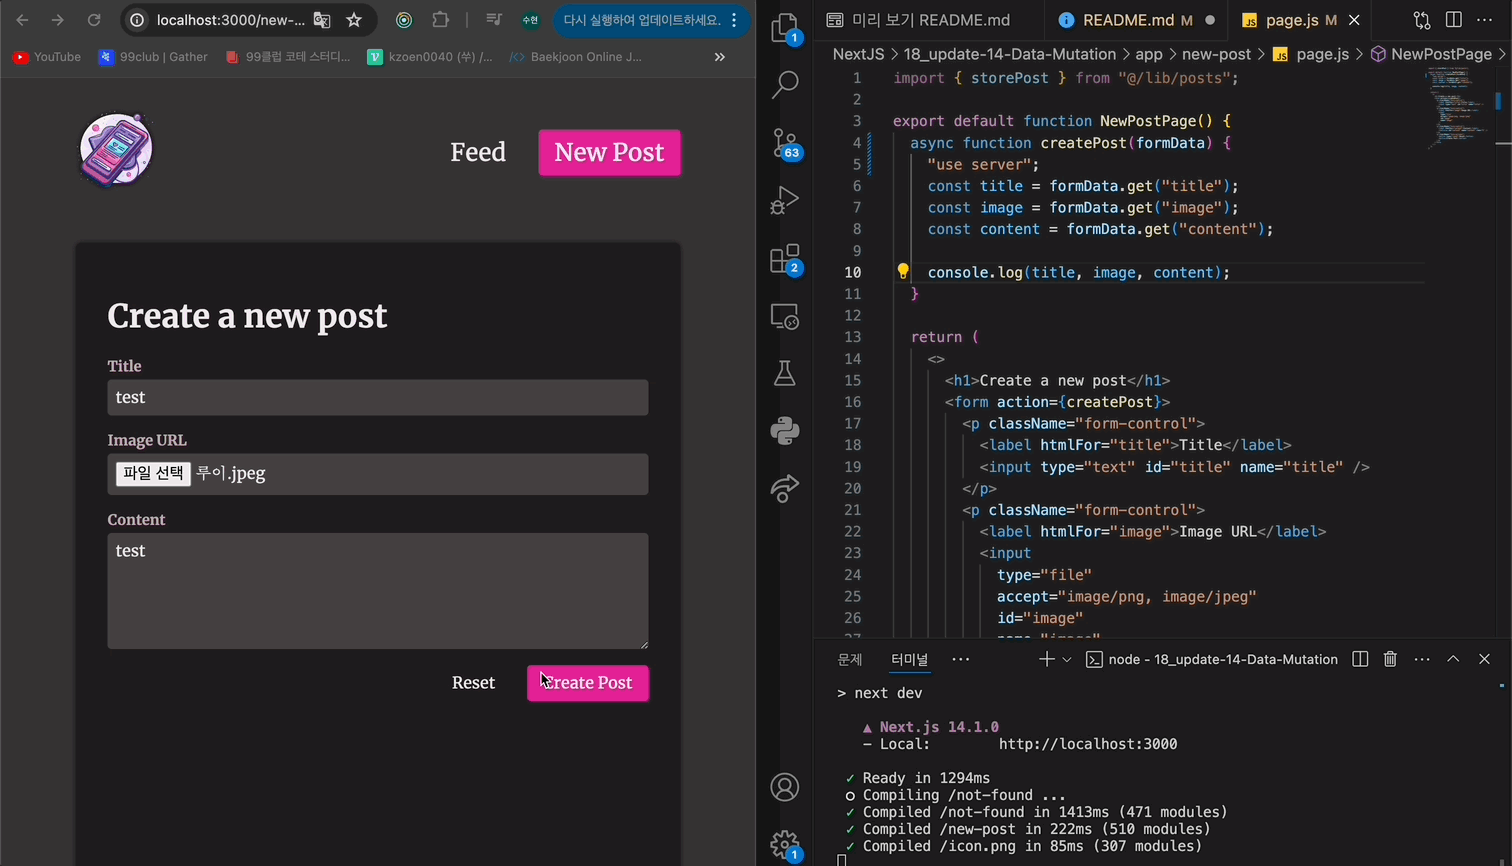
📖 데이터베이스에 데이터 저장
💎 /app/new-post/page.js
import { storePost } from "@/lib/posts";

export default function NewPostPage() {
  async function createPost(formData) {
    "use server";
    const title = formData.get("title");
    const image = formData.get("image");
    const content = formData.get("content");

    storePost({
      imageUrl: "",
      title,
      content,
      userId: 1,
    });
  }

  return (
    <>
      <h1>Create a new post</h1>
      <form action={createPost}>
        <p className="form-control">
          <label htmlFor="title">Title</label>
          <input type="text" id="title" name="title" />
        </p>
        <p className="form-control">
          <label htmlFor="image">Image URL</label>
          <input
            type="file"
            accept="image/png, image/jpeg"
            id="image"
            name="image"
          />
        </p>
        <p className="form-control">
          <label htmlFor="content">Content</label>
          <textarea id="content" name="content" rows="5" />
        </p>
        <p className="form-actions">
          <button type="reset">Reset</button>
          <button>Create Post</button>
        </p>
      </form>
    </>
  );
}
📖 useFormStatus 훅으로 사용자 피드백 제공하기
useFormStatus는 NextJS가 아니라 React-DOM 패키지에서 제공하는 훅이다. 이 훅을 사용하기 위해선 클라이언트 컴포넌트가 되어야 한다. → 현재 상황에서는 별도의 컴포넌트를 생성하여 아웃소싱하는 방식을 사용할 것.
💎 /components/form-submit.js
"use client";

import { useFormStatus } from "react-dom";
export default function FormSubmit() {
  const status = useFormStatus(); // 주변 양식의 제출 상태에 대한 다양한 정보를 포함한 상태 객체를 제공한다.
  // 이 훅을 사용하는 이 컴포넌트는 양식 내부에서 사용되어야한다.

  if (status.pending) {
    return <p>Creating Post...</p>;
  }

  return (
    <>
      <button type="reset">Reset</button>
      <button>Create Post</button>
    </>
  );
}
💎 /app/new-post/page.js
import FormSubmit from "@/components/form-submit";
import { storePost } from "@/lib/posts";
import { redirect } from "next/navigation";

export default function NewPostPage() {
  async function createPost(formData) {
    "use server";
    const title = formData.get("title");
    const image = formData.get("image");
    const content = formData.get("content");

    await storePost({
      imageUrl: "",
      title,
      content,
      userId: 1,
    });

    redirect("/feed"); // 일부 컴포넌트 함수 안에서도 사용 가능하다.
  }

  return (
    <>
      <h1>Create a new post</h1>
      <form action={createPost}>
        <p className="form-control">
          <label htmlFor="title">Title</label>
          <input type="text" id="title" name="title" />
        </p>
        <p className="form-control">
          <label htmlFor="image">Image URL</label>
          <input
            type="file"
            accept="image/png, image/jpeg"
            id="image"
            name="image"
          />
        </p>
        <p className="form-control">
          <label htmlFor="content">Content</label>
          <textarea id="content" name="content" rows="5" />
        </p>
        <p className="form-actions">
          <FormSubmit />
        </p>
      </form>
    </>
  );
}
결과 : 사진처럼 Creating Post... 라는 로딩 메시지가 성공적으로 나오게 된다.
📖 useFormState에 훅으로 사용자 입력 유효성 검사하기
이 훅은 사용자에게 표시하는 양식 관련 UI를 업데이트하는 데 쓸 수 있는 훅인데 양식을 제출할 때 변경될 수 있는 상태에 기반한다. → 이 훅으로 formAction에서 반환하는 모든 데이터를 출력할 수 있다.
useActionStateis a Hook that allows you to update state based on the result of a form action. → 따라서 formAction 이후에 나와야한다.
const [state, formAction] = useActionState(formAction fn, 초기 FormState)
useActionState에서 돌려받은 formAction은 본질적으로 리액트가 수신하는 formAction이다. 그리고 이 액션은 formAction이 반환한 모든 데이터를 작아낼 수 있다. → 업데이트된 formAction을 <form>의 액션 프로퍼티의 값으로 쓸 수 있다.
참고로
useFormState과useActionState은 동일하다. (import 시 react-dom이 아니라 react에서 한다는 것을 제외하고..)
🚨useActionState로 사용하려했는데 React, NextJS 모두 업데이트 했음에도 불구하고 해당 훅이 undefined로 되어 현 프로젝트에서는 사용 불가. 차후 보강 예정
💎 /app/new-post/page.js
"use client";
import { useFormState } from "react-dom";
import FormSubmit from "@/components/form-submit";
import { storePost } from "@/lib/posts";
import { redirect } from "next/navigation";

export default function NewPostPage() {
  async function createPost(formData) {
    "use server";
    const title = formData.get("title");
    const image = formData.get("image");
    const content = formData.get("content");

    let errors = [];

    if (!title || title.trim().length === 0) {
      errors.push("제목이 필요합니다.");
    }

    if (!content || content.trim().length === 0) {
      errors.push("내용이 필요합니다.");
    }

    if (!image) {
      errors.push("이미지가 필요합니다.");
    }

    if (errors.length > 0) {
      return { errors }; // 최종적으로 얻을 FormState
    }

    await storePost({
      imageUrl: "",
      title,
      content,
      userId: 1,
    });

    redirect("/feed"); // 일부 컴포넌트 함수 안에서도 사용 가능하다.
  }

  // formAction 이후 useFormState 사용
  const [state, formAction] = useFormState(createPost, {});

  return (
    <>
      <h1>Create a new post</h1>
      <form action={formAction}>
        <p className="form-control">
          <label htmlFor="title">Title</label>
          <input type="text" id="title" name="title" />
        </p>
        <p className="form-control">
          <label htmlFor="image">Image URL</label>
          <input
            type="file"
            accept="image/png, image/jpeg"
            id="image"
            name="image"
          />
        </p>
        <p className="form-control">
          <label htmlFor="content">Content</label>
          <textarea id="content" name="content" rows="5" />
        </p>
        <p className="form-actions">
          <FormSubmit />
        </p>
      </form>
    </>
  );
}
위와 같이 코드를 작성하면 아래와 같은 오류가 발생한다.
It is not allowed to define inline "use server" annotated Server Actions in Client Components.
📖 useFormState에 대한 서버 액션 조정
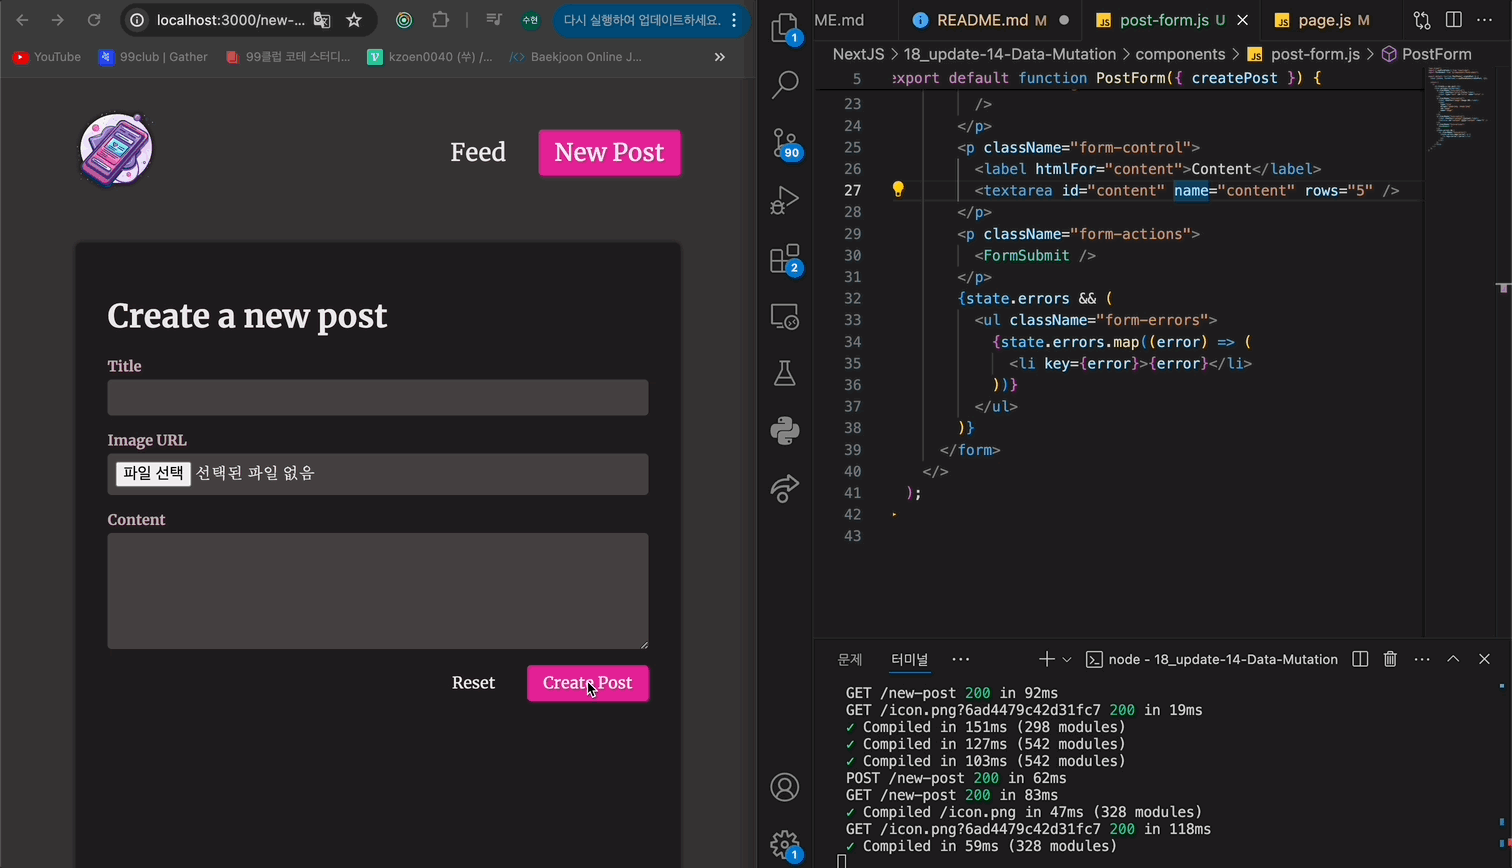
💎 /components/post-form.js
"use client";
import { useFormState } from "react-dom";
import FormSubmit from "@/components/form-submit";

export default function PostForm({ createPost }) {
  const [state, formAction] = useFormState(createPost, {});

  return (
    <>
      <h1>Create a new post</h1>
      <form action={formAction}>
        <p className="form-control">
          <label htmlFor="title">Title</label>
          <input type="text" id="title" name="title" />
        </p>
        <p className="form-control">
          <label htmlFor="image">Image URL</label>
          <input
            type="file"
            accept="image/png, image/jpeg"
            id="image"
            name="image"
          />
        </p>
        <p className="form-control">
          <label htmlFor="content">Content</label>
          <textarea id="content" name="content" rows="5" />
        </p>
        <p className="form-actions">
          <FormSubmit />
        </p>
        {state.errors && (
          <ul className="form-errors">
            {state.errors.map((error) => (
              <li key={error}>{error}</li>
            ))}
          </ul>
        )}
      </form>
    </>
  );
}
코드를 분리하여 PostForm 컴포넌트를 제작. 이 컴포넌트에서 useFormState를 이용하여 에러 상태 객체와 formAction을 받아온다.
만약 에러 상태 객체가 존재한다면 에러 메시지를 표현한다.
💎 /app/new-post/page.js
import PostForm from "@/components/post-form";
import { storePost } from "@/lib/posts";
import { redirect } from "next/navigation";

export default function NewPostPage() {
  async function createPost(prevState, formData) {
    "use server";
    const title = formData.get("title");
    const image = formData.get("image");
    const content = formData.get("content");

    let errors = [];

    if (!title || title.trim().length === 0) {
      errors.push("제목이 필요합니다.");
    }

    if (!content || content.trim().length === 0) {
      errors.push("내용이 필요합니다.");
    }

    if (!image || image.size === 0) {
      errors.push("이미지가 필요합니다.");
    }

    if (errors.length > 0) {
      return { errors }; // 최종적으로 얻을 FormState
    }

    await storePost({
      imageUrl: "",
      title,
      content,
      userId: 1,
    });

    redirect("/feed"); // 일부 컴포넌트 함수 안에서도 사용 가능하다.
  }
  return <PostForm createPost={createPost} />;
}
기존의 formAction(createPost)와는 다르게 매개 변수 값에 prevState를 추가한다.
결과 : useFormState를 이용하여 입력값에 대한 에러 메시지를 추가하였다.
📖 서버 액션을 별도의 파일에 저장
💎 /app/new-post/post.js
import PostForm from "@/components/post-form";
import { createPost } from "@/actions/posts";

export default function NewPostPage() {
  return <PostForm createPost={createPost} />;
}
이제 굳이 PostForm으로 컴포넌트를 분리하지 않고 서버 액션을 별도의 파일로 아웃소싱하는 방법을 사용할 수 있다.
💎 /actions/posts.js
"use server";

import { storePost } from "@/lib/posts";
import { redirect } from "next/navigation";

export async function createPost(prevState, formData) {
  const title = formData.get("title");
  const image = formData.get("image");
  const content = formData.get("content");

  let errors = [];

  if (!title || title.trim().length === 0) {
    errors.push("제목이 필요합니다.");
  }

  if (!content || content.trim().length === 0) {
    errors.push("내용이 필요합니다.");
  }

  if (!image || image.size === 0) {
    errors.push("이미지가 필요합니다.");
  }

  if (errors.length > 0) {
    return { errors }; // 최종적으로 얻을 FormState
  }

  await storePost({
    imageUrl: "",
    title,
    content,
    userId: 1,
  });

  redirect("/feed"); // 일부 컴포넌트 함수 안에서도 사용 가능하다.
}
➕ 참고로
'use server'지시어는 서버 액션이 되어야 할 것을 NextJS에게 "말하기만" 한다.
따라서'use server'는 코드가 서버에서만 실행되는 것을 의미하거나 보장하지 않는다.
만약 클라이언트 측에서 절대 실행되어서는 안되는 코드가 있는 경우 server-only를 참고
📖 이미지 업로드 및 저장
AWS S3나 클라우디너리를 이용하여 이미지를 저장할 수 있다. 이번 프로젝트에서는 클라우디너리를 이용할 것!
npm i cloudinary- /lib/cloudinary.js를 첨부하여 사용
- 루트 프로젝트 폴더에 .env.local 파일 추가
- .env.local에 cloudinary에서 부여받은 name, key, secret key 값 부여
CLOUDINARY_CLOUD_NAME=<your-name>
CLOUDINARY_API_KEY=<your-key>
CLOUDINARY_API_SECRET=<your-secret-key>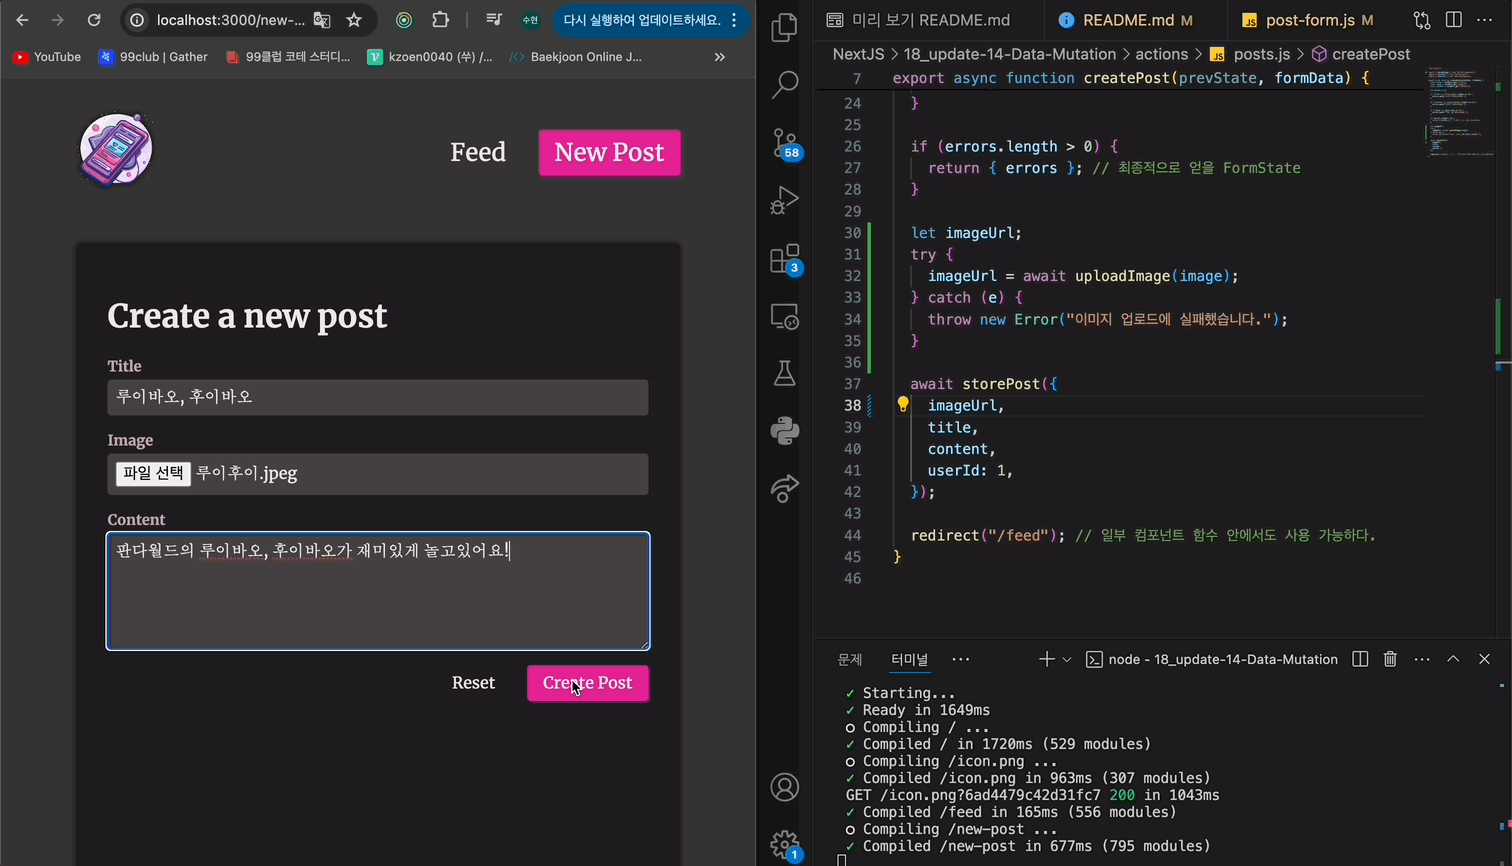
📖 서버 액션을 사용, 구성 및 트리거하는 다른 방법
포스트에 대한 좋아요를 표시/취소를 구현할 예정이다.
💎 /actions/posts.js
// ...

export async function togglePostLikeStatus(postId) {
  updatePostLikeStatus(postId, 2);
}
💎 방법 1 : 버튼에 바인딩하기
버튼에서 formAction 프로퍼티에 위에서 설정한 action을 입력값으로 받아 해당 버튼에 바인딩
// /components/like-icon.js
export default function LikeButton({action}) {
  return (
    {/* formAction={action}을 통해 버튼 태그에 직접 바인딩 */}
    <button formAction={action} className="like-button">
      <svg
        xmlns="http://www.w3.org/2000/svg"
        viewBox="0 0 24 24"
        fill="currentColor"
      >
        <path d="m11.645 20.91-.007-.003-.022-.012a15.247 15.247 0 0 1-.383-.218 25.18 25.18 0 0 1-4.244-3.17C4.688 15.36 2.25 12.174 2.25 8.25 2.25 5.322 4.714 3 7.688 3A5.5 5.5 0 0 1 12 5.052 5.5 5.5 0 0 1 16.313 3c2.973 0 5.437 2.322 5.437 5.25 0 3.925-2.438 7.111-4.739 9.256a25.175 25.175 0 0 1-4.244 3.17 15.247 15.247 0 0 1-.383.219l-.022.012-.007.004-.003.001a.752.752 0 0 1-.704 0l-.003-.001Z" />
      </svg>
    </button>
  );
}

// /components/posts.js
import { formatDate } from '@/lib/format';
import LikeButton from './like-icon';
import { togglePostLikeStatus } from '@/actions/posts';

function Post({ post }) {
  return (
    <article className="post">
      <div className="post-image">
        <img src={post.image} alt={post.title} />
      </div>
      <div className="post-content">
        <header>
          <div>
            <h2>{post.title}</h2>
            <p>
              Shared by {post.userFirstName} on{' '}
              <time dateTime={post.createdAt}>
                {formatDate(post.createdAt)}
              </time>
            </p>
          </div>
          <div>
            {/* LikeButton 컴포넌트에 action시 수행할 함수 전달 */}
            <LikeButton action={togglePostLikeStatus}/>
          </div>
        </header>
        <p>{post.content}</p>
      </div>
    </article>
  );
}

export default function Posts({ posts }) {
  if (!posts || posts.length === 0) {
    return <p>There are no posts yet. Maybe start sharing some?</p>;
  }

  return (
    <ul className="posts">
      {posts.map((post) => (
        <li key={post.id}>
          <Post post={post} />
        </li>
      ))}
    </ul>
  );
}
서버 액션을 form의 액션 프로퍼티 값으로만이 아니라 버튼의 formAction 프로퍼티 값으로도 사용할 수 있기 때문이다.
💎 방법 2 : <form>을 이용하기
// /components/posts.js
import { formatDate } from "@/lib/format";
import LikeButton from "./like-icon";
import { togglePostLikeStatus } from "@/actions/posts";

function Post({ post }) {
  return (
    <article className="post">
      <div className="post-image">
        <img src={post.image} alt={post.title} />
      </div>
      <div className="post-content">
        <header>
          <div>
            <h2>{post.title}</h2>
            <p>
              Shared by {post.userFirstName} on{" "}
              <time dateTime={post.createdAt}>
                {formatDate(post.createdAt)}
              </time>
            </p>
          </div>
          <div>
             {/* LikeButton 컴포넌트를 form으로 감싸 action 프로퍼티 사용*/}
            <form
              action={togglePostLikeStatus.bind(null, post.id)}
              className={post.isLiked ? "liked" : ""}
            >
              <LikeButton />
            </form>
          </div>
        </header>
        <p>{post.content}</p>
      </div>
    </article>
  );
}

export default function Posts({ posts }) {
  if (!posts || posts.length === 0) {
    return <p>There are no posts yet. Maybe start sharing some?</p>;
  }

  return (
    <ul className="posts">
      {posts.map((post) => (
        <li key={post.id}>
          <Post post={post} />
        </li>
      ))}
    </ul>
  );
}
<LikeButton> 컴포넌트를 폼 태그로 감싼 뒤, 폼의 action 프로퍼티에 togglePostLikeStatus 함수를 바인딩한다. 이때 togglePostLikeStatus 함수는 postId를 필요로 하기 때문에 bind메서드를 이용하여 postId를 전달한다.
그럼에도 좋아요 기능은 정상적으로 작동하지만 새로고침을 해야만 좋아요 데이터가 업데이트 된다.(즉각적인 업데이트가 되지 않는 문제 발생)
📖 캐싱 문제를 방지하기 위한 데이터 재검증
위에서 발생한 문제를 해결하기 위한 방법 중 하나는 서버 액션으로 이동하여 데이터베이스의 업데이트를 기다리는 것이다. → '좋아요'가 즉각적으로 표현되지 않음
// /action/posts.js
import { revalidatePath } from "next/cache";

export async function togglePostLikeStatus(postId) {
  await updatePostLikeStatus(postId, 2);
  revalidatePath();
}
기본적으로 NextJS는 데이터를 매우 강력하게 캐시한다. NextJS가 페이지 데이터를 캐시하며 따라서 기본적으로 페이지의 변경 사항을 감지하지 않는다는 것이다. → NextJS는 기본적으로 캐시된 페이지를 보여준다.
revalidatePath에 일부 페이지의 데이터가 변경되었음을 알리고 어떤 페이지의 데이터가 변경되었는지 알려야한다. → 이 방법으로 캐시를 삭제하면 업데이트된 버전이 표시될 것이다.
// /action/posts.js
import { revalidatePath } from "next/cache";

export async function togglePostLikeStatus(postId) {
  await updatePostLikeStatus(postId, 2);
  revalidatePath("/feed"); // 해당 페이지를 재검증
}
위의 사진을 통해 페이지를 새로고침을 하지 않았음에도 약간의 대기시간 이후에 '좋아요'가 업데이트됨을 확인할 수 있다.
참고로 만약 revalidatePath('/', 'layout')을 실행한다면, 루프 레이아웃에 감싸진 모든 페이지가 재검증될 것이다. (모든 페이지 재검증)
📖 NextJS로 낙관적 업데이트 수행하기
위의 revalidatePath를 통해 '좋아요' 상태를 업데이트 했으나 약간의 딜레이가 발생한다. 이를 '낙관적 업데이트'를 통해 해결해보고자 한다.
useOptimistic을 이용해 낙관적 업데이트를 할 수 있다.
💎 /components/posts.js
"use client";

import { formatDate } from "@/lib/format";
import LikeButton from "./like-icon";
import { togglePostLikeStatus } from "@/actions/posts";
import { useOptimistic } from "react";

function Post({ post, action }) {
  return (
    <article className="post">
      <div className="post-image">
        <img src={post.image} alt={post.title} />
      </div>
      <div className="post-content">
        <header>
          <div>
            <h2>{post.title}</h2>
            <p>
              Shared by {post.userFirstName} on{" "}
              <time dateTime={post.createdAt}>
                {formatDate(post.createdAt)}
              </time>
            </p>
          </div>
          <div>
            <form
              action={action.bind(null, post.id)}
              className={post.isLiked ? "liked" : ""}
            >
              <LikeButton />
            </form>
          </div>
        </header>
        <p>{post.content}</p>
      </div>
    </article>
  );
}

export default function Posts({ posts }) {
  const [optimisticPosts, updateOptimisticPosts] = useOptimistic(
    posts,
    (prevPosts, updatedPostId) => {
      const updatedPostIndex = prevPosts.findIndex(
        (post) => post.id === updatedPostId
      );

      if (updatedPostIndex === -1) {
        // 조건에 맞는 포스트를 찾지 못했을 때
        return prevPosts;
      }

      const updatedPost = { ...prevPosts[updatedPostIndex] };
      updatedPost.likes = updatedPost.likes + (updatedPost.isLiked ? -1 : 1);
      updatedPost.isLiked = !updatedPost.isLiked;
      const newPosts = [...prevPosts];
      newPosts[updatedPostIndex] = updatedPost;

      return newPosts;
    }
  );

  if (!optimisticPosts || optimisticPosts.length === 0) {
    return <p>There are no posts yet. Maybe start sharing some?</p>;
  }

  async function updatePost(postId) {
    updateOptimisticPosts(postId);
    await togglePostLikeStatus(postId);
  }

  return (
    <ul className="posts">
      {optimisticPosts.map((post) => (
        <li key={post.id}>
          <Post post={post} action={updatePost} />
        </li>
      ))}
    </ul>
  );
}
<Posts> 컴포넌트에 useOptimistic을 적용하는 이유 : 이 게시물 페이지의 데이터베이스에서 모든 게시물의 배열을 가져왔기 때문이다.
📖 캐싱의 차이점: 개발 VS 프로덕션
배포를 위해선 npm run build를 우선 실행해야한다. 그 후, 배포 가능한 어플리케이션을 미리보기하고자 한다면 npm start를 실행한다.
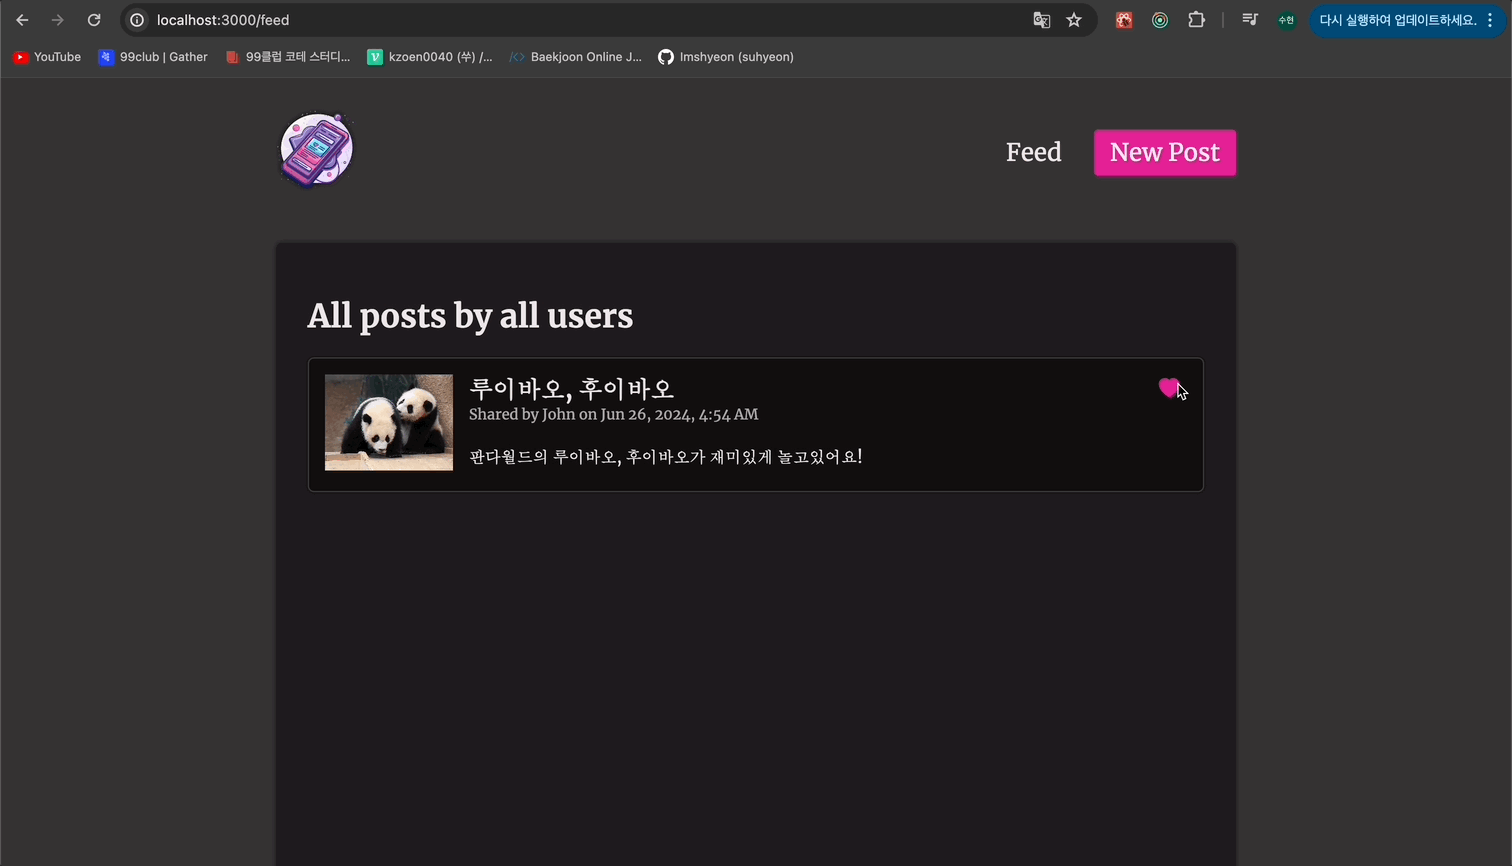
새로운 포스트를 쓰고나면, '/feed'로 리디렉션을 해도 새로운 포스트가 보이지 않고 새로고침을 해도 보이지 않는다.
이는 NextJS가 공격적인 캐싱을 수행하기 때문에 생긴다. NextJS는 빌드 프로세스에서 모든 페이지를 사전 렌더링하고 그 페이지를 캐싱한다. 그 후에는 페이지를 다시 렌더링하지 않는다.
이를 해결하기 위해선 데이터가 변경할 때마다 일부 페이지를 재렌더링 하도록 해야한다.
- 예시 : 새로운 포스트를 생성 후, 기존의 포스트에 '좋아요' 버튼을 누르면 약간의 딜레이 이후
revalidatePath로 인해 페이지가 재검증(캐시 삭제 후 렌더링) 된다 → 새로운 포스트도 같이 렌더링이 된다.
따라서 createPost 서버 액션 내부에서 페이지를 재검증하도록 만들어야한다.
💎 /action/posts.js
"use server";

import { uploadImage } from "@/lib/cloudinary";
import { storePost, updatePostLikeStatus } from "@/lib/posts";
import { revalidatePath } from "next/cache";
import { redirect } from "next/navigation";

export async function createPost(prevState, formData) {
  const title = formData.get("title");
  const image = formData.get("image");
  const content = formData.get("content");

  let errors = [];

  if (!title || title.trim().length === 0) {
    errors.push("제목이 필요합니다.");
  }

  if (!content || content.trim().length === 0) {
    errors.push("내용이 필요합니다.");
  }

  if (!image || image.size === 0) {
    errors.push("이미지가 필요합니다.");
  }

  if (errors.length > 0) {
    return { errors }; // 최종적으로 얻을 FormState
  }

  let imageUrl;
  try {
    imageUrl = await uploadImage(image);
  } catch (e) {
    throw new Error("이미지 업로드에 실패했습니다.");
  }

  await storePost({
    imageUrl,
    title,
    content,
    userId: 1,
  });

  revalidatePath("/", "layout");
  redirect("/feed"); // 일부 컴포넌트 함수 안에서도 사용 가능하다.
}

export async function togglePostLikeStatus(postId) {
  await updatePostLikeStatus(postId, 2);
  revalidatePath("/feed");
}