Spring
Container
컨테이너는 인스턴스의 생명주기를 관리한다. ( ex) tomcat servlet )
인스턴스들에게 추가적인 기능을 제공한다.
IOC
https://www.youtube.com/watch?v=zmdWWujU8M4
Inversion Of Control ( 제어의 역전 )
의존 관계의 방향성이 "달라지는것" 을 제어의 역전 이라고 부른다.
DI
Dependency Injection.
객체의 의존성을 외부에서 주입시킴.
DI는 IOC의 한 분류
SpringContainer는 DI를 @Autowired 어노테이션을 이용해서 해결한다.
Spring에서 제공하는 기본적은 IOC/DI 컨테이너
BeanFactory
IOC/DI 기본 기능 제공, 스프링 Bean 생성공장
ApplicationContext
BeanFactory에서 발전된 형태로, Transaction , AOP , BeanPostProcessor 등의 기능을 제공한다.
Spring XML 설정으로 만들기.
-
maven archetypes quickstart 으로 생성
-
pom.xml 설정
jdk을 원하는 버전으로 설정

xml에서 properties 태그는, pom.xml 설정에서 상수처럼 사용할 것을 지정하는 태그이다.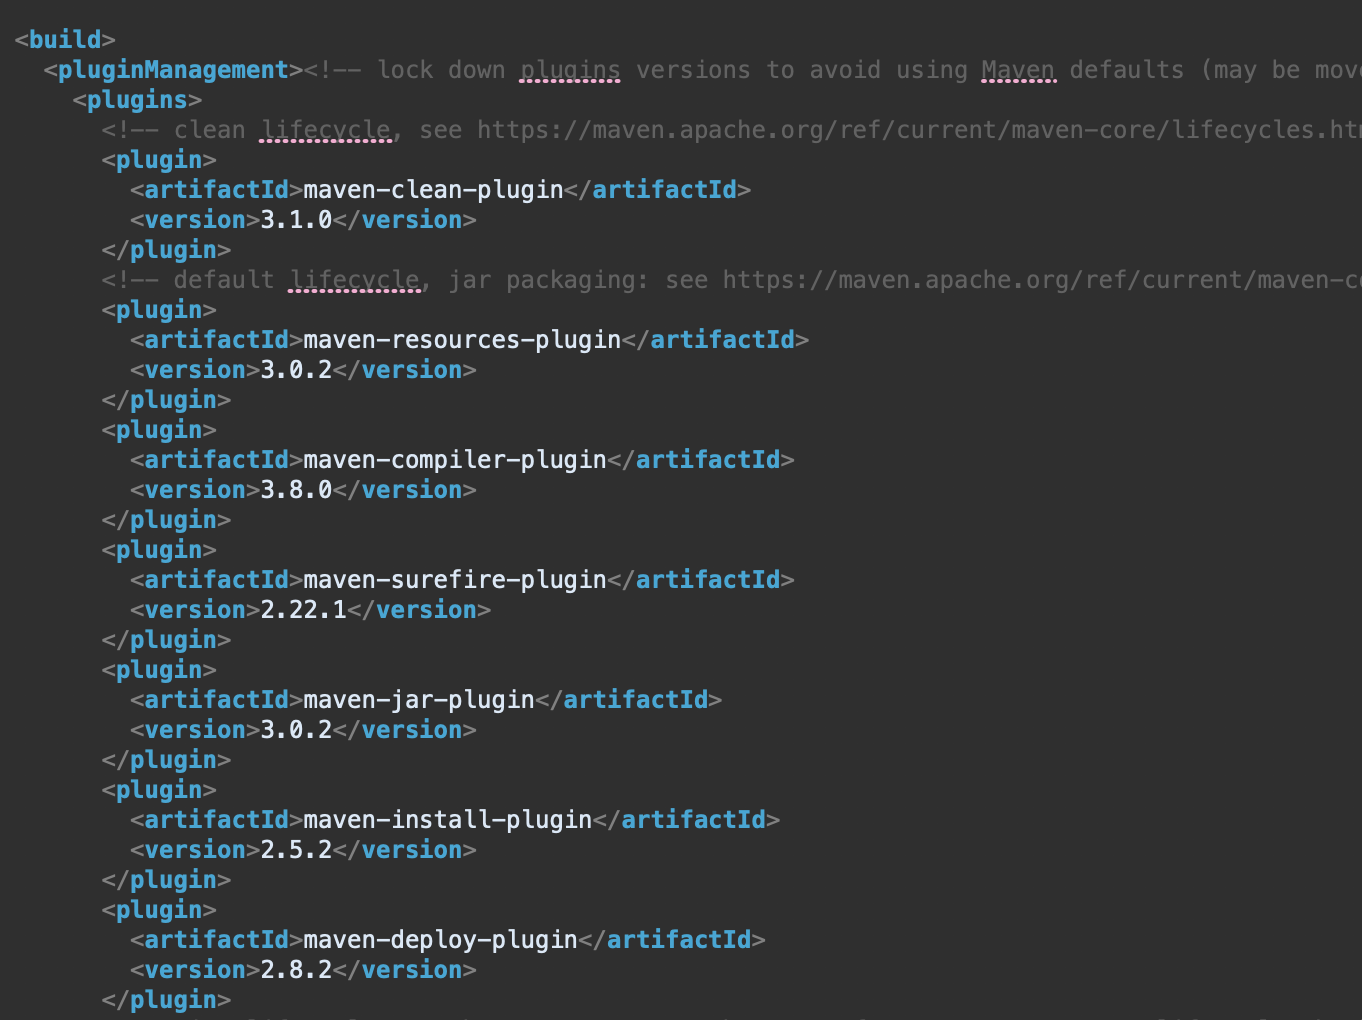
build 태그는 자바 build에 관련된 정보를 지정하는 xml이다.
plugin 태그들은 , 자바 build시 적용되는 plugin들이다.https://wikidocs.net/18342참고할것
Spring을 사용해야 함으로 spring-context를 maven의 dependencies에 추가해야한다.
https://mvnrepository.com/artifact/org.springframework/spring-context/5.2.5.RELEASE
-
자바 BEAN 등록을 위한 src>main>resources 폴더에 applicationContext.xml 파일 생성 ( 이름은 아무렇게 지정해도 괜찮다 !)
<?xml version="1.0" encoding="UTF-8"?>
<beans xmlns="http://www.springframework.org/schema/beans"
	xmlns:xsi="http://www.w3.org/2001/XMLSchema-instance"
	xsi:schemaLocation="http://www.springframework.org/schema/beans http://www.springframework.org/schema/beans/spring-beans.xsd">

	<bean id="userBean" class="kr.or.connect.diexam01.UserBean"></bean>
	<bean id="e" class="kr.or.connect.diexam01.Engine"/>
	<bean id="c" class="kr.or.connect.diexam01.Car">
		<property name="engine" ref="e"></property>
	</bean>
</beans>
스프링 xml 파일은 root tag는 항상 beans 태그이다.
bean으로 등록할 클래스는 bean의 프로퍼티 : id (이름) class 위치 (패키지 포함) 를 명시하여 지정해야한다.
bean 태그 안쪽에서 bean객체의 DI 관련 설정을 할 수 있다.
property는 자바 bean의 멤버 변수 (get/set이 지정된)를 프로퍼티라고 부른다.
위의 경우에는 kr.or.connect.diexam01.Car 클래스를 빈객체 c로 등록하면서 해당 객체의 engine property가 빈 객체 e를 참조하여 생성하도록 한다.
- Spring 사용하기
package kr.or.connect.diexam01;

import org.springframework.context.ApplicationContext;
import org.springframework.context.support.ClassPathXmlApplicationContext;

public class ApplicationContextExam01 {

  public static void main(String[] args) {
    ApplicationContext ac = new ClassPathXmlApplicationContext("classpath:applicationContext.xml");
    System.out.println("초기화 완료!!");

    UserBean userBean = (UserBean)ac.getBean("userBean");
    userBean.setName("kang");
    System.out.println(userBean.getName());
  }
}
ApplicationContext는 Interface이다.
ClassPathXmlApplicationContext에 applicationContext.xml의 위치를 지정하면, xml 파일의 정보를 기반으로 하여 , spring context를 생성한다.
이후 ApplicationContext.getBean() 을 이용하여, bean 객체를 얻을 수 있다.
spring context에 등록된 bean 객체는, Singleton 패턴을 따른다.
Spring Java 설정으로 만들기
class Config
package kr.or.connect.diexam01;

import org.springframework.context.annotation.ComponentScan;
import org.springframework.context.annotation.Configuration;

@Configuration
@ComponentScan("kr.or.connect.diexam01")
public class ApplicationConfig {

}
Spring Config Class는 항상
@Configuration 어노테이션이 붙어 있어야 한다.
@ComponentScan 어노테이션에, 패키지 위치를 지정하면
@ComponentScan은
@Controller , @Service , @Repository, @Component 가 붙은 클래스를 Spring bean Container에 모두 등록해준다.
class Config Bean
package kr.or.connect.diexam01;
import org.springframework.context.annotation.*;

@Configuration
public class ApplicationConfig {
	@Bean
	public Car car(Engine e) {
		Car c = new Car();
		c.setEngine(e);
		return c;
	}

	@Bean
	public Engine engine() {
		return new Engine();
	}
}
@ComponentScan 없이
@Configuration 이 붙은 java config class 내부에서
메소드를 만든후 위에 @Bean 어노테이션을 붙여 컨테이너에 등록하는 방법도 있다.
이경우 , 메소드의 이름이 bean의 이름이 되고, 메소드가 리턴하는 객체가 bean 객체로 등록된다.
주로 외부 라이브러리 같이 직접 수정하기 어려운 클래스를 설정할때 이런 @Bean 어노테이션을 활용하여 설정한다.
Bean1
package kr.or.connect.diexam01;

import org.springframework.beans.factory.annotation.Autowired;
import org.springframework.stereotype.Component;

@Component
public class Car {
    @Autowired
    private Engine v8;

    public Car() {
        System.out.println("Car 생성자");
    }

    public void run() {
        System.out.println("엔진을 이용하여 달립니다.");
        v8.exec();
    }
}
@ComponentScan에 의해서 탐색되어 등록될 Bean객체는 위의 코드와 같이
@Component,@Repository,@Service,@Controller 어노테이션이 붙어있어야 한다.
@Autowired는 Spring Bean Container에서 일치하는 클래스 ( 다형성이 되는 경우도 찾아준다. ) 찾아 DI 해주는 어노테이션이다. Spring Bean Container에는 , 같은 타입의 Bean 객체가 등록되지 않는다. 상속되어진 타입이어도 같은 타입으로 보고 등록시 에러를 리턴하게 된다.
Bean2
package kr.or.connect.diexam01;

import org.springframework.stereotype.Component;

@Component
public class Engine {
    public Engine() {
        System.out.println("Engine 생성자");
    }

    public void exec() {
        System.out.println("엔진이 동작합니다.");
    }
}
Spring 실행.
package kr.or.connect.diexam01;

import org.springframework.context.ApplicationContext;
import org.springframework.context.annotation.AnnotationConfigApplicationContext;

public class ApplicationContextExam03 {
  public static void main(String[] args) {
    ApplicationContext ac = new AnnotationConfigApplicationContext(ApplicationConfig.class);
    ac.getBean(Car.class);
  }
}
Junit
https://www.edwith.org/boostcourse-web-be/joinLectures/28360
참고할것
Spring JDBC
Spring에서 제공하는 한츰 더 업그레이드된 JDBC
org.springframework.jdbc.core
jdbc template,jdbc template call back interface 지원
org.springframework.jdbc.datasource
datasource 접근을 위한 utility 클래스 지원
org.springframework.jdbc.object
rdbms , 저장 , 조회 등을 위한 클래스를 지원
org.springframework.jdbc.support
sql Exception , utility 지원
jdbcTemplate
리소스 생성, 해지 처리등을 대신 수행해줌 ( JDBC의 Conn,prepared,result .. 복잡하게 열고 닫는것을 대신해줌 ! )
statement 생성 실행 처리
SQL 조회 , 업데이트 , 프로시저 호출 , ResultSet 반복 호출 실행
JDBC 예외 발생시 org.springframework.dao 패키지에 정의된 예외로 변환해여 처리해줌.
등을 수행해줌
ex )
int rowCount = this.jdbcTemplate.queryForInt("select count(*) from t_actor");

//변수 바인딩
int countOfActorsNamedJoe = this.jdbcTemplate.queryForInt("select count(*) from t_actor where first_name = ? ","Joe");

//String 값으로 결과 받기
String lastName = this.jdbcTemplate.queryForObject("select last_name from t_actor where id = ? ",new Object[]{1212L},String.class);

//3 번쨰 파라미터로 리턴받을 타입을 넣고, 2번째 파라미터에는 , 변수 바인딩할 값을 넣는다.

// 행 (DTO) 로 받기

Actor actor = this.jdbcTemplate.queryForObject("select first_name, last_name from t_actor where id = ?",
new Object[] {1212L},
  new RowMapper<Actor> () {
    public Actor mapRow(ResultSet rs,int rowNum) 			throws SQLException{
      Actor actor = new Actor();
      actor.setFirstName(rs.getString("first_name"));
      actor.setLastName(rs.getString("last_name"));
      return actor;
}});
//ResultSet을 이용해서 객체에 값을 설정해줌.
//주목 해야할 부분은 리턴받을 값이 RowMapper 클래스라는점.
// RowMapper 객체의, mapRow 오버라이딩 메소드에 로직을 넣음

// 다중 행 받기
List<Actor> actors = this.jdbcTemplate.query("select first_name,last_name from t_actor",
new RowMapper<Actor>(){
  public Actor mapRow(ResultSet rs,int rowNum) throws SQLException{
    Actor actor = new Actor();
    actor.setFirstName(rs.getString("first_name");
    actor.setLastName(rs.getString("last_name");
    return actor;
}});
// 한건의 행을 받을때와 다중 행을 받을때 모두 동을한 RowMapper 클래스,
// rowMap 메소드를 사용한다면, 이를 바깥으로 빼 클래스를 만들어 중복을 없애는 것도 좋은 방법이다.

private static final class ActorMapper implements RowMapper<Actor>{
  public Actor mapRow(ResultSet rs,int rowNum) throws SQLException{
      Actor actor = new Actor();
      actor.setFirstName(rs.getString("first_name"));
      actor.setLastName(rs.getString("last_name"));
      return actor;
  }
}

//update
this.jdbc.template.update(...);
NamedParameterJdbcTemplate : 변수 바인딩시 ? 대신 문자열을 이용해서 할 수 있도록 도와줌
SimpleJdbcTemplate
SimpleJdbcInsert
DTO
Data Transfer Object
데이터 전송을 위한 객체 , 그 이상의 기능은 하지 않는다.
DAO
Data Access Object
DB 접속, 조작하는 일을 전담하는 객체
Connection Pool
DB 연결시 드는 비용이 크기 때문에, 미리 커넥션을 많이 만들어놓고 풀에서 꺼내어 쓰는 방법
DataSource
DataSource 객체는 , Connection Pool을 관리하는 역할을 수행하는 객체
DB 접속, 해제 , 풀 관리등을 진행한다.
실습 정리
https://velog.io/@lacomaco/Spring-Jdbc-Template-%EC%8B%A4%EC%8A%B5-%EC%A0%95%EB%A6%AC
Spring MVC
MVC : Model , View , Controller 3 Layer로 나누어서 분간한 아키텍쳐