

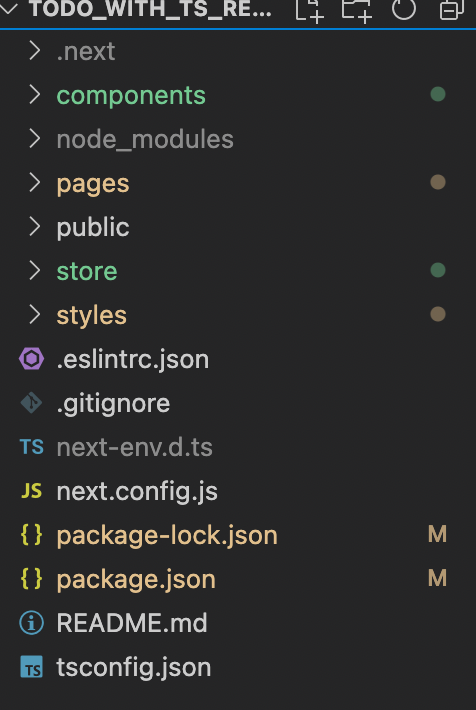
개인적으로 세팅 연습을 해보며 간단한 투두리스트도 함께 만들어보았다. 공부해가는 과정이라 틀린 부분이 있을 수 있음.
※ Next.js 공식 사이트에 정리된 CLI툴로 설치했을 때의 이점
1. 모듈 설치
1) npx create-next-app --ts [폴더이름]
2) npm i redux react-redux @types/react-redux
3) npm i --save-dev redux-devtools-extension next-redux-wrapper
- redux : 상태관리 툴(성능 최적화).
Store에서 전역으로 상태를 관리하고 업데이트 해준다.
Store는 컴포넌트 밖에서 관리를 해주므로, 부모에서 자식 컴포넌트에 일일이 props를 전달하지 않아도 되고, 불필요한 랜더링을 줄여준다(유지보수 용이).
- react-redux : Redux는 React에 종속된 라이브러리가 아니다. 단순히 redux만 설치했을 때보다 react-redux를 함께 설치했을 때,리액트 환경에서 리덕스를 더 편리하게 사용할 수 있다. (즉, 리액트 환경에서 redux를 편하게 사용할 수 있도록 도와주는 툴)
- @types : 라이브러리에 타입스크립트 지원을 할 수 있도록 추가된 써드파티 라이브러리
- @types/react-redux : redux의 경우에는 자체적으로 typescript 지원이 되지만 react-redux는 라이브러리 자체적으로 지원이 되지 않아서 "@types/" 를 앞에 붙여 설치하면 된다.
- next-redux-wrapper : next.js 서버단에서 redux에 접근하여 사용할 때 필요한 작업들을 쉽게 처리할 수 있게 도와주는 라이브러리
@types/next-redux-wrapper: next-redux-wrapper 의 경우 라이브러리 자체적으로 타입스크립트를 지원해서 더 이상 "@types/"로 따로 설치해주지 않아도 된다.
npm 공식 사이트에 기재된 내용

- redux-devtools-extension : 규모가 큰 웹/어플리케이션의 효율적인 상태 관리를 위해 사용되는 redux를 위한 개발자 도구. 현재 스토어의 상태를 개발자 도구에서 조회할 수 있고, 지금까지 어떤 액션들이 디스패치 되었는지, 그리고 액션에 따라 상태가 어떻게 변화했는지 확인할 수 있다. 또, 액션을 직접 디스패치 할 수도 있다.
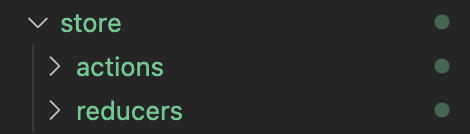
2. 리듀서, 액션 파일을 담을 폴더 생성
- root 폴더에 리듀서, 액션 생성 함수, 액션 타입을 만들어서 넣을 수 있도록 store 파일을 생성해준다.
3. 액션 타입 선언 및 액션 생성 함수 생성
// store/action/todos.ts

export const ADD_TODO = "ADD_TODO"
export const DELETE_TODO = "DELETE_TODO"

let id = 1

interface TodoType {
    title: string,
    isComplete: boolean
}

export const addTodo = (todo: TodoType) => {
    return {
        type: ADD_TODO,
        payload: {
            todo: {
                id: id++,
                title: todo.title,
                isComplete: todo.isComplete,
            }
        }
    }
}

export const deleteTodo = (id: number) => {
    return {
        type: DELETE_TODO,
        payload: {
            id,
        }
    }
}

export type ActionsType = ReturnType<typeof addTodo> | ReturnType<typeof deleteTodo>
4. 리듀서 생성
// store/reducer/todoReducer.ts

import { ActionsType, ADD_TODO, DELETE_TODO } from "../actions/todos";

interface todoType {
    title: string,
    isComplete: boolean,
}

interface InitialStateType {
    todos: todoType[]
}

const initialState: InitialStateType = {
    todos: [],
}

export default function TodoReducer(state = initialState, action: ActionsType) {
    switch (action.type) {
        case ADD_TODO:
            return {
                todos: [...state.todos, action.payload.todo]
            }
        case DELETE_TODO:
            return {
                todos: [...state.todos.filter((todo) => todo.id !== action.payload.id)]
            }
        default:
            return state
    }
}
5. rootReducer
- 상황에 따라 리듀서가 여러 개인 경우, main.ts 와 같은 파일을 생성하여 redux 모듈에서 제공하는 combineReducers(하나로 모아 내보내주는 역할) 함수로 여러 개로 나눠진 리듀서를 하나로 모아준다.
// store/reducer/main.ts

import { combineReducers } from "redux";
import TodoReducer from "./todoReducer"

const rootReducer = combineReducers({ TodoReducer })

type ReducerType = ReturnType<typeof rootReducer>

export default rootReducer
6. store 생성
- state가 저장되는 저장소이다.
// pages/app.tsx

import { Provider } from 'react-redux'
import { createStore } from 'redux'
import { composeWithDevTools } from 'redux-devtools-extension'

const store = createStore(rootReducer, composeWithDevTools())

export default function App({ Component, pageProps }: AppProps) {
  return <Provider store={store}>
    <Component {...pageProps} />
  </Provider>
}
7. 컴포넌트에서 dispatch하기
// 메인 페이지
// pages/index.tsx

import InputForm from '@/components/InputForm'
import TodoList from '@/components/TosoList'

export default function Home() {
  return (
    <>
      <h1>todo</h1>
      <InputForm />
      <TodoList />
    </>
  )
}

// InputForm 컴포넌트
// components/InputForm.tsx

import { addTodo } from "@/store/actions/todos"
import { useState } from "react"
import { useDispatch } from "react-redux"

const InputForm = () => {
    const dispatch = useDispatch()
    const [text, setText] = useState('')

    const handleChange = (e) => {
        setText(e.target.value)
    }

    const handleSubmit = (e) => {
        e.preventDefault()
        const todo = {
            title: text,
            isComplete: false,
        }

        dispatch(addTodo(todo))
        console.log(todo);

        setText('')
    }

    return (
        <div>
            <form onSubmit={handleSubmit}>
                <input type="text" value={text} onChange={handleChange} />
                <button>추가</button>
            </form>
        </div>
    )
}

export default InputForm


// TodoList 컴포넌트
// components/TodoList.tsx

import { useSelector } from "react-redux"
import TodoItem from "./TodoItem"

const TodoList = () => {
    const todos = useSelector(state => state.TodoReducer.todos)

    return (
        <div>{todos.map(todo => <TodoItem key={todo.id} todo={todo} />)}</div>
    )
}

export default TodoList


// TodoItem 컴포넌트
// components/TodoItem.tsx

import { deleteTodo } from "@/store/actions/todos"
import { useDispatch } from "react-redux"

const TodoItem = ({ todo }) => {
    const dispatch = useDispatch()
    const handleDelete = () => {
        dispatch(deleteTodo(todo.id))
    }

    return (
        <div>
            <span>{todo.title}</span>
            <span>{todo.isComplete ? '완료' : '미완료'}</span>
            <button onClick={handleDelete}>삭제</button>
        </div>
    )
}

export default TodoItem
8. 후기
- next.js, redux, typescript 세팅을 해보면서 각 라이브러리들이 어떤 역할을 하고, 왜 그것을 설치하는지, 또 어떻게 사용하는지 등을 찾아보고 여러 번 직접 코드로 입력해가면서 그 필요성을 느낄 수 있었다. 확실히 라이브러리들의 역할을 이해하면서 프로젝트를 진행하니 전체적인 흐름을 더욱 이해하기 쉬웠고, 내가 진행하는 프로젝트에 필요한가 아닌가를 판단하며 사용할 수 있었다. 아주 간단한 todo list로 세팅을 연습해보았고, 다음에는 미들웨어를 활용하여 비동기를 처리해보는 작업을 해봐야겠다.
참고 사이트
https://velog.io/@gyutato/Next.js%EA%B3%B5%EC%8B%9D%EB%AC%B8%EC%84%9C-create-next-app

👩🏻💻