Jetpack Navigation 개요
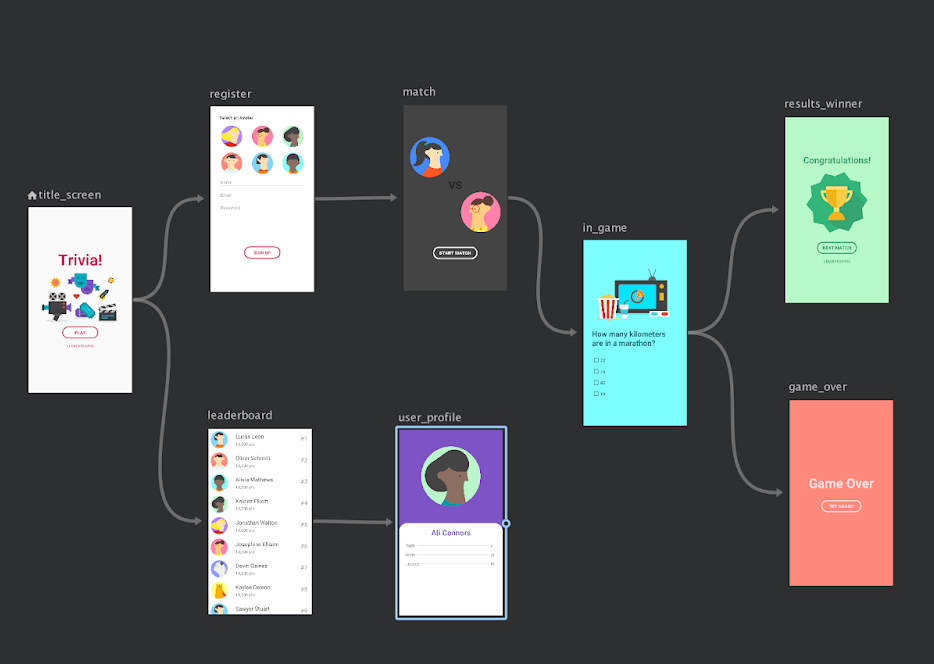
Jetpack 은 Android 개발을 빠르게 도와주는 컴포넌트 라이브러리 입니다. 2018 Google I/O 행사에서 Jetpack Navigation 이 소개 되었고, Android Studio 3.3 Navigation Editor 기능이 생기면서 부터, Apple Xcode 처럼 UI를 통한 Navigation 편집이 가능해졌습니다.
Jetpack 을 사용한 Navigation 을 구현해 봅니다.
새 프로젝트 생성
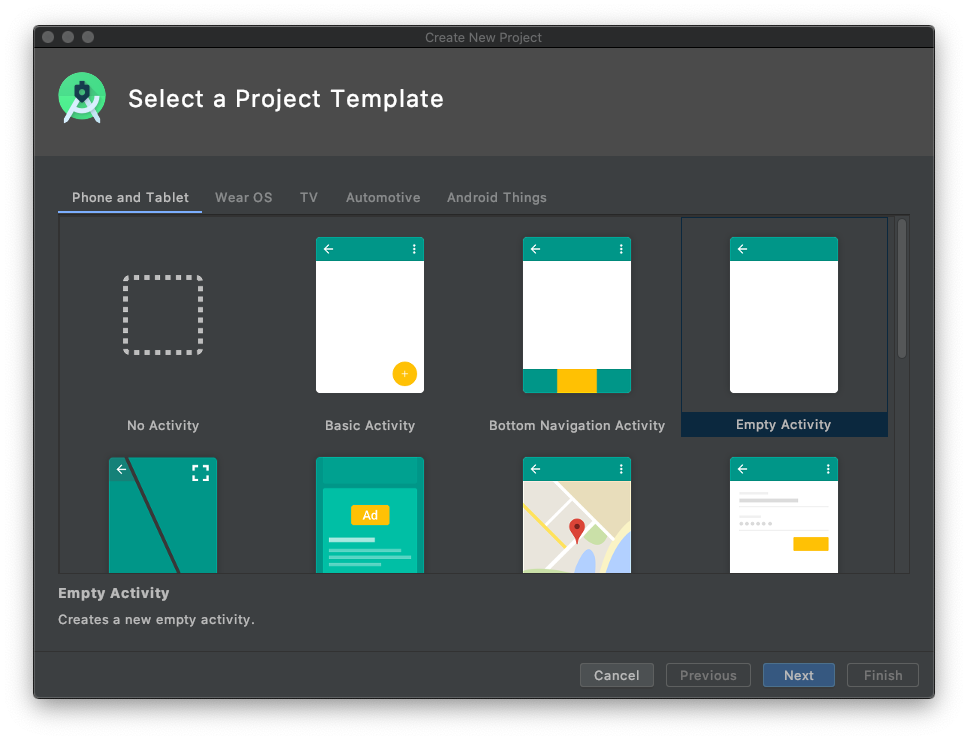
Empty Activity 를 선택합니다.
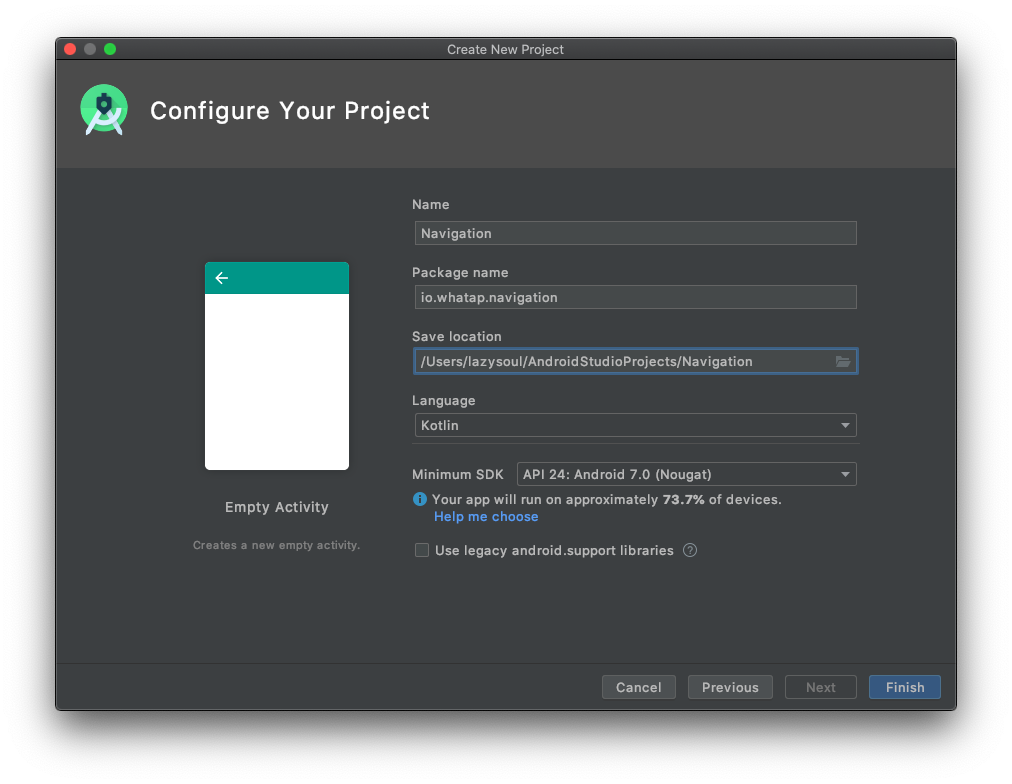
Name : Navigation
Package Name 및 Save Location 을 적당하게 수정
Langage : Kotlin
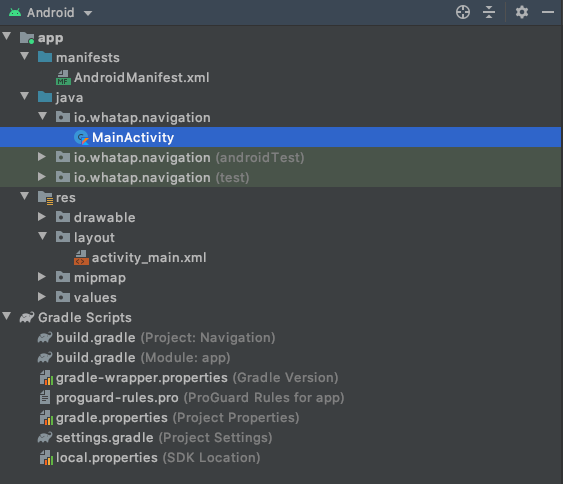
생성된 프로젝트의 Project Tool Window 를 확인하면 위와 같습니다.
Gradle 설정
build.gradle ( Module: app ) 을 선택하고
아래와 같이 dependencie 를 추가해줍니다.
dependencies {
    ...
    implementation 'android.arch.navigation:navigation-fragment:1.0.0'
    implementation 'android.arch.navigation:navigation-ui-ktx:1.0.0'
    ...
}
Fragment 생성
MainActivity 에 Fragment 를 사용하여 화면을 구성할 예정입니다.
3개의 Fragment ( FirstFragment, SecondFragment, ThirdFragment ) 를 사용하고,
버튼을 누르면 First->Second->Third->First 로 순환하여 화면이 이동하는 앱입니다.
Fragment 에서 parameter 는 사용하지 않을 예정이라, 코드를 아래와 같이 정리합니다.
package io.whatap.navigation

import android.os.Bundle
import androidx.fragment.app.Fragment
import android.view.LayoutInflater
import android.view.View
import android.view.ViewGroup

class FirstFragment : Fragment() {
    override fun onCreateView(
        inflater: LayoutInflater, container: ViewGroup?,
        savedInstanceState: Bundle?
    ): View? {
        return inflater.inflate(R.layout.fragment_first, container, false)
    }
}
FirstFragment.kt
Fragment 화면 구성
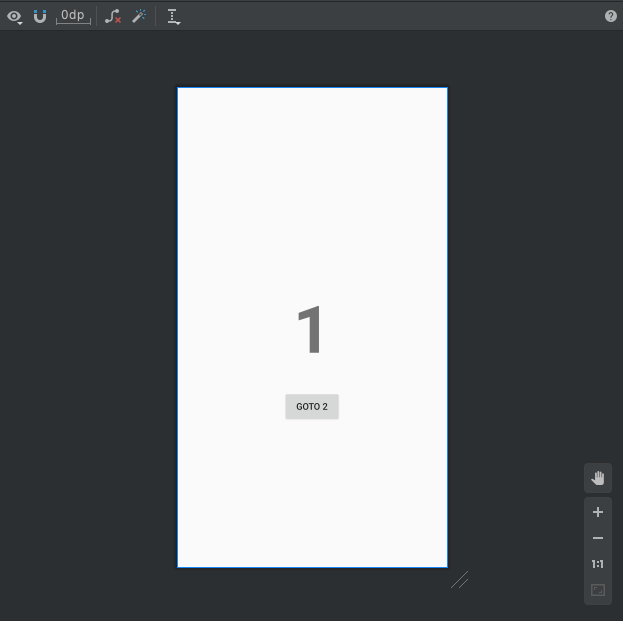
FirstFragment 의 화면을 적절하게 구별 할 수 있도록 적절하게 수정합니다.
<?xml version="1.0" encoding="utf-8"?>
<androidx.constraintlayout.widget.ConstraintLayout xmlns:android="http://schemas.android.com/apk/res/android"
    xmlns:app="http://schemas.android.com/apk/res-auto"
    xmlns:tools="http://schemas.android.com/tools"
    android:id="@+id/constraintLayout"
    android:layout_width="match_parent"
    android:layout_height="match_parent"
    tools:context=".FirstFragment">

    <TextView
        android:id="@+id/textView1"
        android:layout_width="wrap_content"
        android:layout_height="wrap_content"
        android:gravity="center"
        android:text="@string/first"
        android:textAlignment="center"
        android:textSize="100sp"
        android:textStyle="bold"
        app:layout_constraintBottom_toBottomOf="parent"
        app:layout_constraintEnd_toEndOf="parent"
        app:layout_constraintStart_toStartOf="parent"
        app:layout_constraintTop_toTopOf="parent" />

    <Button
        android:id="@+id/button1"
        android:layout_width="wrap_content"
        android:layout_height="wrap_content"
        android:layout_marginTop="30dp"
        android:text="@string/goto2"
        app:layout_constraintEnd_toEndOf="parent"
        app:layout_constraintStart_toStartOf="parent"
        app:layout_constraintTop_toBottomOf="@+id/textView1" />

</androidx.constraintlayout.widget.ConstraintLayout>
fragment_first.xml
SecondFragment, ThirdFragment 도 같은 방식으로 수정합니다.
Navigation Host 구성
<?xml version="1.0" encoding="utf-8"?>
<androidx.constraintlayout.widget.ConstraintLayout xmlns:android="http://schemas.android.com/apk/res/android"
    xmlns:app="http://schemas.android.com/apk/res-auto"
    xmlns:tools="http://schemas.android.com/tools"
    android:layout_width="match_parent"
    android:layout_height="match_parent"
    tools:context=".MainActivity">

    <fragment
        android:id="@+id/fragment"
        android:name="androidx.navigation.fragment.NavHostFragment"
        android:layout_width="match_parent"
        android:layout_height="match_parent"
        app:defaultNavHost="true"
        app:navGraph="@navigation/nav_graph" />

</androidx.constraintlayout.widget.ConstraintLayout>
activity_main.xml
아래에서 구성할 Navigation Graph 작성을 위해서는 Navigation Host 가 필요합니다. activity_main.xml 에 위와 같이 작성합니다.
Nav Graph 작성
res/navigation/nav_graph.xml 을 생성합니다. 위에서 Navigation Host가 제대로 지정되어 있으면, HOST 에 activity_main(fragment)가 이미 추가되어 있는것을 확인 할 수 있습니다.

Graph 에 앞서서 미리 생성한 Fragment 3개를 추가합니다. Graph Editor를 통해서 Navigation 동선을 UI 로 구성할 수 있습니다.
<?xml version="1.0" encoding="utf-8"?>
<navigation xmlns:android="http://schemas.android.com/apk/res/android"
    xmlns:app="http://schemas.android.com/apk/res-auto"
    xmlns:tools="http://schemas.android.com/tools"
    android:id="@+id/nav_graph"
    app:startDestination="@id/firstFragment">

    <fragment
        android:id="@+id/firstFragment"
        android:name="io.whatap.navigation.FirstFragment"
        android:label="fragment_first"
        tools:layout="@layout/fragment_first" >
        <action
            android:id="@+id/action_firstFragment_to_secondFragment"
            app:destination="@id/secondFragment" />
    </fragment>
    <fragment
        android:id="@+id/secondFragment"
        android:name="io.whatap.navigation.SecondFragment"
        android:label="fragment_second"
        tools:layout="@layout/fragment_second" >
        <action
            android:id="@+id/action_secondFragment_to_thirdFragment"
            app:destination="@id/thirdFragment" />
    </fragment>
    <fragment
        android:id="@+id/thirdFragment"
        android:name="io.whatap.navigation.ThirdFragment"
        android:label="fragment_third"
        tools:layout="@layout/fragment_third" >
        <action
            android:id="@+id/action_thirdFragment_to_firstFragment"
            app:destination="@id/firstFragment" />
    </fragment>
</navigation>
nav_graph.xml
OnClickListener 작성
package io.whatap.navigation

import android.os.Bundle
import androidx.fragment.app.Fragment
import android.view.LayoutInflater
import android.view.View
import android.view.ViewGroup
import android.widget.Button
import androidx.navigation.Navigation

class FirstFragment : Fragment() {

    override fun onCreateView(
        inflater: LayoutInflater, container: ViewGroup?,
        savedInstanceState: Bundle?
    ): View? {
        val view = inflater.inflate(R.layout.fragment_first, container, false)

        view.findViewById<Button>(R.id.button1).setOnClickListener {
            Navigation.findNavController(view).navigate(R.id.action_firstFragment_to_secondFragment)
        }
        return view
    }
}
FirstFragment.kt
setOnClickListener 에서 Navigation Action 을 실행하도록 코드를 작성합니다.
SecondFragment.kt , ThirdFragment.kt 도 마찬가지로 동일하게 작성합니다.
실행
버튼을 누를때마다 1->2->3->1 순서로 순환하도록 Navigation 기능이 완성되었습니다.
작성한 코드는 https://github.com/lazysoul/JetpackNavigation 에서 참고 할수 있습니다.

안녕하세요 프래그먼트 관련 질문 해도될까요?