[컴퓨터비전 STUDY / KOCW 한동대학교 황성수 교수님 강의 Review]
Rectangle
다음은 그림 위에 사각형을 그리는 메소드이다.
void rectangle(Mat& img, Point pt1, Point pt2, const Scalar& color, int thickness=1, int lineType=8, int shift=0)
- Mat& img : 함수가 직사각형을 그릴 대상 이미지
- Pt1 : 직사각형의 좌상단 꼭짓점
- Pt2 : 직사각형의 우하단 꼭짓점
- Color : 직사각형의 BGR 색상
- Thickness : 직사각형 테두리의 두께
- lineType : 선의 유형
- Shift : 좌표에 대한 비트 shift (사각형을 정교하게 그릴 때 사용함)
또다른 방식으로 사각형을 그릴 수 있다.
void rectangle(Mat& img, Rect rec, const Scalar& color, int thickness=1, int lineType=8, int shift=0)
- Rect(x_LT, y_LT, width, height) 객체를 사용하여 위치, 너비, 높이 등을 지정한다.
EX
int main(){
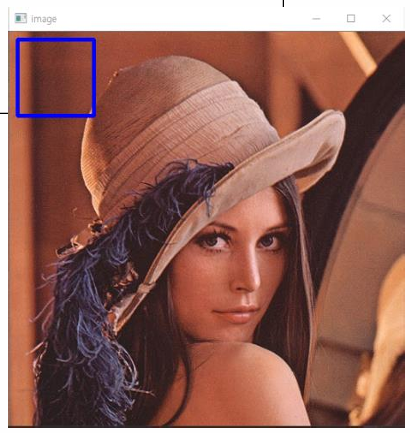
Mat image = imread("lena.jpg");
Rect rect = Rect(10, 10, 100, 100); // LT position, width, height
// 빨간색(Scalar(255, 0, 0)), 직사각형의 테두리 두께 4픽셀, 선 유형 8-connected line
rectangle(image, rect, Scalar(255, 0, 0), 4, 8, 0);
imshow("image",image);
waitKey(0);
return 0;
}결과는 다음과 같다.
Drawing Function
다음은 그림 위에 선을 그리는 메소드이다.
void line(Mat& img, Point pt1, Point pt2, const Scalar& color, int thickness=1, int lineType=8, int shift=0)
- Mat& img : 선이 그려질 이미지
- Pt1 : 직사각형의 좌상단 꼭짓점
- Pt2 : 직사각형의 우하단 꼭짓점
- const Scalar& color : 선의 BGR 색상
- thickness : 선의 두께
- lineType : 선의 유형 (여기서는 8-connected line)
- shift : 좌표에 대한 비트 시프트
다음은 원을 그리는 메소드이다.
void circle(Mat& img, Point center, int radius, const Scalar& color, int thickness=1, int lineType=8, int shift=0)
- Center : 원의 중심
- Radius : 원의 반지름
EX
int main(){
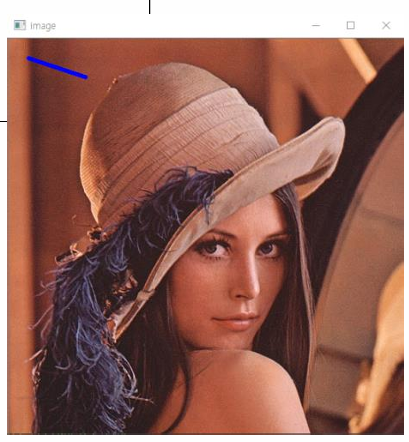
Mat image = imread("lena.jpg");
Point p1(25, 25), p2(100, 50); // 선을 그릴 시작점(p1)과 끝점(p2)을 정의
// 시작점(p1), 끝점(p2), 색상, 선의 두께, 선 유형, shift
line(image, p1, p2, Scalar(255, 0, 0), 3, 8, 0);
imshow("image",image);
waitKey(0);
return 0;
}결과는 다음과 같다.
Polygon
다음은 다각형을 그리는 메소드이다.
이 메소드로 여러 개의 다각형을 동시에 그릴 수 있다.
void fillPoly(Mat& img, const Point* pts, const int npts, int ncontours, const Scalar& color, int lineType=8, int shift=0, Point offset=Point())
- img : 다각형이 그려질 이미지
- Point** pts : 다각형의 꼭짓점 배열을 가리키는 포인터의 배열
- npts : 각 다각형에 대한 꼭짓점의 수를 나타내는 배열
- ncontours : 그려질 다각형의 수
- Color : 다각형을 채우는 데 사용될 색상 (BGR)
- lineType : 다각형의 경계선 유형 (여기서는 8-connected line)
- Shift : 좌표에 대한 비트 shift
- Offset : 모든 꼭짓점에 적용될 오프셋
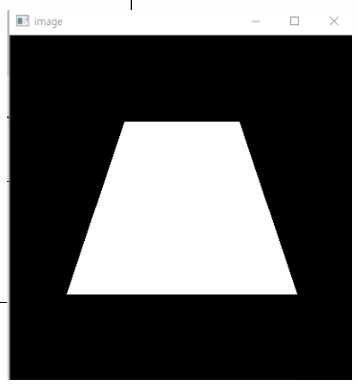
 int main() {
 	//  400x400 픽셀 크기의 검정색 이미지를 생성
 	Mat image = Mat::zeros(400, 400, CV_8UC3);
 	int w = 400;

    // 사다리꼴 모양을 정의하기 위한 4개의 꼭짓점을 설정
 	Point trapezoid[1][4];
 	trapezoid[0][0] = Point(w*2 / 6, w / 4);
 	trapezoid[0][1] = Point(w*4 / 6, w / 4);
 	trapezoid[0][2] = Point(w*5 / 6, w*3 / 4);
 	trapezoid[0][3] = Point(w / 6, w*3 / 4);

    // 다각형 꼭짓점 배열 ppt를 설정
 	const Point* ppt[1] = { trapezoid[0] };
 	int npt[] = { 4 };

    // fillPoly 함수를 이용하여 다각형을 그림, 다각형 수 1, 도형은 흰색으로 채워짐
 	fillPoly(image, ppt, npt, 1, Scalar(255, 255, 255), 8);
 	imshow("image", image);
 	waitKey(0);
 }
결과는 다음과 같다.
Write text
다음은 화면에 글자를 쓰는 메소드이다.
void putText(Mat& img, const string& text, Point org, int fontFace, double fontScale, Scalar color, int thickness=1, int lineType=8, bool bottomLeftOrigin=false)
- img : 텍스트가 그려질 이미지
- text : 이미지에 그려질 텍스트 문자열 (format 메소드 적용)
- org : 텍스트가 시작될 위치
- fontFace : 사용할 폰트 타입을 지정
종류로는, FONT_HERSHEY_SIMPLEX, FONT_HERSHEY_PLAIN, FONT_HERSHEY_DUPLEX, FONT_HERSHEY_COMPLEX, FONT_HERSHEY_TRIPLEX 등이 있음 - fontScale : 폰트의 크기 비율
- bottomLeftOrigin : 이 플래그가 true로 설정되면, 텍스트의 원점이 이미지의 왼쪽 하단에 있음을 나타냄, 기본값은 false로, 텍스트의 원점이 왼쪽 상단에 위치함
다음은 print() 함수와 비슷한 역할을 수행하는 함수이다.
String cv::format(const char *fmt, …)
- const char *fmt : 포맷 지정자를 포함하는 C 스타일 문자열이며, 변환될 데이터의 타입과 포맷을 지정함
EX
int main() {
// Create black empty images
Mat image = Mat::zeros(400, 600, CV_8UC3);
int w = image.cols;
int h = image.rows;
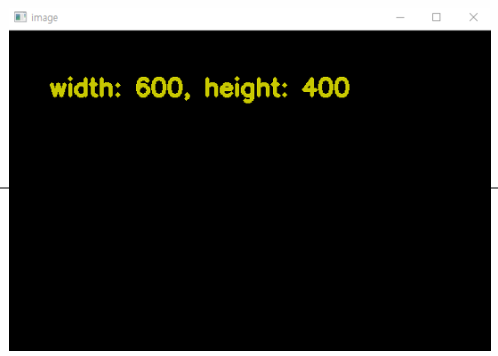
// 이미지에 텍스트를 추가함, 텍스트는 (50, 80) 위치에 그려짐, 텍스트 색상 Scalar(0, 200, 200)
putText(image, format("width: %d, height: %d", w, h), Point(50, 80), FONT_HERSHEY_SIMPLEX, 1, Scalar(0, 200, 200), 4);
imshow("image", image);
waitKey(0);
return(0);
}결과는 다음과 같다.