학습내용
css 가상선택자, before&after, dothome과 file zila이용해 도메인에 웹 파일 업로드, css 강의 실습, helbak사이트 혼자 연습
css 강의내용
css 가상선택자
- 행동 관련 디자인 적용
a:link방문한 적 없는 링크a:active클릭 유지 시a:hover마우스 올릴 때input:focus입력칸에 커서 둘 때
- 일정 규칙에 따라 디자인 적용
li:first-child: 리스트의 첫 번째 항목li:last-child: 리스트의 마지막 항목li:nth-child(n)->리스트의 n번째 항목 (1부터 시작) 2n, 2n+1로 짝수 홀수 응용 가능
a:link { color: red; }
a:active { color:blue }
a:hover {color: pink;}
input:focus { border: solid 3px green;}

li:first-child { color: greenyellow;}
li:last-child {color: indigo;}
li:nth-child(2n) {color: lightcoral;}
css before & after
html 문서에는 따로 표시되지 않고 css로 삽입한 부분이다. 문자를 넣어도 html에서 문자로 인식되지 않고 단순 디자인, 캘리그라피로 취급한다. 메뉴 앞, 뒤에 디자인 삽입 시 유용하다. 예시로 before로 이미지 넣은 것을 보여주셔서 따로 찾아보니 url 등을 이용해 아이콘 등을 넣을 수 있다고 한다.
li::before {
    content: "--";
}
li::after {
    content: url("icon.png");
}
dothome과 fileZila를 이용해 도메인에 웹 파일 업로드하기
dothome회원가입- 네비게이션메뉴-> 웹 호스팅 -> 무료 호스팅 신청하기 ->
ftp id,password정해서 신청하기 - 웹 호스팅 목록->호스팅 상세보기로 들어가서 FTP접속설정을 접속허용으로 변경
fileZila다운로드- fileZila 위쪽에 호스트(dothome 내 도메인 주소), 사용자명(dothome ftp id), 비밀번호(dothome ftp password), ftp포트(21) 입력 후 빠른 연결
- 이제 아래 로컬파일이나 폴더 선택 후 업로드 -> dothome 도메인 주소에서 내 html 파일들을 볼 수 있다.
css 강의 실습
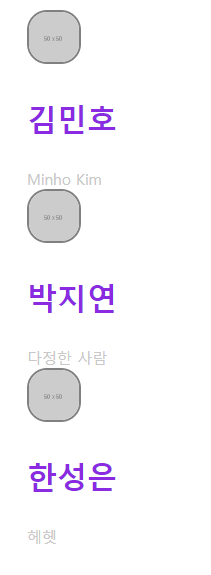
kakao 친구목록
github 소스코드: https://github.com/YesolLee421/DaeguAISchool2021/tree/main/kakao
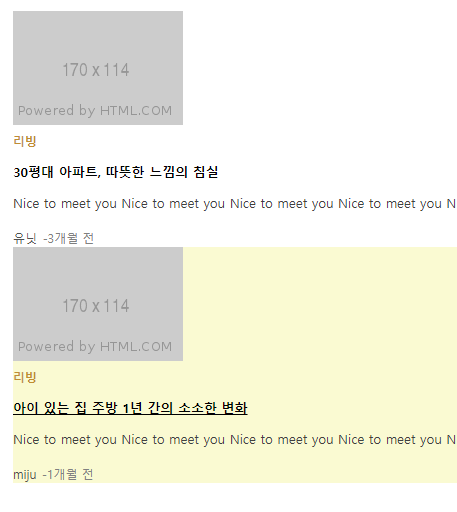
naver 리빙
github 소스코드: https://github.com/YesolLee421/DaeguAISchool2021/tree/main/naver
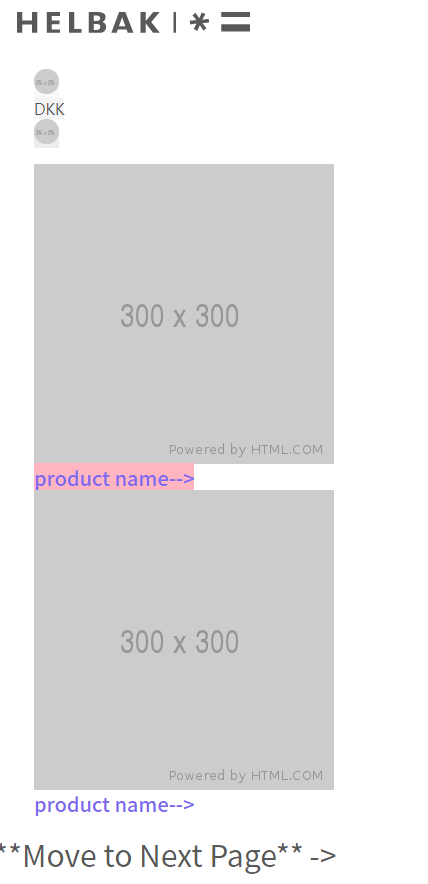
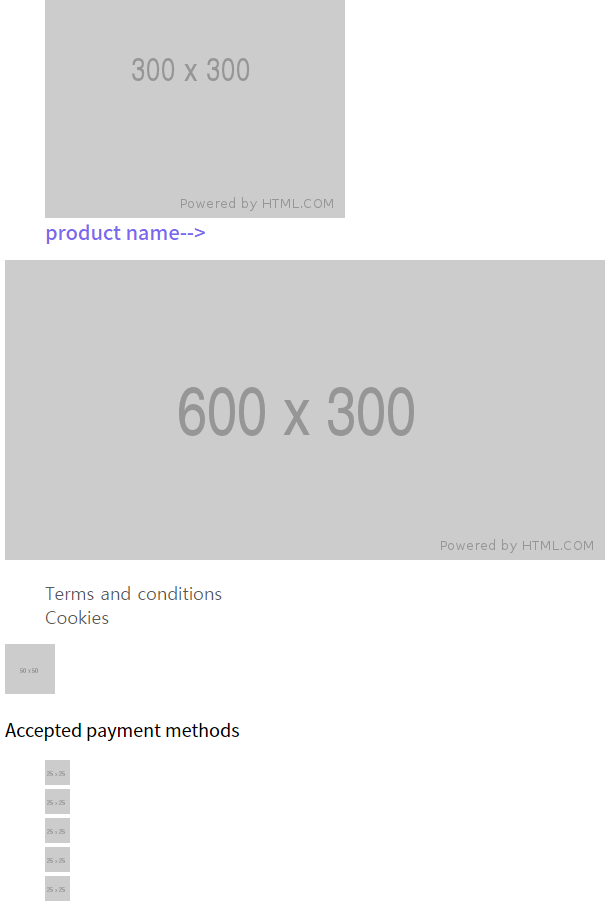
helbak 레이아웃 혼자 연습
github 소스코드: https://github.com/YesolLee421/DaeguAISchool2021/tree/main/project_1
어려웠던 내용
- dothome과 fileZila 사용 시, dothome 정보를 가지고 fileZila에 연결하는 부분에 503 에러가 있었다. 다른 많은 분들도 겪은 것 같다.
- css before 관련해서 강의 실습에선 content로 문자열만 간단히 넣었는데 예시로는 이미지가 들어간 것이 나왔다. 따로 할 수 있을지 찾아보니 생각보다 적용할 속성이 많아서 추후 사용해야 할 때 추가로 찾아봐야 할 것 같다.
해결방법
- dothome 웹 호스팅 설정 안 ftp접속설정 기본값이 제한으로 되어있었다. 허용으로 바꾸니 잘 됐다.
소감
어제에 이어 오늘도 배운 내용으로 혼자 복습 겸 helbak사이트 메인페이지의 레이아웃을 만들어 보았다. 아직 레이아웃을 가로로 배치하는 방법이 나오지 않아서 모든 요소가 아래로 일렬로 늘어서서 아쉽다. 좀 더 다양한 배치가 가능해지면 더 자유롭게 실습할 수 있을 것 같다.

문서화를 좋아하는 개발자