
CustomScrollView
사용자 지정 스크롤 효과를 만드는 ScrollView.
목록, 그리드 및 확장 헤더와 같은 다양한 스크롤 효과를 만들 수 있다.
child나 children이 아닌 sliver를 받는다.
drawer엇저고 하는 메뉴 만드는 위젯도 있는 것 같은데 모르겠으니까 이걸로 네비게이션 목록을 만들어 보려고한다.
CustomScrollView
body: CustomScrollView(
slivers: <Widget>[
//SliverAppBar
//SliverList
//SliverGrid ...사용할 수 있는 sliver들이온다.
]
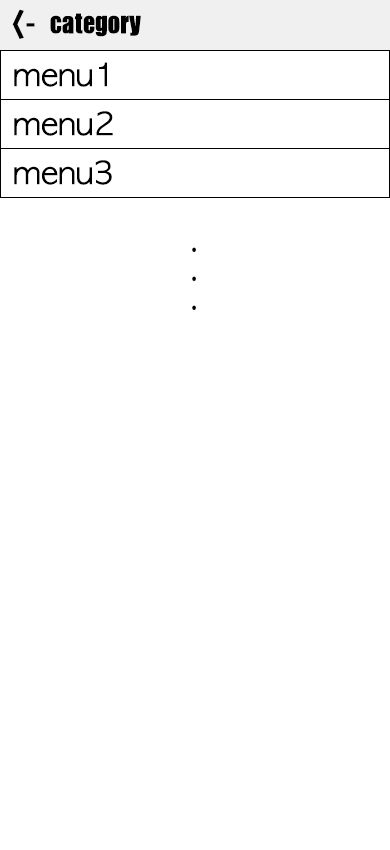
)SliverAppBar
appbar와 비슷하다. body에 리스트뷰를 사용했을 때 상단 AppBar가 확장하거나 내가 스크롤하는 움직이멩 따라서 변화를 주고 싶을 때 주로 사용한다.
body: CustomScrollView(
slivers: <Widget>[
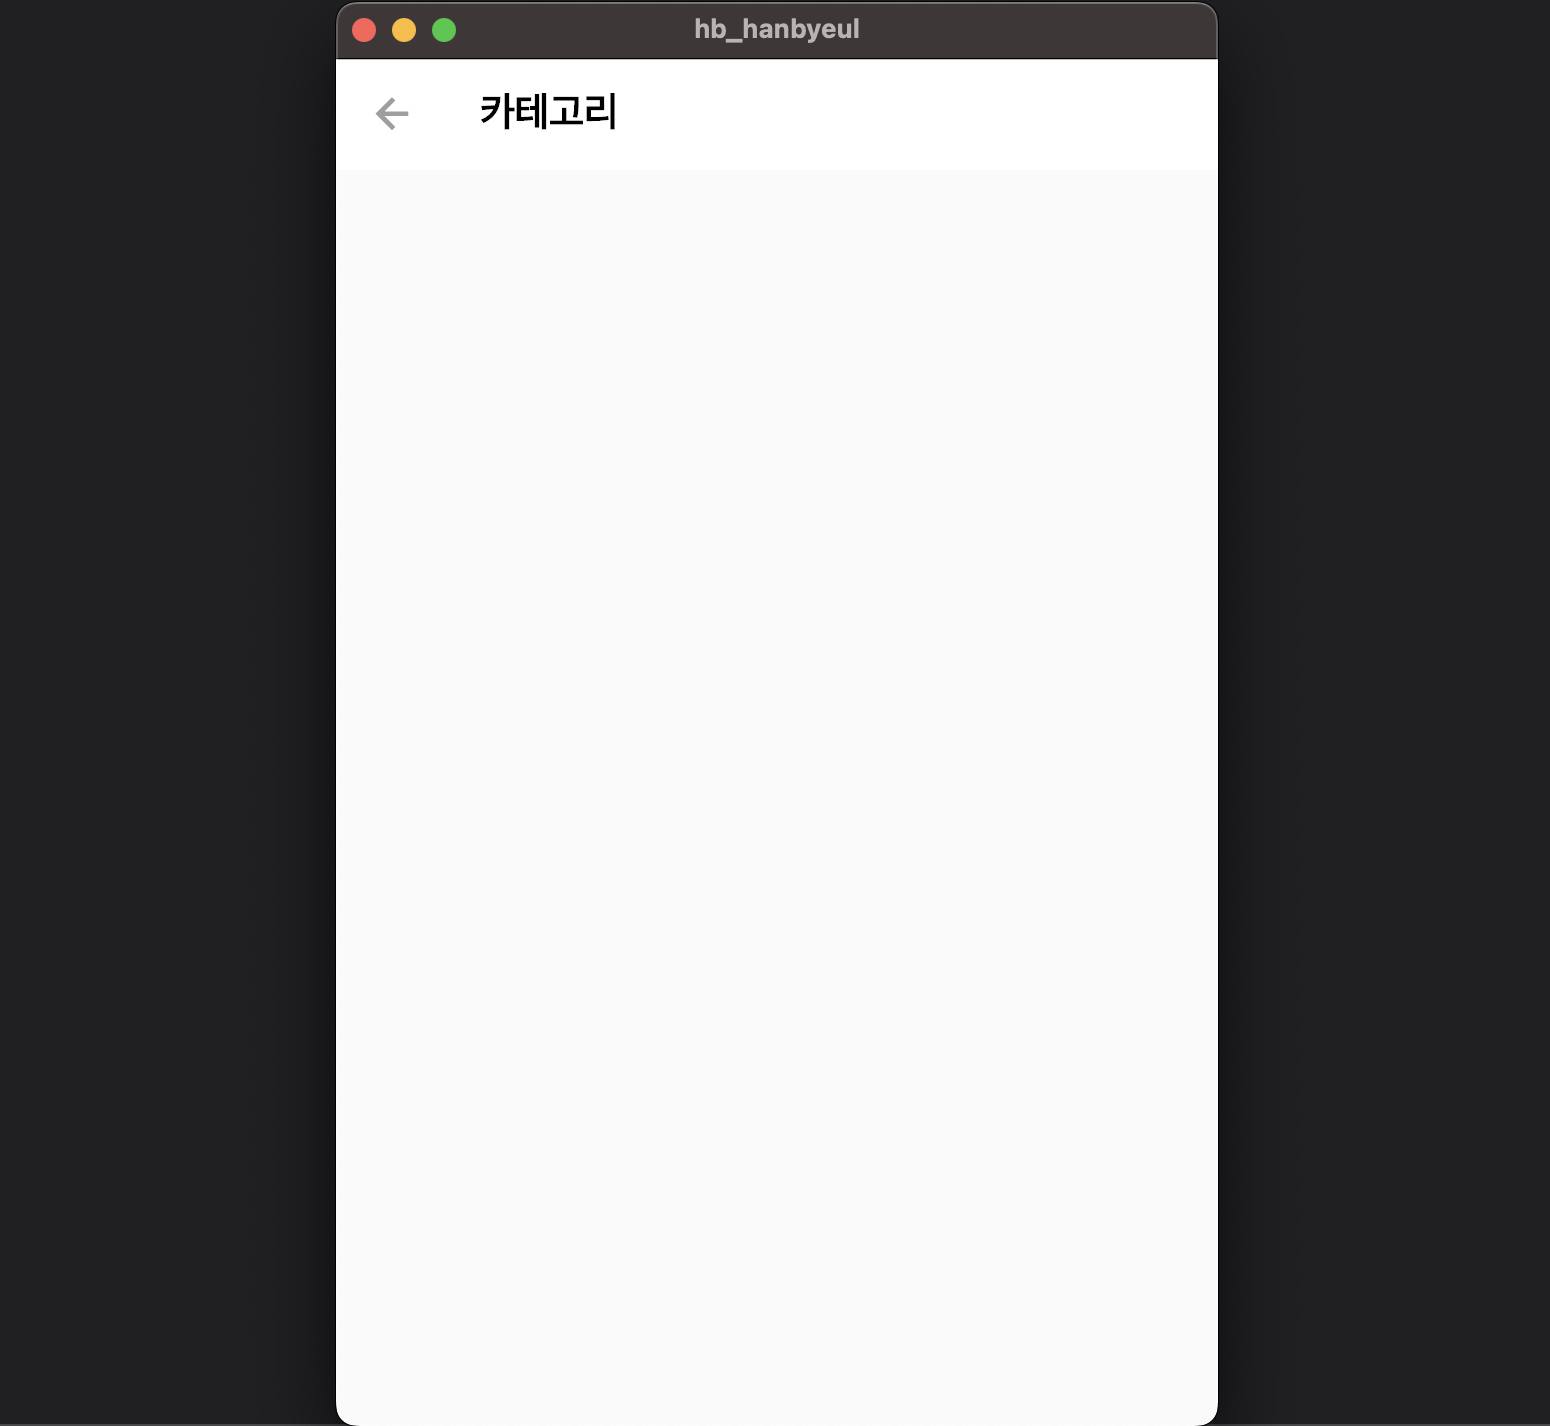
SliverAppBar(
pinned: true,
//스크롤 되어도 상단에 고정시켜준다.
centerTitle: false,
//타이틀 중앙정렬 해제
backgroundColor: Colors.white,
title: Text(
'카테고리',
style: TextStyle(color: Colors.black, fontWeight: FontWeight.bold),
),
leading: IconButton(icon: Icon(Icons.arrow_back), onPressed: null,),
)
]
)- 결과
SliverList
ListView랑 비슷하다.
List의 형태로 위젯들을 나타내준다.
리스트에 표시될 요소들은 delegate속성에 설정해준다.
body: CustomScrollView(
slivers: <Widget>[
SliverAppBar(
pinned: true,
//스크롤 되어도 상단에 고정시켜준다.
centerTitle: false,
//타이틀 중앙정렬 해제
backgroundColor: Colors.white,
title: Text(
'카테고리',
style: TextStyle(color: Colors.black, fontWeight: FontWeight.bold),
),
leading: IconButton(icon: Icon(Icons.arrow_back), onPressed: null,),
), //SliverAppBar
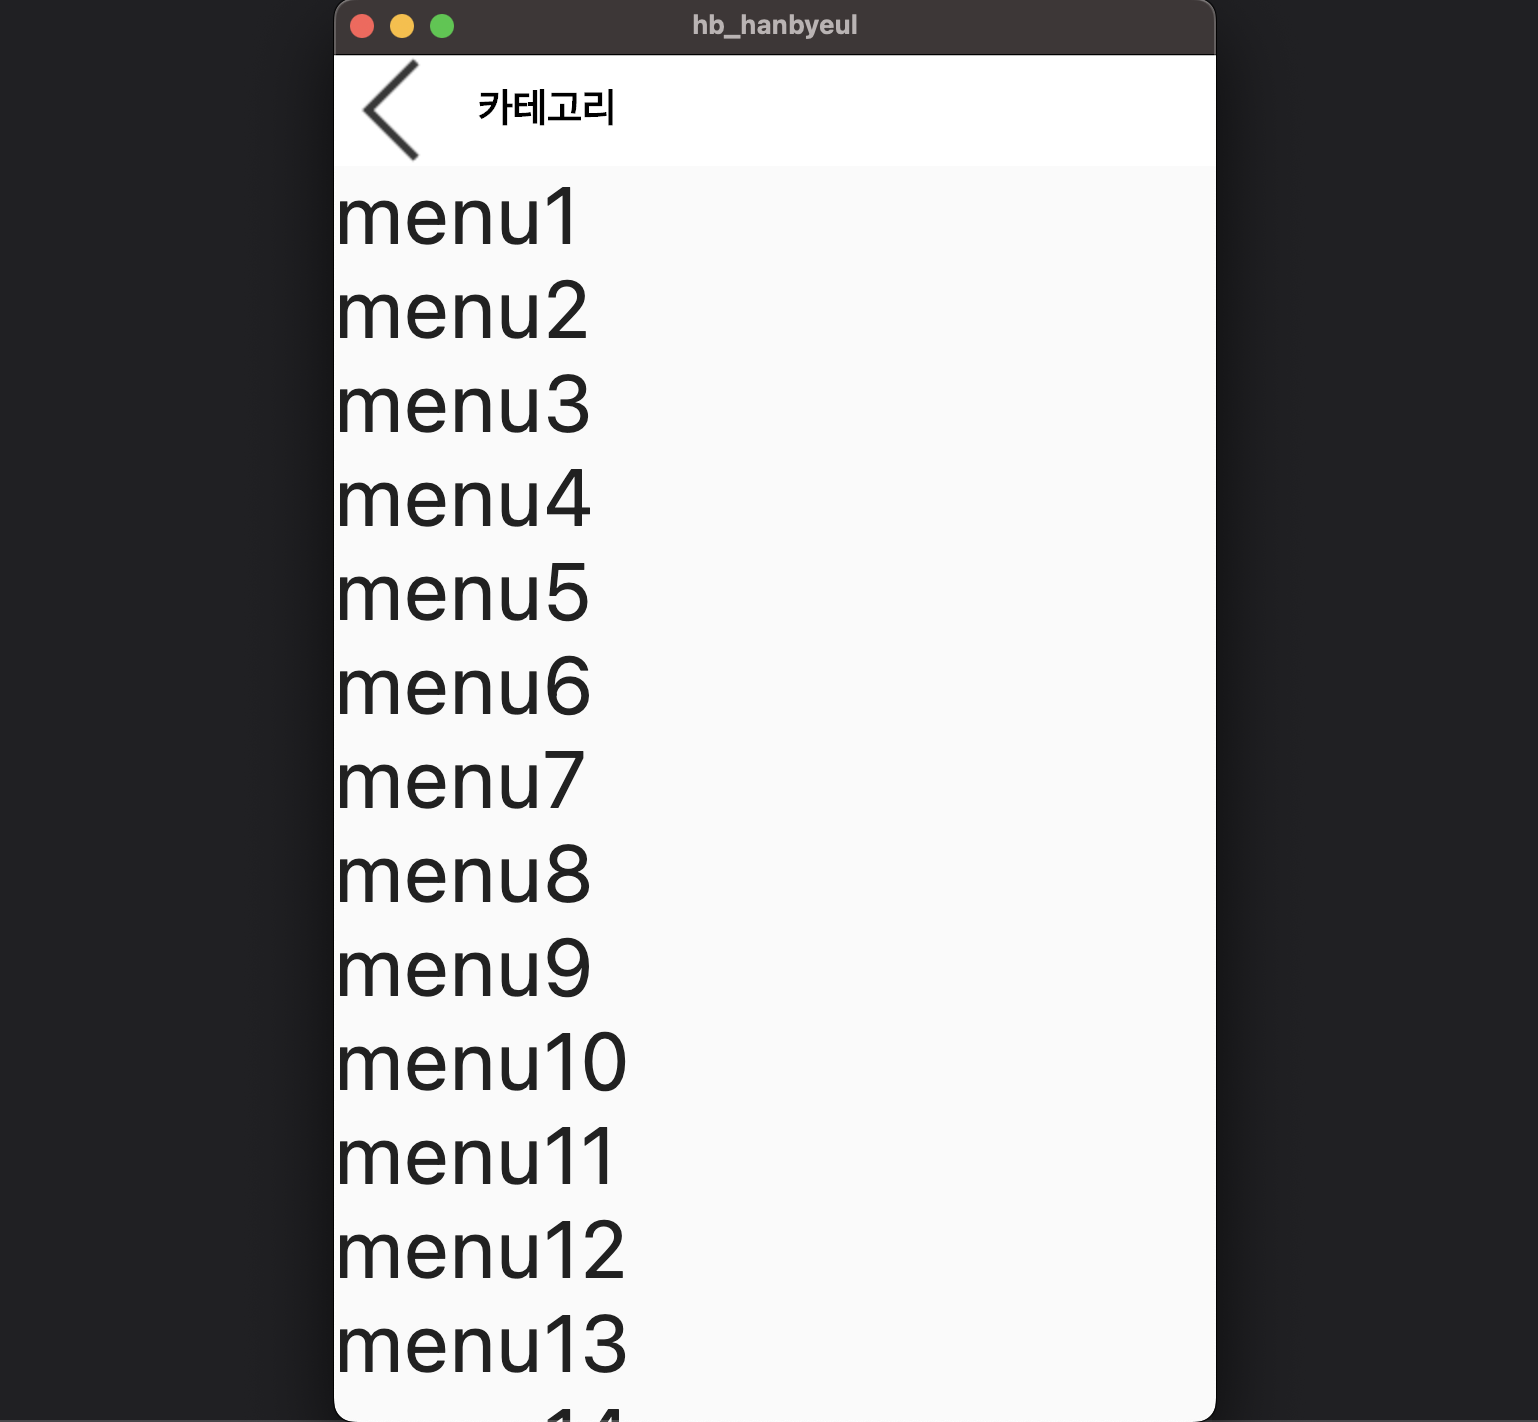
SliverList(
delegate: SliverChildListDelegate(
[
Text('menu1',style: TextStyle(fontSize: 40),),
Text('menu2',style: TextStyle(fontSize: 40),),
Text('menu3',style: TextStyle(fontSize: 40),),
Text('menu4',style: TextStyle(fontSize: 40),),
Text('menu5',style: TextStyle(fontSize: 40),),
Text('menu6',style: TextStyle(fontSize: 40),),
Text('menu7',style: TextStyle(fontSize: 40),),
Text('menu8',style: TextStyle(fontSize: 40),),
Text('menu9',style: TextStyle(fontSize: 40),),
Text('menu10',style: TextStyle(fontSize: 40),),
Text('menu11',style: TextStyle(fontSize: 40),),
Text('menu12',style: TextStyle(fontSize: 40),),
Text('menu13',style: TextStyle(fontSize: 40),),
Text('menu14',style: TextStyle(fontSize: 40),),
]
)
), //SliverList
]
)오로지 저 위에 메뉴처럼 만들기 위해 이렇게 작성했는데 정말 내가 봐도 선 넘은 코드인게 느껴진다.
- 결과

한별잉
많은 도움이 되었습니다, 감사합니다.