Image 위젯 추가하기
1. assets/images 폴더 생성 및 이미지 추가
전체 프로젝트 파일 내부에 'assets/images'경로를 생성해준 후 필요한 이미지를 'images'폴더 내에 넣어준다.
2. pubspec.yaml에 이미지 파일 등록
파일 중 'pubspec.yaml'로 이동한다.

➕ pubspec.yaml이란?
assets: 뒤에 다음과 같이 이미지 경로를 입력해주면 되는데, 들여쓰기를 아래와 같이 하고 '-'와 'assets/' 사이에 띄어쓰기를 한 번 하는 것이 아주 중요하다.
flutter:

  # The following line ensures that the Material Icons font is
  # included with your application, so that you can use the icons in
  # the material Icons class.
  uses-material-design: true

  # To add assets to your application, add an assets section, like this:
  assets:
    - assets/images/cloud.JPG
3. flutter pub get 명령어 실행
터미널을 열고
flutter pub get명령어를 입력해주어야한다.
4. 이미지 추가하여 화면에 출력하기
Image.asset(이미지경로)
입력해준다.
class Main extends StatelessWidget {

  @override
  Widget build(BuildContext context) {
    return Scaffold(
      body: Container(
        child: Image.asset('assets/images/cloud.JPG'),
      ),
    );
  }
}
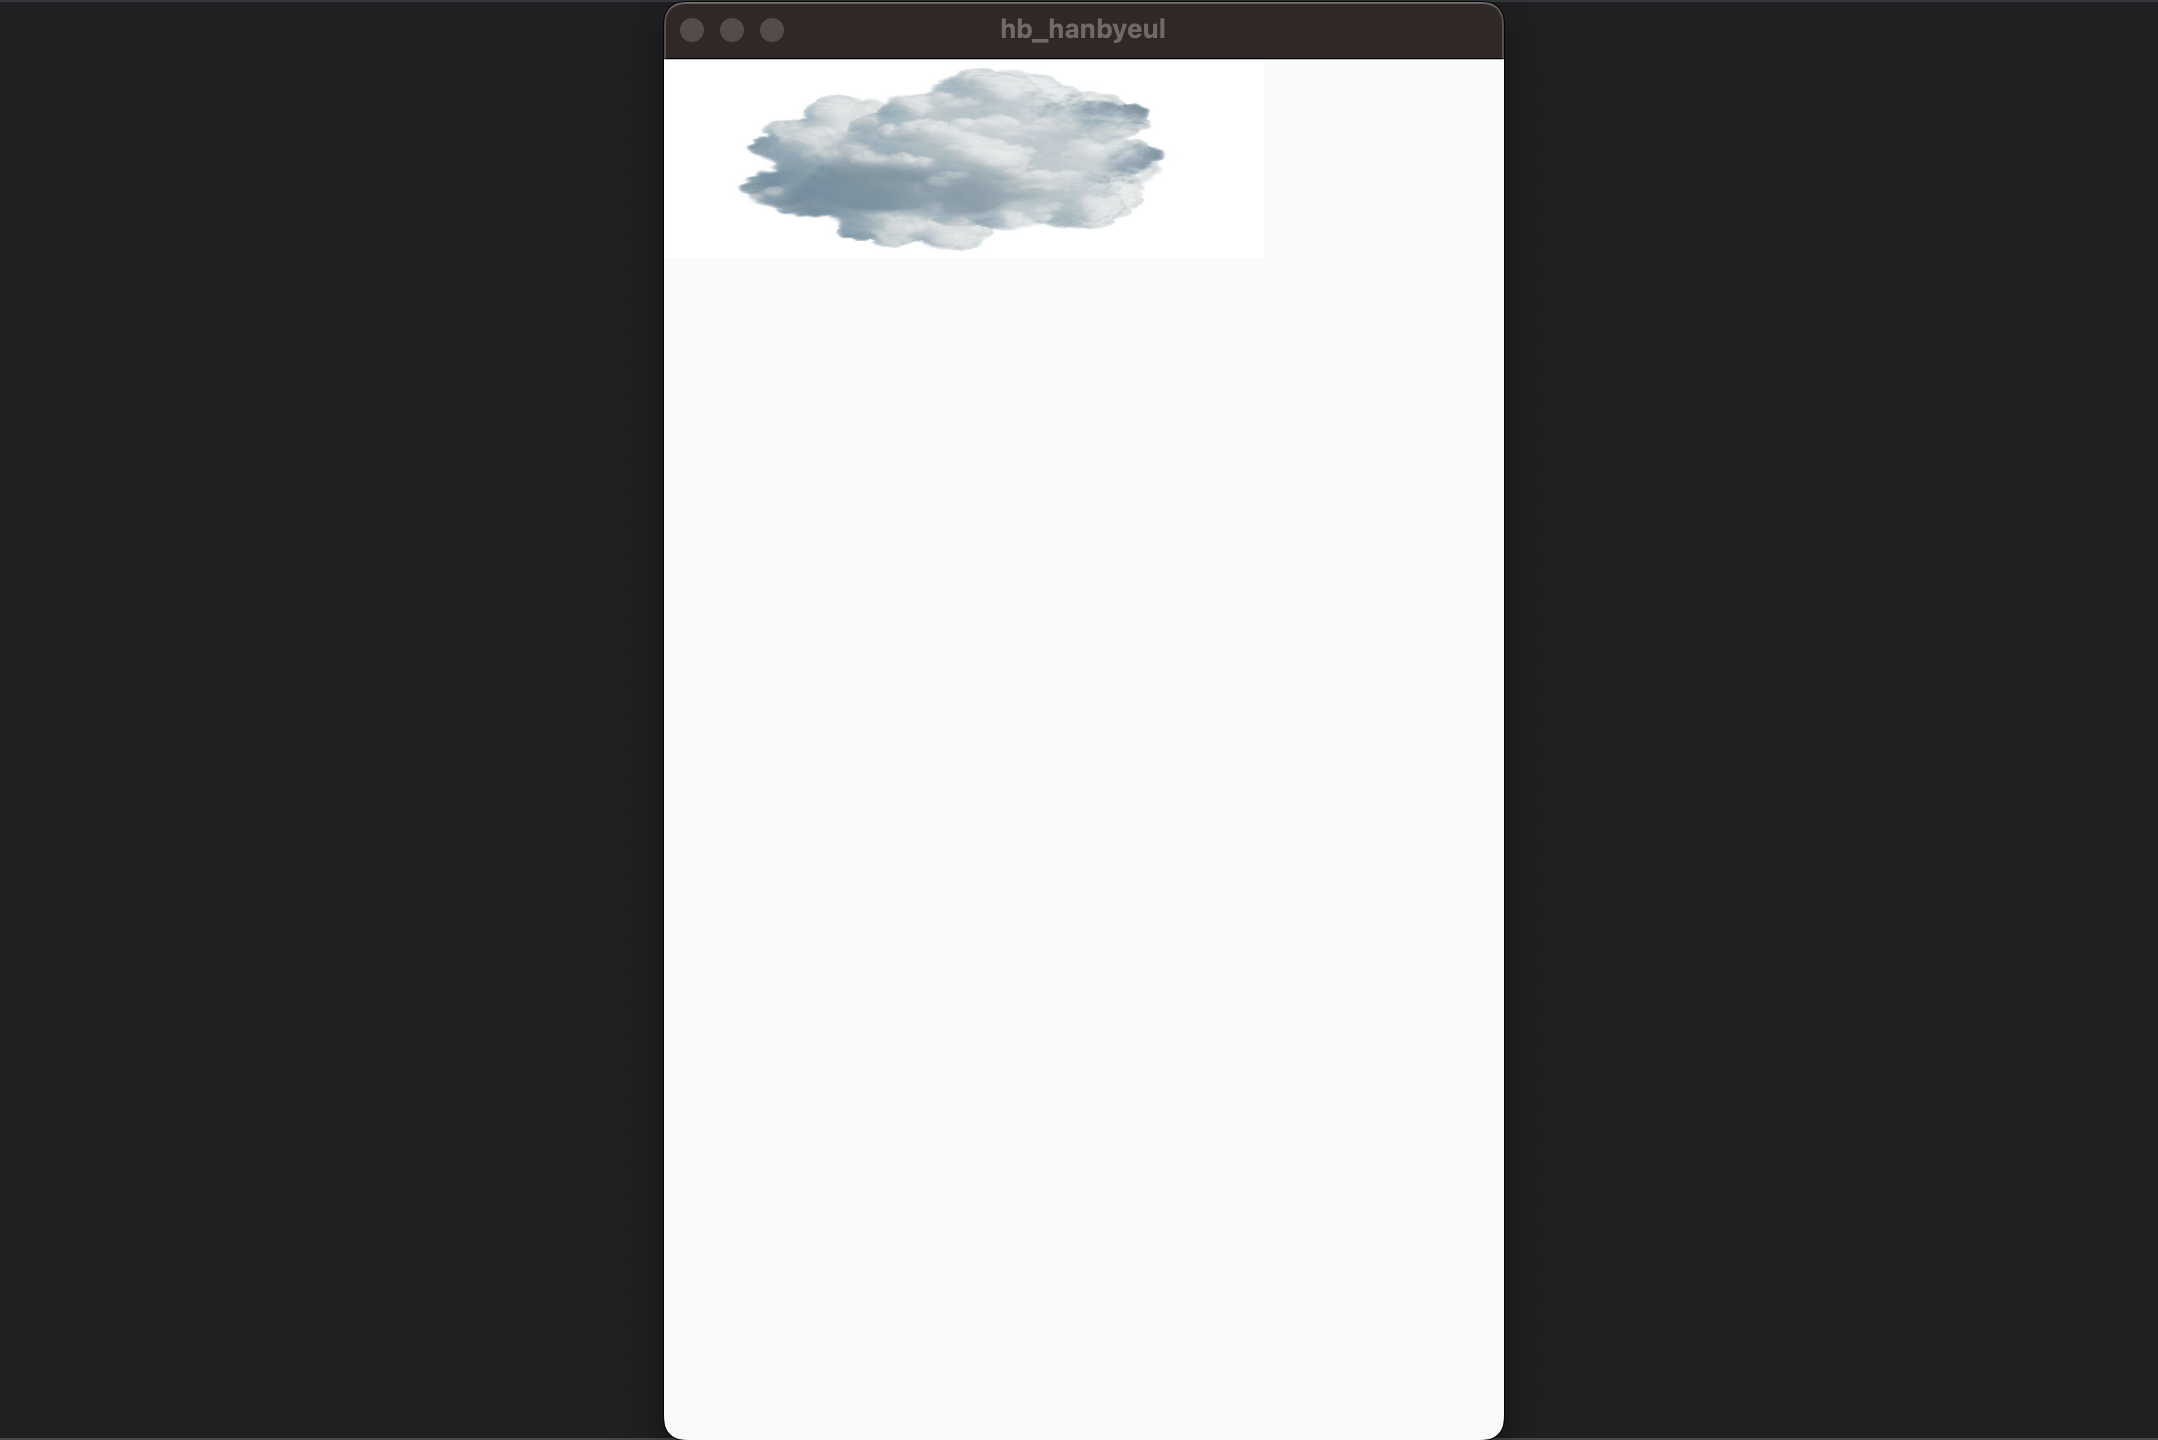
- 결과
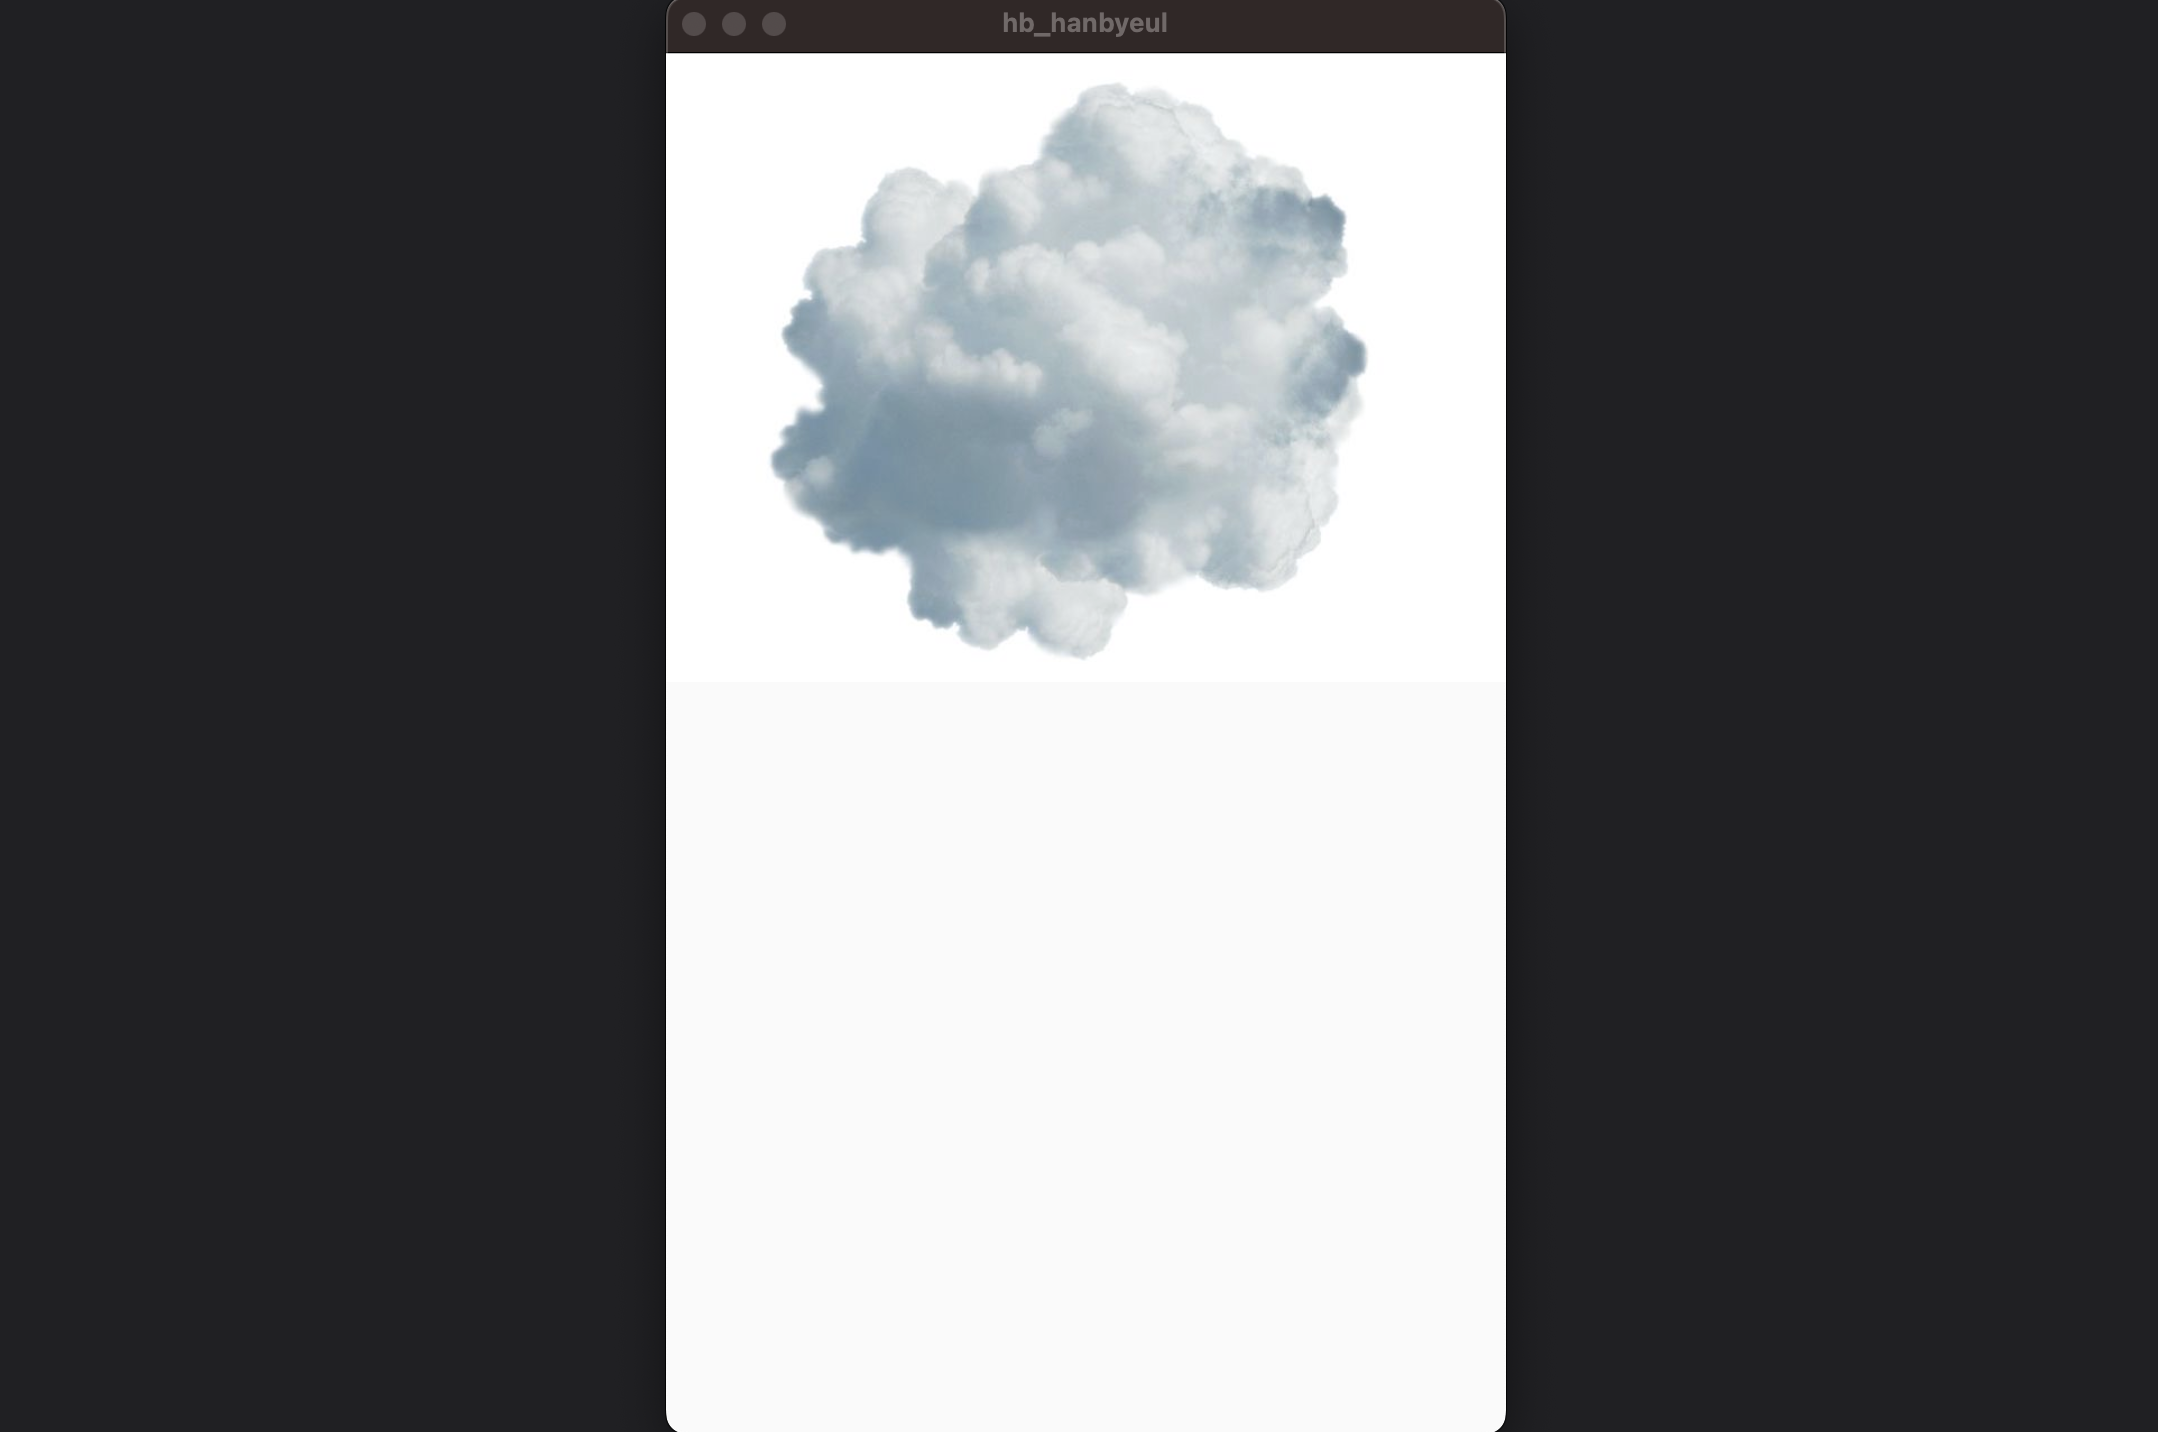
Image 옵션
width / height 조절
경로 뒤에 width / height 값을 추가해주면 크기 조절이 가능하다.
child: Image.asset('assets/images/cloud.JPG', width: 300, height: 100,)- 결과
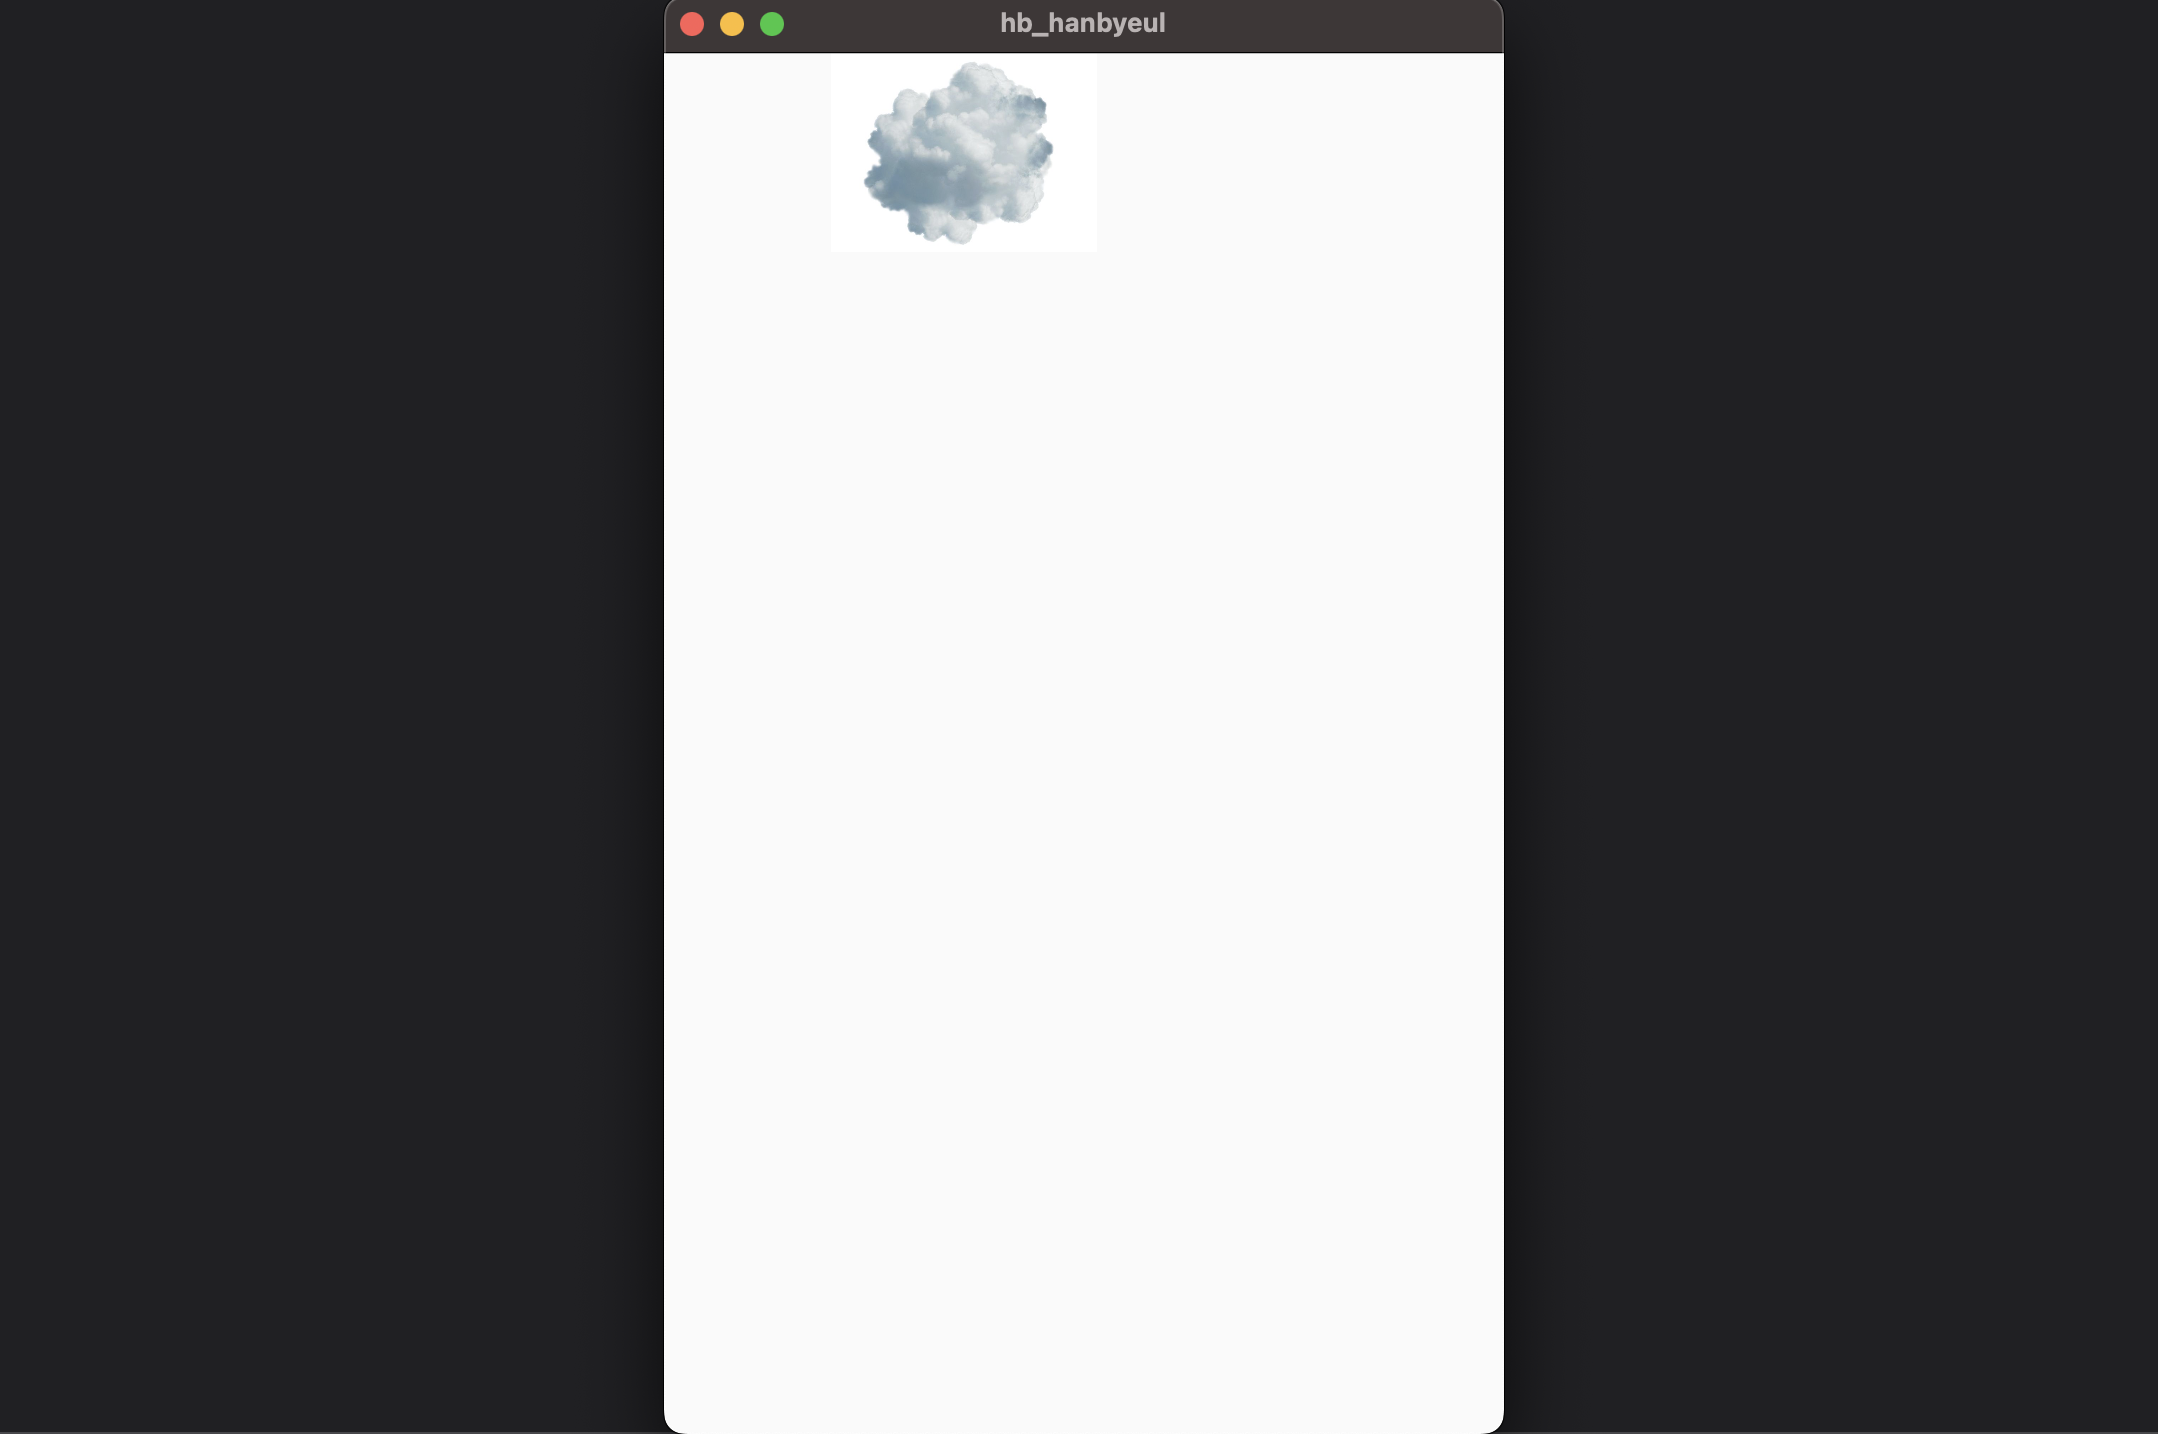
width값이 더 길어 남는 부분의 공간이 생겼다.
BoxFit 옵션
BoxFit.fill 옵션을 추가해보았다.
child: Image.asset('assets/images/cloud.JPG',
width: 300, height: 100, fit: BoxFit.fill,)- 결과
➕ fit: BoxFit
- fit: BoxFit.contain _ 원본
- fit: BoxFit.fill _ 지정한 영역 꽉 채운다.
- fit: BoxFit.fitWidth _ 너비에 맞게 확대 또는 축소
- fit: BoxFit.fitHeight _ 높이에 맞게 확대 또는 축소
- fit: BoxFit.cover _ 지정한 영역을 꽉 채운다. (width값이 더 클 경우 fitWidth, height값이 더 클 경우 fitHeight와 결과가 똑같음)
- fit: BoxFit.none _ 지정한 width/height를 무시하고 원본 크기를 유지하고 원본이 더 클 경우 이미지 중앙을 보여준다.

한별잉