기능 구현
댓글 과 대댓글 삭제 모달
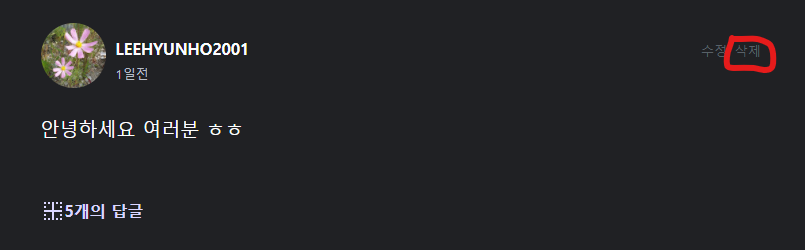
로그인한 유저의 id값이 댓글을 작성한 유저의 id값과 일치하기 때문에 수정 및 삭제 버튼이 생겼다. 이제 삭제를 눌러서 Strapi DB에서 해당 댓글을 삭제하고 UI에 적용시켜 보자. 그러면서 삭제 버튼을 눌렀을 때, 정말 삭제하겠냐는 확인 모달을 한번 띄어줄 것이다.
//Comment.tsx
const [isdelete, setIsDelete] = useState(false);

const onClickDelete = async () => {
  setIsDelete(true);
  document.body.style.overflow = "hidden";
};

return (
	//...
  {isdelete && (
   <DeleteModel setIsDelete={setIsDelete} comments={comments} />
   )}
)
comments 에는 댓글 또는 대댓글의 정보를 가지고 있는 객체 하나이다. 위의 사진처럼 comments 를 이용해 댓글 UI를 구현했다. 이제 boolean값의 state isdelete를 선언하자. 삭제 버튼을 클릭했을 경우 true로 만들어준다.
isdelete가 true면 모달창을 띄어주는 것이다. 모달 뒤의 화면은 멈추게(스크롤 금지) 하기 위해 document.body.style.overflow = "hidden"; 을 주었다.
//DeleteModel.tsx
export const DeleteModel = ({ setIsDelete, comments }: Props) => {
  const { theme } = useContext(ThemeContext);
  const { mutate } = useSWRConfig();

  const onClickNo = () => {
    setIsDelete(false);
    document.body.style.overflow = "unset";
  };

  const onClickYes = async () => {
    await axios({
      method: "delete" as Method,
      url: `${API_ENDPOINT}/comments/${comments.id}`,
    });
    document.body.style.overflow = "unset";
    mutate(`${API_ENDPOINT}/posts?populate=*`);
  };

  return (
    <ModelBack theme={theme}>
      <IsDelModel theme={theme}>
        <Title>댓글 삭제</Title>
        <Desc>댓글을 정말로 삭제하시겠습니까?</Desc>
        <BtnContainer>
          <NoBtn onClick={onClickNo} theme={theme} type="button">
            취소
          </NoBtn>
          <YesBtn onClick={onClickYes} theme={theme} type="button">
            확인
          </YesBtn>
        </BtnContainer>
      </IsDelModel>
    </ModelBack>
  );
};
이제 모달창을 구현해보자. 취소를 누를 경우에 모달창을 닫아주고 스크롤이 다시 가능하게 만들었다. 확인을 클릭할 경우에는 axios로 delete 요청을 API 엔드포인드에 해당 댓글의 id값을 전달하여 보내고있다. 그 후에 스크롤이 가능하게 해주고, mutate로 실시간으로 댓글이 삭제된 UI를 보여준다.
라이트 모드에서 삭제를 누른 후 취소 한번 해주었다. 그리고 다크 모드로 변환하고 댓글 삭제를 수행했다. 댓글은 정상적으로 삭제되었지만 대댓글들은 삭제가 되지 않고 있다.
//DeleteModel.tsx
  const { postObj } = useContext(PostContext);
  const { mutate } = useSWRConfig();

  const Delete = async (id: number) => {
    await axios({
      method: "delete" as Method,
      url: `${API_ENDPOINT}/comments/${id}`,
    });
    mutate(`${API_ENDPOINT}/posts?populate=*`);
  };

  const onClickNo = () => {
    setIsDelete(false);
    document.body.style.overflow = "unset";
  };

  const onClickYes = async () => {
    if (comments.attributes.depth === 0) {
      const everyComment = postObj.comments.data.filter(
        (group) => group.attributes.group === comments.attributes.group
      );
      everyComment.forEach((data) => Delete(data.id));
    } else {
      Delete(comments.id);
    }
    document.body.style.overflow = "unset";
  };
그래서 코드를 수정해주었다. delete axios 요청을 하는 Delete 함수를 생성해주었고, 파라미터로 id값을 받는다. 대댓글일 경우에는 Delete(comments.id); 로 하나의 댓글만 삭제한다. 하지만 depth가 0이여서 댓글일 경우에는 filter로 모든 댓글에서 현재 삭제하는 댓글과 같은 그룹인 것을 찾는다. 그리고 필터된 배열을 forEach를 돌며 Delete() 함수를 실행시켜준다.

이제 댓글을 삭제하면 그에 달린 대댓글도 모두 삭제된다.
대댓글 생성
대댓글을 생성하는 것은 댓글을 생성하는 것과는 차이가 있다. group를 정해주고, depth를 1로 해야하며 order를 부여해야 한다.
댓글을 생성하는 컴포넌트가 있는데 나는 이것을 그대로 사용하고 싶다. 그래서 로직을 고민해보았다.
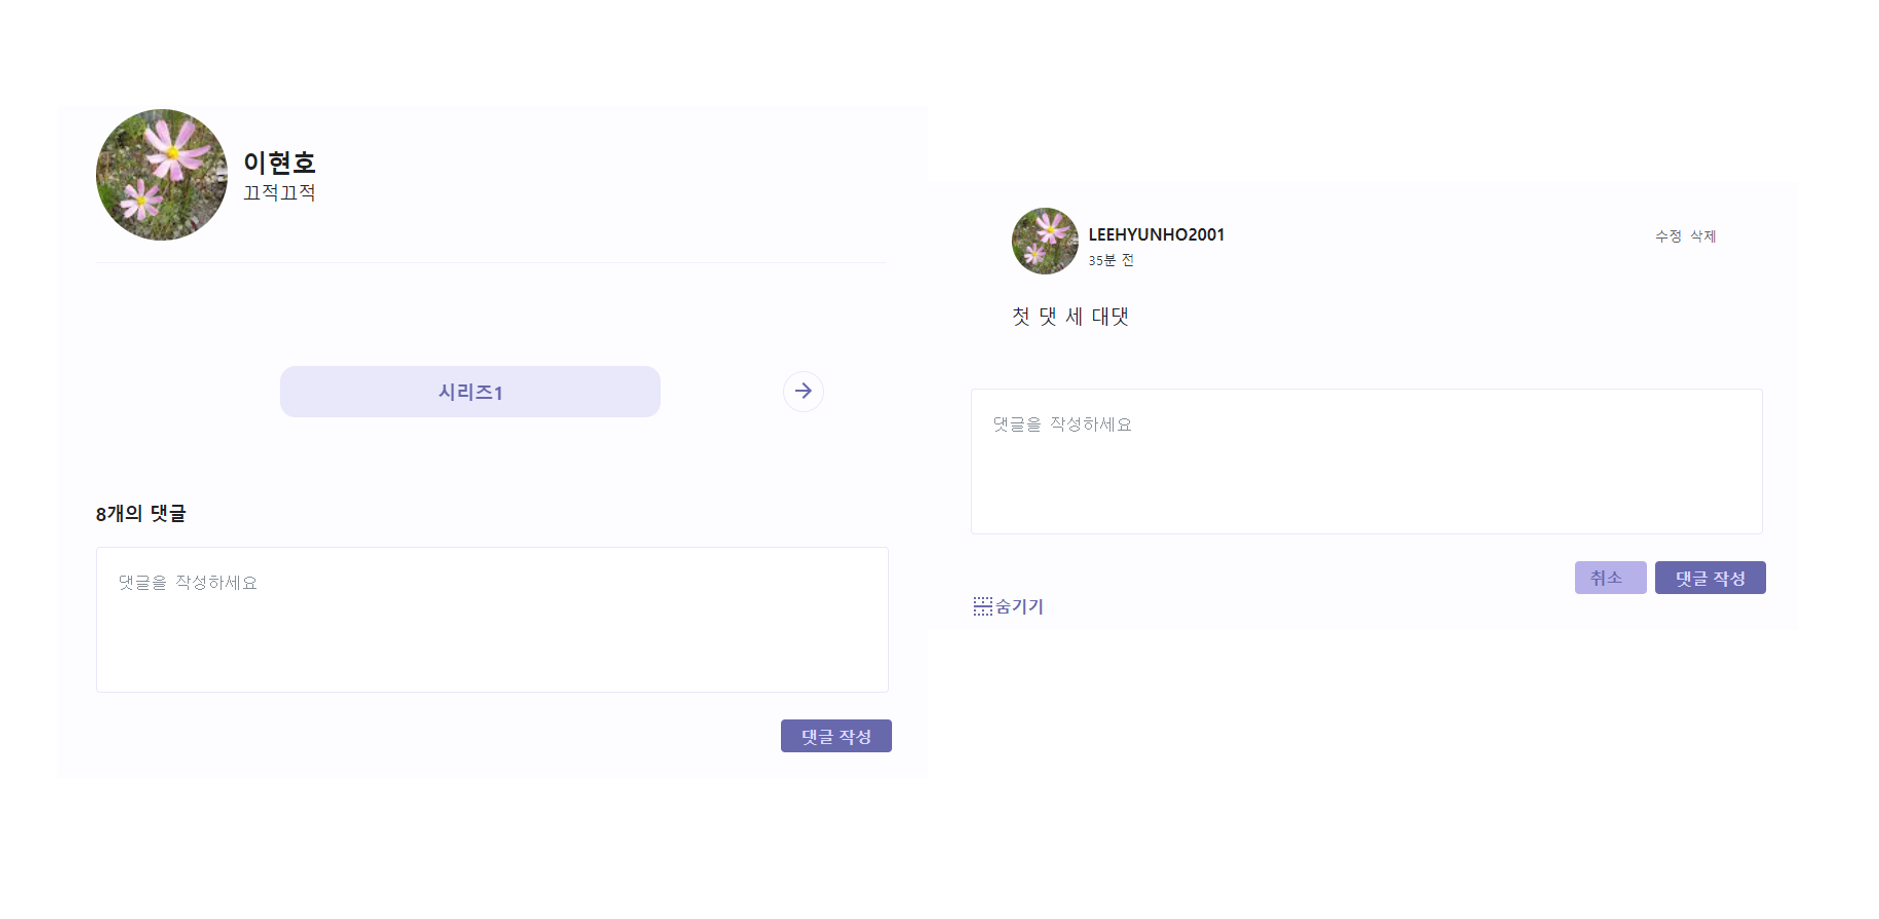
댓글을 작성하는 폼은 상세 페이지의 하단에 존재하며, 대댓글을 입력하는 폼은 댓글에서 알맞은 버튼을 클릭하면 나타난다.
//CommentFormContainer.tsx
//댓글 입력창
<CommentForm
  CommentOrder={0}
  loginUserId={loginUserId}
  CommentGroup={newComment[newComment.length - 1][0].attributes.group + 1}
  setCommentForm={setCommentForm}
  />
newComment는 group별로 묶어논 2차원 배열이다. 일반 댓글 폼에서 댓글을 생성할 때, group는 newComment배열에 있는 마지막 요소의 group보다 1 증가해야 한다. 그리고 order는 항상 0이다.
newComment.map((group: CommentData[], i: number) => {
  //...
  {commentBtn[i] === true && (
    <ReCommentForm
      onComment={onComment}
      index={i}
      loginUserId={loginUserId}
      CommentGroup={i + 1}
      CommentOrder={group[group.length - 1].attributes.order + 1}
      />
  )}
})

//ReCommentForm.tsx
  <CommentForm
CommentOrder={CommentOrder}
loginUserId={loginUserId}
CommentGroup={CommentGroup}
setCommentForm={setCommentForm}
/>
대댓글에서의 입력 폼에서는 group는 map돌리고 있는거의 index값인 i + 1 을 넘겨주면 된다. 현재 그룹에 있는 댓글에 대댓글을 추가하는 것이기 때문이다. order은 마지막 요소의 order보다 1증가시켜주면 된다.
이제 댓글과 대댓글 Create 및 Delete가 정상적으로 동작한다.
댓글과 대댓글 수정
//Comment.tsx
  const [isUpdate, setIsUpdate] = useState(false);
//...

      {isUpdate && (
        <UpdateCommentForm
          loginUserId={loginUserId}
          comment={comment}
          setIsUpdate={setIsUpdate}
        />
      )}
수정 버튼을 눌렀을 경우에는 보여주고 있던 댓글 내용 부분이 입력 폼으로 변경된다. 그리고 수정 및 삭제 버튼이 사라진다. 그래서 isUpdate 라는 state를 하나 생성해주었다.
위에서 설명한대로 isUpdate와 !isUpdate 처리를 하며 state에 따라 생성 및 제거 되는 부분을 구현했다. 그리고 isUpdate가 true일 때, UpdateCommentForm 컴포넌트가 나타나도록 했다.
//CommentForm.tsx
export const CommentForm = ({
  loginUserId,
  CommentGroup,
  CommentOrder,
  setCommentForm,
  CommentContent,
  CommentId,
  type,
현재 CommentForm 컴포넌트에서는 댓글과 대댓글을 생성한다. 부모에서 알맞은 group과 order등을 내려주어 그에 맞게 데이터를 생성하고 있었다.
수정 기능에서도 입력 폼이 비슷한 UI를 가지고 있어 해당 컴포넌트를 이용하기로 했다.
이제 CommentContent, CommentId, type 에 대한 props도 넘겨받는다. CommentForm 컴포넌트를 보기 전에 먼저 UpdateCommentForm 컴포넌트를 확인하자.
//UpdateCommentForm.tsx
    <ComComContainer>
      <CommentForm
        CommentOrder={order}
        loginUserId={loginUserId}
        CommentGroup={group}
        setCommentForm={setIsUpdate}
        type="CommentUpdate"
        CommentContent={content}
        CommentId={comment.id}
      />
      <CommentRemove theme={theme} onClick={onClickCancel}>
        취소
      </CommentRemove>
    </ComComContainer>
props로 받은 comment 에서 order, group, content, id를 CommentForm컴포넌트에 props로 넘겨준다. 댓글을 수정하기 위해서는 현재 댓글의 id와 댓글 내용이 필요하기 때문이다. 댓글 내용이 필요한 이유는 댓글 수정을 클릭했을 때, 입력했었던 댓글에서 수정이 가능하게끔 해야 사용자가 이용하기에 편리하기 때문이다.
댓글 수정에 loginUserId, order, group은 필요 없지만 다른 컴포넌트에서 CommentForm컴포넌트를 사용할 때 필요하여 넘겨주었다.
type은 현재 컴포넌트에서 어떤 용도로 CommentForm컴포넌트를 사용하는지 알기위해 넣어주었다.
//CommentForm.tsx
if (type === "CommentCreate" || type === "ReCommentCreate") {
//생성 코드 그대로 넣음...
} else if (type === "CommentUpdate") {
      const Data = {
        content: commentText,
      };
      await axios({
        method: "put" as Method,
        url: `${API_ENDPOINT}/comments/${CommentId}`,
        data: {
          data: Data,
        },
      });
      setCommentForm(false);
      mutate(`${API_ENDPOINT}/posts?populate=*`);
    }
다시 CommentForm 컴포넌트로 넘어가자. 댓글 생성이나 대댓글 생성하는 곳에서 CommentForm를 사용할 경우에도 type를 넘겨주었다.
type을 이용하여 CommentForm 컴포넌트에서 입력 폼을 submit할 경우에 데이터를 생성할지 수정할지 결정하고 있다.
setCommentForm에는 UpdateCommentForm.tsx 파일에서 setIsUpdate를 넘겨주어 댓글 수정을 누르면 수정 폼도 닫히도록 구현했다.
//onSubmit={(e) => SubmitComment(e, type)}
//{type === "CommentUpdate" ? "댓글 수정" : "댓글 작성"}
onSubmit에 파라미터를 넘겨줘야 하므로 사용하던 모양도 살짝 변경되었다. 댓글 작성 버튼도 상황에 맞게 댓글 수정 버튼으로 UI가 수정되도록 구현했다.
마무리
이제 상세 페이지에 시리즈 부분을 연결하고, 내용 부분에는 뷰어를 적용하면 마무리가 될 것 같다. (포스트 수정 및 삭제도 있다.)
