
오늘의 구현 목록
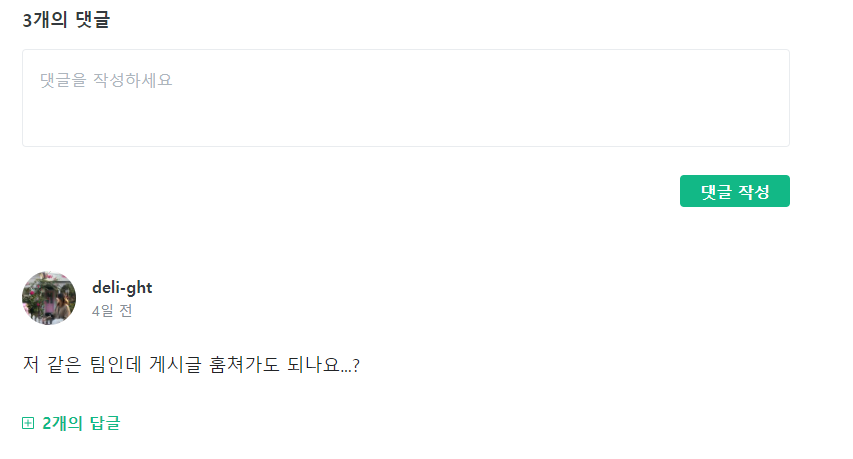
이번에는 Velog의 댓글 입력 부분과 생성된 댓글이 노출되는 부분의 UI를 설계해볼 것이다.
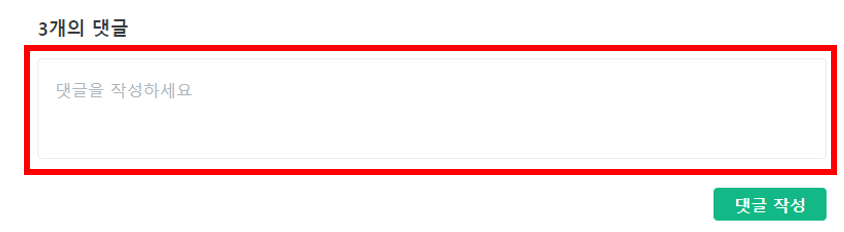
댓글 폼
export const DetailHeader = () => {
  return (
    <Header>
      <h2>글제목</h2>
      <UDHashContainer />
      <SeriesContainer />
      <Intro />
      <Carousel />
      <Comment />
    </Header>
  );
};
먼저 DetailHeader 컴포넌트에 <Comment /> 컴포넌트를 넣어주었다. 이제 Comment 컴포넌트를 설계해보자.
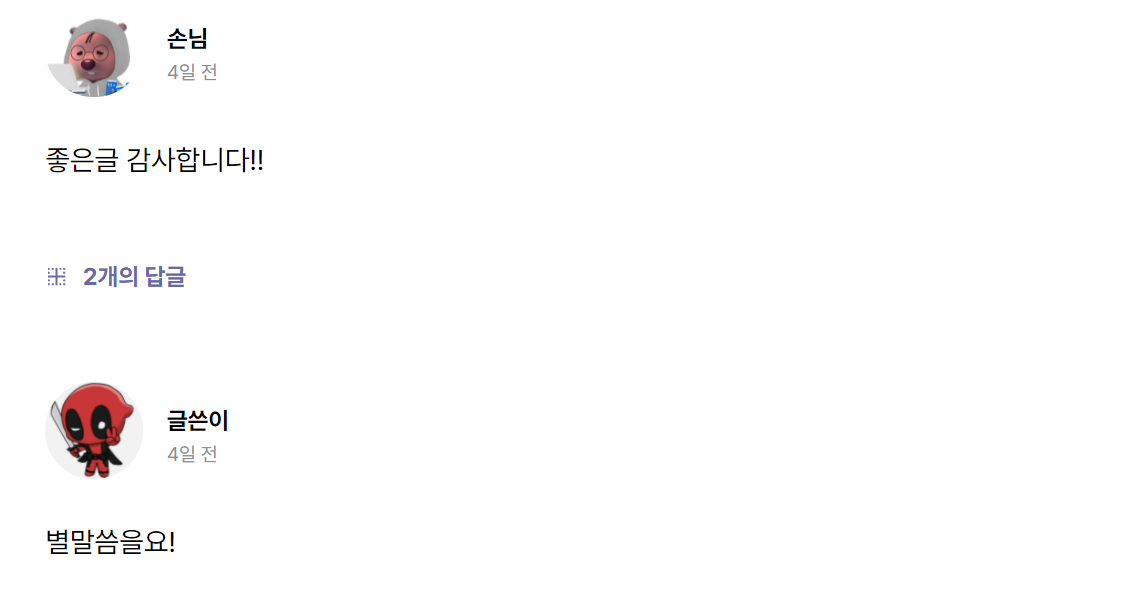
  const comment = {
    id: 0,
    user: [
      {
        id: 0,
        email: "손님@gmail.com",
        comment: "좋은글 감사합니다!!",
      },
      {
        id: 1,
        email: "글쓴이@gmail.com",
        comment: "별말씀을요!",
      },
    ],
  };
데이터는 이와 같은 형태로 불러오게 될 것 같다. (나중에 변동사항이 있겠지만..)
상세 페이지의 id값이 있을 것이고, 댓글을 생성한 user가 있을 것이다. 그리고 user는 각각 id값, email, comment 등의 데이터를 가지고 있을 것이다.
    <article>
      <h3 className="sr-only">상세 페이지 댓글</h3>
      <form action="">
        <CommentNum>{comment.user.length}개의 댓글</CommentNum>
        <TextArea name="댓글 입력" placeholder="댓글을 작성하세요" />
        <button type="submit">댓글 작성</button>
      </form>
    </article>
HTML 구성은 이와 같다. 댓글의 수는 comment를 이용해 출력해준다.
이제 textarea 부분 스타일을 줘야한다.
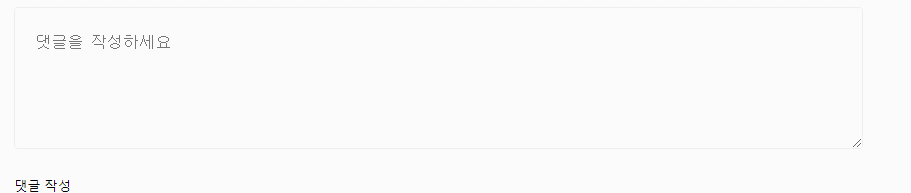
const TextArea = styled.textarea`
  resize: none;
  padding: 20px 20px 30px;
  outline: none;
  border: 1px solid rgb(233, 236, 239);
  margin-bottom: 1.5rem;
  width: 100%;
  border-radius: 4px;
  min-height: 90px;
  font-size: 16px;
  color: rgb(33, 37, 41);
  line-height: 1.75;
  ::placeholder {
    color: rgb(173, 181, 189);
  }
`;
Velog는 textarea에 포커스해도 테두리가 굵어지지 않는다. 그리고 크기 조정도 금지되어있다. outline과 resize를 이용하여 해결했다.
댓글 폼 부분은 모두 만들었다. 나중에 댓글 작성을 눌렀을 때 form과 button이 정상적으로 동작하여 데이터를 DB에 저장시켜주기만 하면 될 것이다.
댓글 생성한 유저
이번에는 생성된 댓글을 보여주는 부분이다. 데이터 구조를 생각해보다가 시간을 좀 더 소모한 것 같다.
  const comment = {
    id: 0,
    user: [
      {
        id: 0,
        email: "손님@gmail.com",
        nickname: "손님",
        comment: "좋은글 감사합니다!!",
        src: "./image/sampleUser.jpg",
        other: [
          {
            id: 0,
          },
        ],
      },
      {
        id: 1,
        email: "글쓴이@gmail.com",
        nickname: "글쓴이",
        comment: "별말씀을요!",
        src: "./image/sampleUser2.jpg",
        other: [],
      },
    ],
  };
Comment 컴포넌트에서 댓글 데이터를 받아오는 부분을 조금 수정해주었다. 상세 페이지에 대한 id값이 있고, 이 페이지에 댓글을 작성한 user의 정보 일부와 댓글 데이터를 가져오는 식으로 설계하게 될 것이다. 그리고 대댓글을 위한 other 도 고려해주었다.(아직 임의로 id값만 부여한 상태)
      {comment.user.map((User) => {
        return <CommentUser key={`CommentUser-${User.id}`} user={User} />;
      })}
Comment 컴포넌트 render 부분 마지막에 comment의 user로 map을 돌려 CommentUser 컴포넌트를 이용해 생성된 댓글을 보여줄 것이다. props로 User을 넘겨주자. 이제 CommentUser 컴포넌트를 설계하면 된다.
interface User {
  user: {
    id: number;
    email: string;
    nickname: string;
    comment: string;
    src: string;
    other: { id: number }[];
  };
}
Comment 컴포넌트에서 props로 User을 넘겨주고 있다. TypeScript를 사용하고 있기 때문에 interface를 설계해줘야 한다. 데이터의 타입을 선언해주자.
export const CommentUser = ({ user }: User) => {}컴포넌트를 선언할 때, user를 props로 받고 User로 타입을 지정해주면 된다.
  return (
  return (
    <article>
      <h3 className="sr-only">상세 페이지에 생성된 댓글</h3>
      <div>
        <ProfileContainer>
          <Link href={user.email}>
            <a>
              <UserProfile src={user.src} alt="" />
            </a>
          </Link>
          <ProfileData>
            <UserNickname>
              <Link href={user.email}>
                <a>{user.nickname}</a>
              </Link>
            </UserNickname>
            <CreatedAt>4일 전</CreatedAt>
          </ProfileData>
        </ProfileContainer>
      </div>
      <CommentText>{user.comment}</CommentText>
      {user.other.length === 0 ? (
        <div></div>
      ) : (
        <CommentPlus>
          <BorderInnerIcon className="comment-plus" />
          {user.other.length}개의 답글
        </CommentPlus>
      )}
    </article>
  );
이제 render 부분이다. 데이터에 맞게 링크를 걸어주고, 이미지를 주었으며 댓글을 보여주고 있다. 또한 대댓글이 있다면 대댓글을 보여줄 준비를 하는 CommentPlus도 생성해주었다. 대댓글의 갯수는 other의 길이로 판단하면 될 것이다.
const ProfileContainer = styled.div`
  display: flex;
  margin-top: 60px;
`;
const UserProfile = styled.img`
  width: 65px;
  height: 65px;
  border-radius: 50%;
`;
const ProfileData = styled.div`
  margin-left: 1rem;
  line-height: 1;
  margin-top: 18px;
`;
const UserNickname = styled.p`
  font-weight: 700;
  :hover {
    opacity: 0.9;
    text-decoration: underline;
  }
`;
const CreatedAt = styled.p`
  color: rgb(134, 142, 150);
  margin-top: 8px;
  font-size: 13px;
`;
const CommentText = styled.div`
  font-size: 19px;
  margin: 30px 0 60px 0;
`;
const CommentPlus = styled.div`
  display: inline-flex;
  align-items: center;
  color: ${PALLETS.MAIN};
  cursor: pointer;
  font-weight: 700;
  .comment-plus {
    width: 15px;
    height: 15px;
    margin-right: 10px;
  }
`;
스타일까지 완성했다. 이제 2개의 답글 부분을 클릭하면 2개의 답글이 나타나고, select box 부분은 숨기기로 변경되는 UI를 생성하면 완료될 것이다. 이 작업은 추후에 진행하려고 한다.

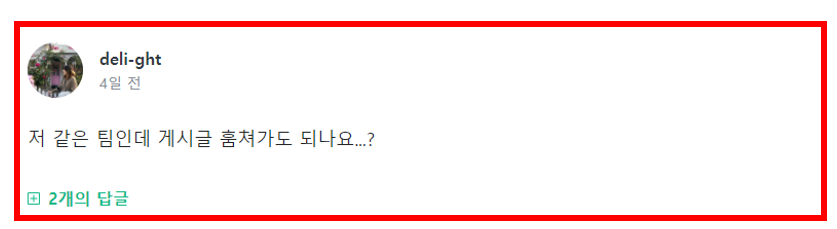
초상권 사용 입금바랍니다💰