Strapi
풀 스택 프로젝트에서 백 엔드 부분을 간단하게 구현하기 위해 strapi를 사용해보자. 가이드도 잘 나와있으니 쉽게 사용할 수 있다.
yarn create strapi-app backend --quickstart코드 수정할 일이 없어서 타입스크립트를 추가하지 않아도 될 것 같다.
위의 명령어로 strapi 설치를 마쳤다. strapi를 설치하며 사실 PostgreSQL도 설치 된 것이다.
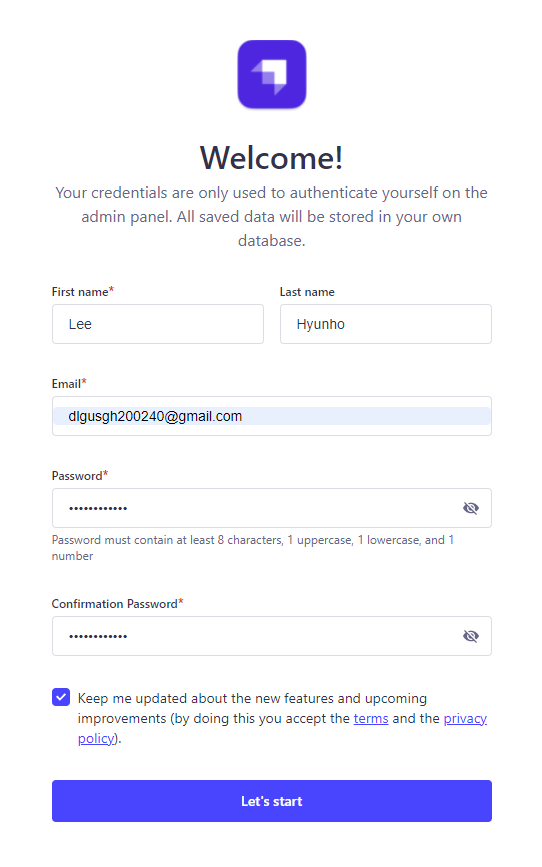
설치가 완료되고 위의 창이 나타나면 성공이다. 정보를 입력하고 시작하자.
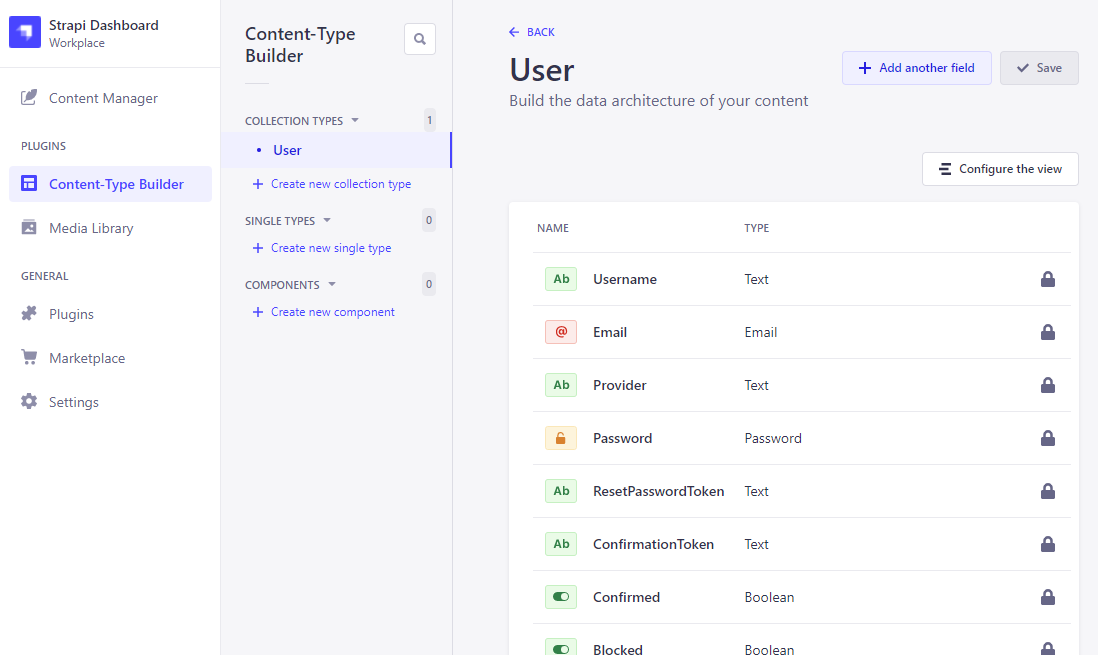
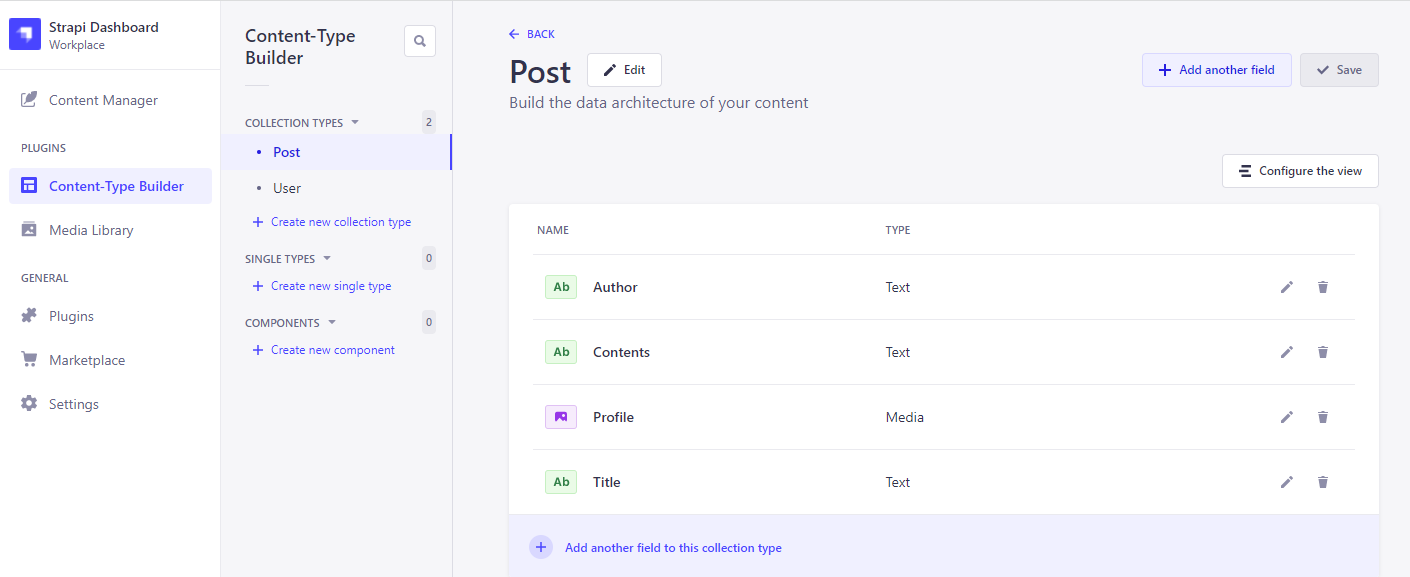
Post DB 테이블을 생성해보자.
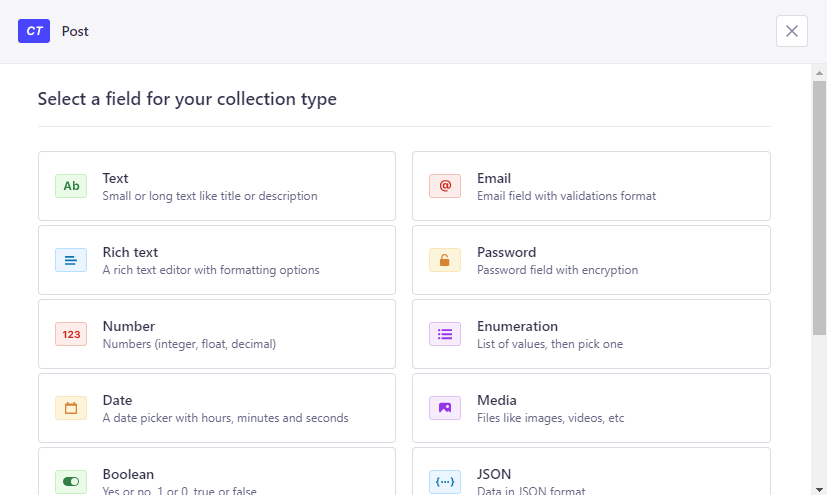
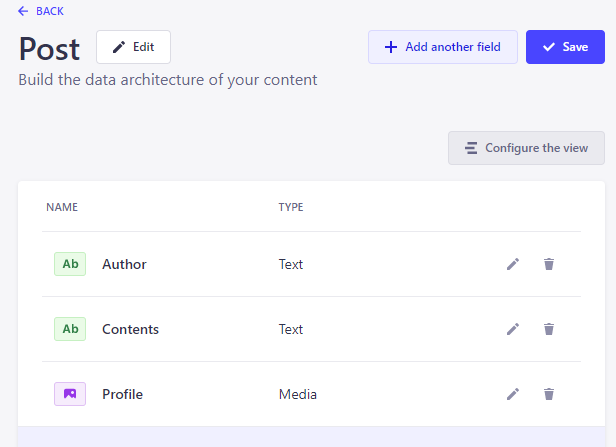
이름과 타입을 설정해주었다. Author은 short, Contents는 long, Profile은 single media로 생성했다.
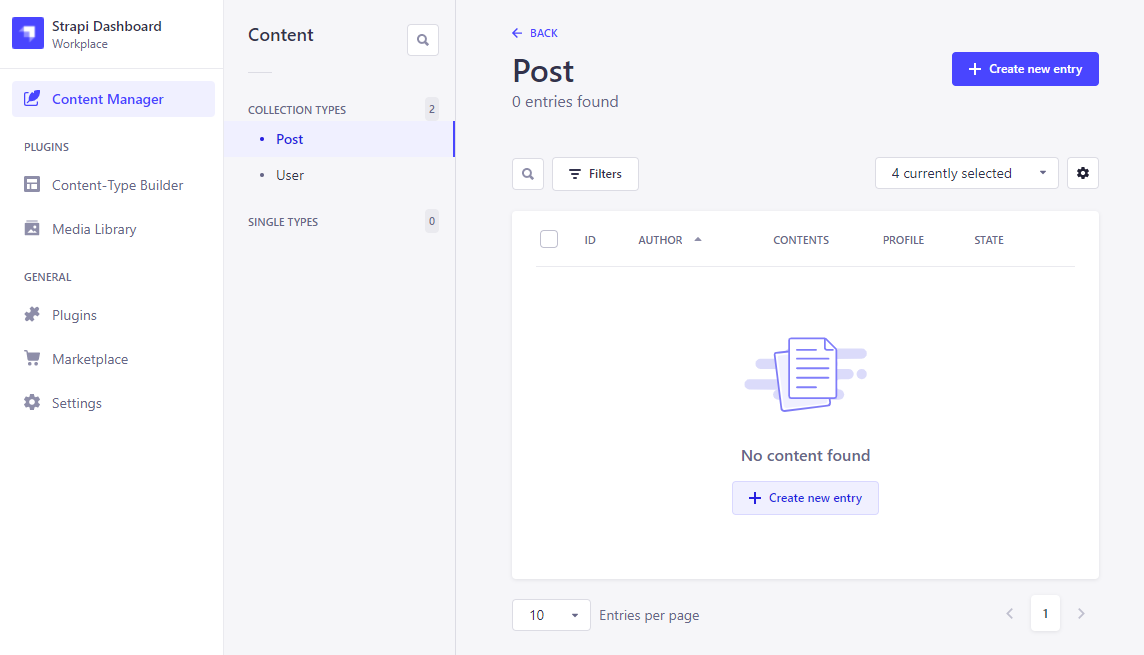
Create를 눌러 값을 넣어보자.
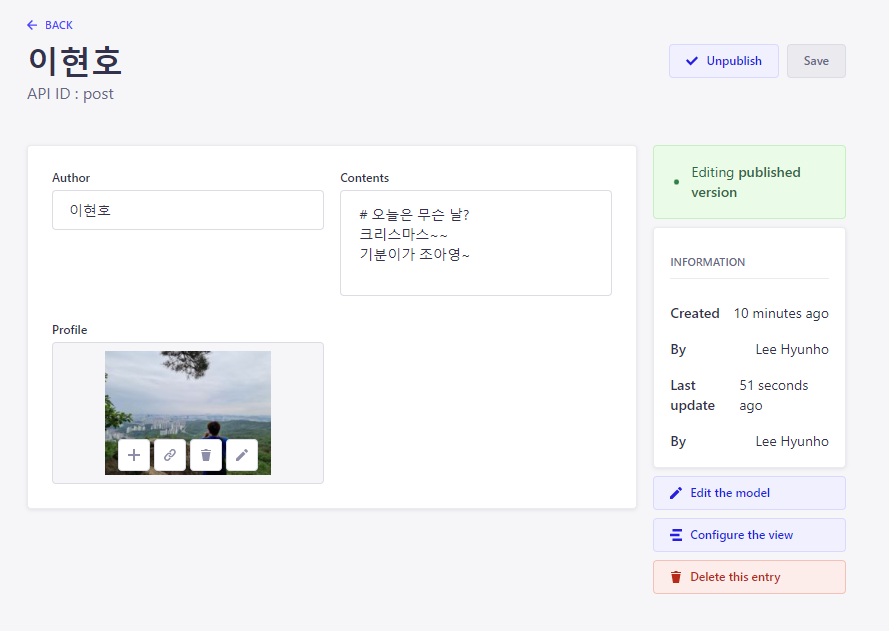
값을 넣어주고 저장 및 publish 하면 된다.
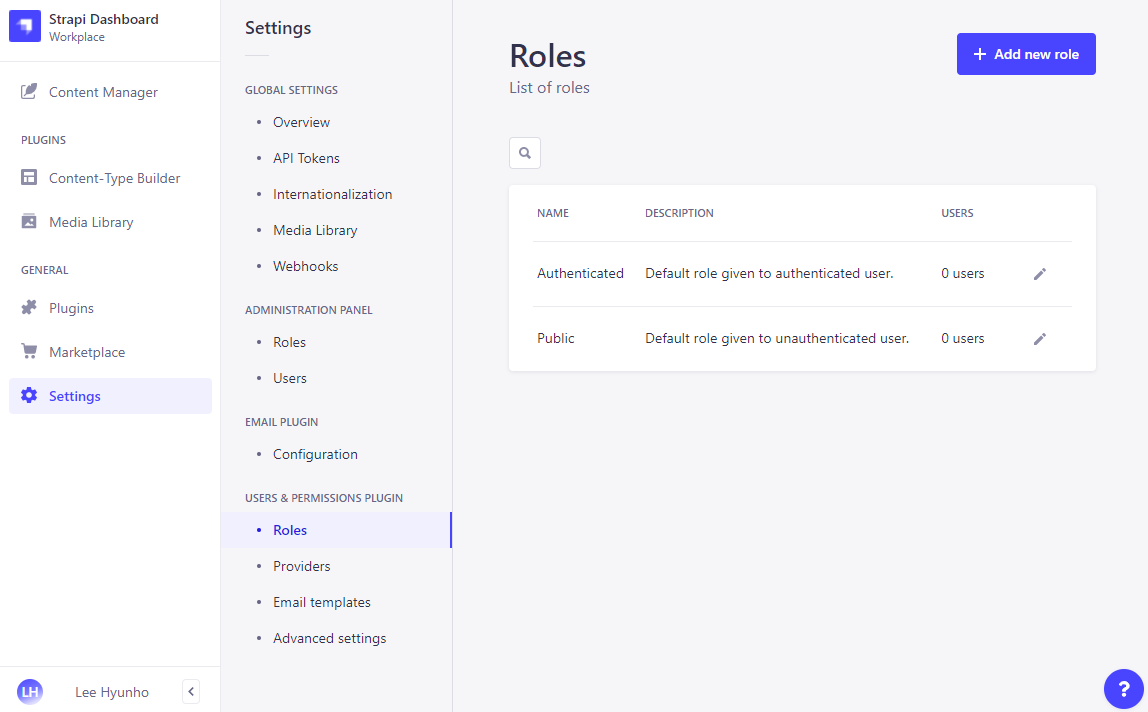
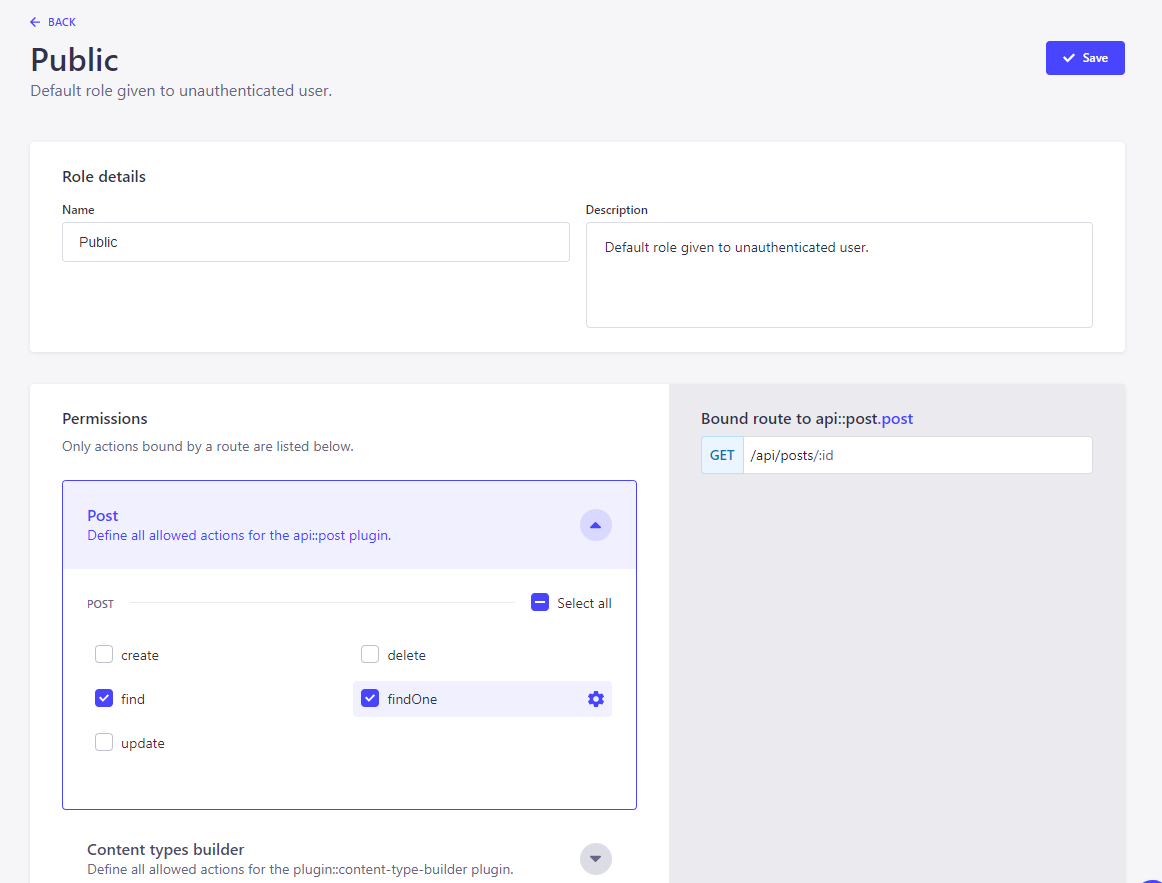
그리고 설정에서 find와 findOne 권한을 부여하자.
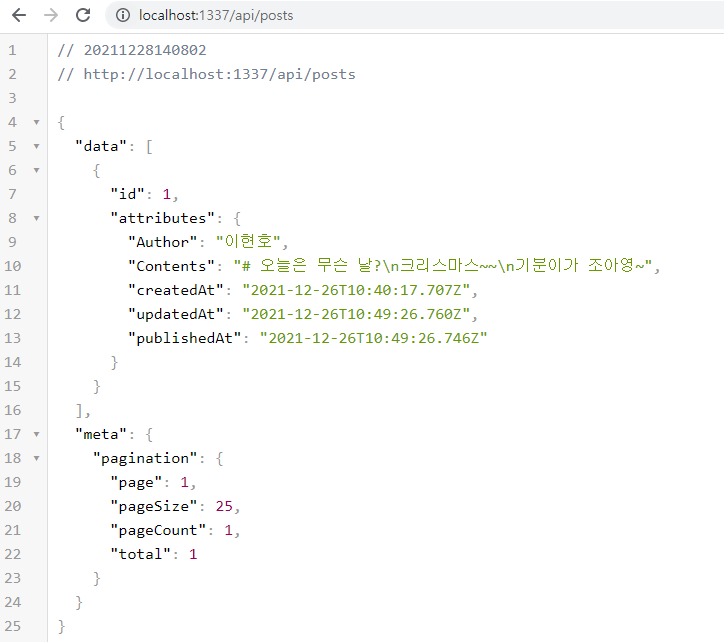
http://localhost:1337/api/posts 로 가보면 위에서 넣어준 데이터가 잘 들어간 것을 볼 수 있다.
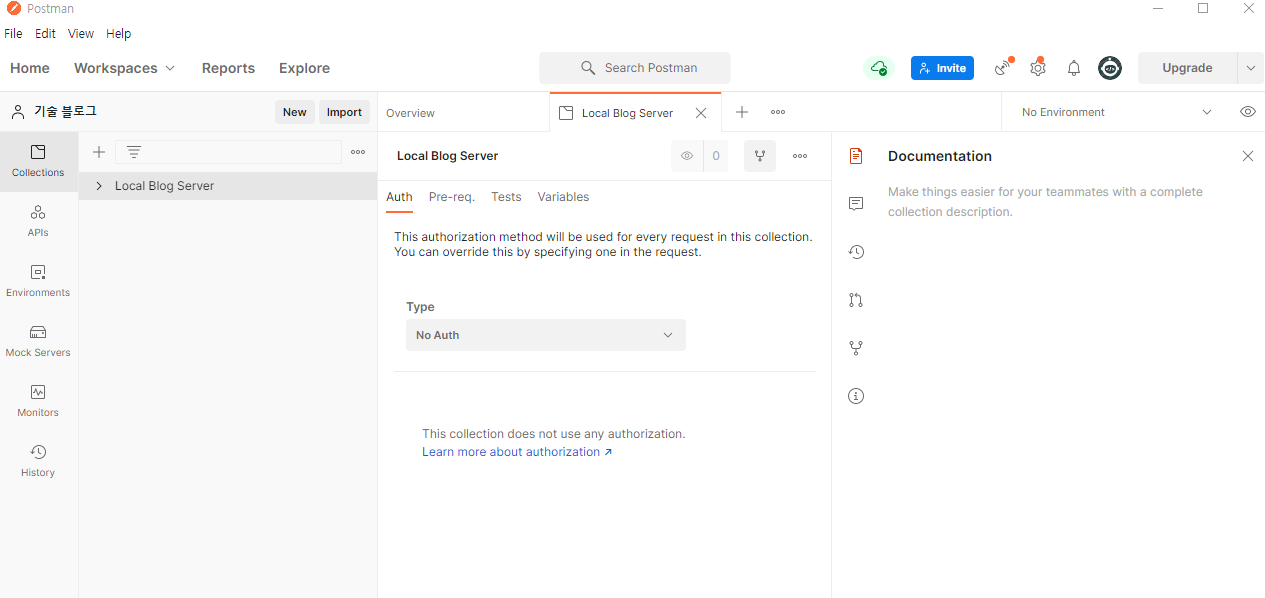
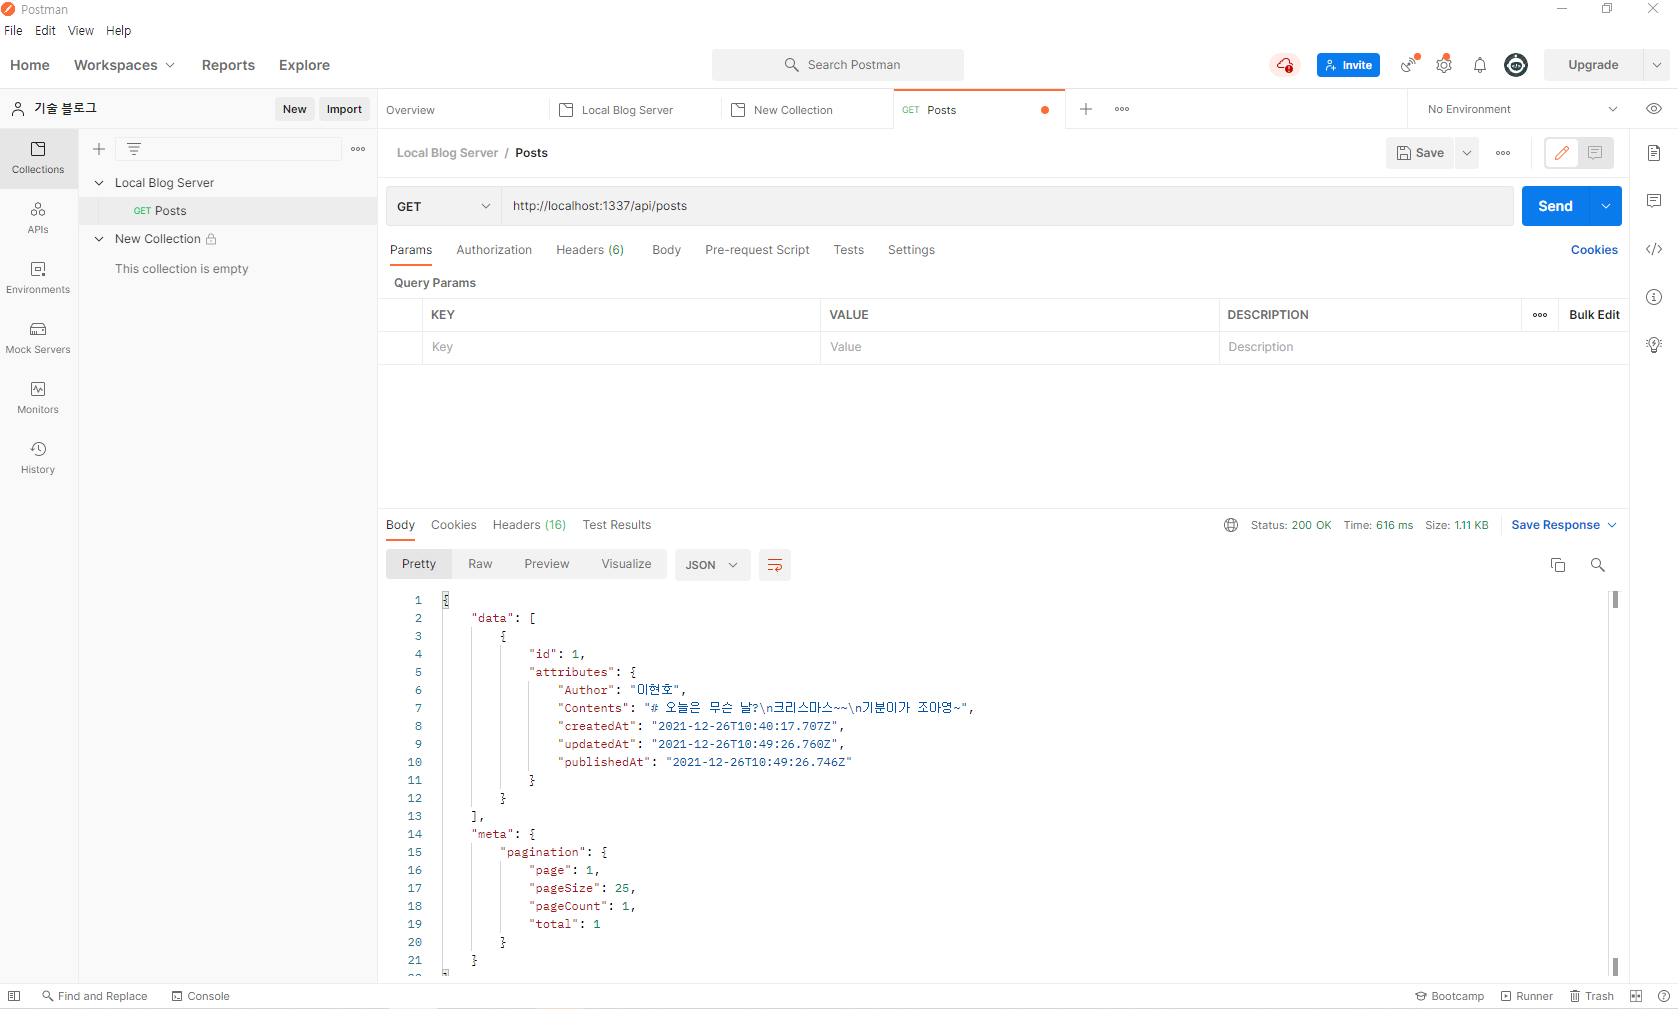
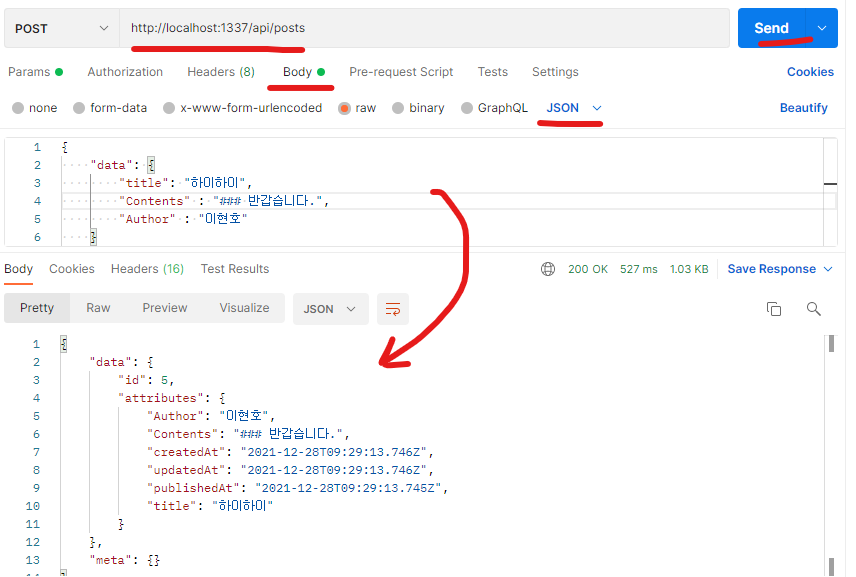
이제 Postman에서 http://localhost:1337/api/posts 으로 리퀘스트를 보내보자. 데이터가 잘 받아와 진다.
Front-End와 연동해보자
Front-End
API 연동
yarn create next-app frontend --typescript
yarn add swr axios
Front-End 프로젝트를 생성했다. src 디렉터리를 하나 생성하여 안에 pages를 넣고 작업을 시작하자.
현재 Back-End 포트는 1337, Front-End는 3000이다.
- 에디터
//pages/write/index.tsx
const WritePage: NextPage = () => {
  const [title, setTitle] = useState("");
  const [post, setPost] = useState("");

  const handleTitleChange = (e: React.ChangeEvent<HTMLInputElement>) => {
    setTitle(e.target.value);
  };
  const handleTextAreaChange = (e: React.ChangeEvent<HTMLTextAreaElement>) => {
    setPost(e.target.value);
  };

  return (
    <div>
      <h1>글 작성</h1>
      <form>
        <input type="text" onChange={handleTitleChange} value={title} />
        <textarea onChange={handleTextAreaChange} value={post}></textarea>
        <button type="submit">제출</button>
      </form>
    </div>
  );
};
간단한 에디터를 구현했다. 뷰어도 구현해보자.
- 뷰어
yarn add marked
yarn add @types/marked
마크다운을 받아와 처리해주기 위한 패키지를 설치했다.
//components/MDViewer.tsx
export const MDViewer = ({ title, contents }: MDViewerProps) => {
  return (
    <article>
      <h1>{title}</h1>
      <div dangerouslySetInnerHTML={{ __html: marked(contents) }} />
    </article>
  );
};

//pages/posts/index.tsx
const PostPage: NextPage = () => {
  return (
    <div>
      <MDViewer title="하이" contents="<h1>나는 이현호</h1>" />
    </div>
  );
};
그 후에 MDViewer 를 컴포넌트로 만들어 주었고, 호출해본 결과 정삭적으로 동작하는 것을 볼 수 있었다.
npm run develop이제 strapi를 실행해서 DB에 title를 추가해주자.develop로 실행안하고 수정하려해서 고생좀 했다.
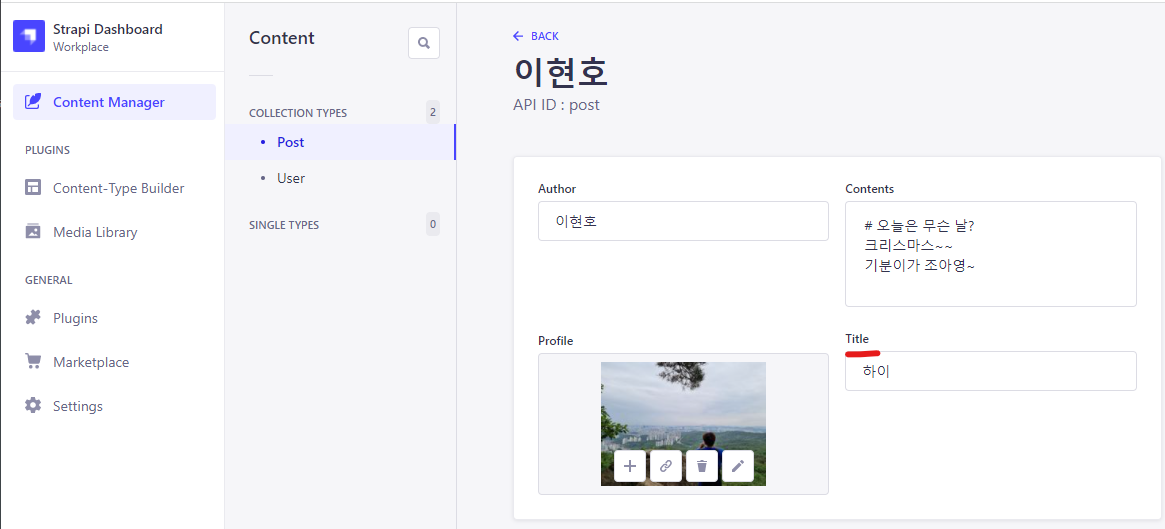
title에 하이라고 값도 넣었다.
//utils/fetcher.ts
import axios from "axios";

export const fetcher = (url: string) => axios.get(url).then((res) => res.data);
useSWR을 이용해 데이터를 받아올 것이므로 fetcher부분을 설계해 주었다. 반복되는 친구이니 utils 디렉터리에 넣도록 하자.
//pages/posts/index.tsx
const PostPage: NextPage = () => {
  const { data, error } = useSWR("http://localhost:1337/api/posts/", fetcher);
  if (error) return <div>Error</div>;
  if (!data) return <div>Loading...</div>;
  return (
    <div>
      {data.data.map((postdata: PostData) => {
        const { id, attributes } = postdata;
        return (
          <MDViewer
            key={`posts-${id}`}
            author={attributes.Author}
            title={attributes.title}
            contents={attributes.Contents}
          />
        );
      })}
    </div>
  );
};
//types/Post.ts
export interface PostData {
id: number;
attributes: {
Author: string;
Contents: string;
createdAt: string;
publishedAt: string;
title: string;
updatedAt: string;
};
}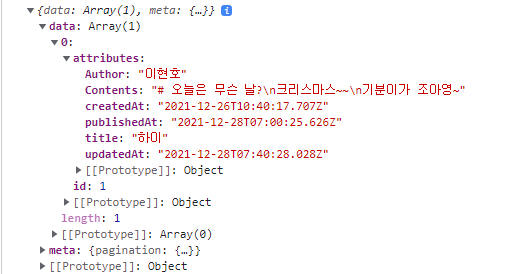
strapi로 설계해준 백엔드에서 데이터를 받아올 수 있도록 설계해주었다. 바로 console을 찍어보자. (data아래에 data라는 이름으로 데이터가 존재하고 있다.)
types 디렉터리에 Post.ts를 하나 생성해주어 타입 선언을 했다.
그 후에 map으로 데이터를 모두 뽑아내면 된다. (데이터 하나밖에 안만들었지만..)

드디어 데이터 베이스에 저장되어있던것을 받아와 화면에 출력했다. API 연동이 된 것이다.
글쓰기
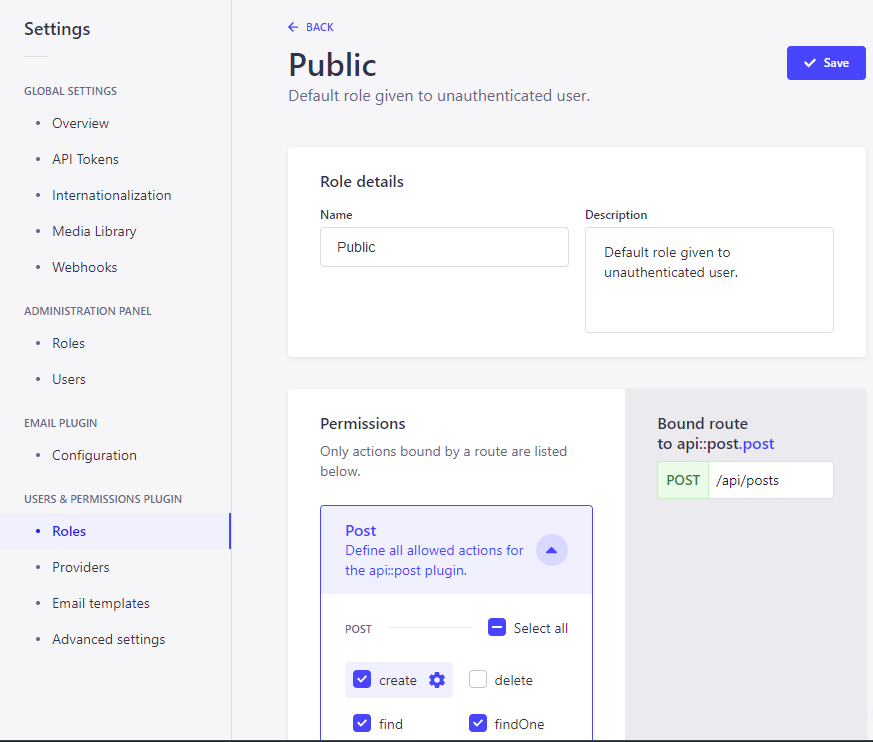
글쓰기를 구현하기위해 Post에서 create도 권한을 부여했다.
그리고 Postman으로 데이터를 보내보자. 정상적으로 데이터가 생성되었다.

방금 Postman으로 생성한 데이터도 이제 화면에 출력된다. 이제 이런 작업을 구현하는 것이다.
//pages/write/index.tsx
const write = (author: string, title: string, post: string) => {
  axios
    .post("http://localhost:1337/api/posts/", {
      data: {
        author: author,
        title: title,
        contents: post,
      },
    })
    .then((res) => {
      console.log(res);
    });
};

const WritePage: NextPage = () => {
  const [title, setTitle] = useState("");
  const [post, setPost] = useState("");
  const [author, setAuthor] = useState("");

  const handleAuthorChange = (e: React.ChangeEvent<HTMLInputElement>) => {
    setAuthor(e.target.value);
  };
  const handleTitleChange = (e: React.ChangeEvent<HTMLInputElement>) => {
    setTitle(e.target.value);
  };
  const handleTextAreaChange = (e: React.ChangeEvent<HTMLTextAreaElement>) => {
    setPost(e.target.value);
  };

  const handleSubmit = (e: React.FormEvent<HTMLFormElement>) => {
    e.preventDefault();
    write(author, title, post);
  };

  return (
    <div>
      <h1>글 작성</h1>
      <form onSubmit={handleSubmit}>
        <input type="text" onChange={handleAuthorChange} value={author} />
        <input type="text" onChange={handleTitleChange} value={title} />
        <textarea onChange={handleTextAreaChange} value={post}></textarea>
        <button type="submit">제출</button>
      </form>
    </div>
  );
};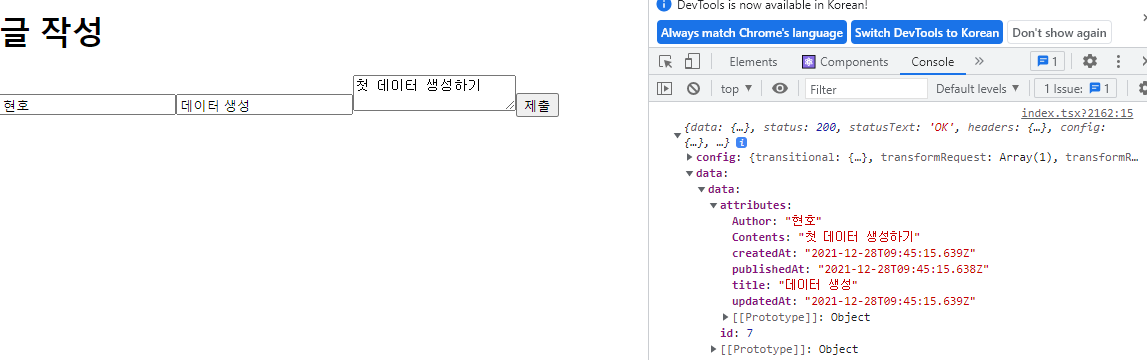
폼을 작성하고 submit 버튼을 누르면 데이터가 생성되도록 설계했다. 콘솔을 확인해보면 데이터가 잘 들어간것을 볼 수 있다.

/posts 로 가면 방금 생성한 데이터도 화면에 출력되고 있다.
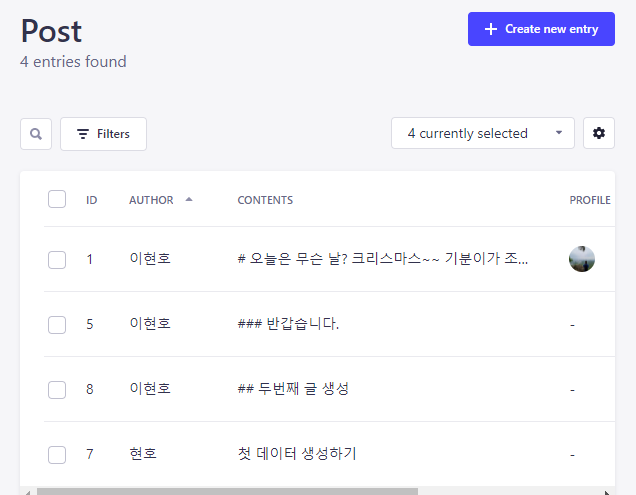
DB에도 잘 저장되고 있다.


와 정말 정리 잘하셨네요 저도 보고 따라해봐야겠어요