
5강 / 자바스크립트 이벤트리스너
이벤트
이벤트란 사용자가 어떤 결과를 유발시킬만한 행동(버튼 클릭, 엔터 누르기 등)을 할 때 발생하는 것이다.
UI 이벤트: 사용자가 웹페이지가 아닌 브라우저의 UI와 상호작용할 때 발생키보드 이벤트: 사용자가 키보드를 이용할 때 발생마우스 이벤트: 사용자가 마우스나 터치 화면을 사용할 때 발생포커스 이벤트: 사용자로 특정 요소에 포커스를 하거나 포커스를 관뒀을 때 발생
이벤트 리스너
이벤트 리스너는 말 그대로 해당 이벤트에 대해 대기중인 것을 말한다.
- 항상 리스닝 중!
(="너의 말을 듣고 있고, 명령을 내리면 바로 실행할 수 있도록 대기타고 있다") - 해당 이벤트가 발생했을 때 등록했던 이벤트 리스너가 실행됨.
- 이벤트 리스너는 항상 on + '이벤트명'으로 명명된다.
여러 이벤트에 대해서는 아래 사이트를 참고하면 된다!
이벤트 & 이벤트리스너
이벤트 리스너는 아래와 같이 사용하면 된다.
document.getElementById('ID').addEventListener('click', function(){
//실행할 코드
});
한번 onClick이 있는 코드에 모두 이벤트리스너를 적용시켜 코드를 수정해보자!
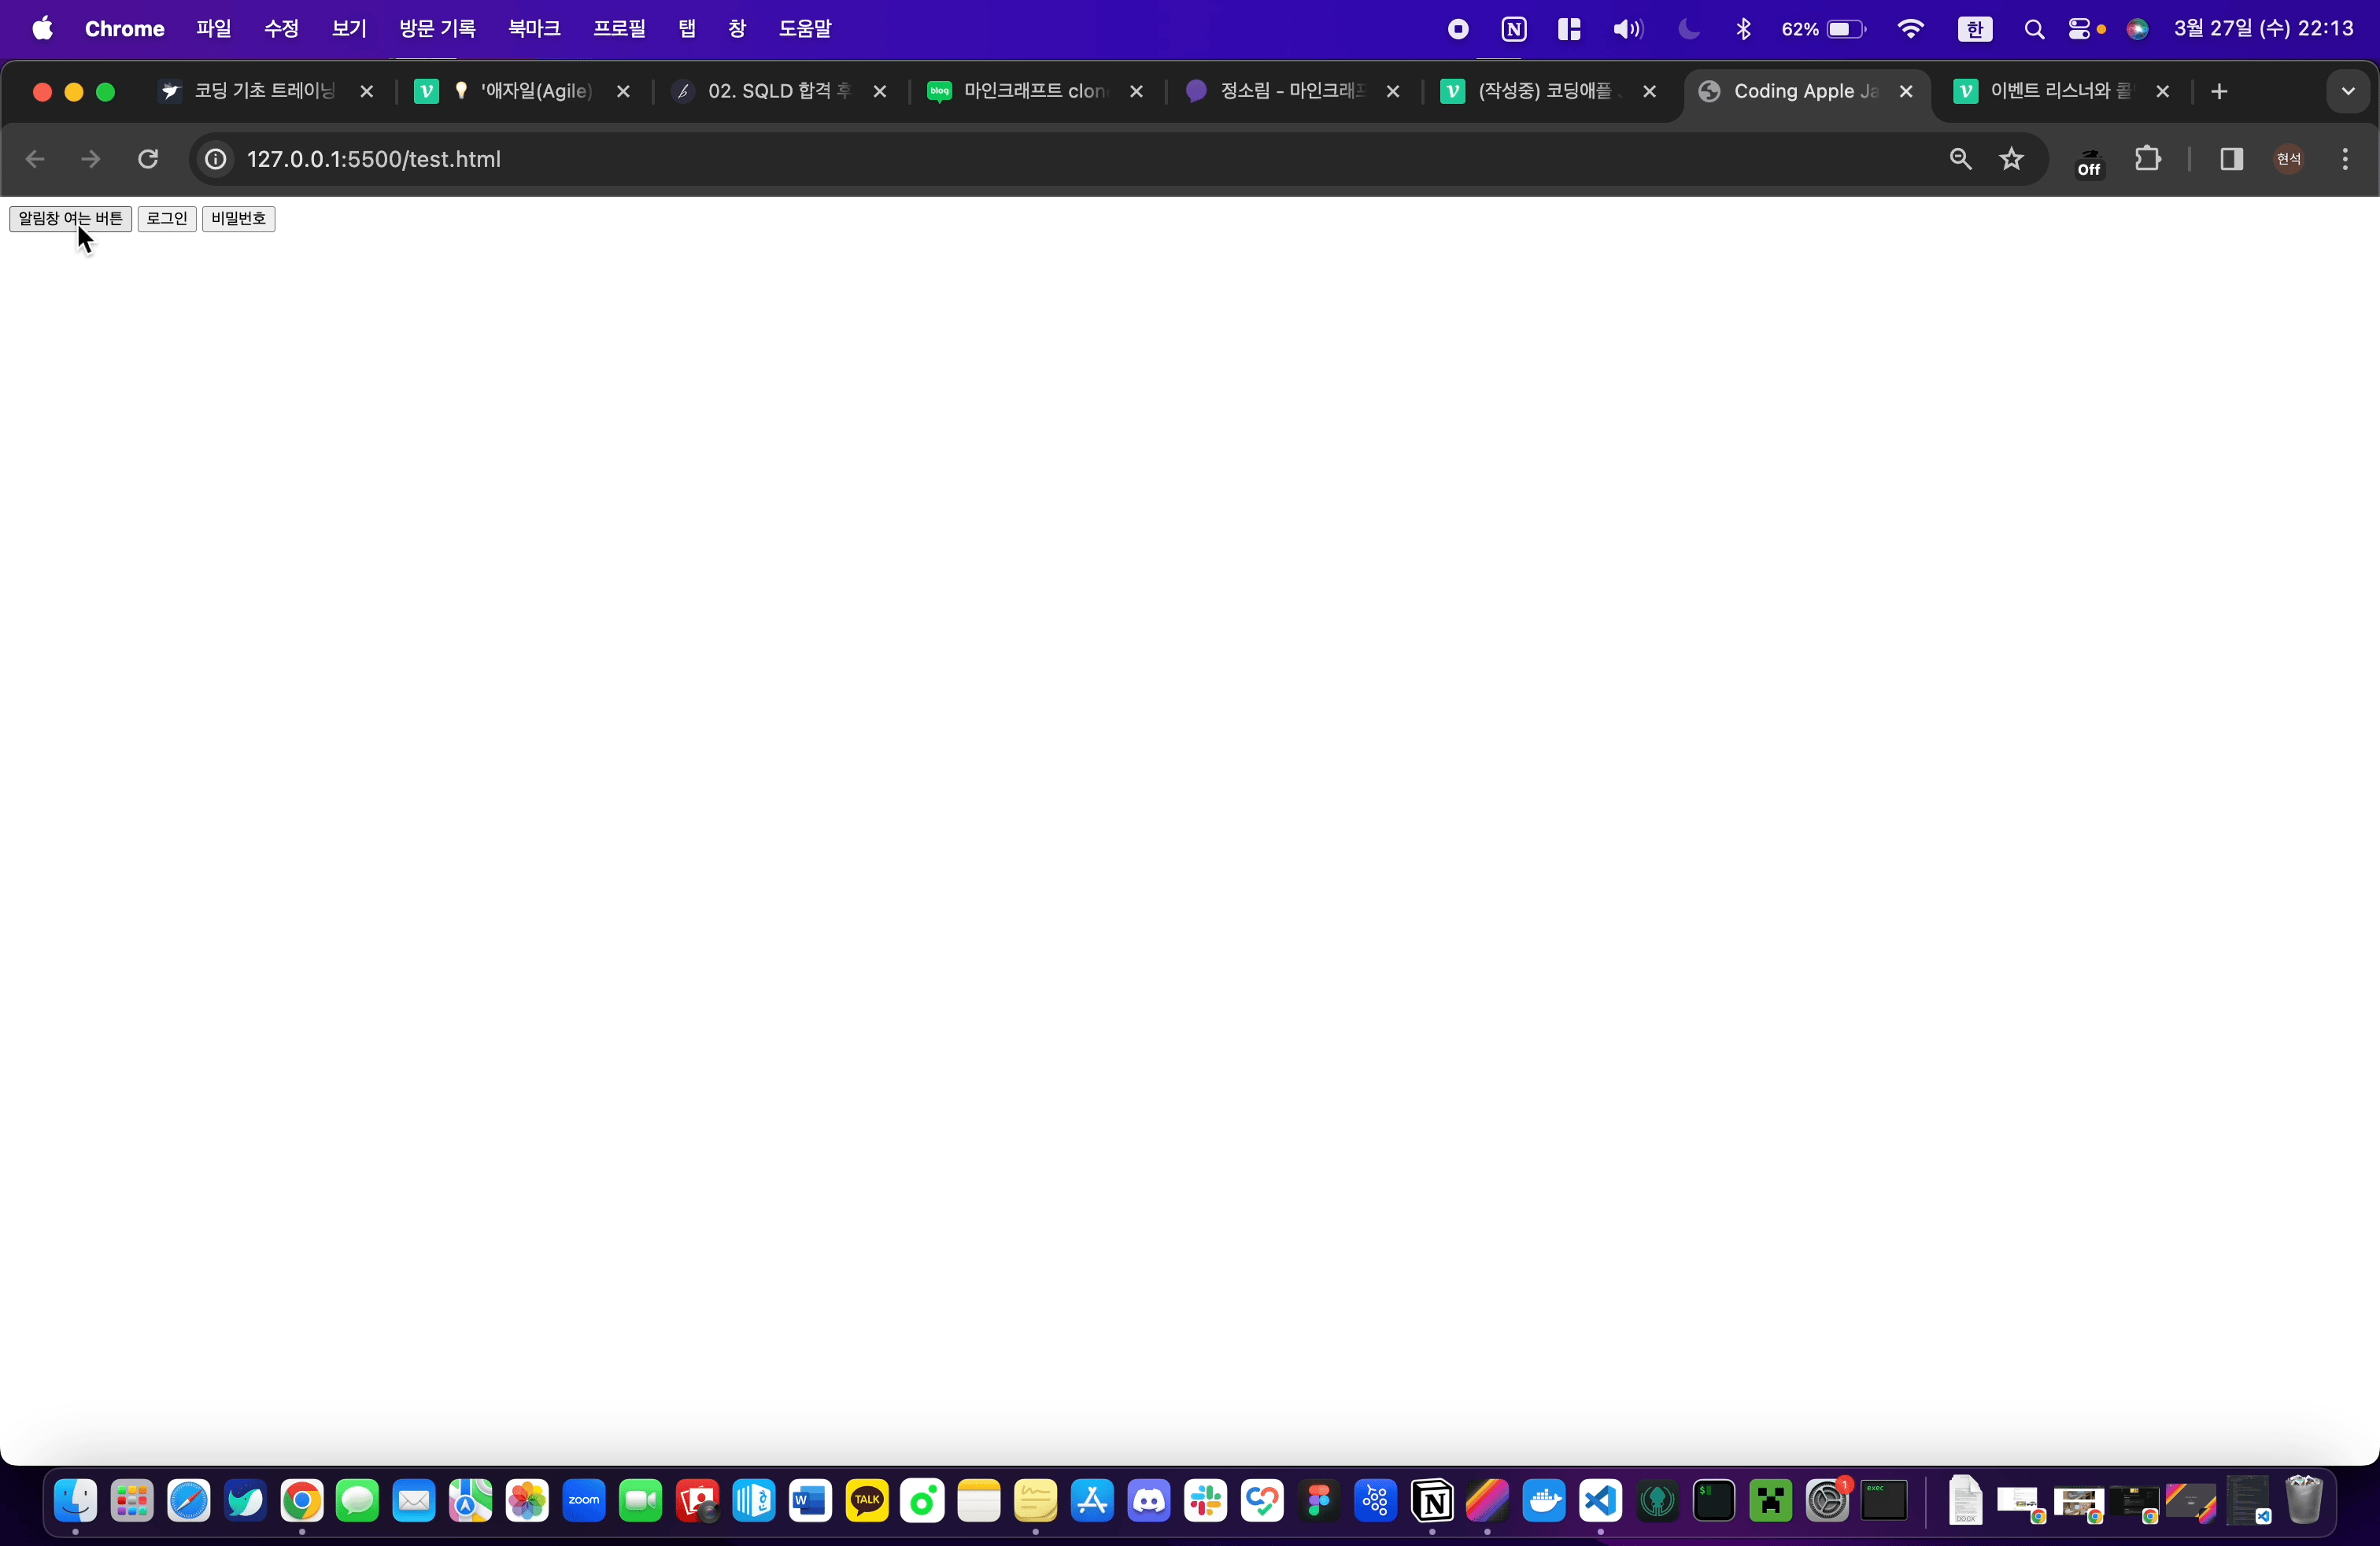
알림창 여는 버튼
<button id="alert-notification-btn">알림창 여는 버튼</button>
<script>
  document
    .getElementById("alert-notification-btn")
    .addEventListener("click", function showNotification() {
      document.getElementById("alert-box").style.display = "block";
    });
</script>
알림창 닫는 버튼
<button id="alert-close-btn">❌</button>
<script>
  document
    .getElementById("alert-close-btn")
    .addEventListener("click", function closeNotification() {
      document.getElementById("alert-box").style.display = "none";
    });
</script>
이렇게 바꾸어도 이전 onClick 있을 때와 똑같은 기능인 것을 확인할 수 있다!
콜백 함수
셀렉터로찾은요소.addEventListener('scroll', function(){} );
                            ⬆️                       ⬆️
이벤트 리스너 생김새를 잘 보면 함수같이 생겼다! (화살표에 표시한 것 처럼 소괄호가 있다.)
실은 뒤에 소괄호 붙으면 다 함수라고 볼 수 있다.
근데 addEventListener() 함수에는 파라미터 자리에 2개의 자료를 집어넣고 있다?
자바스크립트 addEventListener 문법 만든 사람이 그렇게 쓰라고 해서 그렇게 쓸 뿐인데
둘째 파라미터로 함수가 들어가네요?
그래도 된다고 한다.
저렇게 함수 파라미터자리에 들어가는 함수를 전문용어로 '콜백함수'라고 한다.
콜백함수는 그냥 뭔가 순차적으로 실행하고 싶을 때 많이 보이는 함수형태며
그냥 함수안에 함수 넣으라고 하면 "아 저건 콜백함수구나~" 라는 반응만 보이면 된다.
지금 코드짤 때는 우리가 콜백함수를 직접 작성하고 그럴 일은 없고
콜백함수 쓰라고 하는 자리가 있으면 잘 쓰기만 하면 된다!
6강 / 서브메뉴 만들어보기와 classList 다루기
JS 파일 나누기
강의 들어가기 전에 JS파일을 나누어 HTML파일과 연결시킨다음 JS코드는 JS파일에만 쓸 수 있도록 세분화 할 것이다!!
JS파일 연결
우리는 CSS파일을 HTML파일에 연결시켰던 것 처럼 JS파일도 똑같은 작업을 해줄 것이다!
<body>
  <script src="./index.js"></script>
</body>
위와 같이 body태그 밑에 srcipt를 사용하며 script 태그 안에 src속성을 사용해 js파일을 연결시켜주면 된다!
그렇게 되면 총 파일을 index.html / index.css / index.js 3개의 파일이 만들어진다
script 태그 위치
script태그는
<body>태그의 닫는 태그 바로 앞에 위치해주는 것이 좋다!
script 태그 위치
HTML에 있던 JS 코드 JS파일로 옮기기
이제 script에 있던 JS 코드들을 JS파일로 옮겨보자!
 <script>
   document
     .getElementById("alert-notification-btn")
     .addEventListener("click", function showNotification() {
       document.getElementById("alert-box").style.display = "block";
     });
   document
     .getElementById("alert-close-btn")
     .addEventListener("click", function closeNotification() {
       document.getElementById("alert-box").style.display = "none";
     });
   function handleIdBox(text) {
     document.getElementById("alert-box").style.display = "block";
     document.getElementById("alert-box").innerText = text;
   }
   function handlePassWordBox(text) {
     document.getElementById("alert-box").style.display = "block";
     document.getElementById("alert-box").innerText = text;
   }
 </script>
⬇️
// index.js
    document
      .getElementById("alert-notification-btn")
      .addEventListener("click", function showNotification() {
        document.getElementById("alert-box").style.display = "block";
      });
    document
      .getElementById("alert-close-btn")
      .addEventListener("click", function closeNotification() {
        document.getElementById("alert-box").style.display = "none";
      });
    function handleIdBox(text) {
      document.getElementById("alert-box").style.display = "block";
      document.getElementById("alert-box").innerText = text;
    }
    function handlePassWordBox(text) {
      document.getElementById("alert-box").style.display = "block";
      document.getElementById("alert-box").innerText = text;
    }
코드 세분화
JS파일로 코드를 옮겼는데 코드를 보니 조금 복잡하게 코드가 얽혀있어 여기서 더 세분화 시키려고한다
1. 변수로 요소 가져와서 이름 지정해주기
알림창 버튼은 현재
document.getElementById("alert-notification-btn")이런식으로 가져오고 있다. 여기에 변수명을 지정해주면 내가 어떤 요소를 가져오는지 더 깔끔하게 볼 수 있다.const notification = document.getElementById("alert-box"); const notificationBtn = document.getElementById("alert-notification-btn"); const closeBtn = document.getElementById("alert-close-btn"); const idBtn = document.getElementById("alert-id-btn"); const passwordBtn = document.getElementById("alert-password-btn");위와 같은 방식으로
알림창,알림창 여는 버튼,닫는 버튼,아이디 버튼,비밀번호 버튼요소들을 가져와 봤다.
2. 가져온 요소에 이벤트리스너 붙히기
현재 이벤트리스터를 붙혀야 할 곳은
알림창 여는 버튼,닫는 버튼이다 함수와 요소를 제거하고 깔끔하게 정리해보자notificationBtn.addEventListener("click", showNotification); closeBtn.addEventListener("click", closeNotification);요소에 이벤트리스너를 붙혀주고 이벤트리스너 파라미터에 onClick과 함수코드를 모두 써주었지만 함수는 실행만 시켜주고 실제 함수 코드는 따로 빼주었다.
참고 이벤트리스너 파라미터 안에 함수 호출
showNotification()이게 아니라 showNotification만 쓴 이유이벤트리스너 코드는 'click' 이벤트가 발생했을 때
showNotification 함수를 호출하는 것이 아니라, 이벤트가 발생했을 때showNotification 함수를 실행할 수 있는 콜백으로 등록하는 것 이기 때문에 위와 같은 방식으로 사용해야 한다
3. 함수 모아놓기
이벤트리스너에서도 함수를 따로 빼주었기 때문에
알림창을 보여주는 기능 함수,알림창을 닫는 기능 함수,아이디를 보여주는 기능 함수,비밀번호를 보여주는 기능 함수이렇게 총 4개의 함수를 모을 수 있다.function showNotification() { notification.style.display = "block"; } function closeNotification() { notification.style.display = "none"; } function handleIdBox(text) { notification.style.display = "block"; notification.innerText = text; } function handlePassWordBox(text) { notification.style.display = "block"; notification.innerText = text; }
앞으로도 위 방식대로 총 3분할로 나눌 수 있을 것 같다!
Bootstrap 설치
Bootstrap이란?
트위터에서 사용하는 각종 레이아웃, 버튼, 입력창 등의 디자인을 CSS와 Javascript로 만들어 놓은 것이다. 웹 디자이너나 개발자 사이에서는 웹 디자인의 혁명이라고 불릴 정도로 폭발적은 반응을 얻는 프레임워크이다.

Bootstrap 설치
<head>
   <link
     href="https://cdn.jsdelivr.net/npm/bootstrap@5.1.3/dist/css/bootstrap.min.css"
     rel="stylesheet"
     integrity="sha384-1BmE4kWBq78iYhFldvKuhfTAU6auU8tT94WrHftjDbrCEXSU1oBoqyl2QvZ6jIW3"
     crossorigin="anonymous" />
</head>
<body>
   <script
     src="https://cdn.jsdelivr.net/npm/bootstrap@5.1.3/dist/js/bootstrap.bundle.min.js"
     integrity="sha384-ka7Sk0Gln4gmtz2MlQnikT1wXgYsOg+OMhuP+IlRH9sENBO0LRn5q+8nbTov4+1p"
     crossorigin="anonymous">
   </script>
</body>
<link>태그의 내용은 부트스트랩 CSS 효과를 사용하기 위한 태그이고,<script>태그는 요소의 js 효과를 위한 태그이다.
Navbar 만들기
코딩애플에서 제시해준 코드로 Navbar를 만들어보자
밑에 코드 그대로 복사!
<nav class="navbar navbar-light bg-light">
  <div class="container-fluid">
    <span class="navbar-brand">Navbar</span>
    <button class="navbar-toggler" type="button">
      <span class="navbar-toggler-icon"></span>
    </button>
  </div>
</nav>
결과를 보면 아래와 같이 Navbar가 생긴 것을 볼 수 있다.

그 다음은 Navbar의 서브메뉴를 만들 건데 아래와 같은 디자인으로 만들려고 한다.
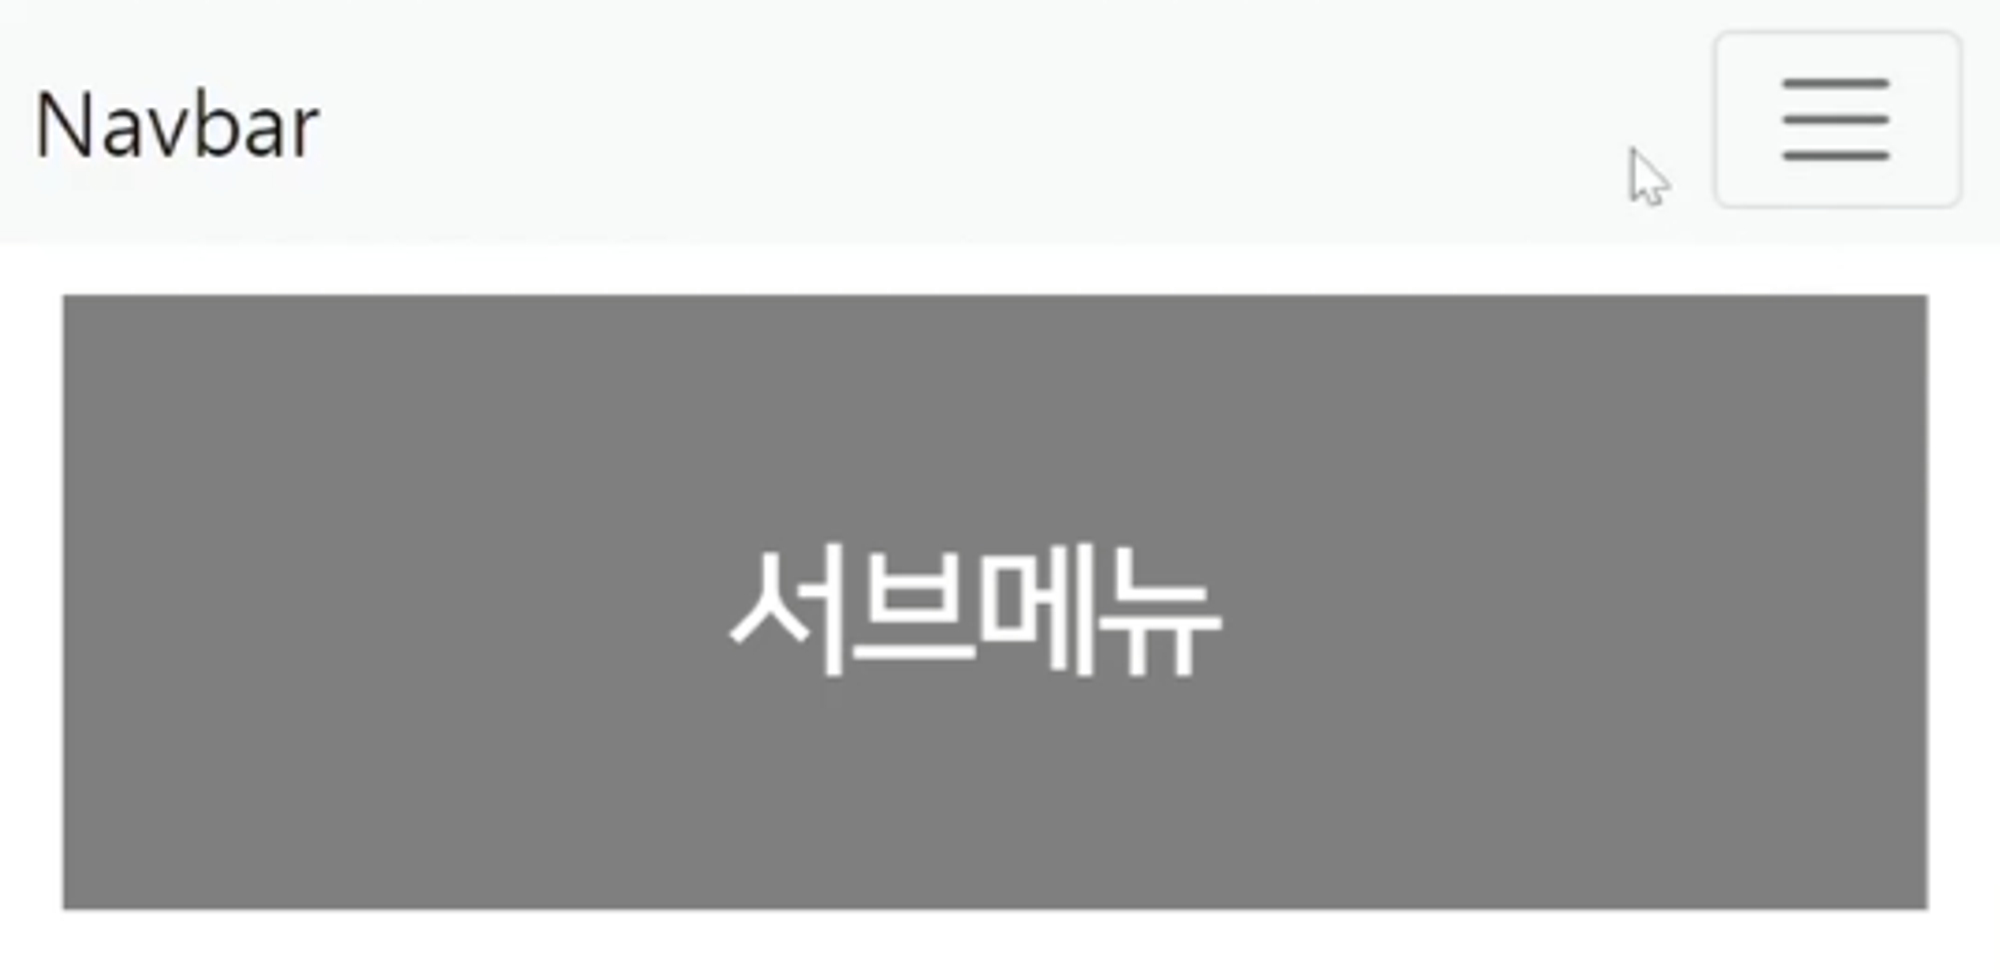
기능 방식은 햄버거 버튼을 누르면 서브메뉴가 나오는 기능을 추가하려고 한다.
이런 UI는 어떻게 만들 수 있을까?
1. 미리 html css로 디자인 해놓고 숨기든가 함
2. 버튼누르면 보여줌
위와 같이 코드를 짜면 햄버거 버튼을 눌렀을 때 서브메뉴가 나올 수 있도록 기능을 만들 수 있을 것 같다!
먼저 서브메뉴에 대한 요소를 만들어보자
밑에 코드 그대로 복사!
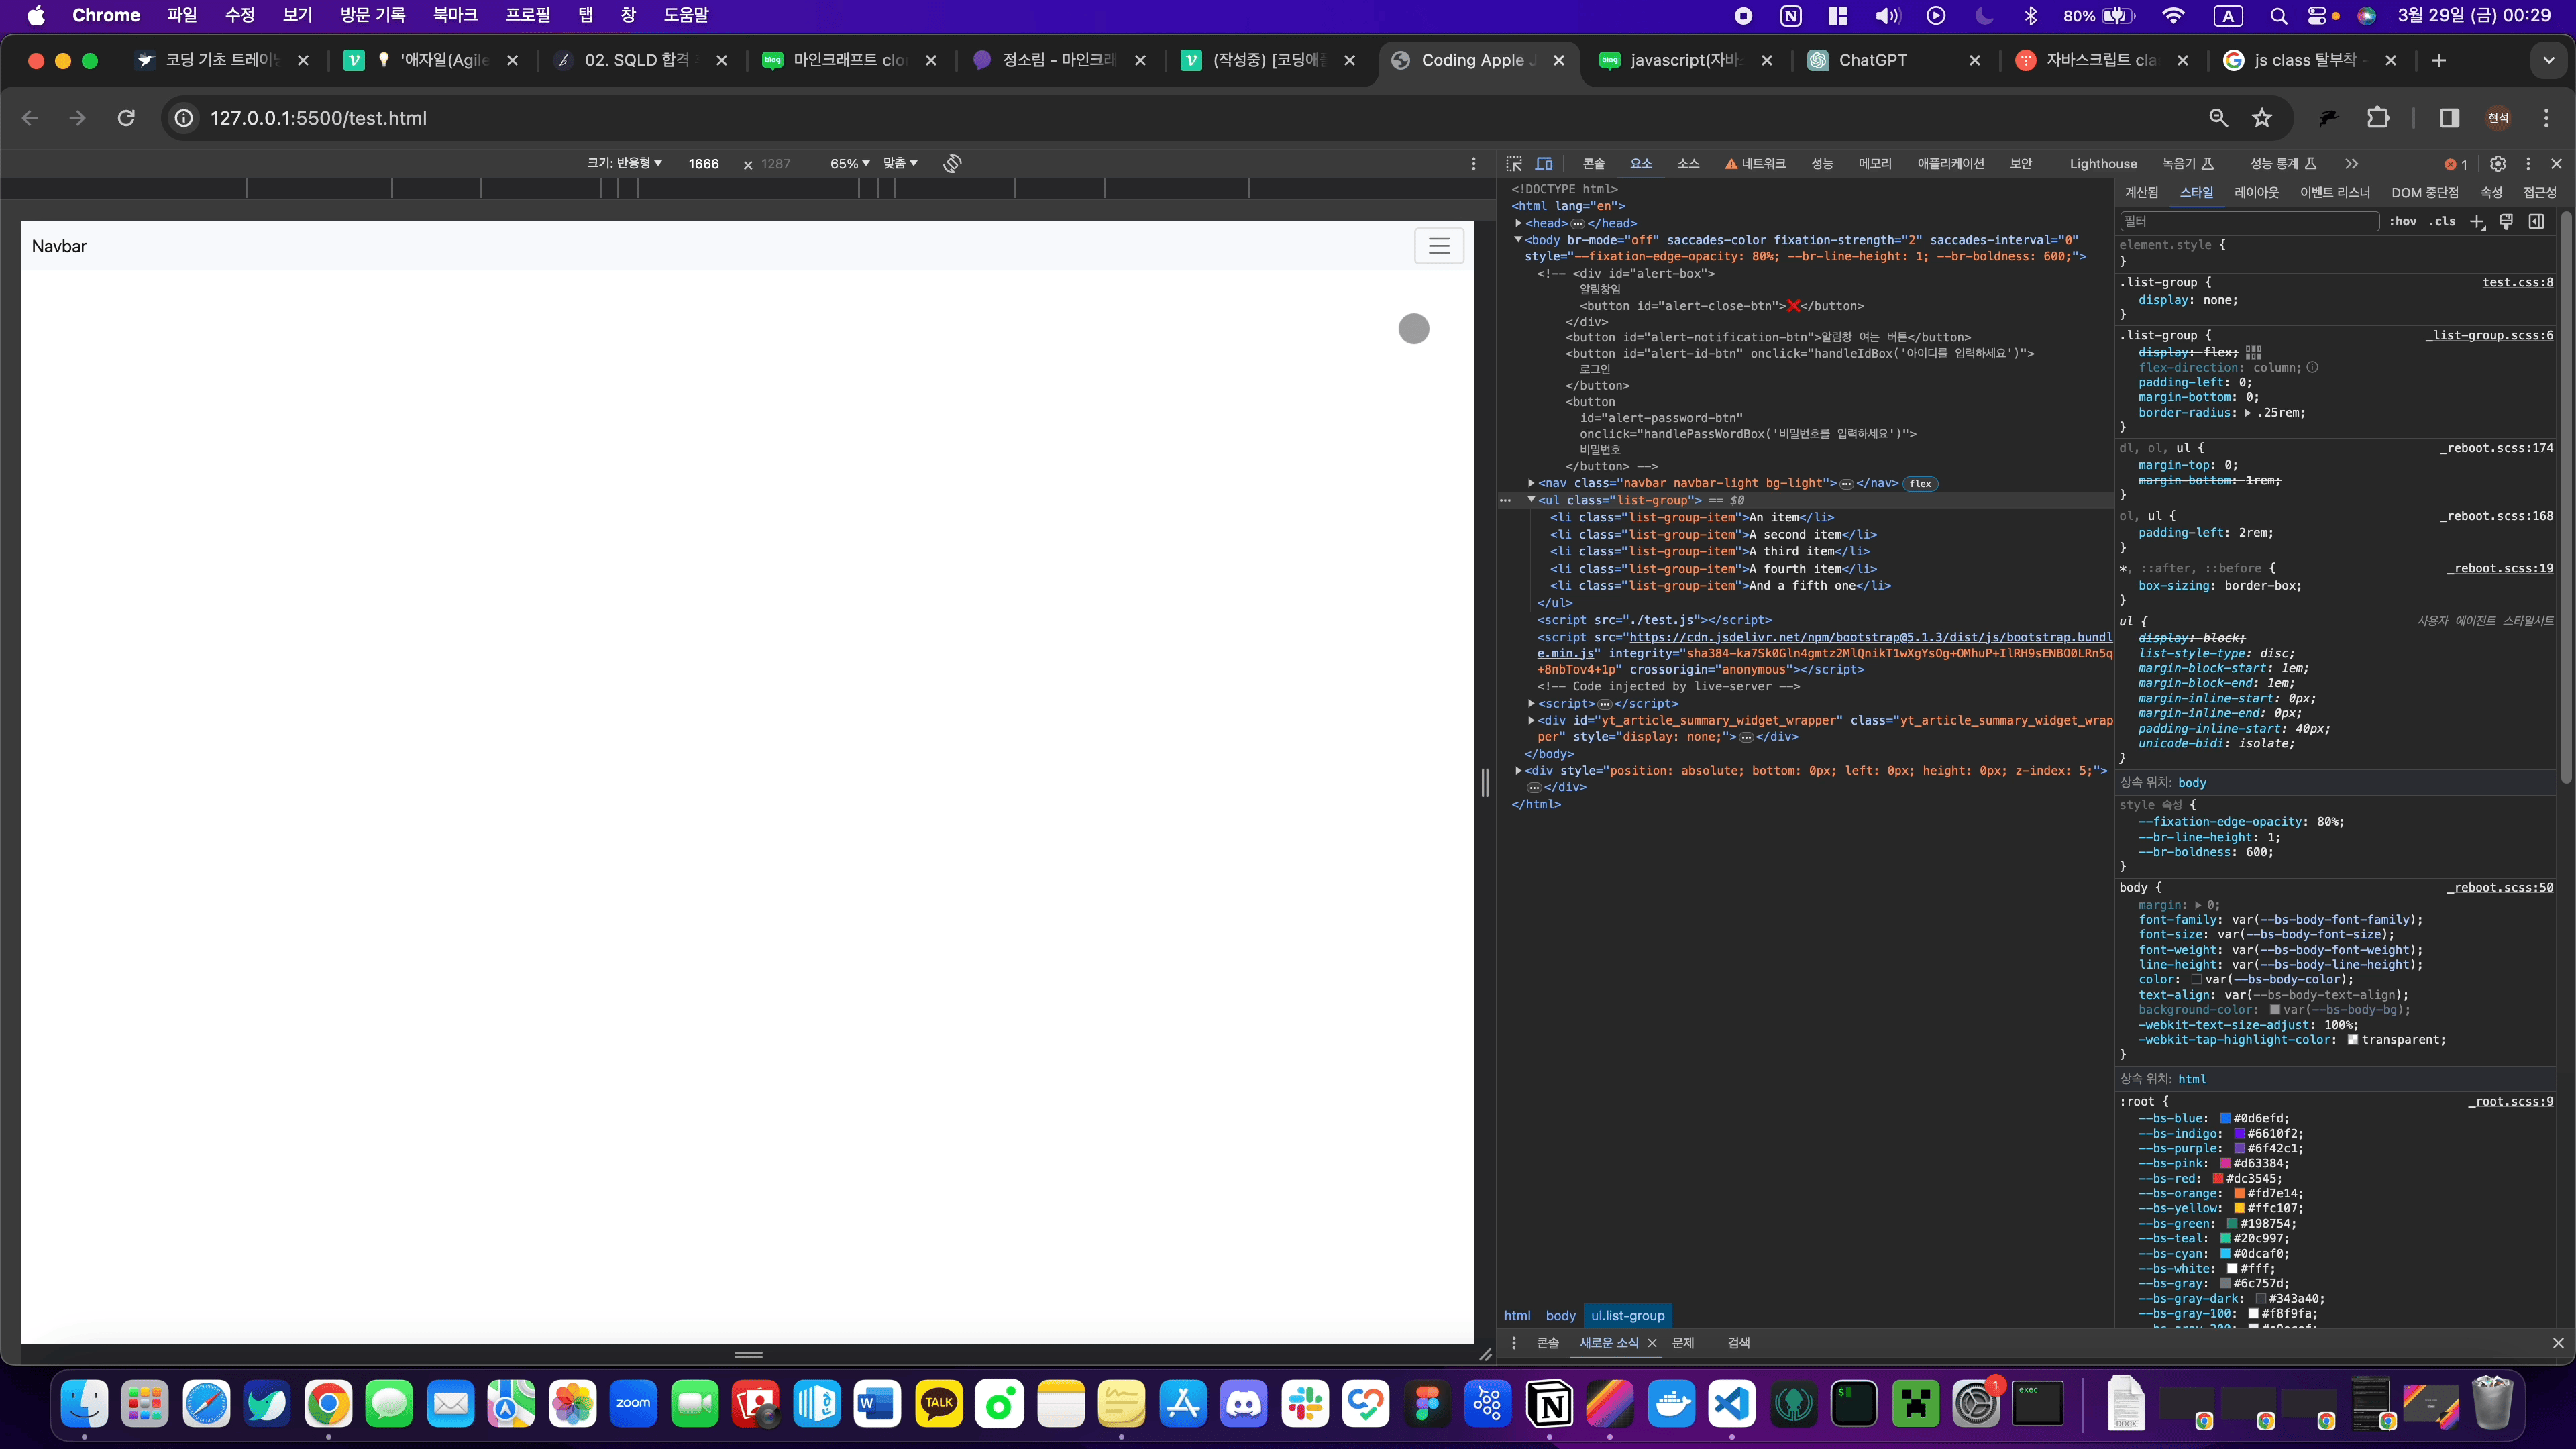
<ul class="list-group">
  <li class="list-group-item">An item</li>
  <li class="list-group-item">A second item</li>
  <li class="list-group-item">A third item</li>
  <li class="list-group-item">A fourth item</li>
  <li class="list-group-item">And a fifth one</li>
</ul>
서브메뉴가 생긴 것을 볼 수 있다!

class 탈부착
우리가 이전에 했던 방법들은 JS로 CSS 속성에 접근해 바꾸어주었지만
이번에 하는 방식은 JS를 class를 추가, 삭제 등등 다른 방법들을 사용해볼 것이다!
index.css을 열어 버튼을 누르기 전에는 서브메뉴를 안 보여주는 .list-group 클래스와 버튼을 눌렀을 시 서브메뉴를 보여줘야하는 .show 클래스를 추가시켜보자
.list-group {
  display : none
}
.show {
  display : block
}
class 추가
이제 햄버거 버튼을 눌렀을 때 .show 클래스가 서브메뉴에 추가 되면서 서브메뉴를 보여주자
class명을 원하는 요소에 추가하는법
셀렉터로찾은요소.classList.add('클래스명')
이제 이전에 했던 3분할로 나누어서 코드를 짜보자
햄버거 버튼 요소 & 서브메뉴 요소를 가져와서 변수명 지정하기
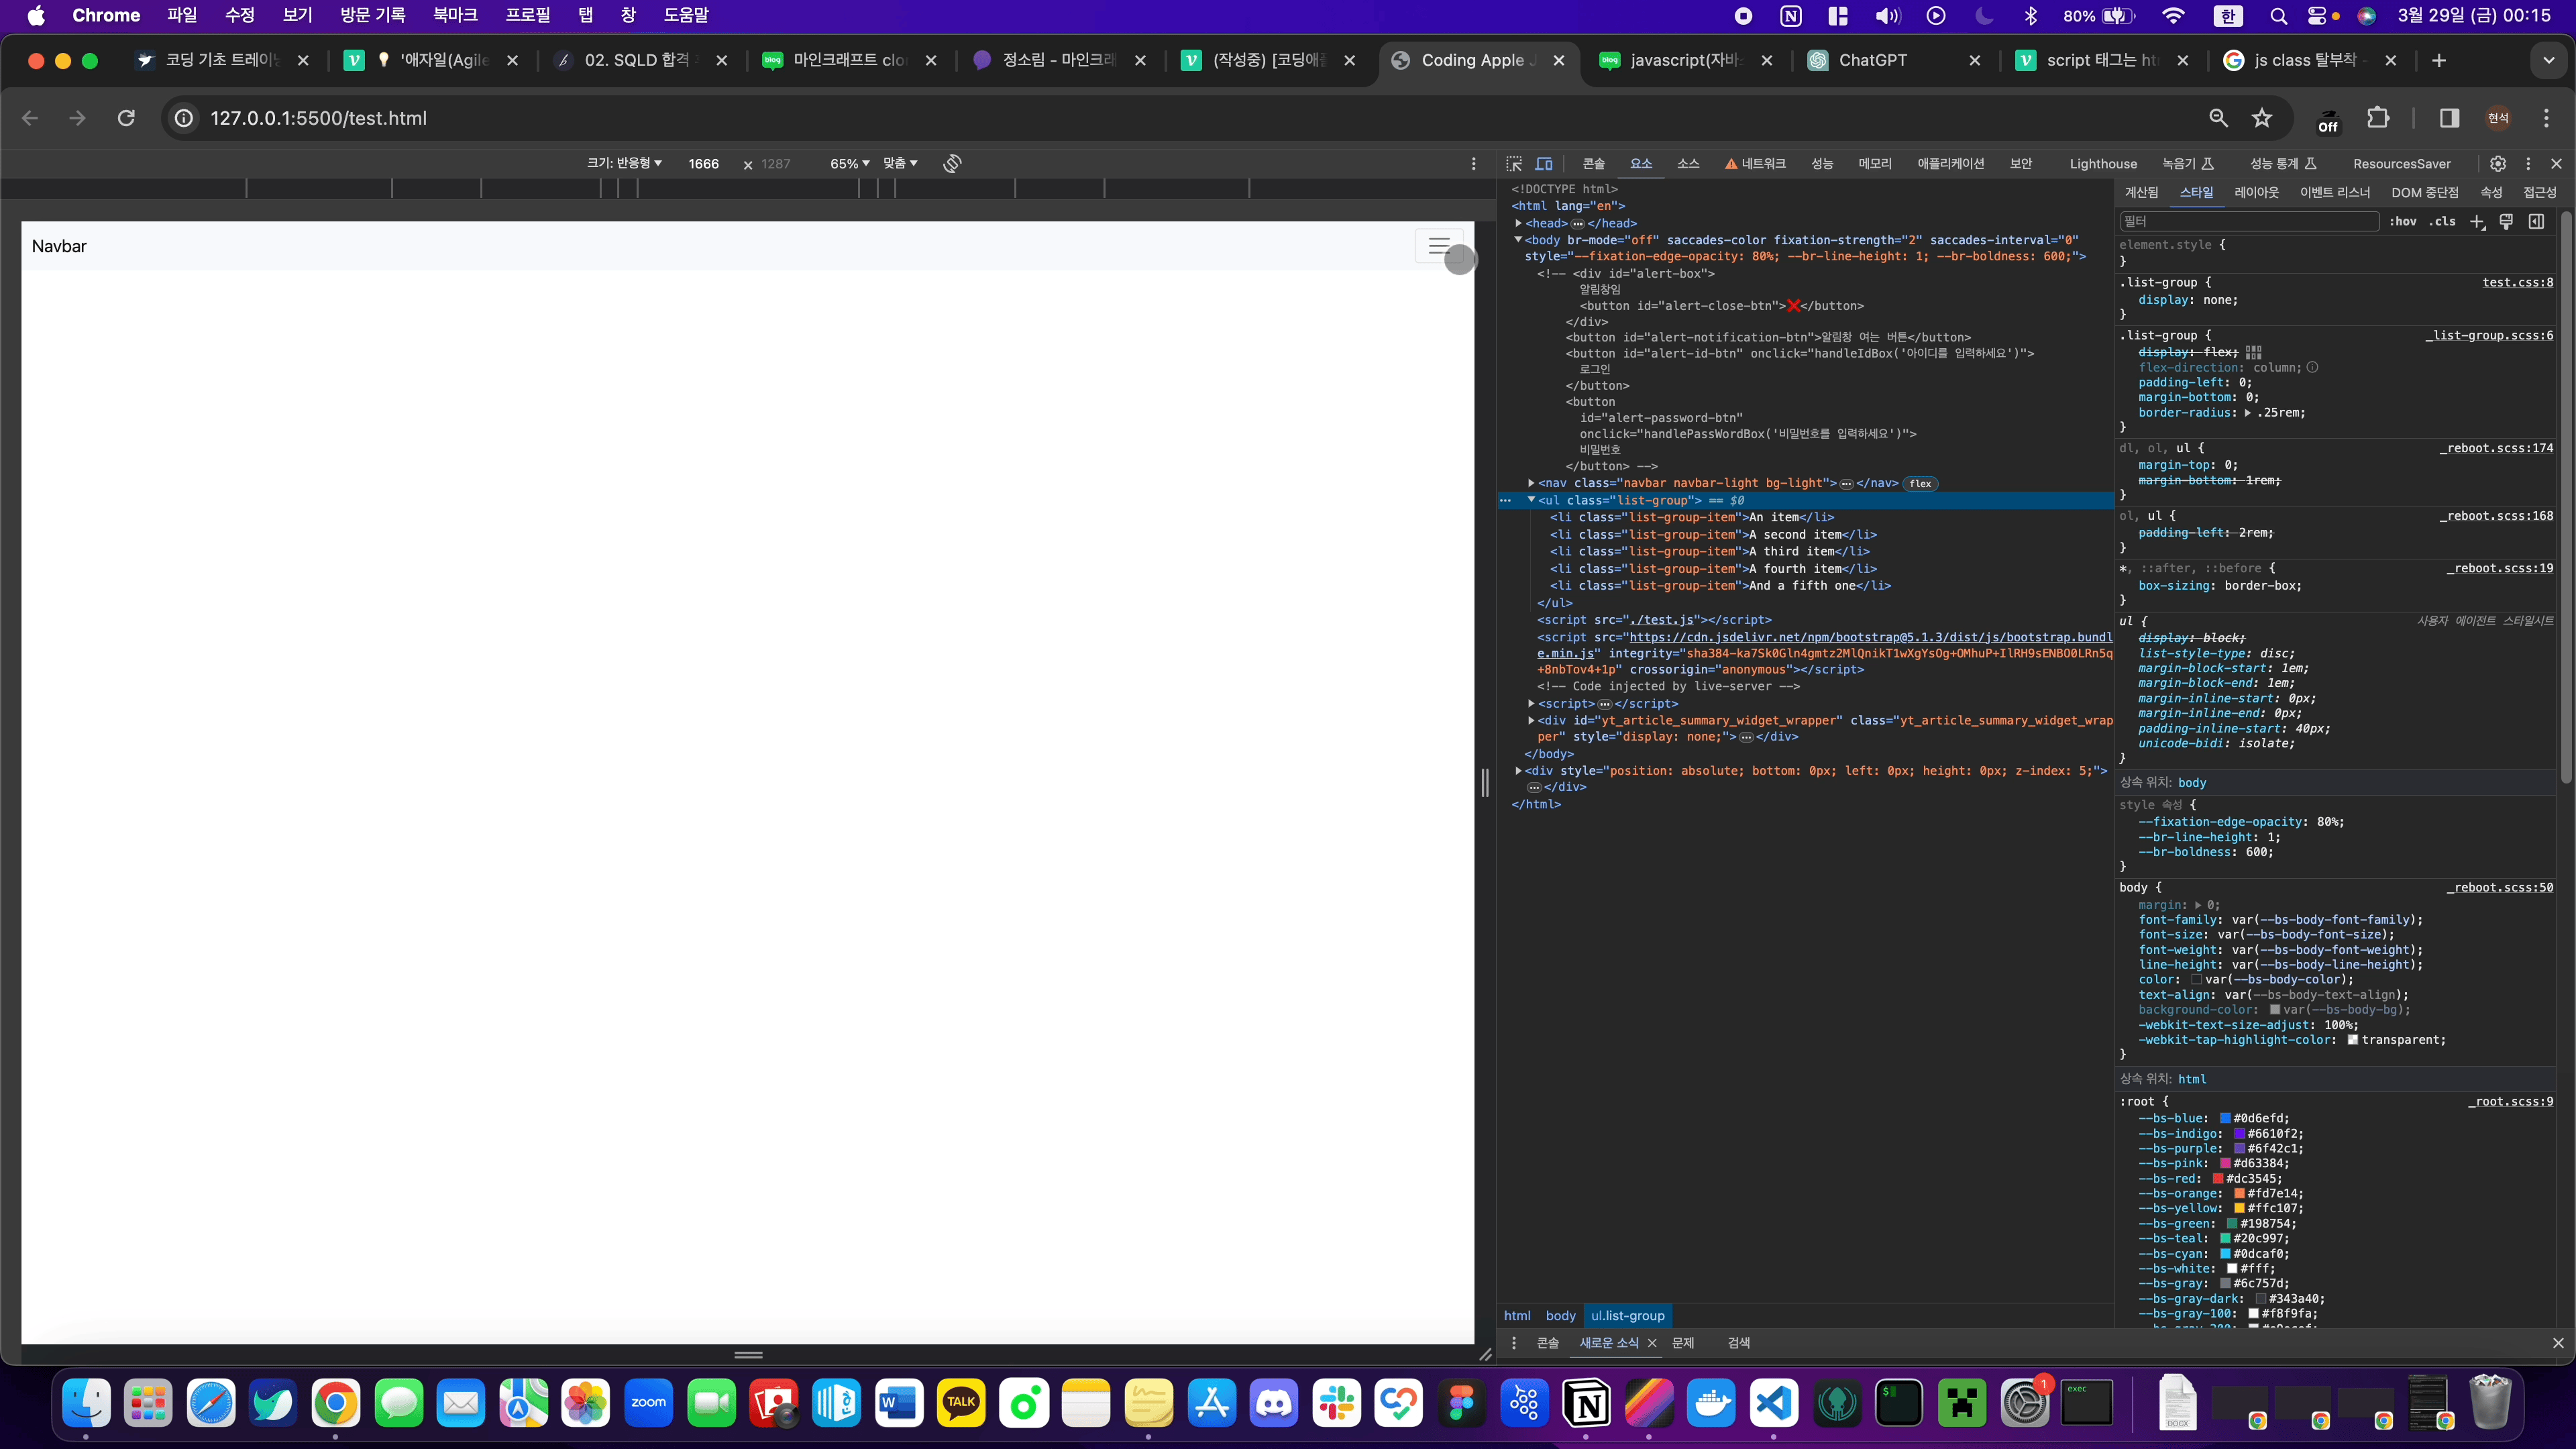
const navbarBtn = document.getElementsByClassName("navbar-toggler");
const subMenu = document.getElementsByClassName("list-group");
요소에 이벤트리스너 부착
navbarBtn[0].addEventListener("click", showSubmenu);getElementsByClassName 셀렉터는 복수의 class를 가져오기 때문에 위 처럼 어느 class를 가져올지 지정해주어야 한다.
이벤트리스너 발동시 실행되는 함수 작성
function showSubmenu() {
  subMenu[0].classList.add("show");
}
이제 햄버거 버튼을 누르게 되면 .list-group 클래스의 요소 안에 .show 클래스가 추가 되면서 서브메뉴가 보여지게 된다.
아래 화면에서 .list-group 클래스의 요소 안에 .show 클래스가 추가되는 것을 볼 수 있다.
class 삭제
class를 삭제하는 방법도 있으니 미리 알아놓자!
class명을 원하는 요소에서 삭제하는법
셀렉터로찾은요소.classList.remove('클래스명')
class를 여러 방식을 조정할 수 있으니 아래 사이트를 참고해 미리 알아놓자.
class list 메소드
class toggle
우리가 class를 삭제하는 메소드를 사용하려면 if문을 사용해서 class를 삭제해야한다.
하지만 이보다 더 쉬운 toggle에 대해 알아보자
toggle은
- 클래스명이 있으면 제거하고
- 클래스명이 없으면 붙여준다.
위와 같은 기능을 하고 있다.
한번 만들어보자!
showSubmenu 함수toggleSubmenu 함수로 수정function toggleSubmenu() { subMenu[0].classList.toggle("show"); }
toggle을 사용하니 class가 사라지고 추가되는 모습을 살펴볼 수 있다!
querySelector
다른 방식으로 html 요소를 찾아주는 셀렉터를 사용해보자
CSS 잘하는 분들은 편리하게 사용가능하다!
querySelector() 안에는 css 셀렉터 문법을 사용가능하다.
예시를 봐보자
<div class="test1">안녕하세요</div>
<div id="test2">안녕하세요</div>

<script>
  document.querySelector('.test1').innerHTML = '안녕';
  document.querySelector('#test2').innerHTML = '안녕';
</script>
CSS에서 마침표는 class라는 뜻이고 #은 id라는 뜻이다.
다만 querySelector() 는 맨 위의 한개 요소만 선택해 준다. (복수를 선택하려면 querySelectorAll()을 사용해야한다.)
앞으로 querySelector()를 계속 사용해보자 이전의 코드들도 모두 querySelector()로 바꾸어 보자
const notification = document.querySelector("#alert-box");
const notificationBtn = document.querySelector("#alert-notification-btn");
const closeBtn = document.querySelector("#alert-close-btn");
const idBtn = document.querySelector("#alert-id-btn");
const passwordBtn = document.querySelector("#alert-password-btn");
const navbarBtn = document.querySelector(".navbar-toggler");
const subMenu = document.querySelector(".list-group");
가져온 요소들 모두 querySelector()로 바꾸어보았다.
전체코드
index.html
<!DOCTYPE html>
<html lang="en">
  <head>
    <meta charset="UTF-8" />
    <link
      href="https://cdn.jsdelivr.net/npm/bootstrap@5.1.3/dist/css/bootstrap.min.css"
      rel="stylesheet"
      integrity="sha384-1BmE4kWBq78iYhFldvKuhfTAU6auU8tT94WrHftjDbrCEXSU1oBoqyl2QvZ6jIW3"
      crossorigin="anonymous" />
    <meta name="viewport" content="width=device-width, initial-scale=1.0" />
    <link rel="stylesheet" type="text/css" href="./test.css" />
    <title>Coding Apple JavaScript</title>
  </head>
  <body>
    <!-- <div id="alert-box">
      알림창임
      <button id="alert-close-btn">❌</button>
    </div>
    <button id="alert-notification-btn">알림창 여는 버튼</button>
    <button id="alert-id-btn">
      로그인
    </button>
    <button
      id="alert-password-btn"
     >
      비밀번호
    </button> -->

    <nav class="navbar navbar-light bg-light">
      <div class="container-fluid">
        <span class="navbar-brand">Navbar</span>
        <button class="navbar-toggler" type="button">
          <span class="navbar-toggler-icon"></span>
        </button>
      </div>
    </nav>
    <ul class="list-group">
      <li class="list-group-item">An item</li>
      <li class="list-group-item">A second item</li>
      <li class="list-group-item">A third item</li>
      <li class="list-group-item">A fourth item</li>
      <li class="list-group-item">And a fifth one</li>
    </ul>
    <script src="./test.js"></script>
    <script
      src="https://cdn.jsdelivr.net/npm/bootstrap@5.1.3/dist/js/bootstrap.bundle.min.js"
      integrity="sha384-ka7Sk0Gln4gmtz2MlQnikT1wXgYsOg+OMhuP+IlRH9sENBO0LRn5q+8nbTov4+1p"
      crossorigin="anonymous"></script>
  </body>
</html>
index.css
#alert-box {
  background-color: skyblue;
  padding: 20px;
  color: white;
  border-radius: 5px;
  display: none;
}
.list-group {
  display: none;
}
.show {
  display: block;
}
index.js
const notification = document.querySelector("#alert-box");
const notificationBtn = document.querySelector("#alert-notification-btn");
const closeBtn = document.querySelector("#alert-close-btn");
const idBtn = document.querySelector("#alert-id-btn");
const passwordBtn = document.querySelector("#alert-password-btn");
const navbarBtn = document.querySelector(".navbar-toggler");
const subMenu = document.querySelector(".list-group");

// notificationBtn.addEventListener("click", showNotification);
// closeBtn.addEventListener("click", closeNotification);
navbarBtn.addEventListener("click", showSubmenu);
navbarBtn.addEventListener("click", closeSubmenu);

// function showNotification() {
//   notification.style.display = "block";
// }

// function closeNotification() {
//   notification.style.display = "none";
// }

// function handleIdBox(text) {
//   notification.style.display = "block";
//   notification.innerText = text;
// }

// function handlePassWordBox(text) {
//   notification.style.display = "block";
//   notification.innerText = text;
// }

function toggleSubmenu() {
  subMenu.classList.toggle("show");
}