1) DeviceActivityMonitoring extension을 새로운 target으로 설정
- scheme을 → activate
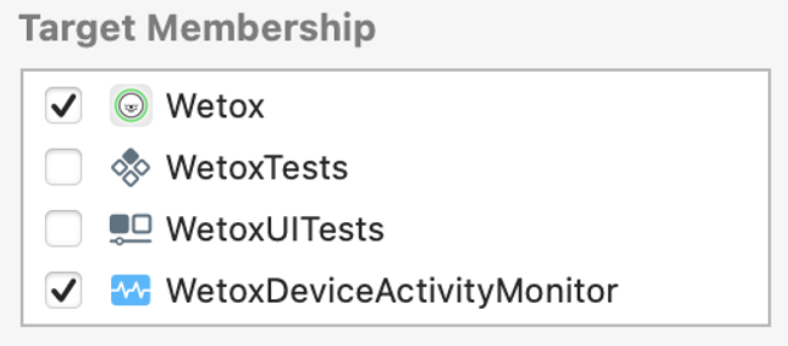
- Target Membership은 Wetox, WetoxDeviceActivityMonitor 모두 체크해야함 (본 target과 추가된 extension 모두 체크해야한다)
- 이 사이의 Shield, Shield Configuration은 일단 필요없는 기능으로 판단 → 패스
2) DeviceActivityReport extension을 새로운 target으로 설정
Report.swift는 default 상태 유지 단,TotalActivityReport.swift에서 구현- Target Membership : Wetox, WetoxReport 모두 체크
-
TotalActivityView에서 activityReport 구현에 사용할 데이터 모델 구현하기
import Foundation import ManagedSettings struct WetoxActivityReportModel { let totalDuration: TimeInterval let apps: [AppDeviceActivity] } struct AppDeviceActivity: Identifiable { var id: String var displayName: String var duration: TimeInterval var numberOfPickups: Int var token: ApplicationToken? } extension TimeInterval { func timeToString() -> String { let time = NSInteger(self) let minutes = (time / 60) % 60 let hours = (time / 3600) return String(format: "%0.2d:%0.2d", hours, minutes) } } -
TotalActivityView 구현
→ MonirotingView에서 보여줄 SwiftUI (ReportModel 형태로 데이터 받아와서 여기다가 뿌려준다)
    import SwiftUI
    import FamilyControls

    // MARK: - MonitoringView에서 보여줄 SwiftUI 뷰
    struct TotalActivityView: View {
        var activityReport: WetoxActivityReportModel

        var body: some View {
            VStack(spacing: 4) {
                Spacer(minLength: 24)
                Text("스크린타임 총 사용 시간")
                    .font(.callout)
                    .foregroundColor(.secondary)
                Text(activityReport.totalDuration.timeToString())
                    .font(.largeTitle)
                    .bold()
                    .padding(.bottom, 8)
                List {
                    Section {
                        ForEach(activityReport.apps) { eachApp in
                            ListRow(eachApp: eachApp)
                        }
                    } footer: {
                        Text(
                        """
                        [화면 깨우기]
    										"""
                        )
                    }
                }
            }
        }
    }

    struct ListRow: View {
        var eachApp: AppDeviceActivity

        var body: some View {
            VStack(spacing: 4) {
                HStack(spacing: 0) {
                    if let token = eachApp.token {
                        Label(token)
                            .labelStyle(.iconOnly)
                            .offset(x: -4)
                    }
                    Text(eachApp.displayName)
                    Spacer()
                    VStack(alignment: .trailing, spacing: 2) {
                        HStack(spacing: 4) {
                            Text("화면 깨우기")
                                .font(.footnote)
                                .foregroundColor(.secondary)
                                .frame(width: 72, alignment: .leading)
                            Text("\(eachApp.numberOfPickups)회")
                                .font(.headline)
                                .bold()
                                .frame(minWidth: 52, alignment: .trailing)
                        }
                        HStack(spacing: 4) {
                            Text("모니터링 시간")
                                .font(.footnote)
                                .foregroundColor(.secondary)
                                .frame(width: 72, alignment: .leading)
                            Text(String(eachApp.duration.timeToString()))
                                .font(.headline)
                                .bold()
                                .frame(minWidth: 52, alignment: .trailing)
                        }
                    }
                }
                HStack {
                    Text("앱 ID")
                        .font(.footnote)
                        .foregroundColor(.secondary)
                    Text(eachApp.id)
                        .font(.footnote)
                        .foregroundColor(.secondary)
                        .bold()
                    Spacer()
                }
            }
            .background(.clear)
        }
}- 이제 이걸 SwiftUI를 보여줄 ViewController에다가 담으면 되는데
그 전에 먼저 ScheduleViewModel 부터 만들어주자
→ 모니터링 스케쥴 설정에 필요한 멤버변수들 모아놓기
→ 여기서 제일 위에 Todo 로 남겨뒀던 AppGroupName이 필요하다
→ 그래야 위에서 생성했던 별개의 extension들이 연결된다!!!!!!
💡 xcconfig 에 대해서
단순히 해당 파일을 만드는게 아님.
Capability에서 App Group 추가
→ Shield Extension 제외하고 모두
→ 해당 group name에 추가해야 한다!
추가 : App Group 설정
- target이 다르기 때문에 각각의 target에서 공통으로 데이터를 주고받을 수 있도록 해야 함 → App Group 설정하기
- 참고 문서 : https://help.apple.com/xcode/mac/11.4/#/dev745c5c974
- App Group 설정 방법
XCConfig>shared.xcconfig파일 생성APP_GROUP_NAME = group.com.wetox
ScreenTimeAPI의 중요한 특징
위 방법을 통해 기기의 스크린타임을 화면에 뿌릴 수 있게 되었지만, 해당 값을 콘솔에 출력하거나 어떤 변수에 담을 수가 없었다. 디버깅도 불가능했고, 무엇이 문제인지 계속 찾다가 공식문서에서 다음과 같은 부분을 간과한 것을 알게되었다.
To protect the user’s privacy, your extension runs in a sandbox. This sandbox prevents your extension from making network requests or moving sensitive content outside the extension’s address space.
즉, 뷰에 데이터를 보여줄 수는 있지만, 해당 값에 직접 접근하거나 혹은 해당 extension의 외부로 내용을 옮기는 등을 아예 할 수 없도록 막아놓은 것이었다.
공식문서의 한 문장 한 문장을 꼼꼼하게 읽고 의미를 파악하는게 얼마나 중요한지 깨달을 수 있었다.
Wetox 프로젝트에서는 row data들이 필요해 ScreenTimeAPI를 직접 사용할 수는 없었지만, target을 관리하는 방법, XCConfig 관리, App Group의 역할 등을 명확하게 이해할 수 있었다.