탄력적 IP
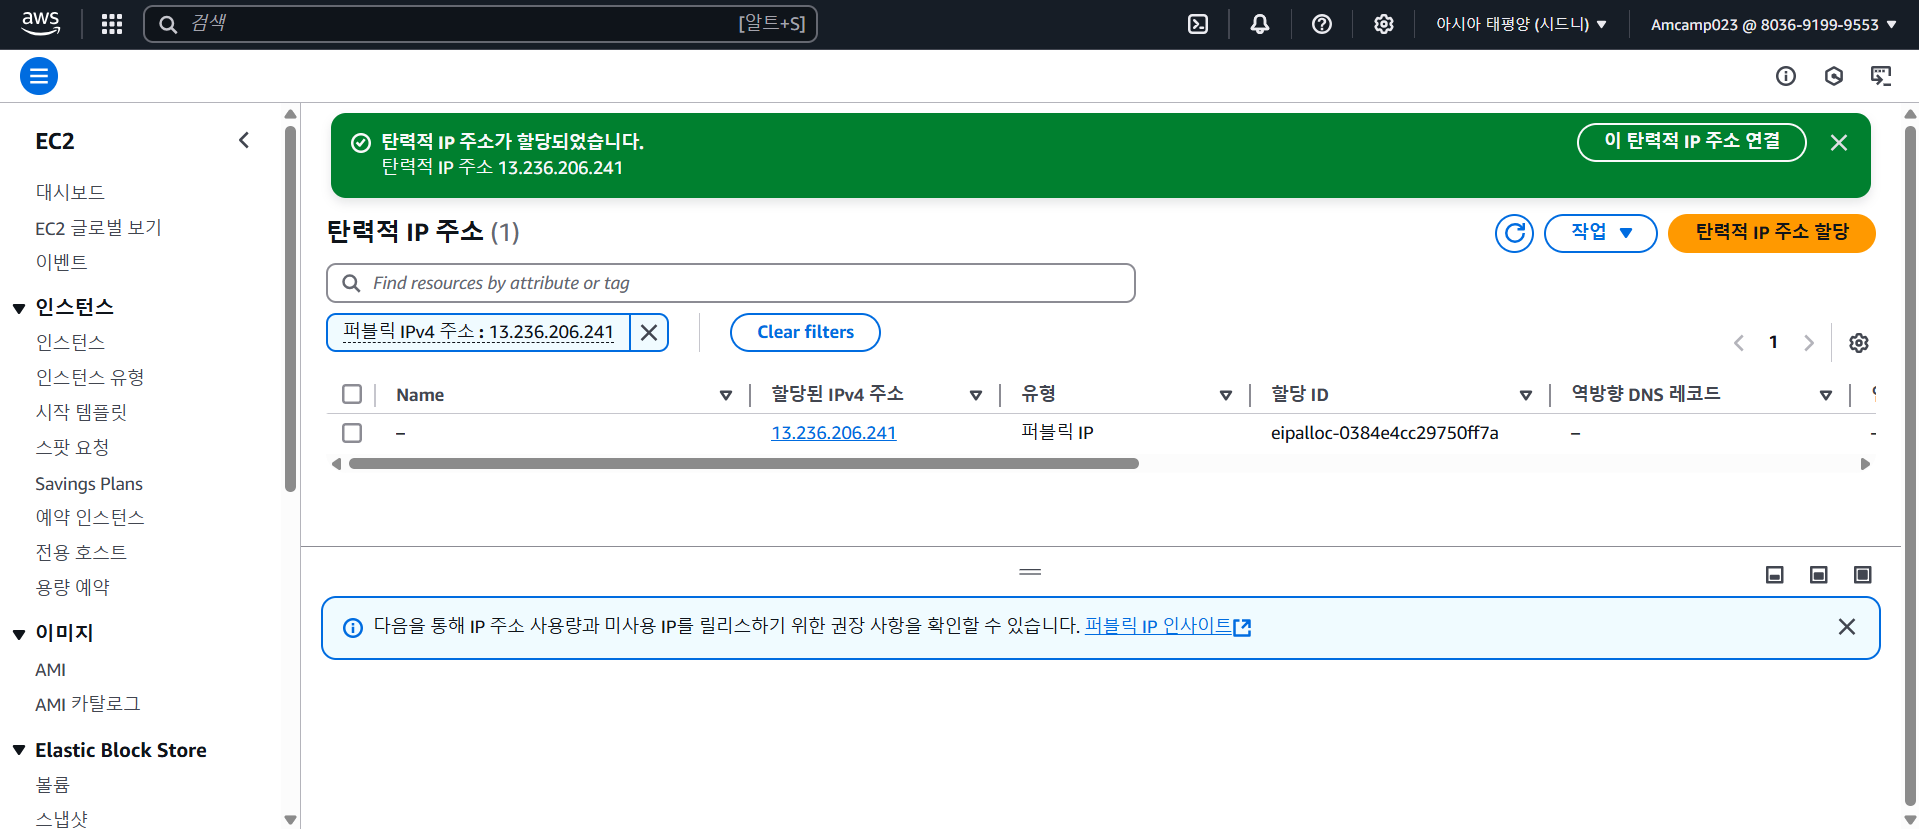

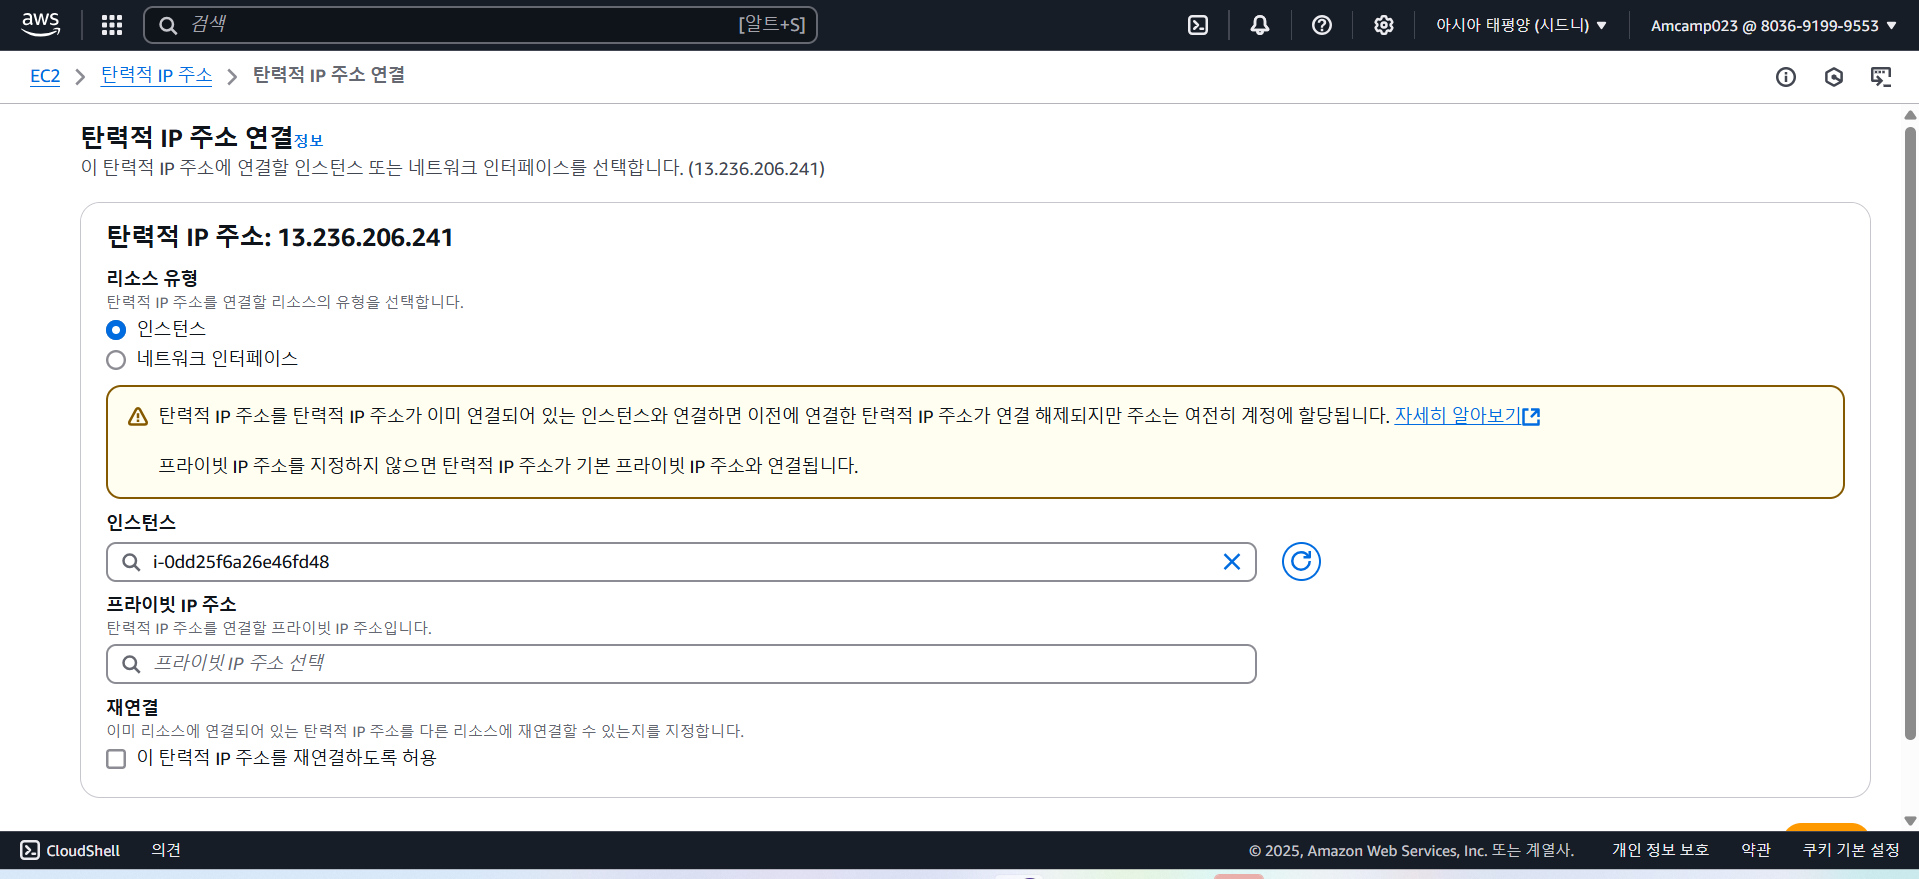
13.236.206.241(탄력적 IP와 연결된 인스턴스와 IP 주소 똑같다) 로 Terminus 접속
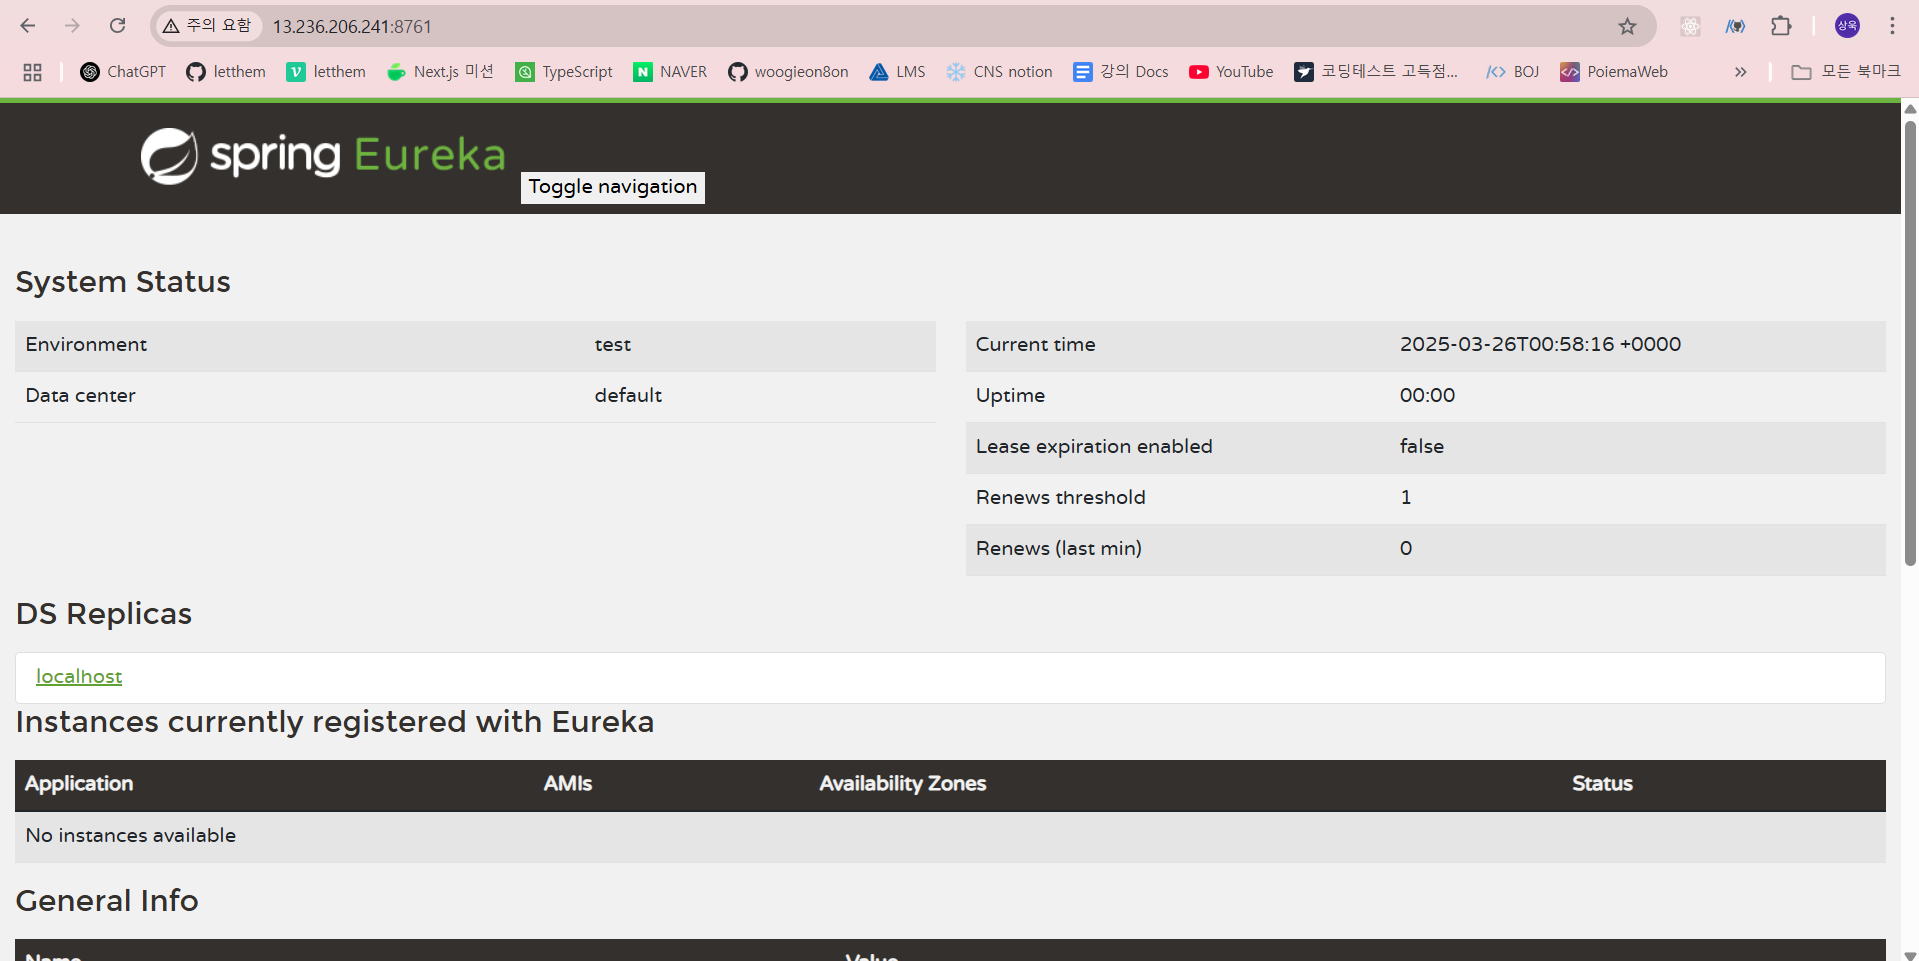
유레카 접속
docker run -d -p 8761:8761 --name service-discovery:1.0
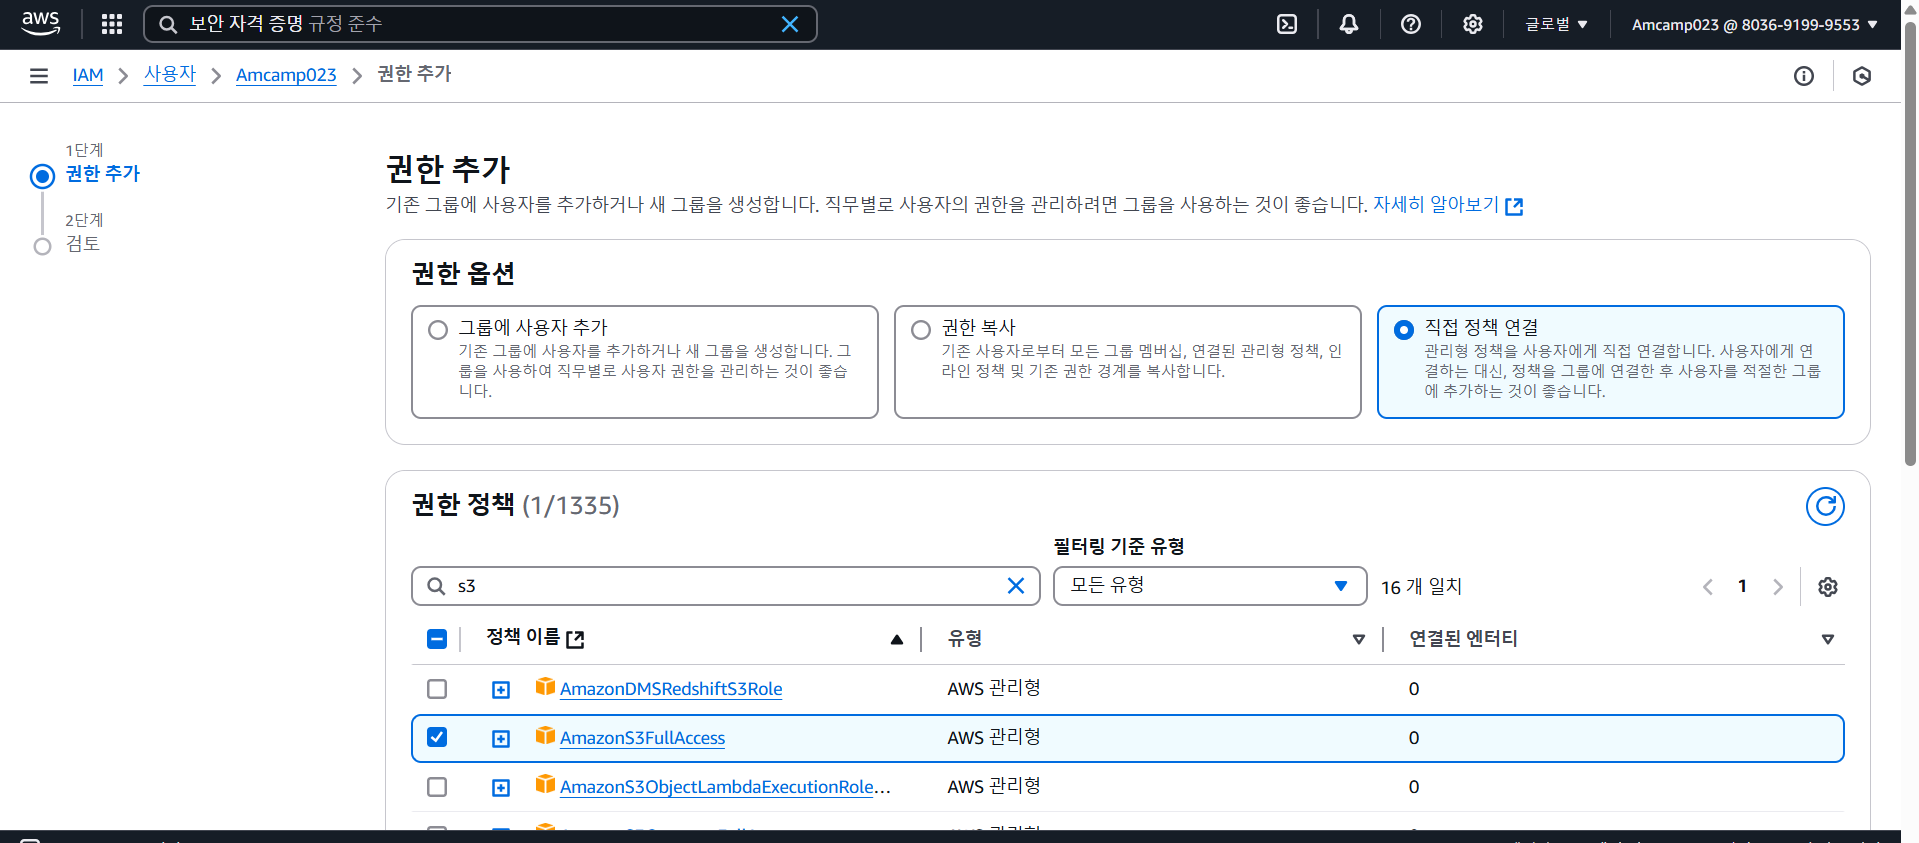
S3
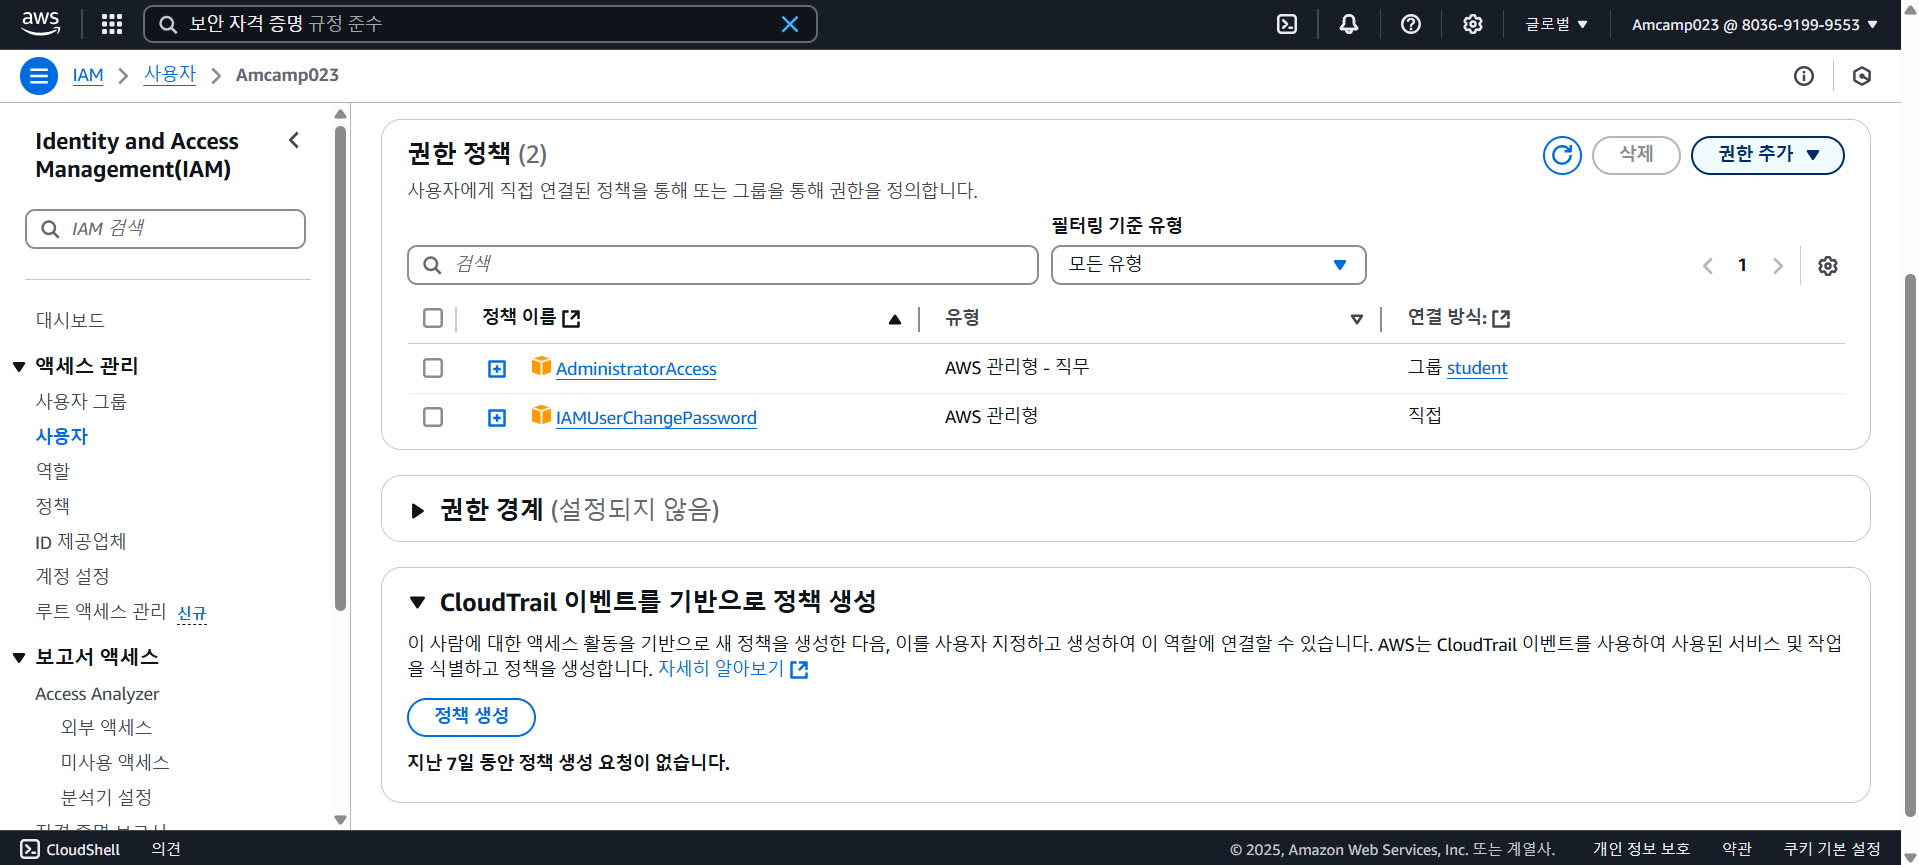
권한 추가
버킷 만들고 파일 업로드
폴더 만들어서 파일 업로드하면 검색 속도가 더 빠르다 !
S3 URI : s3://letthem-bucket-20250326/스크린샷 2025-03-05 155246.png
- 웹 브라우저
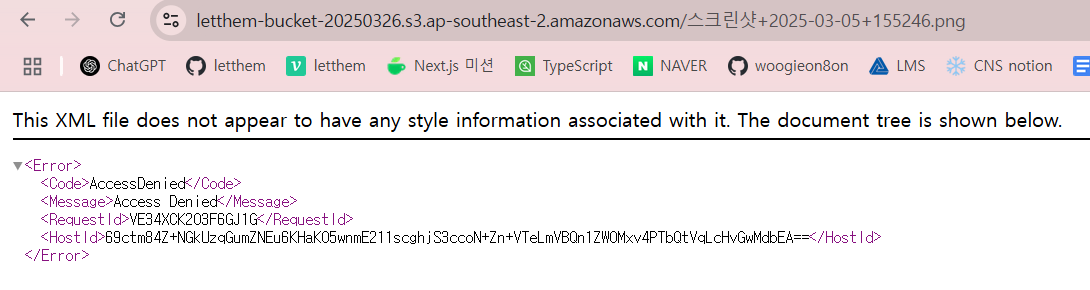
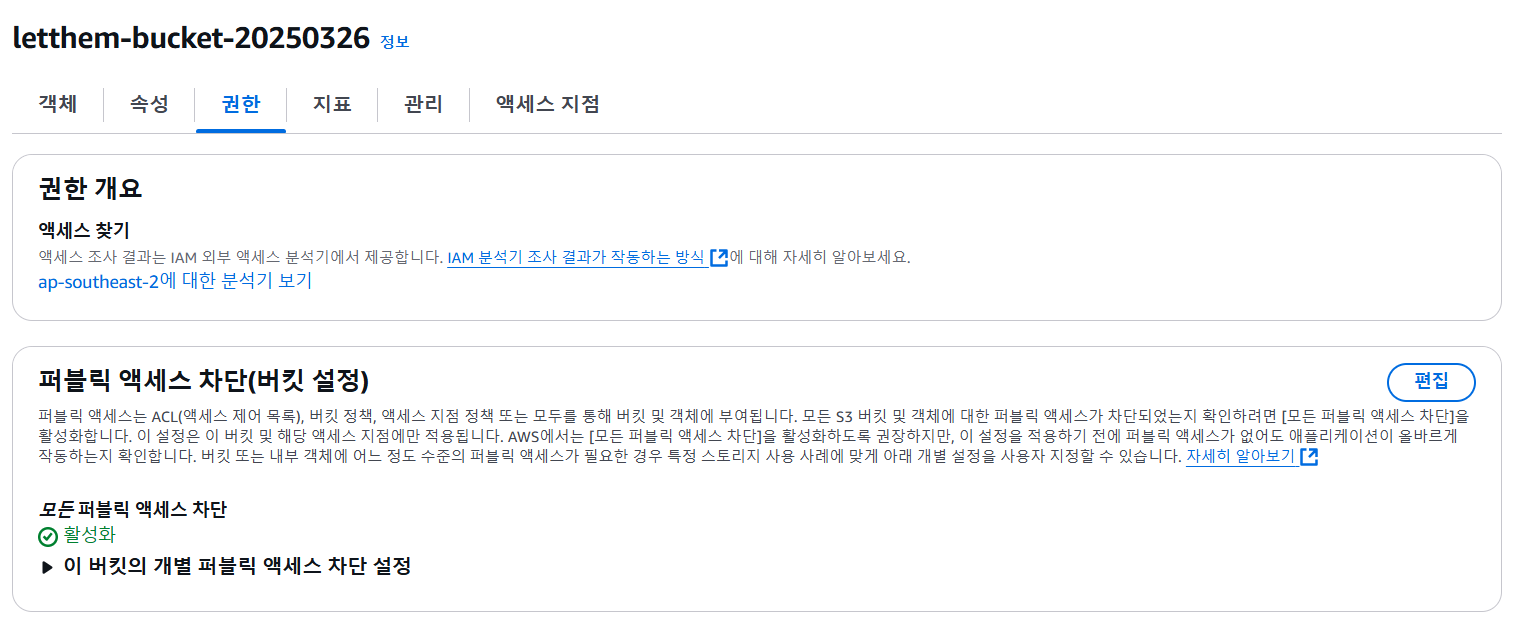
외부에서 접근 불가
버킷 권한 수정 🔽

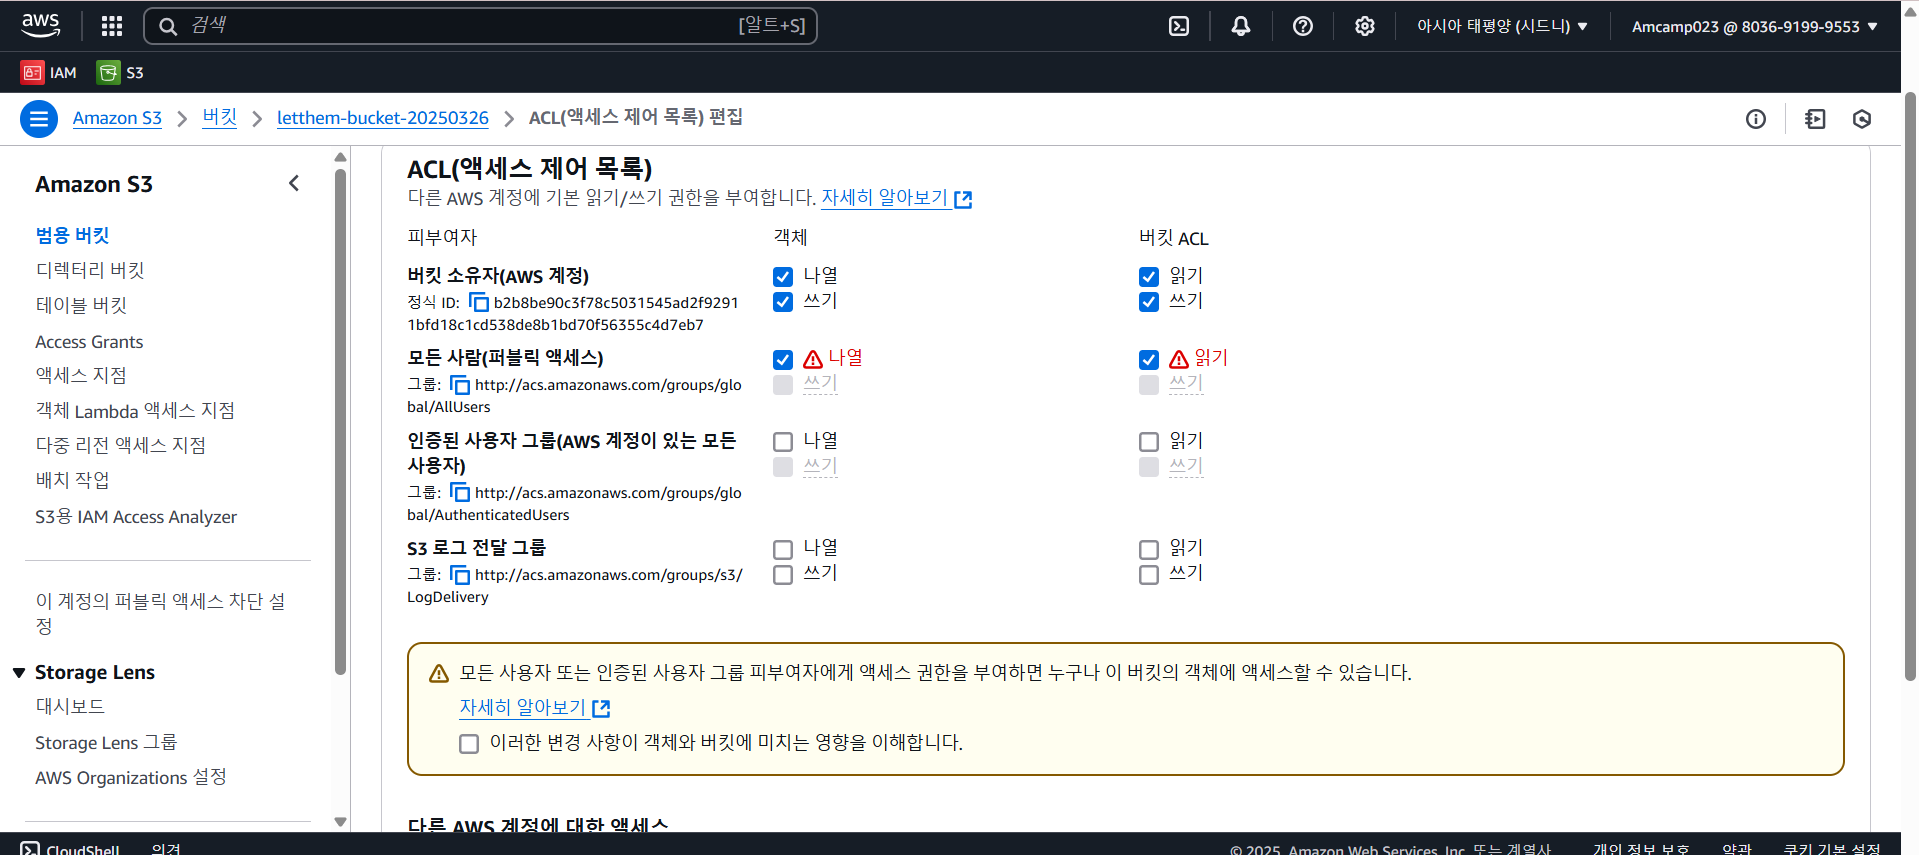
객체 권한 수정 🔽
외부에서 URL로 접근 가능 🔽

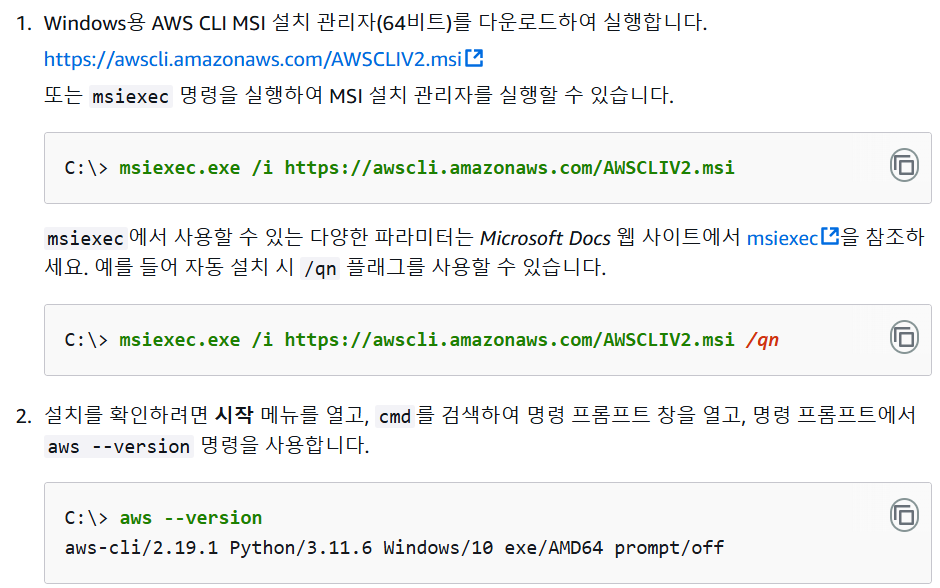
AWS CLI 설치
https://docs.aws.amazon.com/ko_kr/cli/latest/userguide/getting-started-install.html
msiexec.exe /i https://awscli.amazonaws.com/AWSCLIV2.msi
aws --version
액세스 키 만들기
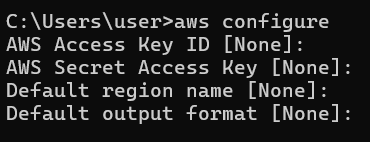
자격 등록
aws configure
Default output format 제외 각각 입력
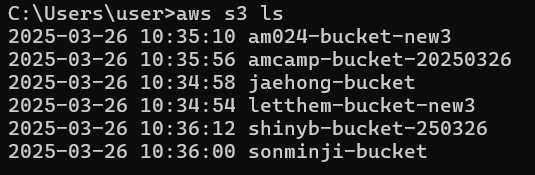
확인
aws s3 ls
aws ec2 ls describe-instances
파일 업로드/다운로드
aws s3 ls
내 버킷으로 이동
aws s3 cd letthem-bucket-new3
버킷 내부 객체 확인 => 비어있음
aws s3 ls letthem-bucket-new3
업로드할 사진 있는 곳으로 이동 후 검색
cd C:\Users\user\Downloads
dir hi.png*
업로드
`aws s3 cp .\hi.png s3://letthem-bucket-new3

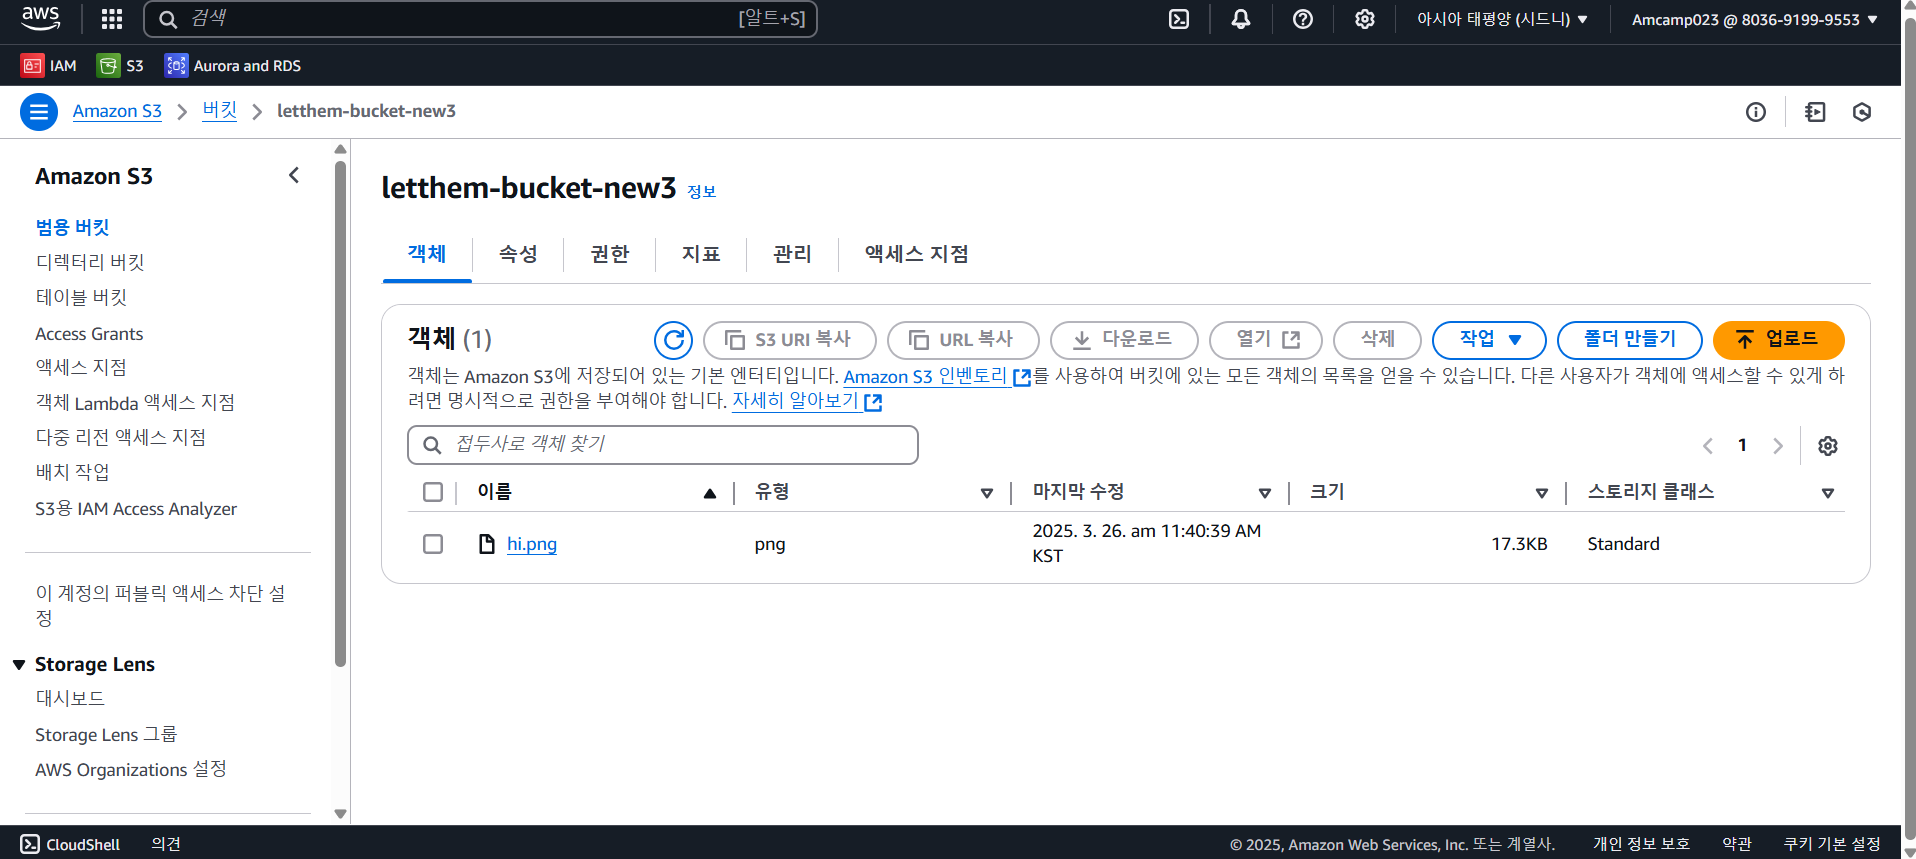
업로드 잘된 것 확인 !!
업로드 할 때 안에 있는 모든 폴더나 파일도 함께 올리고 싶으면 명령어 뒤에 --recursive 옵션 붙여주면 된다.
다운로드
aws s3 cp s3://letthem-bucket-new3/hi.png .\

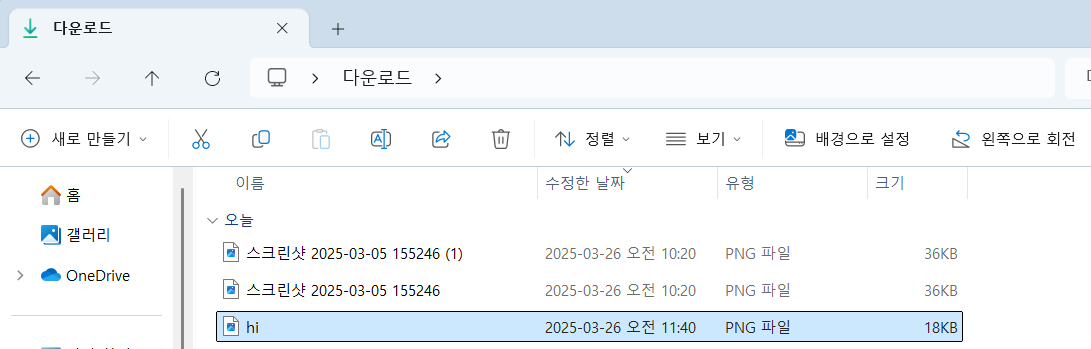
다운로드 잘된 것 확인 !!
RDS
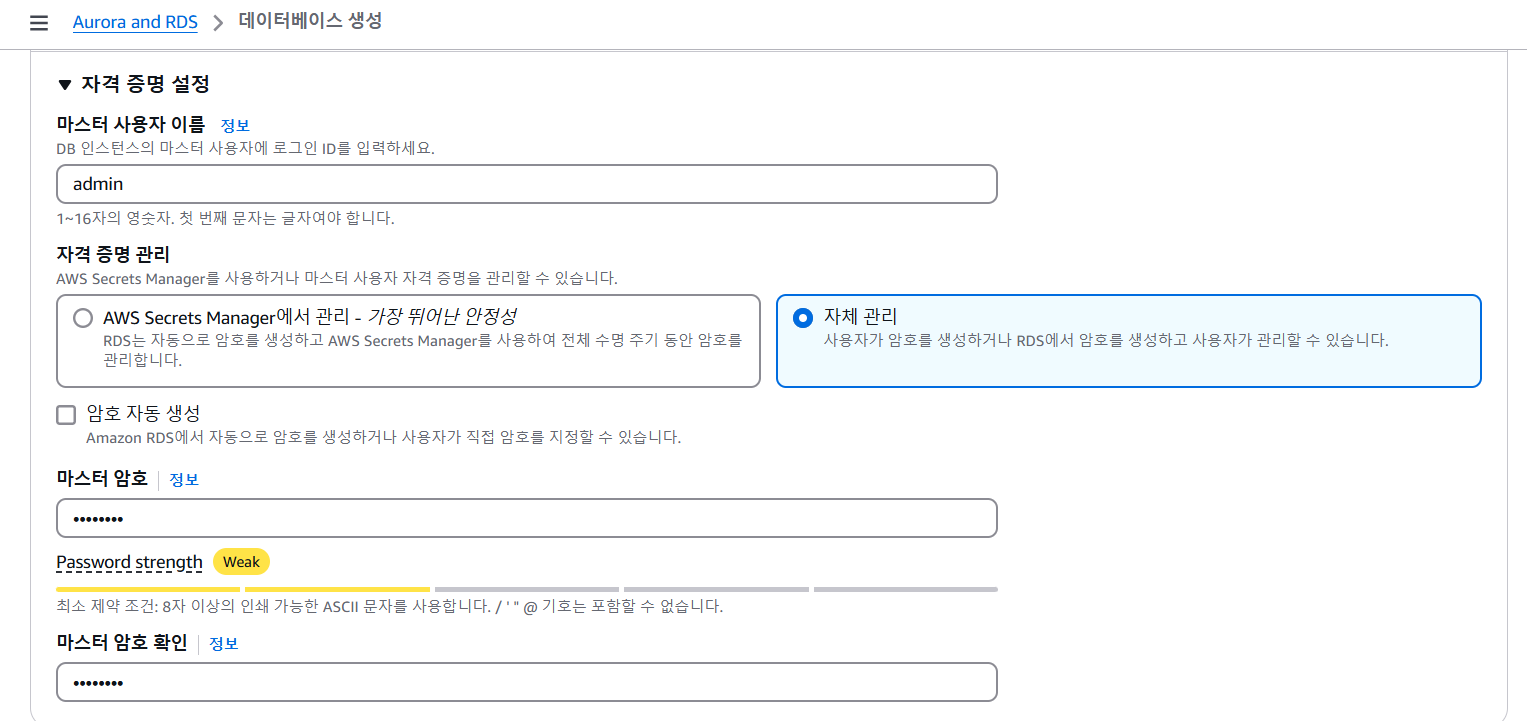
Aurora and RDS > 데이터베이스 생성
MySQL 선택
프리티어 선택
database 생성 !!
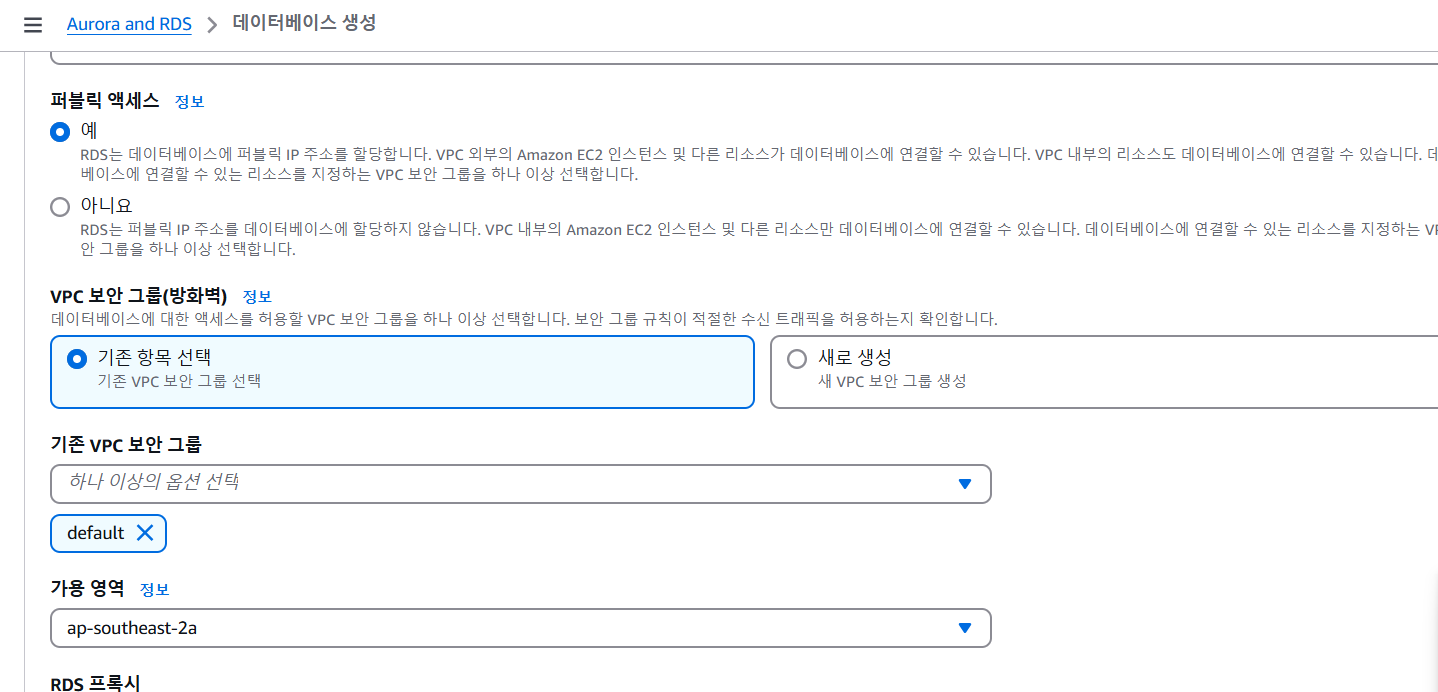
보안그룹 인바운드 규칙
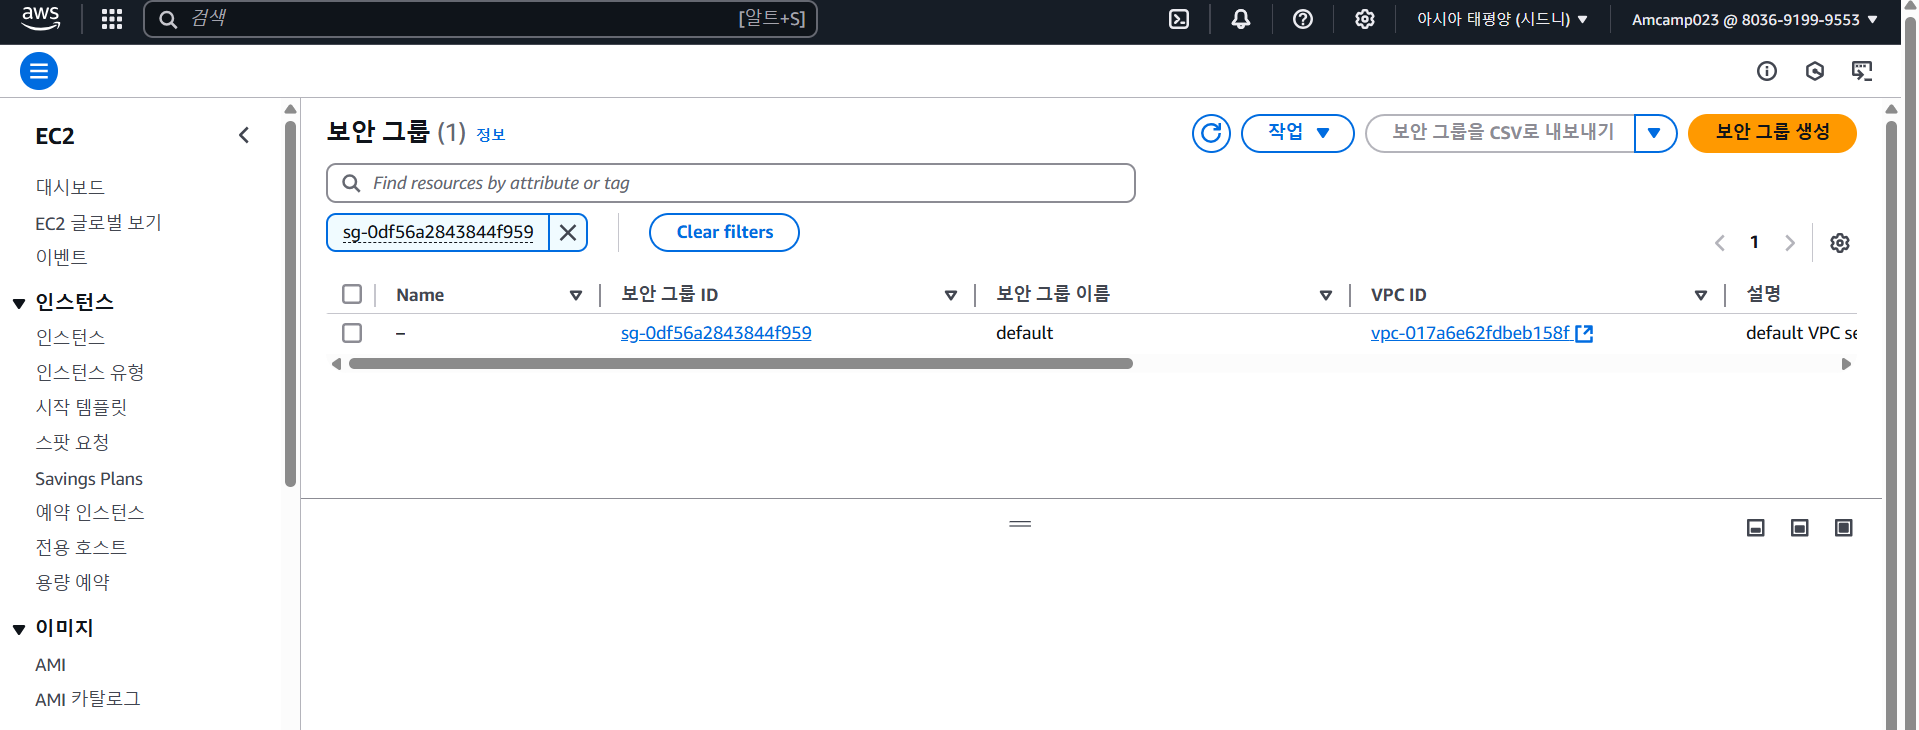
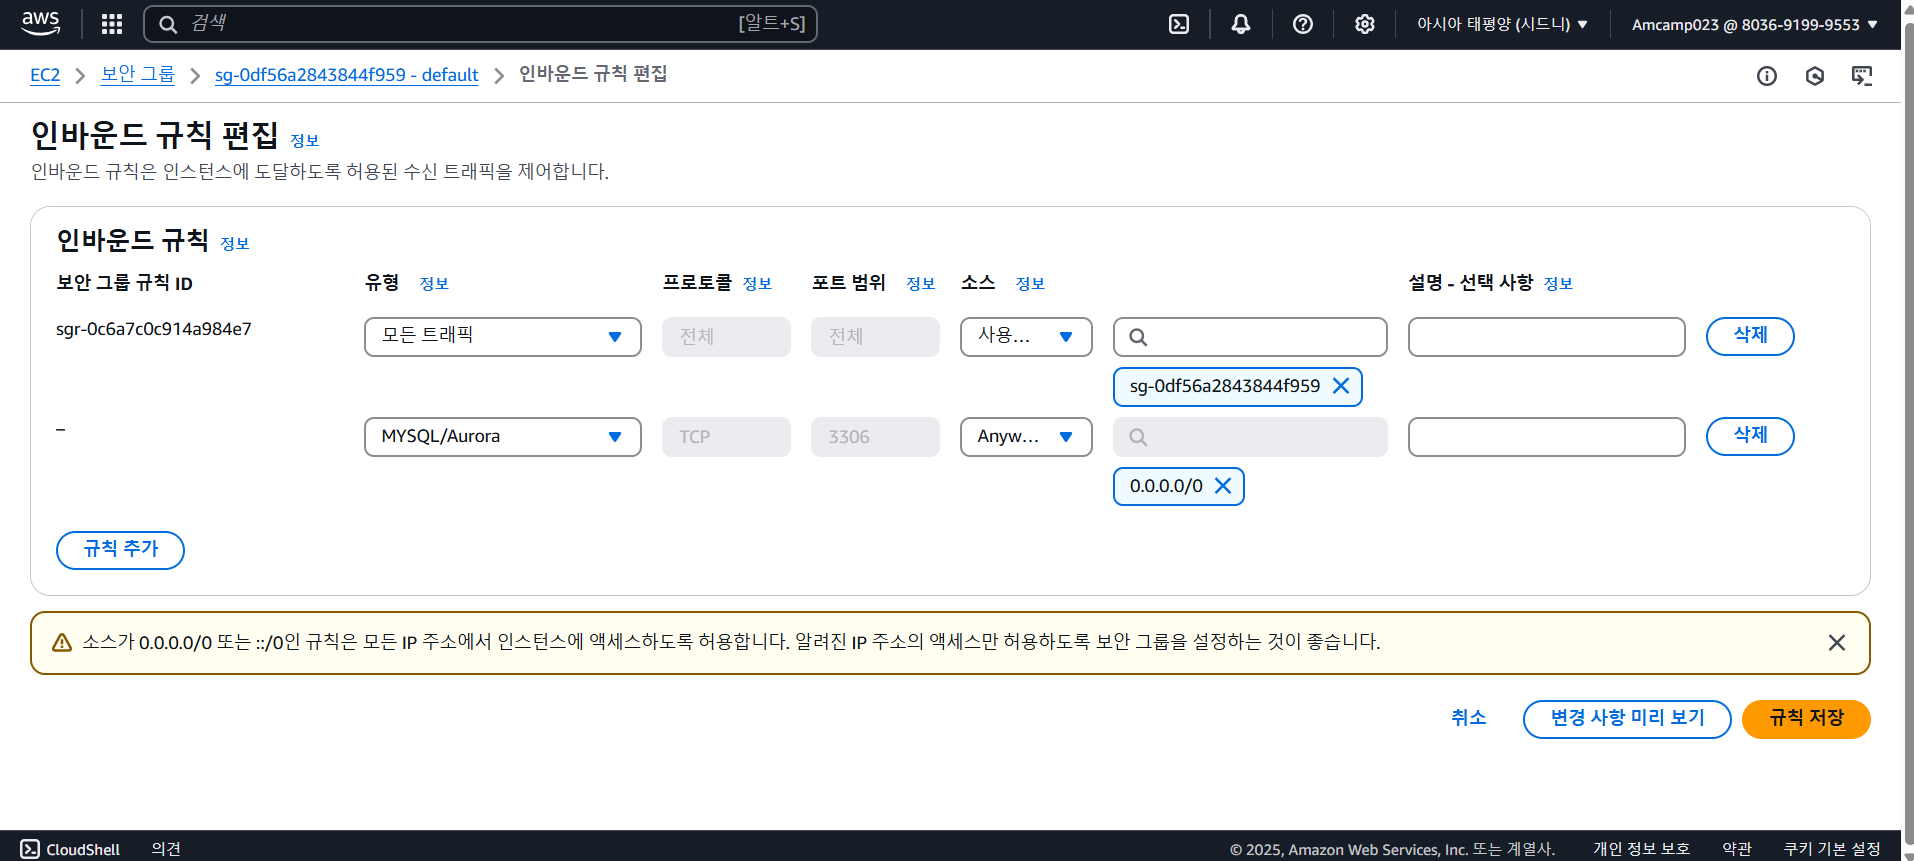
추가 - MySQL, Anywhere IPv4
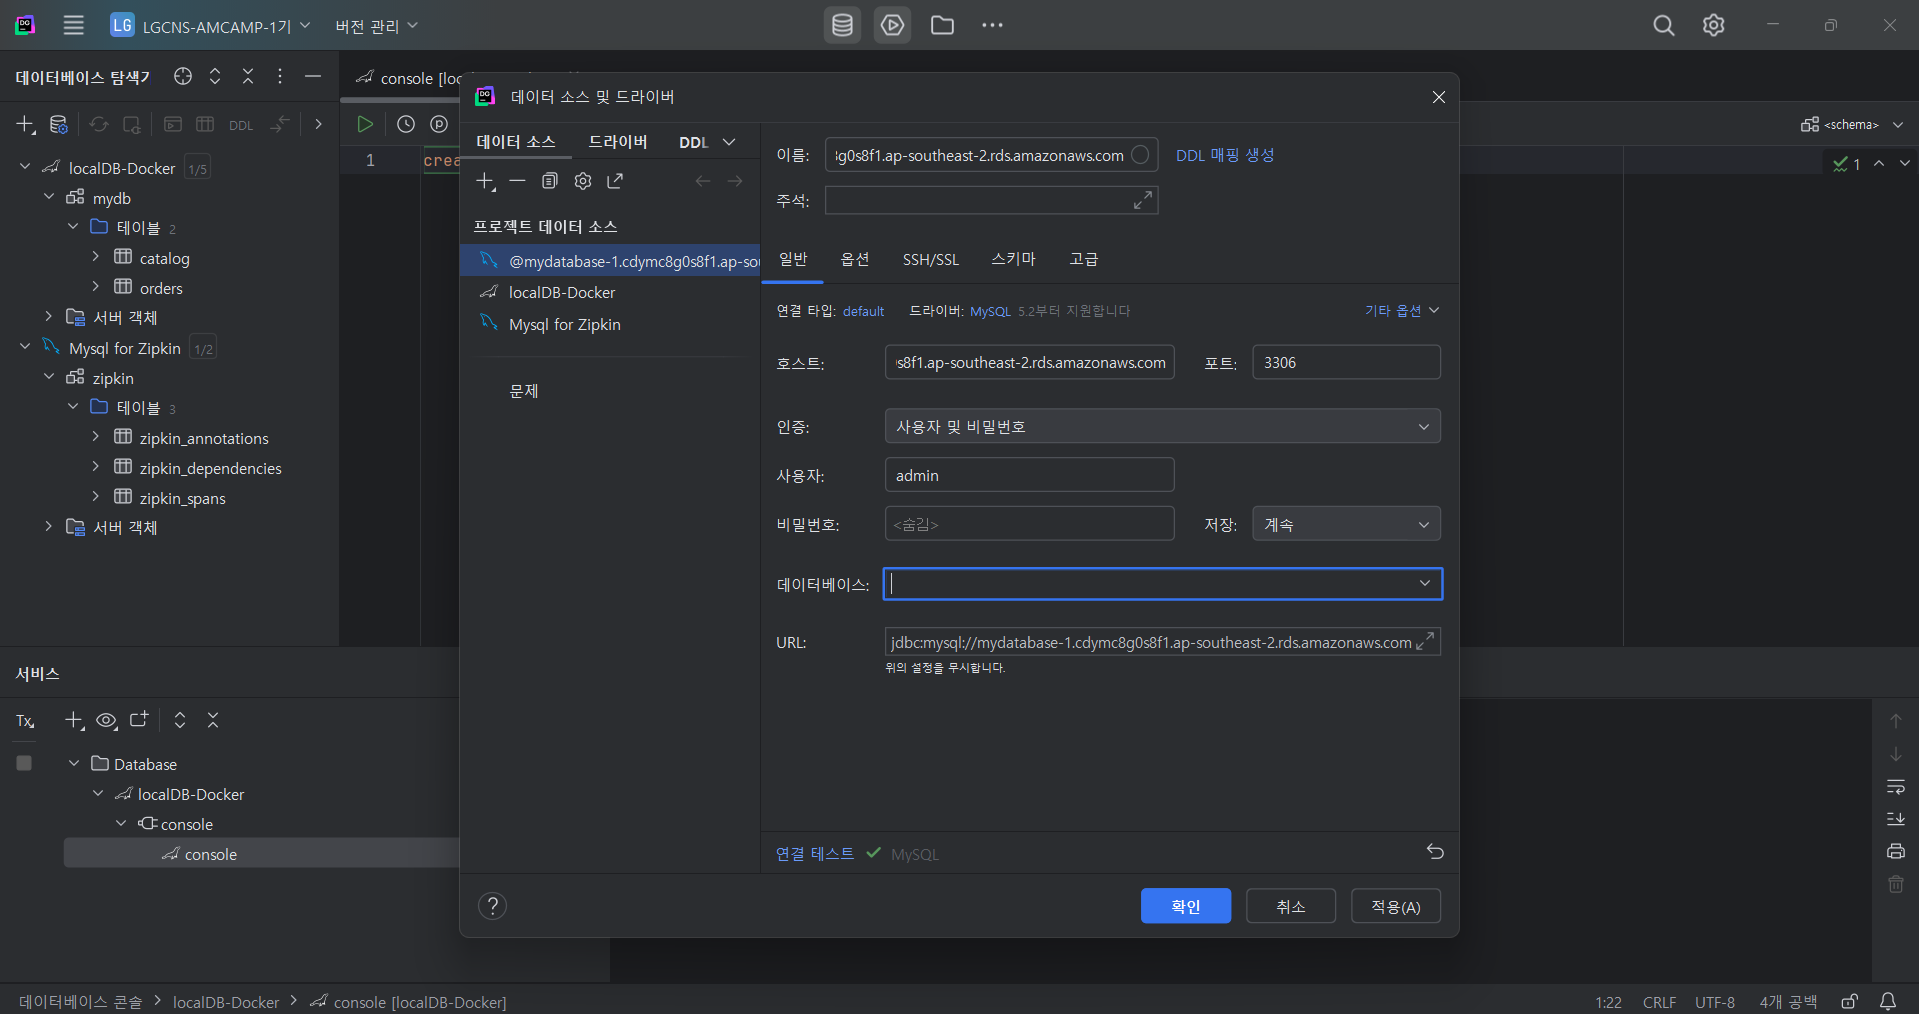
datagrip에서 db-rds 연결
create table mydb.users(id int, name varchar(10));
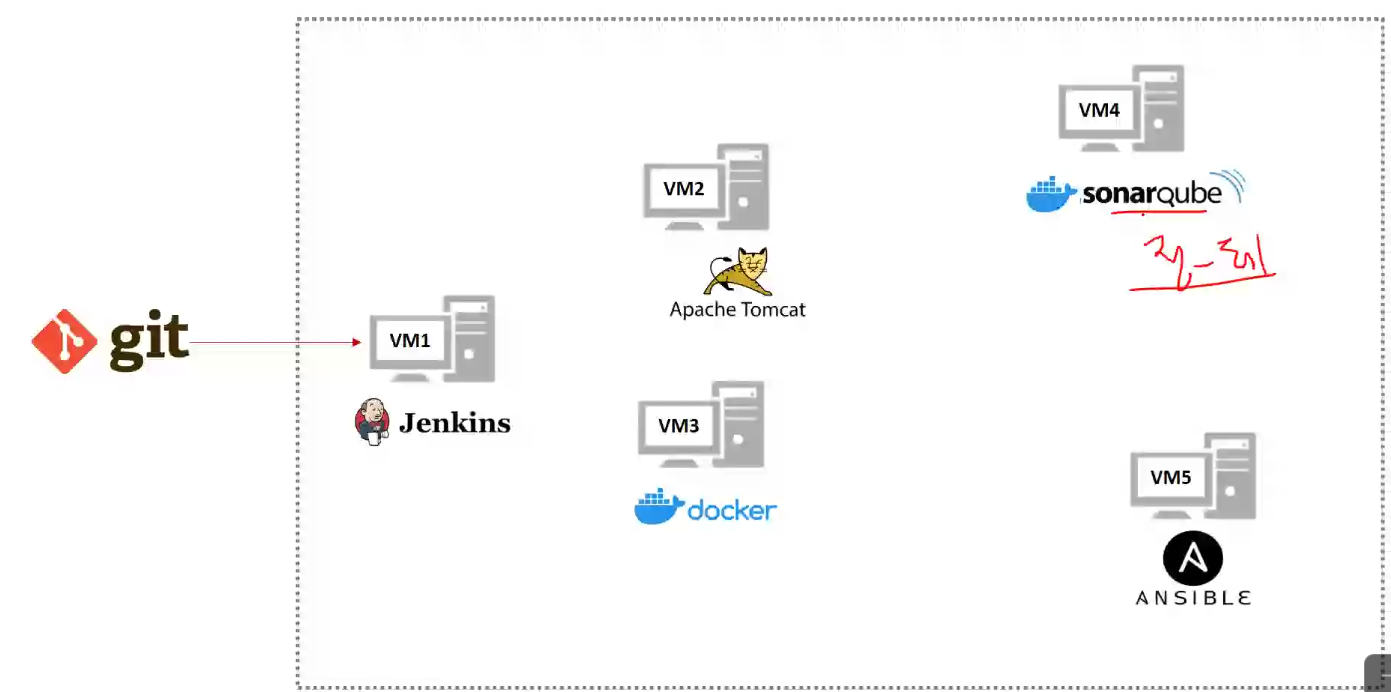
AWS Cloud 실습 환경 구성도
Jenkins 설치
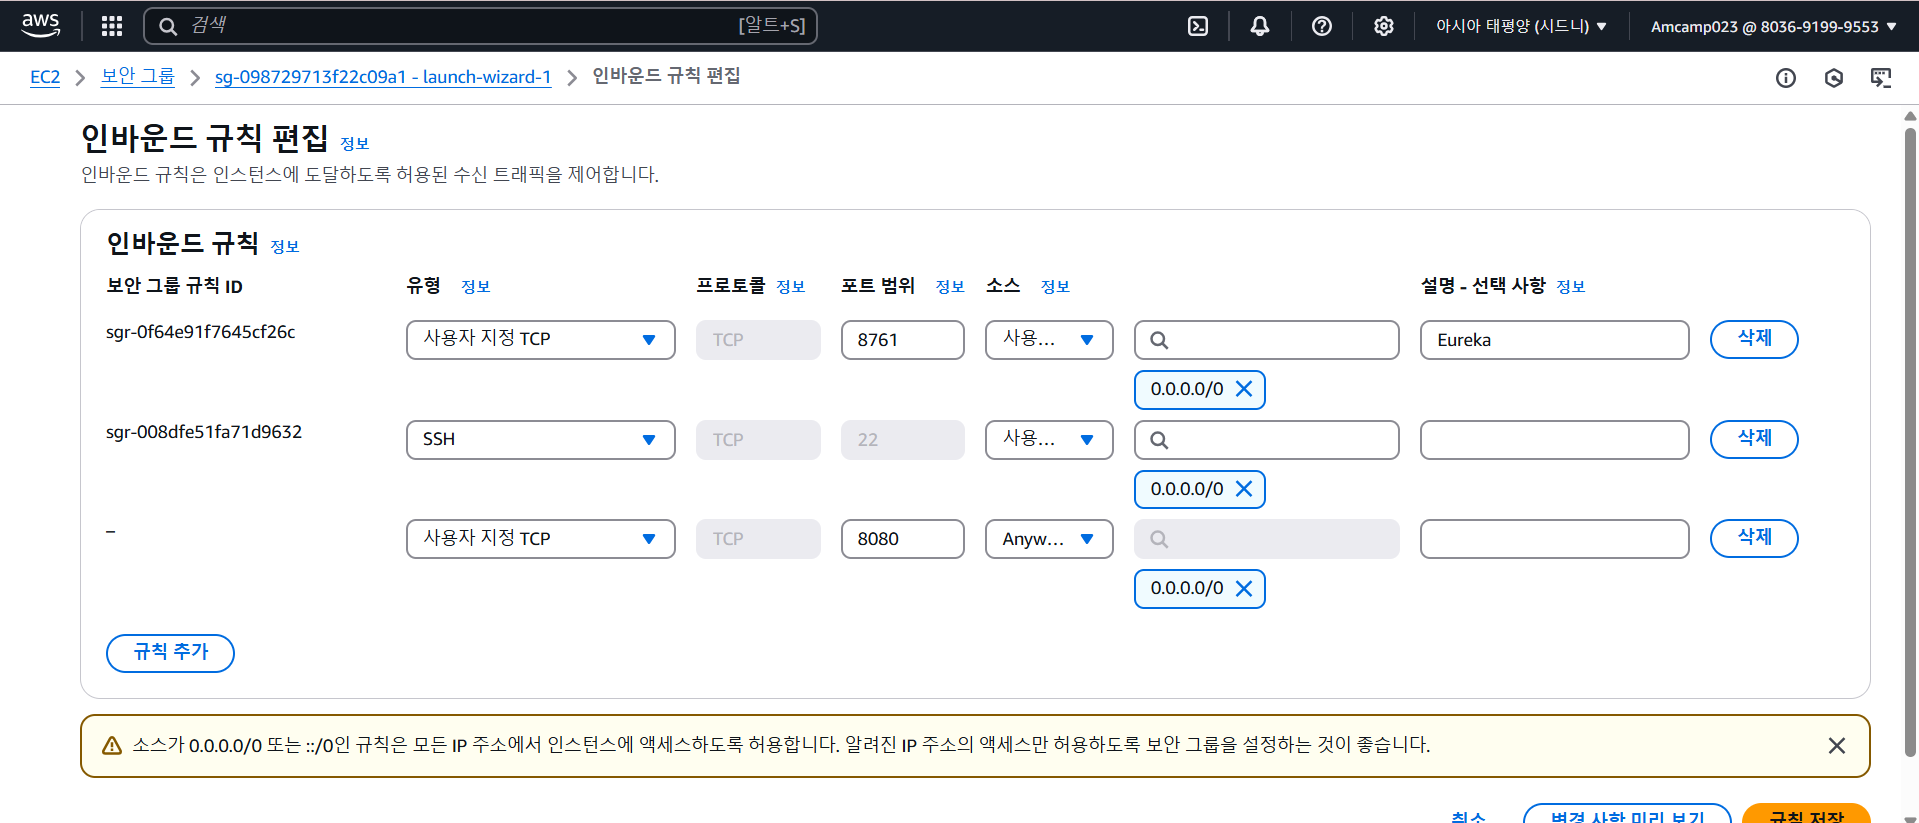
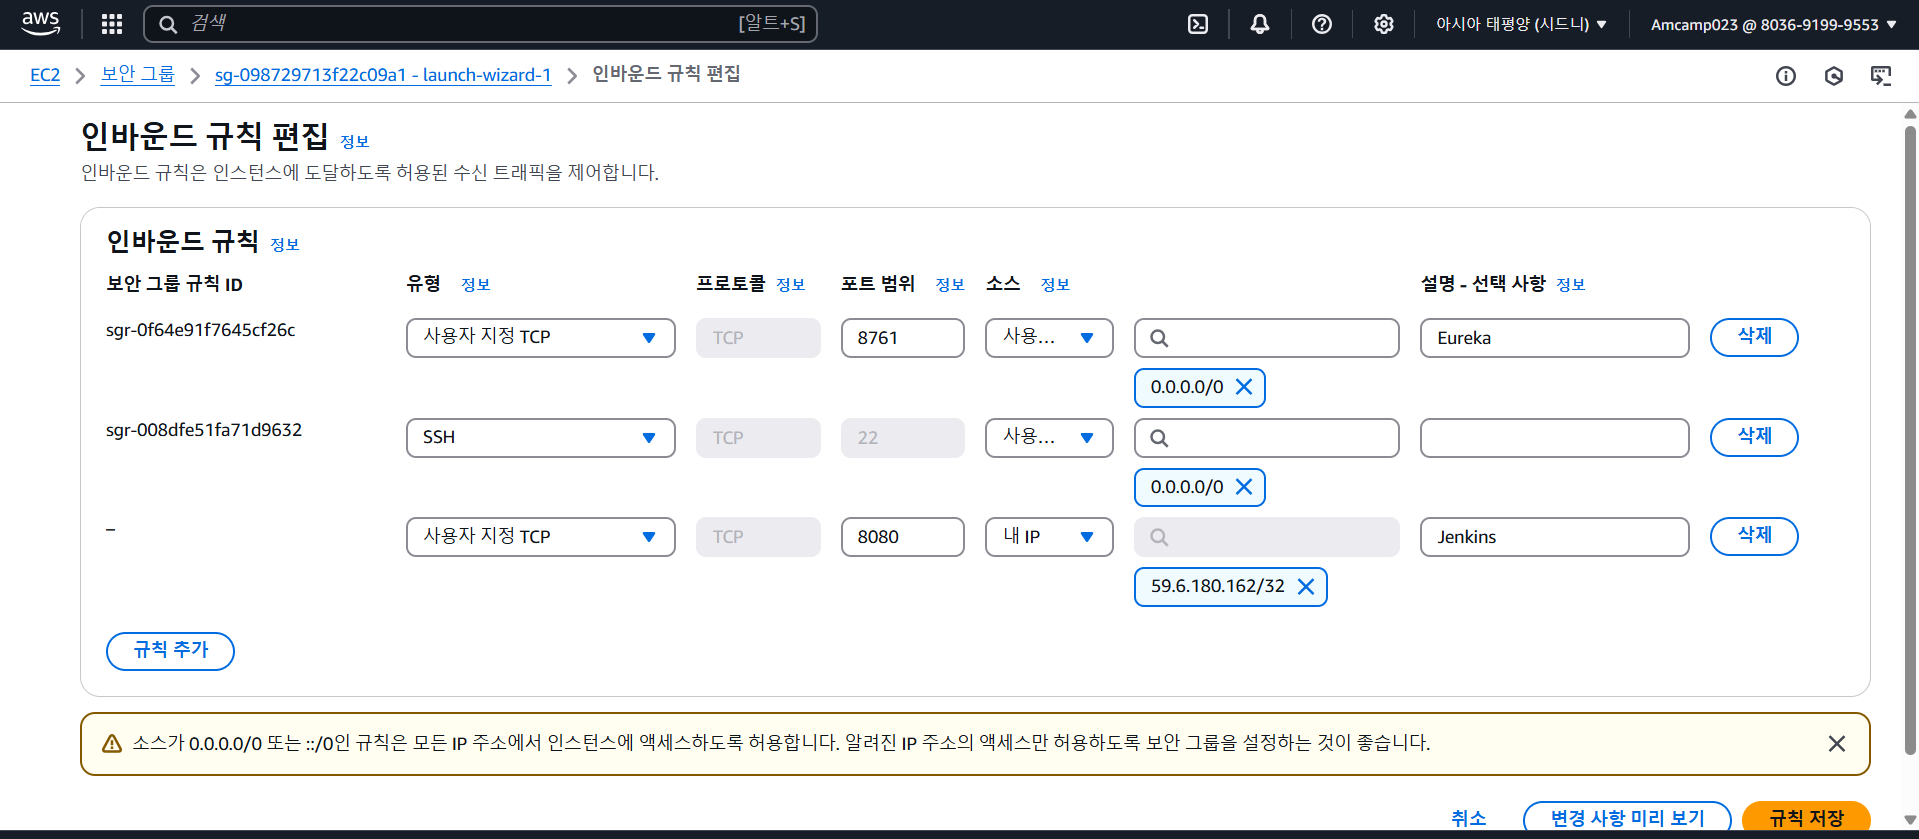
ec2 인스턴스에 jenkins 위해 보안그룹 인바운드 규칙 8080 추가
terminus에서
sudo amazon-linux-extras install epel -y
sudo wget -O /etc/yum.repos.d/jenkins.repo https://pkg.jenkins.io/redhat-stable/jenkins.repo
sudo rpm --import https://pkg.jenkins.io/redhat-stable/jenkins.io-2023.key
sudo yum install jenkins -y
rpm -qa | grep jenkins
sudo systemctl enable jenkins
sudo systemctl start jenkins
error
systemctl status jenkins

오류 메시지를 볼 수 있음
journalctl -xe | grep 22157
sudo yum install java-17-amazon-corretto
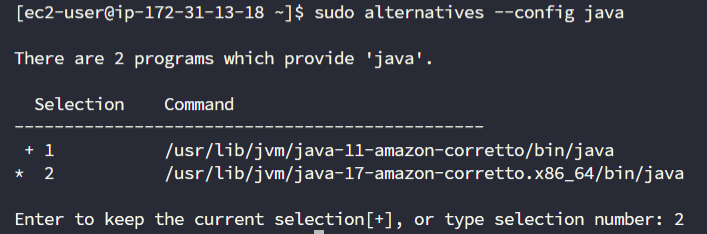
자바 버전 변경
sudo alternatives --config java
jenkins 재기동
sudo systemctl start jenkins
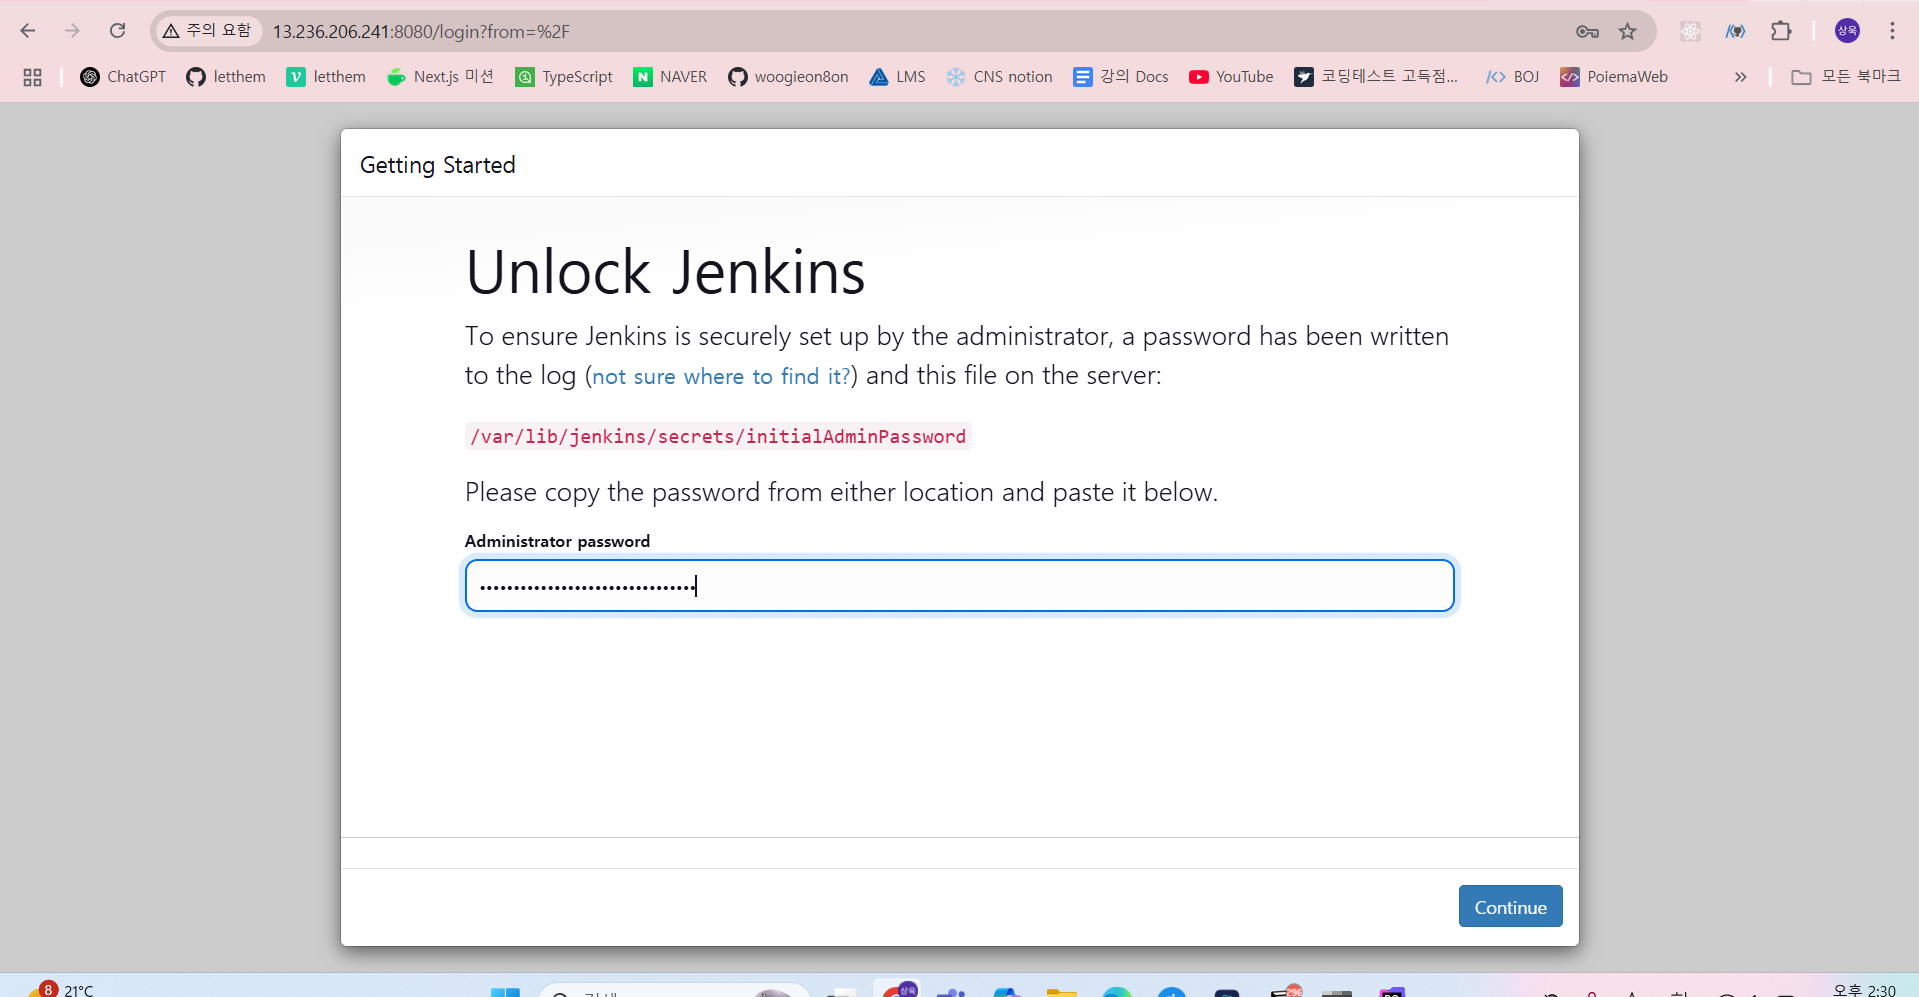
sudo cat /var/lib/jenkins/secrets/initialAdminPassword
이렇게 나오는 비밀번호로 [IP주소]:8080 접속
Jenkins 작업
1) 초기 플러그인 설치
2) 기본 계정 생성 (admin 등)
3) 초기 설정 -> Maven, JDK, 서버 추가 등
- JAVA_HOME 경로 에러
sudo yum remove java-11-amazon-corretto-devel.x86_64
sudo yum install java-17-amazon-corretto-devel
ls -al /usr/lib/jvm/java-17-amazon-corretto.x86_64/bin확인 (java, javac 0)
- 플러그인 설치
- Publish Over SSH
- Deploy to container
- Maven Integration
- 젠킨스 서버에서 docker-server 연결
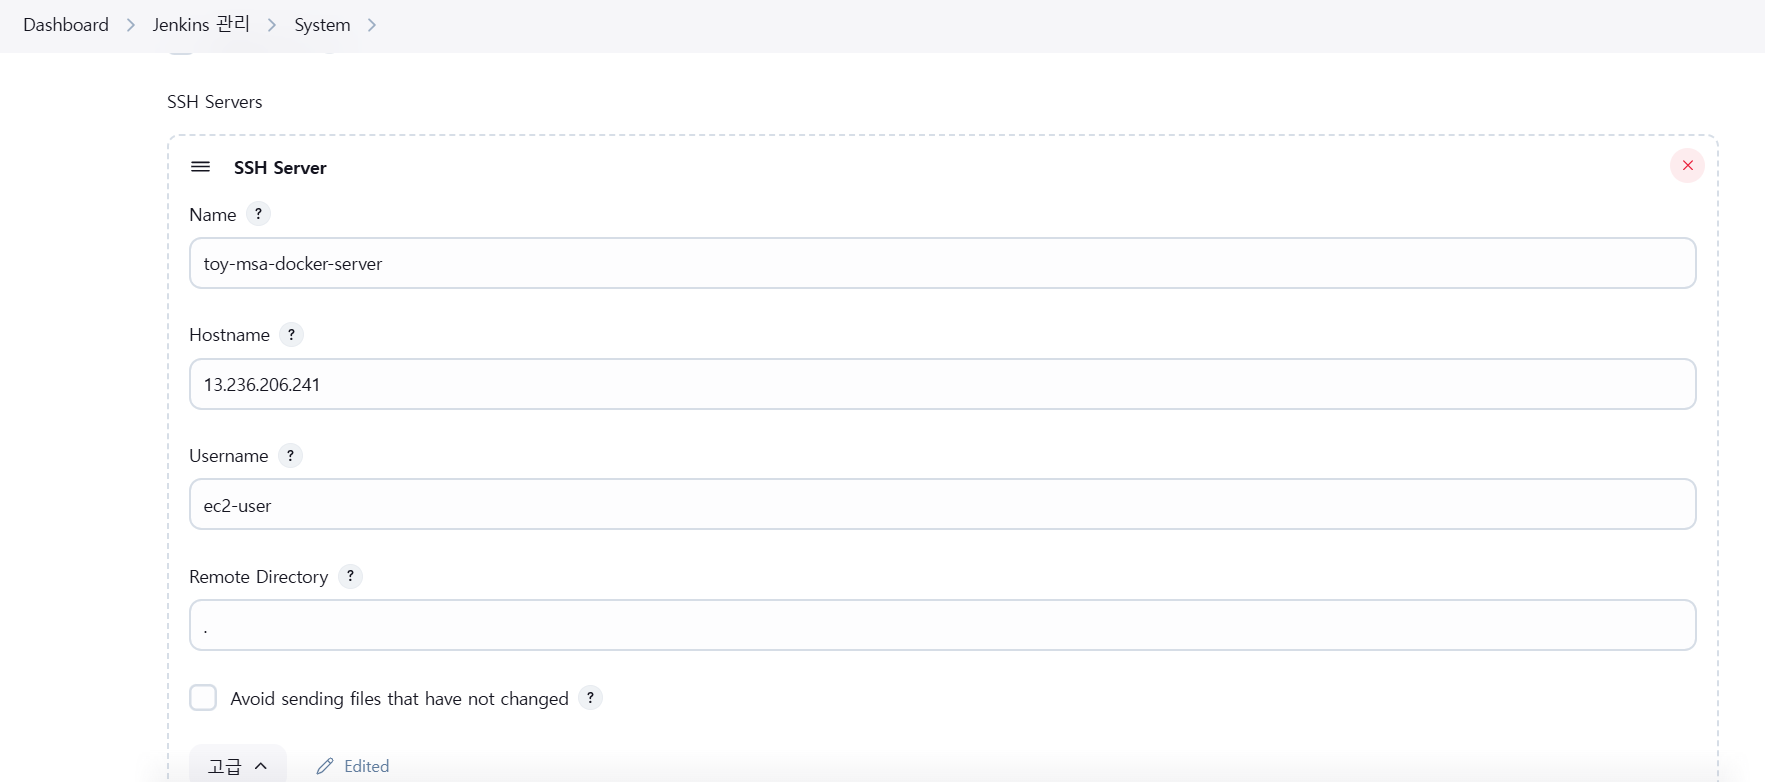
젠킨스 설정 > ssh servers 추가
name: toy-msa-docker-server
hostname: docker-server public IPv4
username: ec2-user
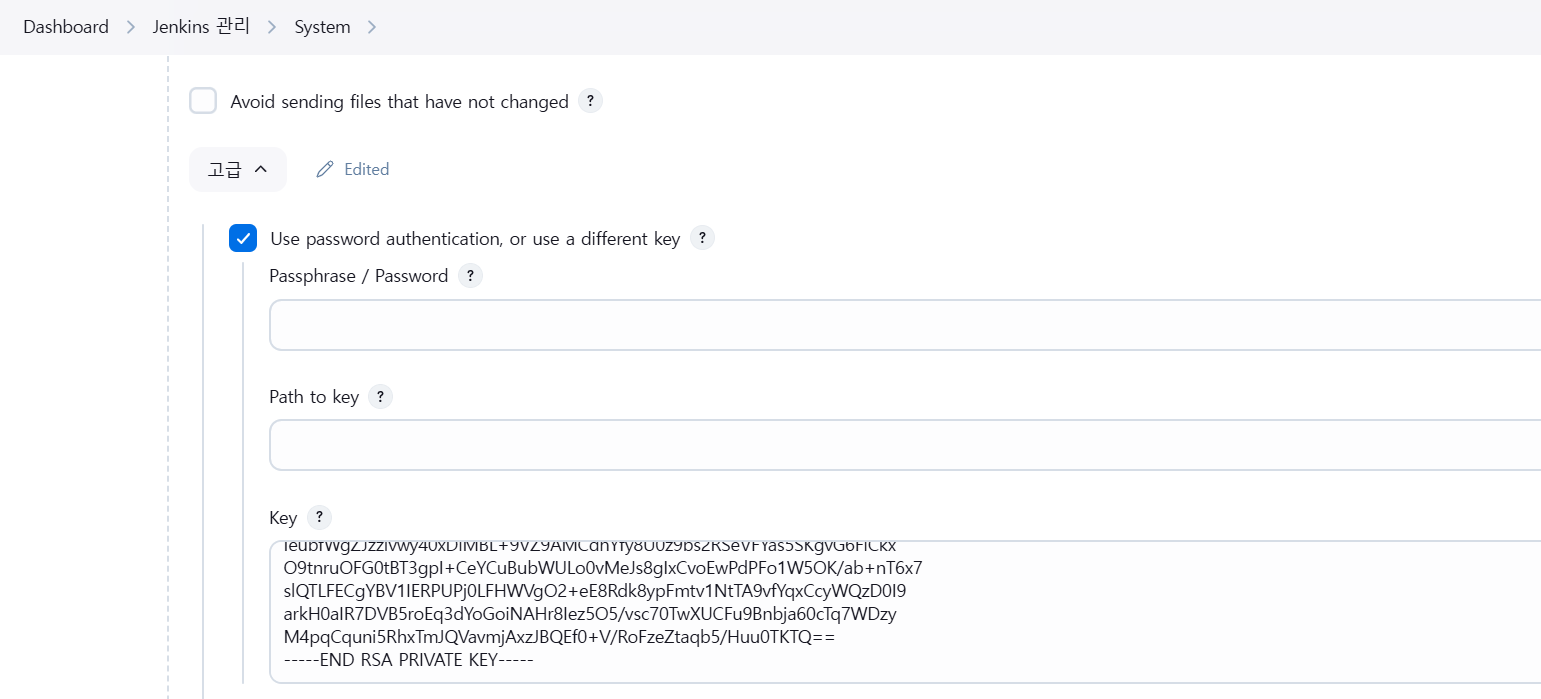
remote directory: .


고급 > use password 체크 > key에 pem키를 vscode로 열어서 전체 다 copy해서 붙여넣기
4) Docker-Server로 사용할 ec2 생성 (toy-msa 이미지 사용)
Jenkins 를 이용하여 CI/CD
1) Jenkins에서 프로젝트 빌드
2) Docker-Server에 결과파일 전송
3) Docker-Server에서 container 이미지 빌드
4) 3번 예제를 Pipeline으로 변경해서 작업
5) container 이미지를 ECR에 전송
my-first-project
maven build로 프로젝트 생성
소스 코드 관리 > git
https://github.com/joneconsulting/cicd-web-project
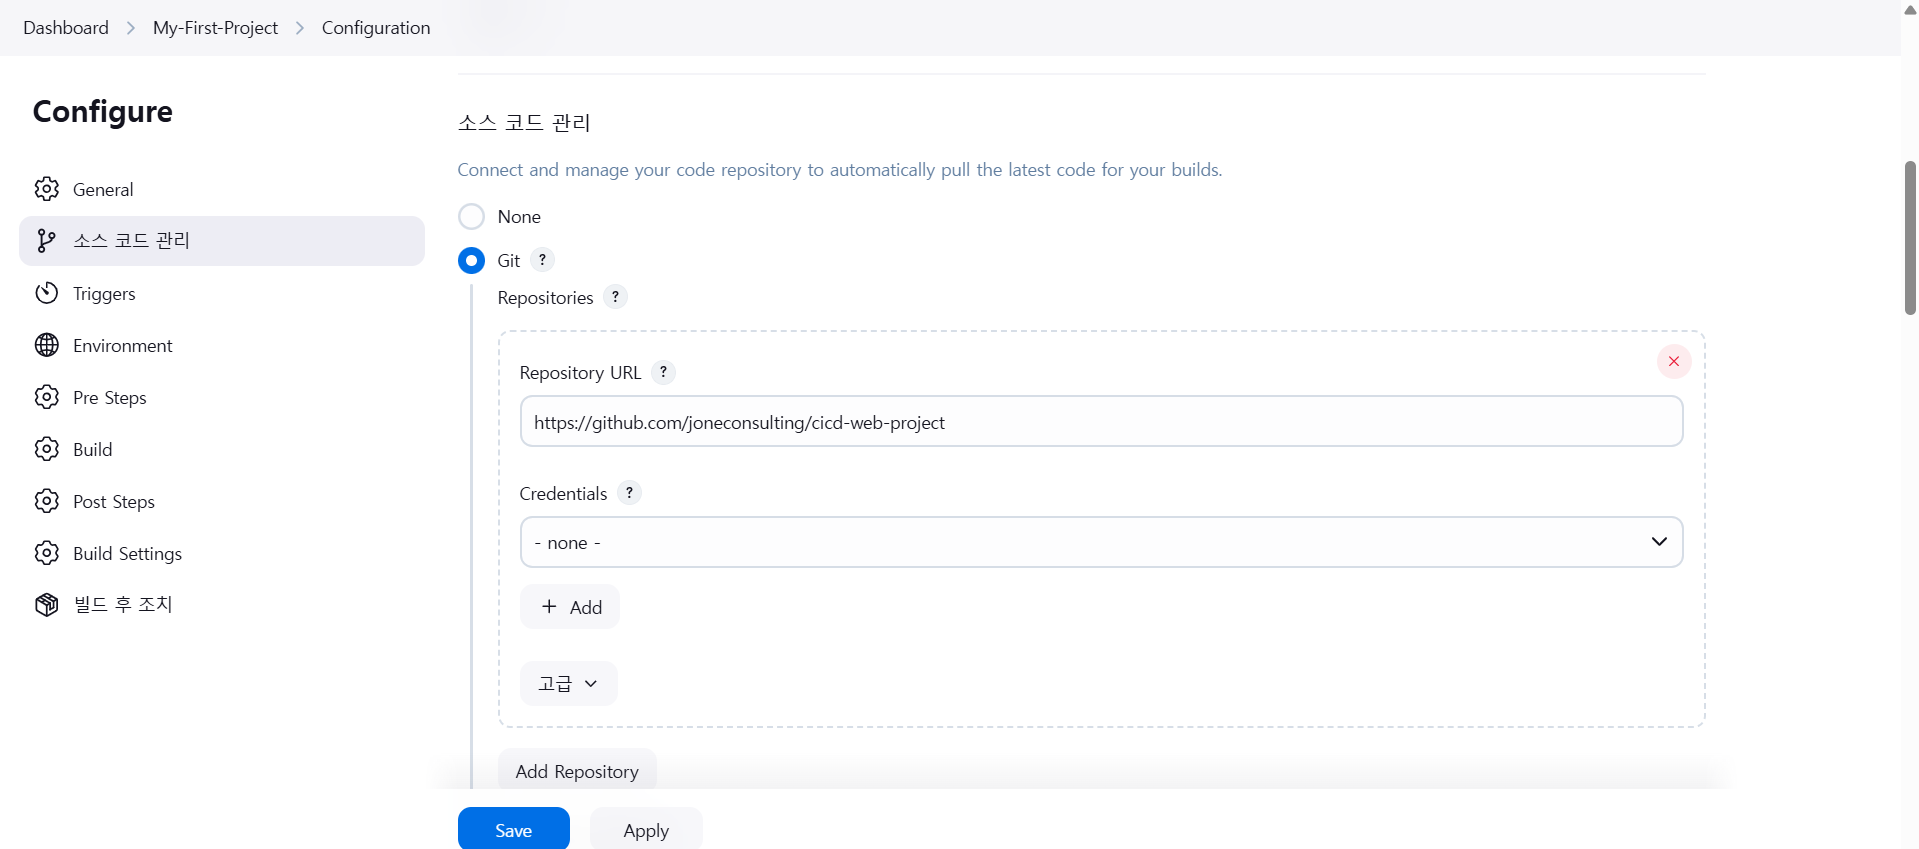
*/main
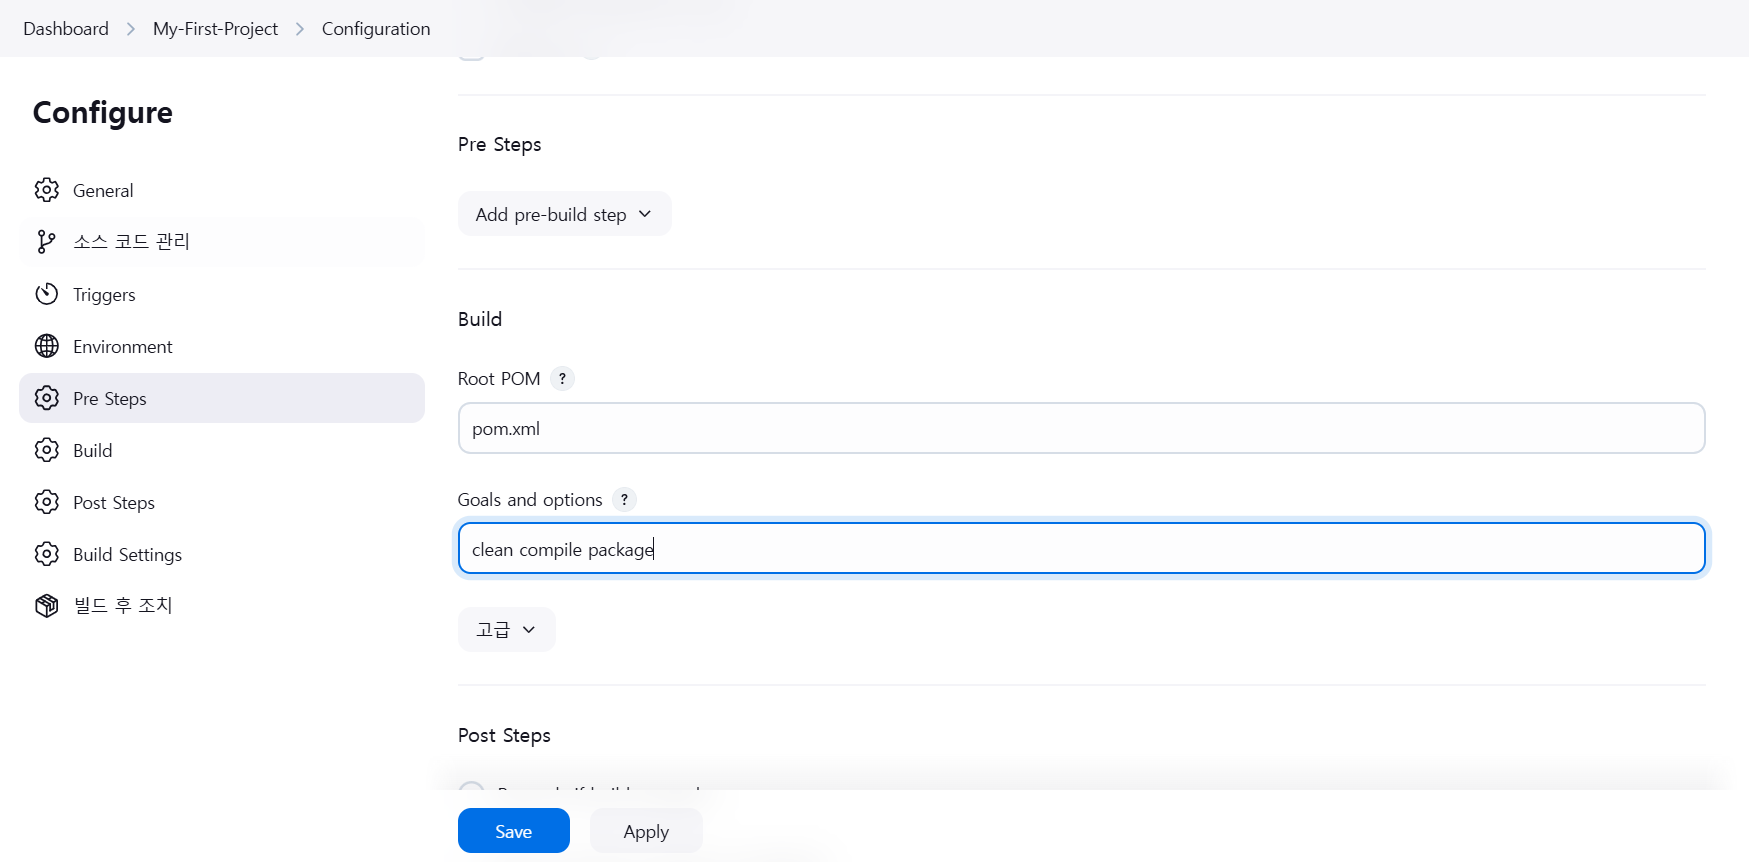
clean compile package
my-second-project
my-first-project 가져오기
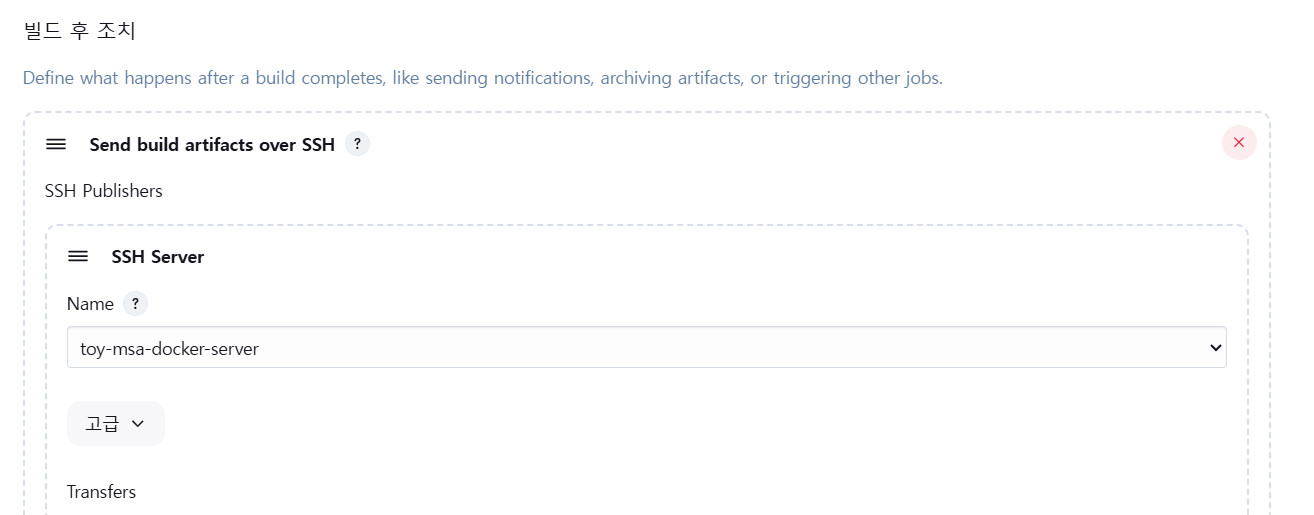
echo -e "FROM tomcat:9.0\nCOPY ./hello-world.war /usr/local/tomcat/webapps/\n" > Dockerfile;
docker build --tag hello-world:2.0 -f Dockerfile .;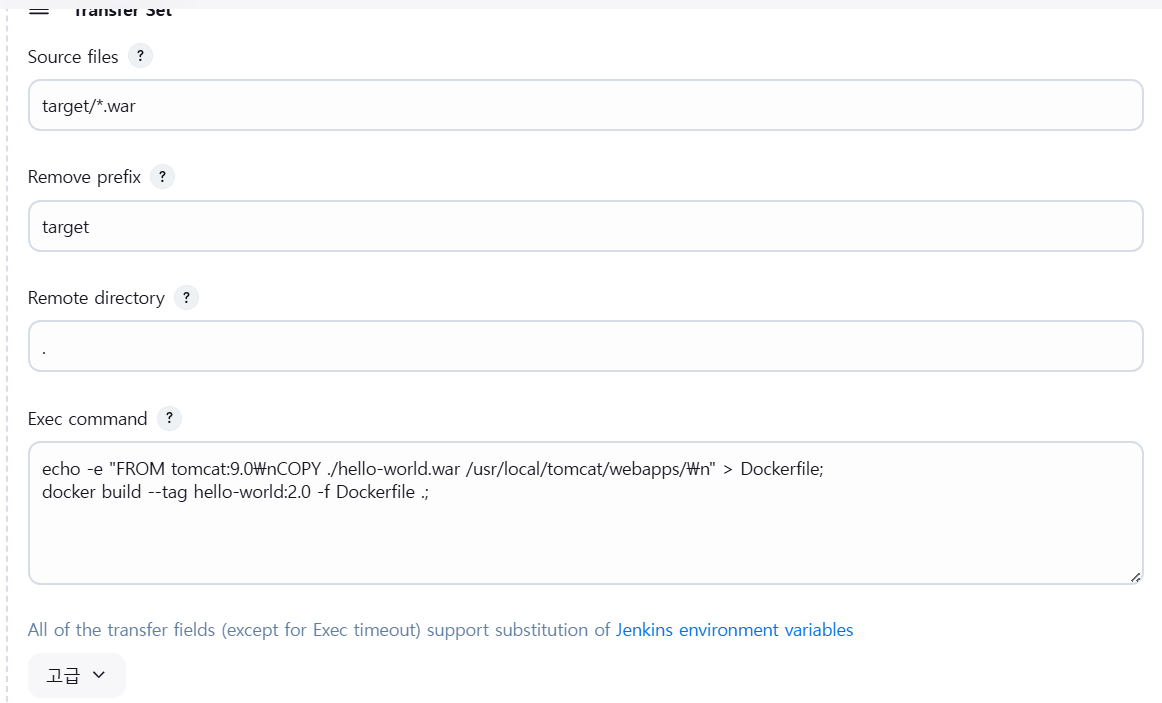
