
- application.properties를 hikari 관련 설정을 datasource로 수정하고, DatabaseConfiguration 클래스를 삭제해도 동일하게 동작
spring.datasource.driver-class-name=net.sf.log4jdbc.sql.jdbcapi.DriverSpy
spring.datasource.url=jdbc:log4jdbc:mysql://localhost:3306/springbootdb?useUnicode=true&characterEncoding=utf-8&serverTimeZone=Asia/Seoul

spring.datasource.username=springboot
spring.datasource.password=p@ssw0rd
# spring.datasource.hikari.connection-test-query=select 1
Spring Security
웹 애플리케이션의 인증(authentication), 권한부여(인가, authorization) 기능을 제공하는 보안 프레임워크
                  ~~~~~~~~~~~~~~~~~~~   ~~~~~~~~~~~~~~~~~~~~~~~~~~~~~
                  |                     |
                  |                     +-- 인증된 사용자가 행위에 대한 수행 가능 여부를 결정하는 과정
                  |                         역할(role)을 지정하는 방식을 주로 사용 (RBAC, Role-Based Access Control)
                  |
                  +-- 식별된 사용자를 확인하는 과정
                      사용자가 제공한 자격증명(예: username, password)을 검증해서 사용자을 확인
                       + TYPE1 (지식기반) - 패스워드
                       + TYPE2 (소유기반) - OTP, 인증서, 보안카드, ...
                       + TYPE3 (특징기반) - 생물학적 특징(지문, 홍채, 정맥, 성문, ...), 필기체 서명, ...
                                            ~~~~~~~~~~~~~~~~~~~~~~~~~~~~~~~~~~~~~~~~~~
                                            바이오 인증
                       + 두 가지 이상을 혼합한 방식 ⇒ 2-factor 인증, 다중 인증(multi-factor 인증)
접근 통제(Access Control)
- 화면(presentation layer) => (클라이언트에서) 권한 있는 사용자에게만 기능 버튼, 링크, 메뉴 등을 제공
- 기능(business layer) => (서버에서) 요청한 사용자의 권한을 확인하고 요청한 기능을 제공
- 데이터(data layer) => 사용자의 데이터 접근 권한을 확인하고 권한 범위 내의 데이터만 제공
예제
package board.controller;

import org.springframework.stereotype.Controller;
import org.springframework.web.bind.annotation.GetMapping;

@Controller
public class AdminController {
    @GetMapping("/admin")
    public String admin() {
        return "/admin/index";
    }
}
package board.controller;
import org.springframework.stereotype.Controller;
import org.springframework.web.bind.annotation.GetMapping;
@Controller
public class MainController {
@GetMapping("/")
public String main() {
return "/index";
}
@GetMapping("/home")
public String home() {
return "/home";
}
}
package board.controller;

import org.springframework.stereotype.Controller;
import org.springframework.web.bind.annotation.GetMapping;

@Controller
public class BoardController {
    @GetMapping("/board")
    public String board() {
        return "/board/index";
    }
}
html도 추가
테스트 ⇒ 메인, 관리자, 게시판 페이지로 접근이 가능한 것을 확인

build.gradle 파일에 의존 추가
implementation group: 'org.springframework.boot', name: 'spring-boot-starter-security'
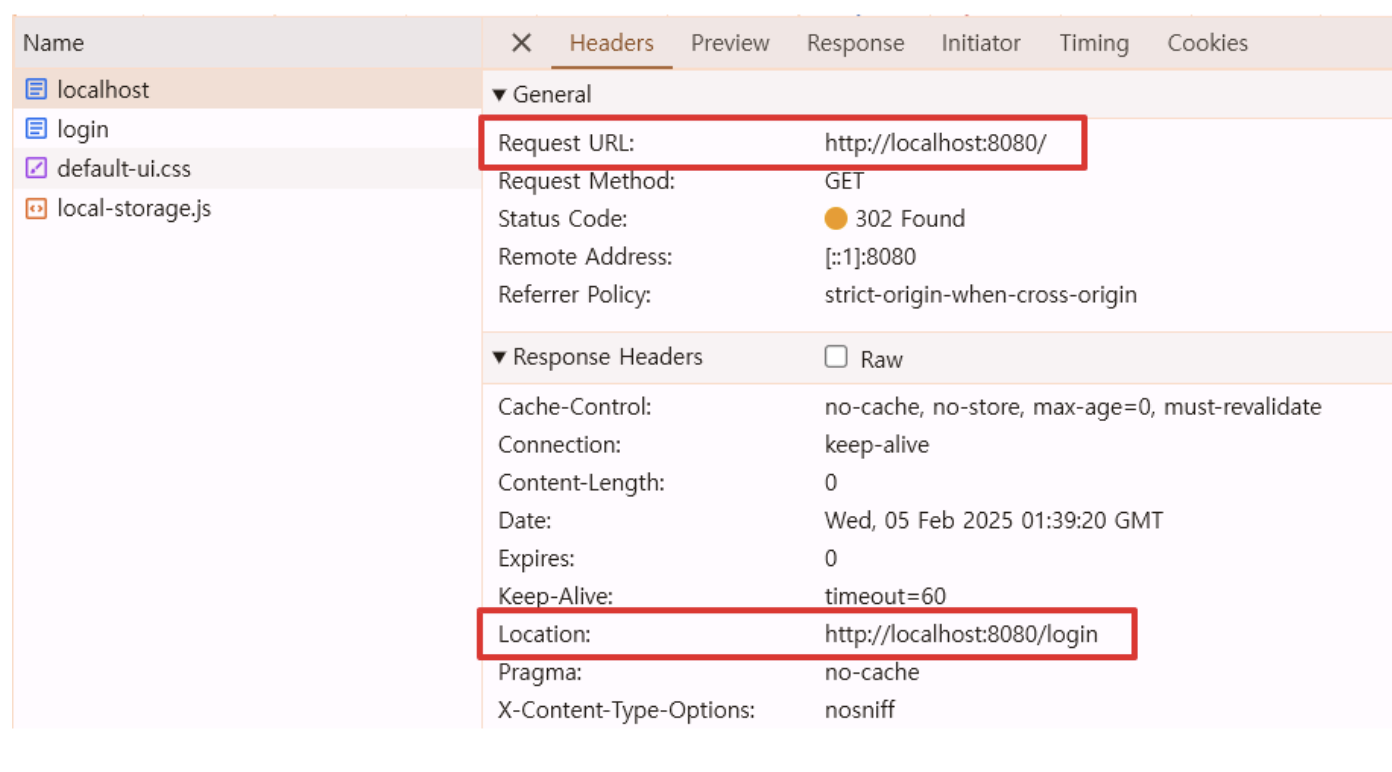
서버 재기동 후 테스트 ⇒ 메인, 관리자, 게시판 페이지 ⇒ 로그인 페이지로 리다이렉트
메인   ⇒ http://localhost:8080 		⇒ http://localhost:8080/login
게시판 ⇒ http://localhost:8080/board	⇒ http://localhost:8080/login
관리자 ⇒ http://localhost:8080/admin	⇒ http://localhost:8080/login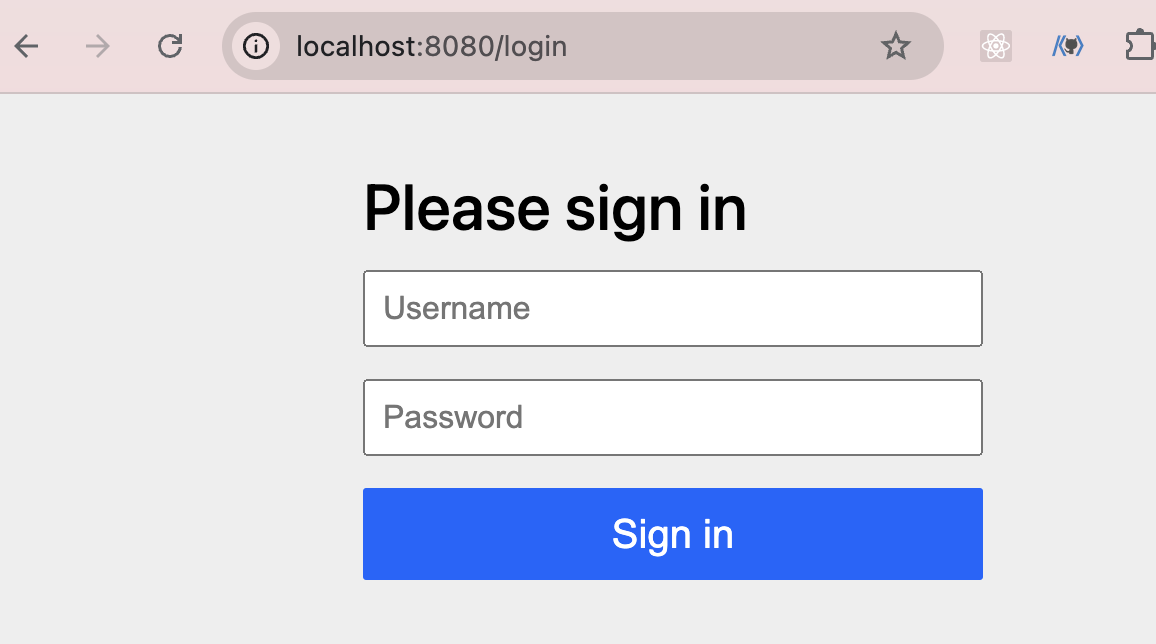
application.properties 파일에 root 로거 레벨을 info로 변경
logging.level.root=info
서버 재기동 시 출력되는 로그를 확인
Using generated security password: ~!~!~!~!~!
제공된 패스워드를 이용해서 로그인 후 서비스로 접근 (username은 user)
=> 스프링 시큐리티 의존을 추가하면 기본적으로 모든 요청을 인증 후 접근하도록 제한
=> 일반적으로 대문 페이지(처음으로 노출되는 페이지), 로그인 페이지, 회원 가입 페이지 등은 인증하지 않고도 접근이 가능해야 함
=> 접근 제어를 커스터마이징하는 것이 필요
=> SecurityFilterChain 설정을 통해 가능
⭐️⭐️⭐️ 설정 클래스를 생성하고, SecurityFilterChain을 설정
=> SecurityConfiguration.java
package board.configuration;

import org.springframework.context.annotation.Bean;
import org.springframework.context.annotation.Configuration;
import org.springframework.security.config.annotation.web.builders.HttpSecurity;
import org.springframework.security.config.annotation.web.configuration.EnableWebSecurity;
import org.springframework.security.web.SecurityFilterChain;

@Configuration
@EnableWebSecurity
public class SecurityConfiguration {

    @Bean
    SecurityFilterChain securityFilterChain(HttpSecurity http) throws Exception {
        http
                .authorizeHttpRequests(auth -> auth
                        .requestMatchers("/", "/login", "/home").permitAll()
                        .requestMatchers("/board", "/board/**", "/api/**").hasAnyRole("ADMIN", "USER")
                        .anyRequest().authenticated()
                );
        return http.build();
    }
}
테스트 (브라우저 캐시와 쿠키를 삭제하고 테스트)
시크릿 모드하면 캐싱이 안 됨
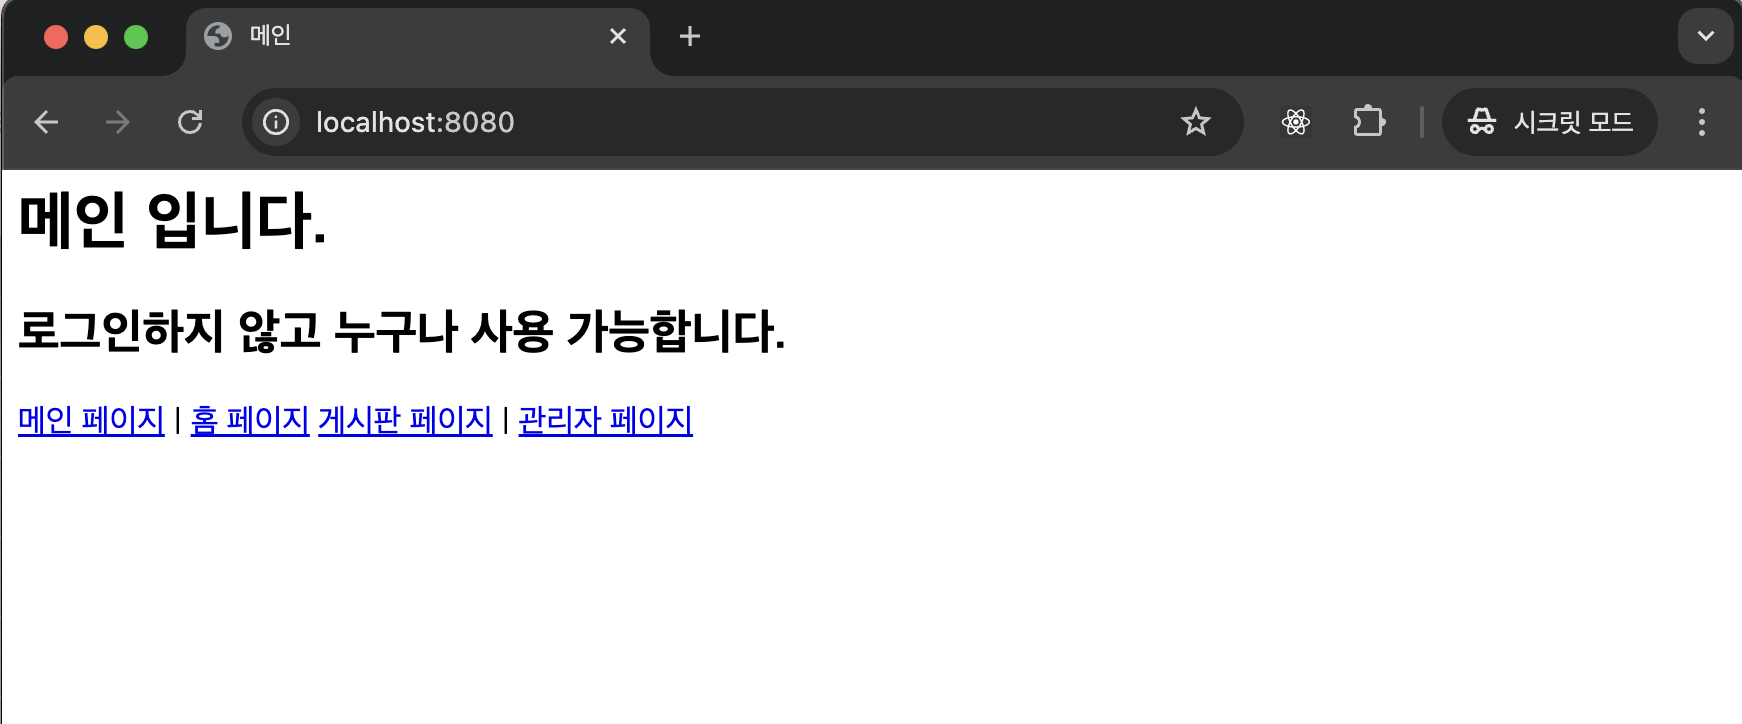
메인 => http://localhost:8080 => 접근 가능
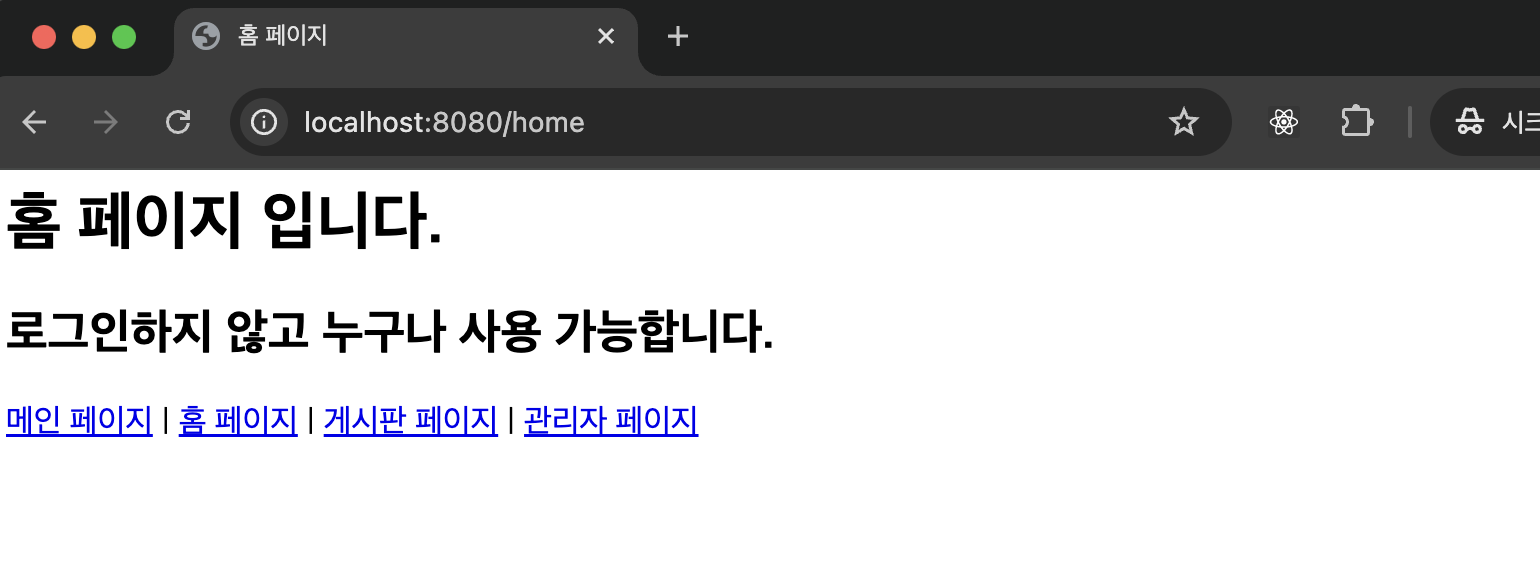
홈 => http://localhost:8080/home => 접근 가능
게시판 => http://localhost:8080/board => 403
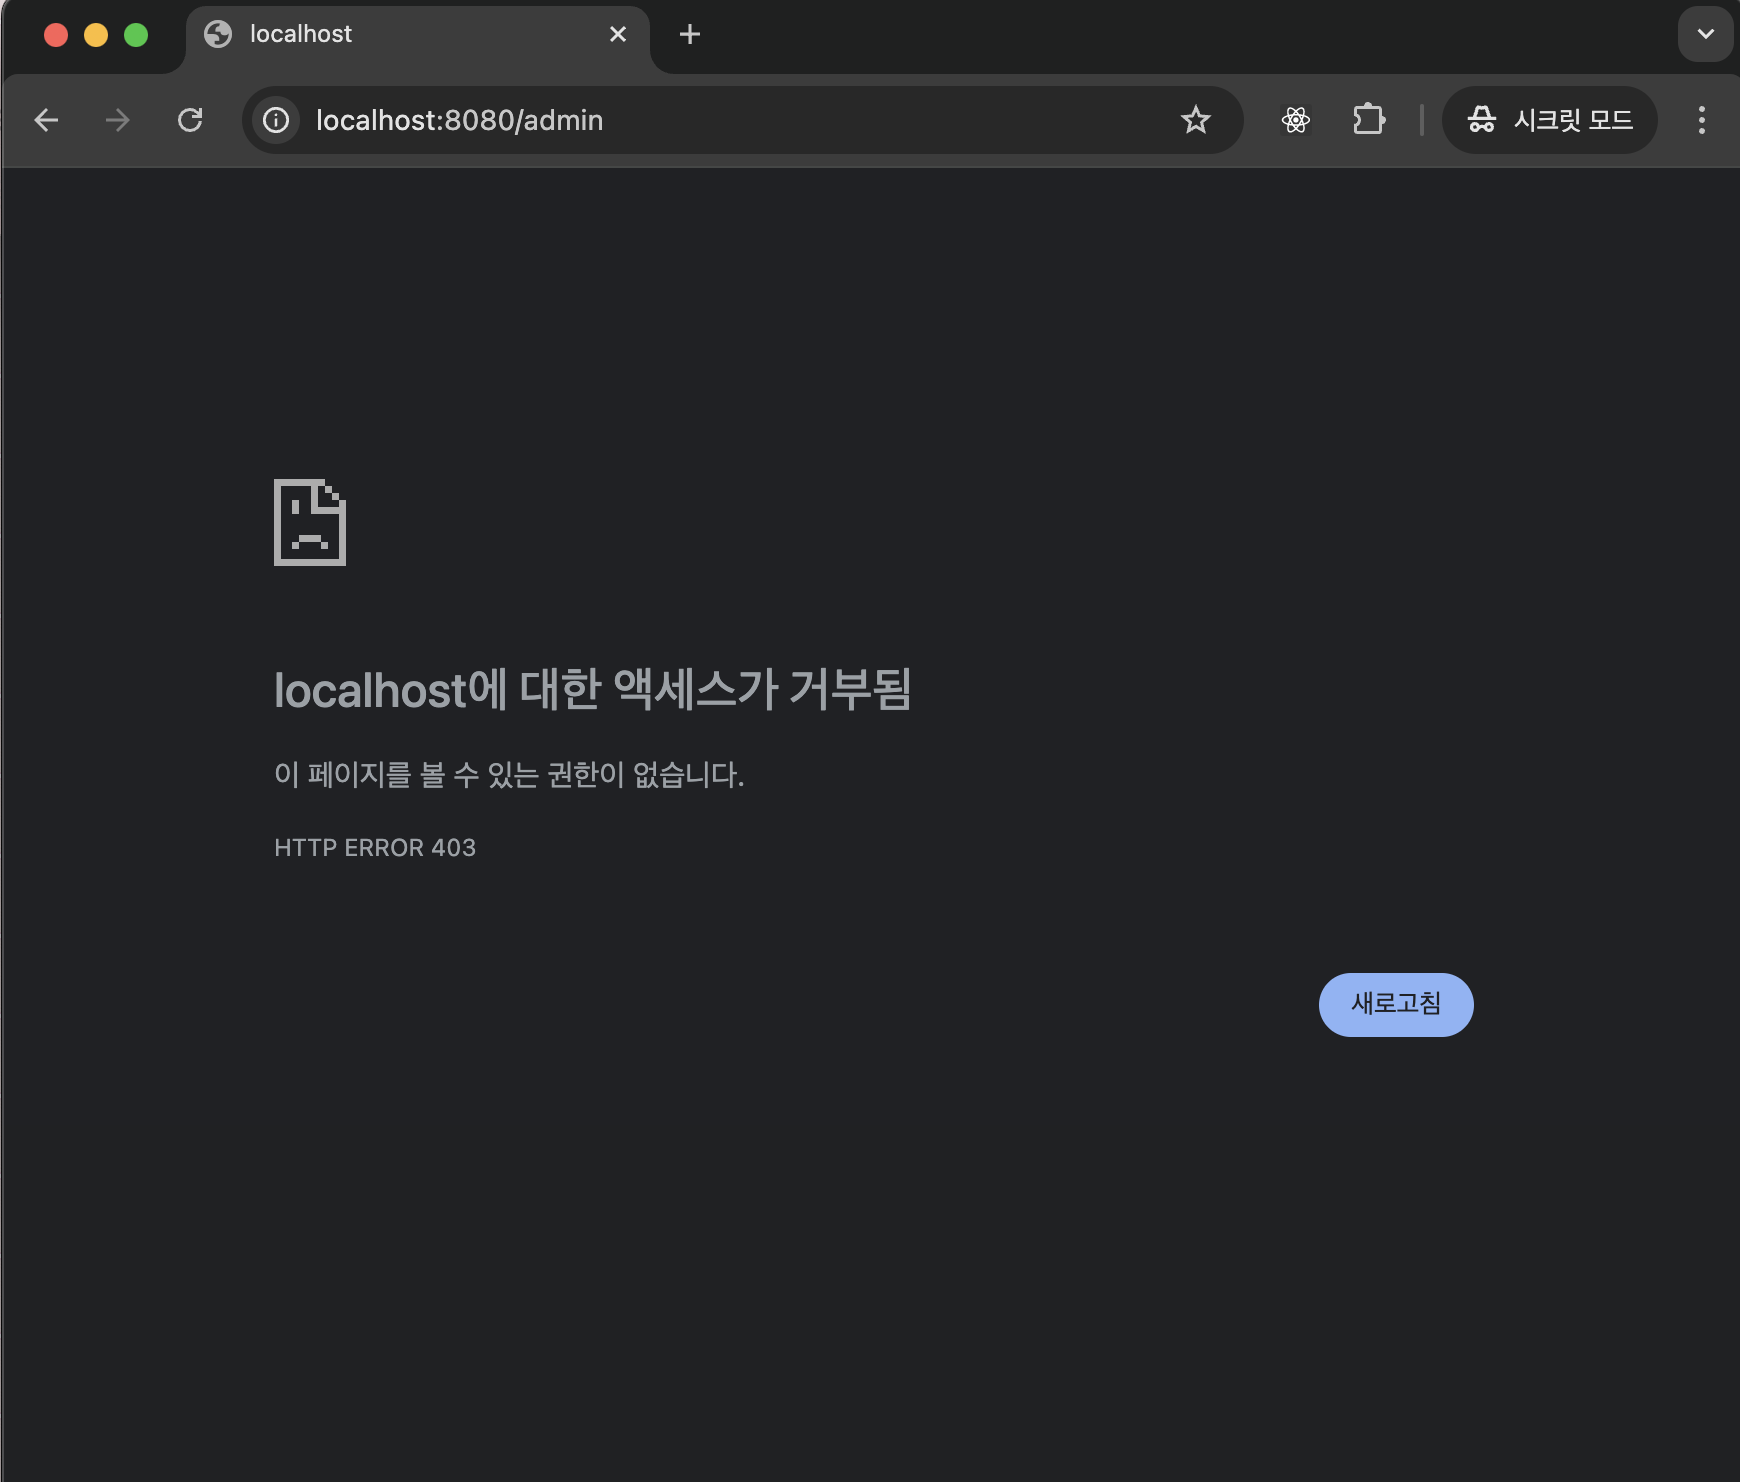
관리자 => http://localhost:8080/admin => 403
로그인 => http://localhost:8080/login => 403 <= SecurityFilterChain을 설정하면 접근 권한이 없는 경우
로그인 페이지로 리다이렉팅되지 않고 오류가 출력
=> 커스텀 로그인 기능 구현이 필요

커스텀 로그인 기능 추가
package board.controller;

import org.springframework.stereotype.Controller;
import org.springframework.web.bind.annotation.GetMapping;

@Controller
public class LoginController {
    @GetMapping("/login")
    public String login() {
        return "/login";
    }
}
html도 추가
<html>
<head>
    <meta charset="utf-8">
    <title>로그인 페이지</title>
</head>
<body>
<h1>로그인 페이지 입니다.</h1>

<form method="post" action="/loginProc">
    ID: <input type="text" name="username" placeholder="ID를 입력하세요." />
    <br/>
    PW: <input type="text" name="password" placeholder="PW를 입력하세요." />
    <br/>
    <input type="submit" value="로그인" />
</form>


<a href="/">메인 페이지</a> |
<a href="/home">홈 페이지</a> |
<a href="/board">게시판 페이지</a> |
<a href="/admin">관리자 페이지</a>
</body>
</html>
⭐️ SecurityFilterChain에 사용자 정의 로그인 페이지와 로그인 요청 주소를 등록
package board.configuration;

import org.springframework.context.annotation.Bean;
import org.springframework.context.annotation.Configuration;
import org.springframework.security.config.annotation.web.builders.HttpSecurity;
import org.springframework.security.config.annotation.web.configuration.EnableWebSecurity;
import org.springframework.security.web.SecurityFilterChain;

@Configuration
@EnableWebSecurity
public class SecurityConfiguration {

    @Bean
    SecurityFilterChain securityFilterChain(HttpSecurity http) throws Exception {
        http.authorizeHttpRequests(auth -> auth
            .requestMatchers("/", "/login", "/home").permitAll()
            .requestMatchers("/board", "/board/**", "/api/**").hasAnyRole("ADMIN", "USER")
            .anyRequest().authenticated()
        );
        http.formLogin(auth -> auth
            .loginPage("/login")
            .loginProcessingUrl("/loginProc")
            .permitAll()
        );
        // http.csrf(auth -> auth.disable());

        return http.build();
    }
}
테스트 (브라우저 캐시와 쿠키를 삭제하고 테스트)
메인 ⇒ http://localhost:8080 ⇒ 접근 가능
홈 ⇒ http://localhost:8080/home ⇒ 접근 가능
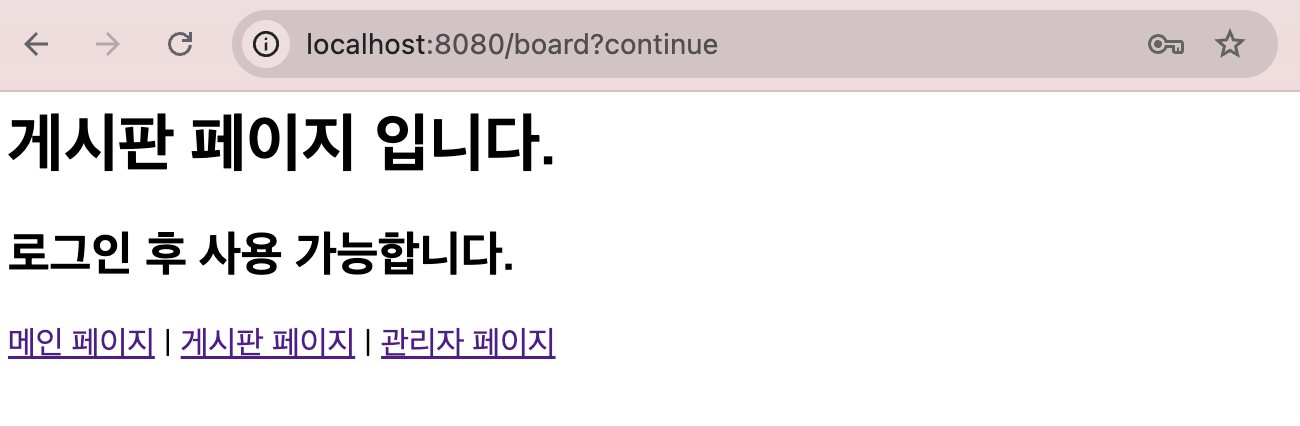
게시판 ⇒ http://localhost:8080/board ⇒ 로그인 페이지로 리다이렉트
관리자 ⇒ http://localhost:8080/admin ⇒ 로그인 페이지로 리다이렉트
로그인 ⇒ http://localhost:8080/login ⇒ 커스텀 로그인 페이지가 제공⭐️⭐️⭐️⭐️⭐️ 해시(Hash, Message Digest)
암호시스템
    +---------->------------ 암호화 ----------->----------+
    |                                                    |
원문(plain text) ------- 알고리즘 + 키 --------> 암호문(cipher text)
    |                                                    |
+----------<------------ 복호화 -----------<----------+ - 양방향 암호화 시스템 => 키를 이용해서 암복호화가 가능한 암호 알고리즘
- 단방향 암호화 시스템 => 암호화는 가능하나 복호화는 불가능한 암호 알고리즘
단방향성 = 일방향성 => 인증 정보 저장 및 처리에 사용
data --- o ---> H(data) 	=> 인증 정보(패스워드)의 원문을 생성 주체만 알고 있음을 기술적으로 보장
    <--- x ---
유일성 => 무결성 검사에 사용
data <> data' ===> H(data) <> H(data')

data ~~~~~~~~~~~~~> data'
H(data) ~~~~~~~~~~> H(data) == H(data') => 전달과정에서 data가 위변조되지 않음을 보장
	                H(data) <> H(data') => 전달과정에서 data가 위변조되었음
해시 크래킹 기법 = 해시 값을 이용해서 원문을 찾는 방법
H(PW) == H(?????)	⇒ PW(원문)과 입력한(?????) 값이 동일할 가능성이 있음
           ~~~~~
1) 많이 사용하는 값을 입력 ⇒ 사전대입공격
2) 입력할 수 있는 모든 경우의 수를 입력 ⇒ 무작위대입공격
   숫자 8자리의 패스워드를 사용하는 경우 → 10 ^ 8
   숫자+영대소문자+특수문자 8자리로 구성된 패스워드 → (10 + 26*2 + 13) ^ 8
3) 레인보우 테이블을 이용한 공격
해시 크래킹 방어 기법
- 원문(PW)의 복잡도를 높이는 방법
   => 여러 종류의 문자(숫자, 영문자, 특수문자)를 섞어서 사용
   => 길이를 증가

   (10 + 26*2 + 13) ^ 8  <  (10 + 26*2 + 13) ^ 40
                                            ~~
   => 단순히 패스워드의 길이를 증가시키면 사용 및 운영할 때 취약해질 수 있음

   (10 + 26*2 + 13) ^ (8 + 32)
   => 사용자는 8자리만 입력하고, 나머지 자리수는 시스템이 임의의 값을 적용해서 길이를 늘림
                                       ~~~~~~~~~~~~~~~~~~~
솔트(salt) - 해시를 다중으로 수행
H(PW) < H(H(PW)) < H(H(H(PW))) 🩷 BCryptPasswordEncoder
Spring Security에서 제공하는 패스워드 암호화 도구
회원 가입 시(또는 패스워드 변경 시) 평문 패스워드의 해시를 추출해서 데이터베이스에 저장하고, 로그인할 때 입력한 패스워드와 해시된 패스워드를 비교하는 방식을 사용
// 회원 가입 → joinPassword를 DB에 저장
BCryptPasswordEncoder encoder = new BCryptPasswordEncoder();
String joinPassword = encoder.encode(패스워드원문);

// 로그인 시
BCryptPasswordEncoder encoder = new BCryptPasswordEncoder();
String loginPassword = encoder.encode(패스워드원문);
encoder.match(loginPassword, 데이터베이스에 저장된 해시화된 패스워드);
🚨⭐️⭐️⭐️⭐️⭐️ CSRF(Cross-Site Request Forgery)
크로스사이트 요청 위조, 사이트 간 요청 위조(변조)
- 요청의 절차와 주체를 확인하지 않고 요청했을 때 발생하는 에러
- 정상적인 절차에 따른 요청인지 확인하지 않고 요청을 처리했을 때 발생하는 문제.
- 공격자가 넣은 악성 스크립트를 확인하지 않고 요청을 처리하여 생기는 문제 발생
사용자의 요청을 검증하지 않고 처리했을 때 발생 ⇒ 로그인한 사용자의 권한으로 요청이 처리
         ~~~~~~~~~~~
요청 주체를 확인하지 않고 처리
요청 절차를 확인하지 않고 처리
ex)패스워드 변경

- <input type="hidden" value="abcd"/> 를 넣어서 임의의 값을 생성(CSRF token)해서 세션에 저장해 유지하고, 요청 파라미터로 전달된 값을 비교 후 처리
- CAPTCHA : 횡단보도를 고르시오 (자동화 방지)
- 중요한 페이지에서 현재 패스워드 다시 입력하도록 재인증
CSRF (Cross-Site Request Forgery, 크로스사이트 요청 위조)
1. 개념
CSRF(사이트 간 요청 위조)는 인증된 사용자의 권한을 도용하여 공격자가 원치 않는 요청을 서버에 실행하도록 만드는 공격 기법이다.
이 공격은 사용자의 요청을 검증하지 않고 처리할 때 발생하며, 로그인한 사용자의 권한으로 악의적인 요청이 수행된다.
2. 공격 방식
CSRF 공격은 주로 사용자의 인증된 세션 정보를 이용하여 서버에 요청을 보내는 방식으로 이루어진다.
공격 원리
- 사용자가 회원제 서비스에 로그인하여 세션이 유지된 상태.
- 공격자가 악의적인 페이지 또는 이메일을 통해 사용자를 유도.
- 해당 페이지에는 자동으로 특정 요청을 실행하는 코드가 포함됨. (예:
<iframe>또는<img>태그를 이용한 자동 요청) - 사용자가 페이지를 열면, 현재 로그인된 사용자의 세션을 이용해 요청이 자동으로 실행됨.
- 서버는 인증된 요청이라고 판단하여 요청을 처리하고, 결과적으로 사용자의 의도와 무관하게 데이터가 변경됨.
3. CSRF 공격 예제
(1) 비밀번호 변경 요청을 노린 CSRF 공격
공격 목표:
사용자가 비밀번호 변경 페이지에 접근하도록 유도한 후, 공격자가 원하는 비밀번호로 변경되도록 함.
공격 코드
공격자가 CSRF 공격을 하기 위해 아래와 같은 HTML 페이지를 만들어서 사용자가 열도록 유도할 수 있다.
<html>
<body>
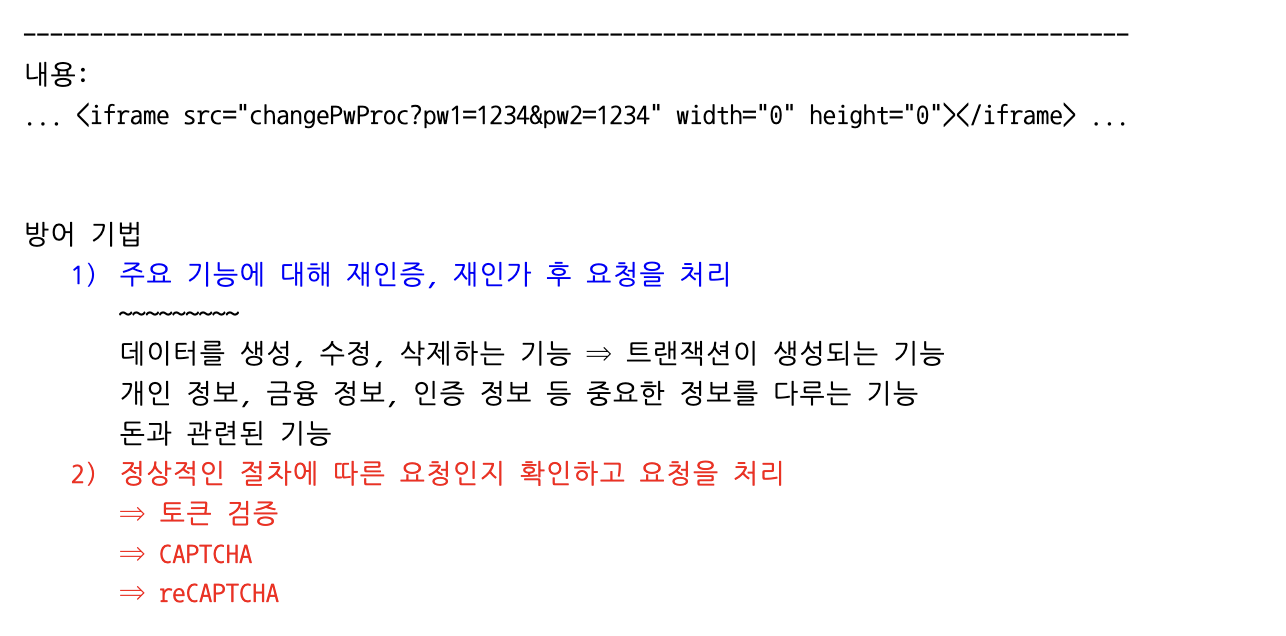
<iframe src="https://example.com/changePwProc?pw1=1234&pw2=1234" width="0" height="0"></iframe>
</body>
</html>공격 과정
- 사용자는 이미
example.com에 로그인되어 있음.(즉,example.com의 세션 쿠키가 유지되고 있는 상태) - 사용자가 악성 페이지(위 HTML 코드 포함)를 열면
<iframe>태그가 자동으로 실행됨. <iframe>은 백그라운드에서changePwProc?pw1=1234&pw2=1234요청을 보냄.- 서버는 이 요청을 정상적인 요청으로 오인하고 사용자의 비밀번호를
1234로 변경함. - 공격자는 사용자의 계정에 접근할 수 있게 됨.
(2) 송금 요청을 노린 CSRF 공격
공격 목표:
사용자가 로그인한 금융 사이트에서 공격자의 계좌로 돈을 송금하게 만듦.
공격 코드
<html>
  <body>
    <form action="https://bank.example.com/transfer" method="POST">
      <input type="hidden" name="to" value="attacker_account">
      <input type="hidden" name="amount" value="1000000">
      <input type="submit">
    </form>

    <script>
      document.forms[0].submit(); // 자동으로 폼 제출
    </script>
  </body>
</html>
공격 과정
- 사용자가 금융 사이트
bank.example.com에 로그인되어 있음. - 공격자가
bank.example.com의 송금 기능을 악용하여 특정 계좌로 돈을 보내는 요청을 생성. - 사용자가 악성 사이트를 방문하면
document.forms[0].submit();코드가 실행되어 자동으로 요청이 전송됨. - 서버는 정상적인 사용자 요청으로 오인하여 공격자의 계좌로 돈을 송금함.
4. CSRF 방어 기법
CSRF 공격을 막기 위해서는 정상적인 요청인지 검증하는 절차가 필요하다.
✅ 1. CSRF 토큰 (CSRF Token) 검증
CSRF 방어의 가장 강력한 방법은 CSRF 토큰을 사용하여 요청의 정당성을 검증하는 것이다.
CSRF 토큰이란?
- 서버가 각 사용자에게 임의의 보안 토큰을 발급하고, 이를 세션에 저장함.
- 사용자가 폼을 제출할 때 CSRF 토큰을 함께 전송해야 요청이 정상적으로 처리됨.
- 서버는 세션에 저장된 토큰과 클라이언트가 보낸 토큰을 비교하여 일치하면 요청을 처리하고, 일치하지 않으면 요청을 거부함.
CSRF 토큰 적용 예시
- 서버에서 CSRF 토큰 생성 후 세션에 저장
// Spring Boot - CSRF 토큰 생성 예시
String csrfToken = UUID.randomUUID().toString();
session.setAttribute("csrfToken", csrfToken);- HTML 폼에 CSRF 토큰 추가
<form action="/changePwProc" method="POST">
  <input type="hidden" name="csrfToken" value="abcd1234"> <!-- CSRF 토큰 추가 -->
  <input type="password" name="pw1">
  <input type="password" name="pw2">
  <button type="submit">변경</button>
</form>- 서버에서 CSRF 토큰 검증
// Spring Boot - CSRF 토큰 검증 예시
String requestToken = request.getParameter("csrfToken");
String sessionToken = (String) session.getAttribute("csrfToken");

if (requestToken == null || !requestToken.equals(sessionToken)) {
    throw new SecurityException("CSRF 공격 가능성이 있습니다.");
}
✅ 2. Referer 및 Origin 검사
Referer 또는 Origin 헤더를 검사하여 요청이 신뢰할 수 있는 도메인에서 왔는지 확인한다.
예제 코드
String referer = request.getHeader("Referer");
if (referer == null || !referer.startsWith("https://example.com")) {
    throw new SecurityException("잘못된 요청 출처입니다.");
}Referer또는Origin헤더가example.com에서 시작하지 않으면 요청을 거부함.
✅ 3. SameSite 속성을 이용한 CSRF 방어
쿠키에 SameSite 속성을 추가하여 CSRF 공격을 방어할 수 있다.
response.setHeader("Set-Cookie", "JSESSIONID=abcd1234; Path=/; HttpOnly; Secure; SameSite=Strict");SameSite=Strict설정 시 다른 사이트에서 요청할 때 쿠키를 전송하지 않음.
✅ 4. CAPTCHA 또는 reCAPTCHA 사용
중요한 요청에 대해 사용자가 직접 입력을 수행하도록 강제한다.
- 비밀번호 변경, 송금 등 중요한 기능에 CAPTCHA를 추가하면 CSRF 공격을 방어할 수 있다.
예제
<form action="/transfer" method="POST">
  <input type="text" name="to">
  <input type="number" name="amount">
  <div class="g-recaptcha" data-sitekey="your-public-site-key"></div>
  <button type="submit">송금</button>
</form>
<script src="https://www.google.com/recaptcha/api.js"></script>- Google reCAPTCHA를 추가하여 자동화된 공격을 방지.
5. 결론
CSRF는 로그인된 사용자의 권한을 악용하는 공격으로, 중요한 요청이 인증 없이 수행될 수 있도록 만든다.
이를 방어하기 위해:
- CSRF 토큰 검증 (가장 강력한 방법)
- Referer 및 Origin 검사
- SameSite 쿠키 설정
- CAPTCHA 및 reCAPTCHA 사용
위와 같은 방법을 적용하면 CSRF 공격을 효과적으로 차단할 수 있다.
회원 가입 기능 추가
SecurityConfiguration 클래스에 BCryptPasswordEncoder를 빈으로 등록
package board.configuration;

import org.springframework.context.annotation.Bean;
import org.springframework.context.annotation.Configuration;
import org.springframework.security.config.annotation.web.builders.HttpSecurity;
import org.springframework.security.config.annotation.web.configuration.EnableWebSecurity;
import org.springframework.security.crypto.bcrypt.BCryptPasswordEncoder;
import org.springframework.security.web.SecurityFilterChain;

@Configuration
@EnableWebSecurity
public class SecurityConfiguration {

    @Bean
    SecurityFilterChain securityFilterChain(HttpSecurity http) throws Exception {
        http
                .authorizeHttpRequests(auth -> auth
                        .requestMatchers("/", "/login", "/home").permitAll()
                        .requestMatchers("/board", "/board/**", "/api/**").hasAnyRole("ADMIN", "USER")
                        .anyRequest().authenticated()
                );
        return http.build();
    }

    @Bean
    BCryptPasswordEncoder bCryptPasswordEncoder() {
        return new BCryptPasswordEncoder();
    }

}
UserEntity 생성
package board.entity;

import jakarta.persistence.Column;
import jakarta.persistence.Entity;
import jakarta.persistence.GeneratedValue;
import jakarta.persistence.GenerationType;
import jakarta.persistence.Id;
import jakarta.persistence.Table;
import lombok.Data;

@Entity
@Table(name = "t_jpa_user")
@Data
public class UserEntity {
    @Id
    @GeneratedValue(strategy = GenerationType.IDENTITY)
    private int seq;

    @Column(unique = true)
    private String username;

    private String password;
    private String name;
    private String email;

    private String role;
}
UserRepository 생성
package board.repository;

import org.springframework.data.jpa.repository.JpaRepository;
import org.springframework.stereotype.Repository;

import board.entity.UserEntity;

@Repository
public interface UserRepository extends JpaRepository<UserEntity, Integer> {
    boolean existsByUsername(String username);
}
SecurityConfiguration
/join, /joinProc 추가
package board.configuration;

import org.springframework.context.annotation.Bean;
import org.springframework.context.annotation.Configuration;
import org.springframework.security.config.annotation.web.builders.HttpSecurity;
import org.springframework.security.config.annotation.web.configuration.EnableWebSecurity;
import org.springframework.security.crypto.bcrypt.BCryptPasswordEncoder;
import org.springframework.security.web.SecurityFilterChain;

@Configuration
@EnableWebSecurity
public class SecurityConfiguration {

    @Bean
    SecurityFilterChain securityFilterChain(HttpSecurity http) throws Exception {
        http.authorizeHttpRequests(auth -> auth
            .requestMatchers("/", "/login", "/home", "/join", "/joinProc").permitAll()
            .requestMatchers("/board", "/board/**", "/api/**").hasAnyRole("ADMIN", "USER")
            .anyRequest().authenticated()
        );
        http.formLogin(auth -> auth
            .loginPage("/login")
            .loginProcessingUrl("/loginProc")
            .permitAll()
        );
        // http.csrf(auth -> auth.disable());

        return http.build();
    }

    // 빈 등록
    @Bean
    BCryptPasswordEncoder bCryptPasswordEncoder() {
        return new BCryptPasswordEncoder();
    }
}
JoinDto <= 회원 가입 페이지에서 사용자가 입력한 값을 전달하는 객체
package board.dto;

import lombok.Data;

@Data
public class JoinDto {
    private String username;
    private String password;
    private String passwordConfirm;
    private String name;
    private String email;

    public boolean checkPassword() {
        return this.password != null && this.password.equals(this.passwordConfirm);
    }
}
JoinService 인터페이스 생성
package board.service;

import org.modelmapper.ModelMapper;
import org.springframework.security.crypto.bcrypt.BCryptPasswordEncoder;
import org.springframework.stereotype.Service;

import board.dto.JoinDto;
import board.entity.UserEntity;
import board.repository.UserRepository;

@Service
public class JoinServiceImpl implements JoinService {
    private BCryptPasswordEncoder bCryptPasswordEncoder;
    private UserRepository userRepository;

    public JoinServiceImpl(BCryptPasswordEncoder bCryptPasswordEncoder, UserRepository userRepository) {
        this.bCryptPasswordEncoder = bCryptPasswordEncoder;
        this.userRepository = userRepository;
    }

    @Override
    public boolean joinProcess(JoinDto joinDto) {
        if (userRepository.existsByUsername(joinDto.getUsername())) {
            return false;
        }

        if (!joinDto.checkPassword()) {
            return false;
        }

        UserEntity userEntity = new ModelMapper().map(joinDto, UserEntity.class);
        userEntity.setPassword(bCryptPasswordEncoder.encode(userEntity.getPassword()));
        userEntity.setRole("ROLE_USER");

        try {
            userRepository.save(userEntity);
        } catch (Exception e) {
            return false;
        }

        return true;
    }

}
join.html
<html>
<head>
<meta charset="utf-8">
<title>회원가입 페이지</title>
</head>
<body>
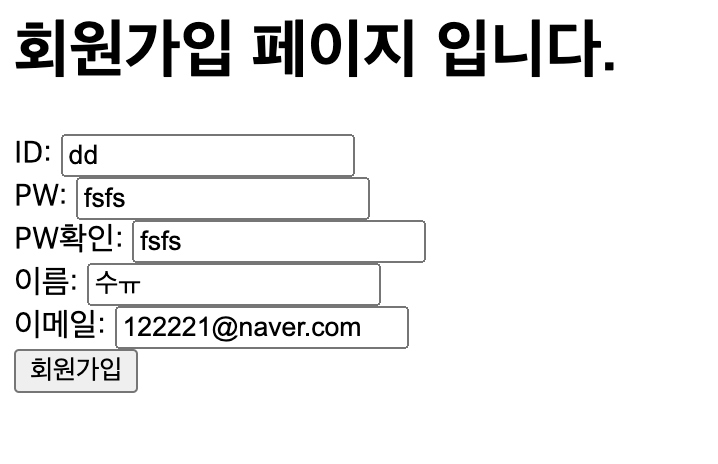
<h1>회원가입 페이지 입니다.</h1>
<form method="post" action="/joinProc">
ID: <input type="text" name="username" placeholder="ID를 입력하세요." />
<br/>
PW: <input type="text" name="password" placeholder="PW를 입력하세요." />
<br/>
PW확인: <input type="text" name="passwordConfirm" placeholder="PW확인을 입력하세요." />
<br/>
이름: <input type="text" name="name" placeholder="이름을 입력하세요." />
<br/>
이메일: <input type="text" name="email" placeholder="이메일을 입력하세요." />
<br/>
<input type="submit" value="회원가입" />
</form>
</body>
</html>
JoinController
package board.controller;

import org.springframework.beans.factory.annotation.Autowired;
import org.springframework.stereotype.Controller;
import org.springframework.web.bind.annotation.GetMapping;
import org.springframework.web.bind.annotation.PostMapping;

import board.dto.JoinDto;
import board.service.JoinService;

@Controller
public class JoinController {
    @Autowired
    JoinService joinService;

    @GetMapping("/join")
    public String join() {
        return "/join";
    }

    @PostMapping("/joinProc")
    public String joinProc(JoinDto joinDto) {
        if (joinService.joinProcess(joinDto)) {
            return "redirect:/login";
        } else {
            return "redirect:/join";
        }
    }
}
테스트
로그인 방식은 현재 폼 로그인
인증 기능을 구현
UserRepository에 사용자 정보를 조회하는 쿼리 메서드를 추가
@Repository
public interface UserRepository extends JpaRepository<UserEntity, Integer> {
    boolean existsByUsername(String username);
    UserEntity findByUsername(String username);
}
CustomUserDetailsService
스프링 시큐리티에서 인증 처리를 하는 UserDetailsService 인터페이스를 상속받아 사용자 정의 CustomUserDetailsService를 생성
package board.service;

import org.springframework.beans.factory.annotation.Autowired;
import org.springframework.security.core.userdetails.UserDetails;
import org.springframework.security.core.userdetails.UserDetailsService;
import org.springframework.security.core.userdetails.UsernameNotFoundException;
import org.springframework.stereotype.Service;

import board.dto.CustomUserDetails;
import board.entity.UserEntity;
import board.repository.UserRepository;

@Service
public class CustomUserDetailsService implements UserDetailsService {
    @Autowired
    private UserRepository userRepository;

    @Override
    public UserDetails loadUserByUsername(String username) throws UsernameNotFoundException {
        UserEntity userEntity = userRepository.findByUsername(username);
        if (userEntity == null) {
            throw new UsernameNotFoundException("등록된 사용자가 없습니다.");
        }
        return new CustomUserDetails(userEntity);
    }
}
- CustomUserDetailsService 이 클래스는 SecurityConfiguration에 등록된 loginProcessingUrl("/loginProc") 이 호출될 때 시큐리티에서 자동으로 불러와짐
- 스프링 시큐리티의 UserDetailsService 인터페이스에 있는 loadUserByUsername 메서드 호출
=> userEntity가 없으면 없다
=> 있으면 CustomUserDetails(dto)로 감싸서 반환 (감싸야 시큐리티가 userEntity를 쓸 수 있음)
=> 검증을 해야함. 로그인한 정보랑 DB에 있는 정보랑 같은지 확인해줘야함. (=> 시큐리티가 해준다)
CustomUserDetails
스프링 시큐리티에서 사용자 정보를 저장하는 UserDetails 인터페이스를 상속받아 사용자 정의 CustomUserDetails을 구현
- UserDetails 인터페이스
- 스프링 시큐리티에서 제공
- 스프링 시큐리티에서 session같은 걸 통해 유저 정보를 받아온 것을 저장하는 곳
이 인터페이스를 커스텀하기 위해 상속
package board.dto;

import java.util.ArrayList;
import java.util.Collection;

import org.springframework.security.core.GrantedAuthority;
import org.springframework.security.core.userdetails.UserDetails;

import board.entity.UserEntity;

public class CustomUserDetails implements UserDetails {
    private UserEntity userEntity;

    public CustomUserDetails(UserEntity userEntity) {
        this.userEntity = userEntity;
    }

	// Role을 가져올 땐 이렇게 해야함. 복잡하긴한데 이렇게 한다.
    @Override
    public Collection<? extends GrantedAuthority> getAuthorities() {
        Collection<GrantedAuthority> collection = new ArrayList();
        collection.add(new GrantedAuthority() {
            @Override
            public String getAuthority() {
                return userEntity.getRole();
            }
        });
        return collection;
    }

    @Override
    public String getPassword() {
        return userEntity.getPassword();
    }

    @Override
    public String getUsername() {
        return userEntity.getUsername();
    }

}
JpaBoardServiceImpl 수정 ⇒ 글쓰기 처리 시 로그인한 사용자의 아이디를 글쓴이 아이디로 설정
- 시큐리티가 인증이 완료되면(=로그인이 성공하면) SecurityContextHolder에다가 사용자 인증 정보를 저장. session에 등록한다고 생각하면 됨.
=> 서비스 로직에서 현재 로그인된 사용자 정보를 SecurityContextHolder로부터 받아올 수 있다.
@Override
public void insertBoard(BoardEntity boardEntity, MultipartHttpServletRequest request) throws Exception {
    // boardEntity.setCreatedId("admin");

	// 여기 줄 !!! ⭐️
    String username = SecurityContextHolder.getContext().getAuthentication().getName();
    boardEntity.setCreatedId(username); // created_id에 이름 넣어주기.

    List<BoardFileEntity> list = fileUtils.parseFileInfo2(boardEntity.getBoardIdx(), request);
    if (!CollectionUtils.isEmpty(list)) {
        boardEntity.setFileInfoList(list);
    }
    jpaBoardRepository.save(boardEntity);
}
테스트 - 회원 가입한 사용자로 로그인 후 게시판 글쓰기를 했을 때 사용자 아이디가 등록되는지 확인
index.html
<html>
<head>
    <meta charset="utf-8">
    <title>메인</title>
</head>
<body>
<h1>메인 입니다.</h1>
<h2>로그인하지 않고 누구나 사용 가능합니다.</h2>

<a href="/">메인 페이지</a> |
<a href="/home">홈 페이지</a> |
<a href="/board">게시판 페이지</a> |
<a href="/admin">관리자 페이지</a>


<script src="https://cdn.jsdelivr.net/npm/axios/dist/axios.min.js"></script>
<script>
    function buttonClick() {
        const formData = new FormData();

        const data = { title: "게시판 글제목", contents: "게시판 내용" };
        formData.append("board", JSON.stringify(data));

        axios({
            method: "POST",
            url: "http://localhost:8080/api/v2/board",
            data: formData,
            headers: {"Content-Type": "multipart/form-data"}
        })
        .then(res => console.log(res))
        .catch(err => console.log(err));
    }
</script>

<button onClick="buttonClick()">게시판 글 등록</button>

</body>
</html>
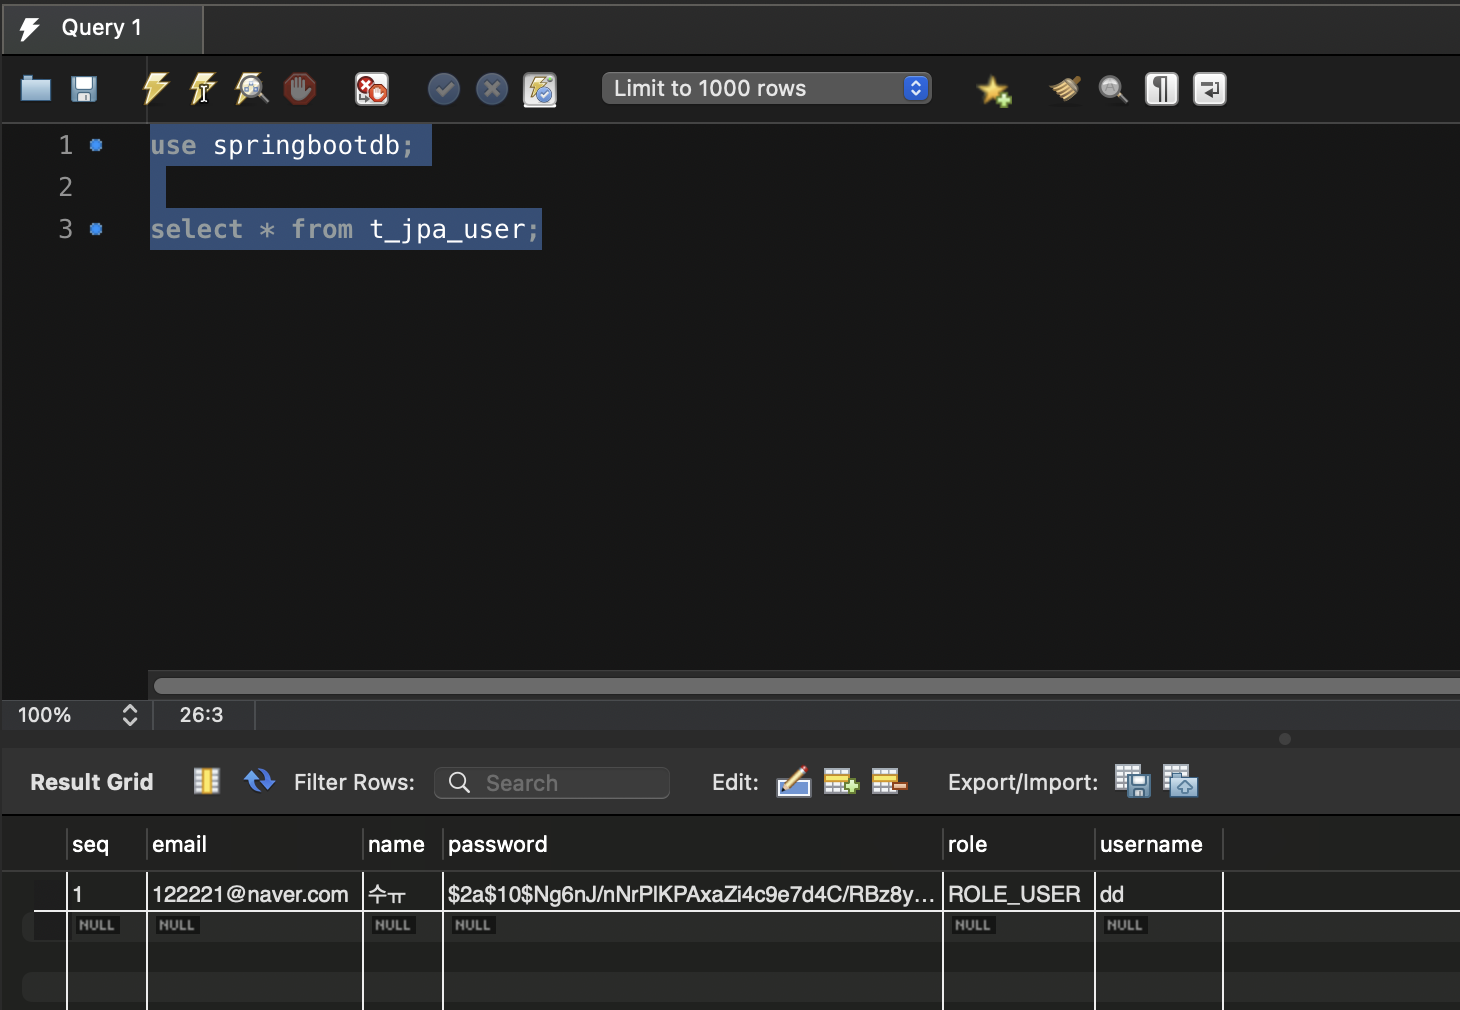
게시판 글 등록 버튼을 클릭하면 t_jpa_board 테이블의 created_id 컬럼에 로그인한 사용자의 ID가 들어있는 것을 확인할 수 있음

- created_id에 현재 로그인한 사용자의 username이 들어감
Form Login
- 로그인 페이지 → loginProcessingUrl에 아이디, 비밀번호 post
- CustomUserDetailsService(userDetailsService 인터페이스를 상속) - loadUserByUsername 메서드 호출 -> CustomUserDetails를 만들어주는 메서드(이걸 리턴하니까)임
- CustomUserDetails → 스프링 시큐리티가 아이디, 비밀번호 검증
- 검증 완료(로그인 성공) → 스프링 시큐리티가 SecurityContextHolder에 사용자 정보 등록
- 서비스 로직에서 SecurityContextHolder를 통해 현재 로그인 사용자 정보 사용
로그인 성공 시 리다이렉션을 포함해서 추가적인 작업을 수행할 경우
CustomAuthenticationSuccessHandler
package board.security;

import java.io.IOException;

import org.springframework.beans.factory.annotation.Autowired;
import org.springframework.security.core.Authentication;
import org.springframework.security.core.userdetails.UserDetails;
import org.springframework.security.web.authentication.AuthenticationSuccessHandler;
import org.springframework.stereotype.Component;

import board.entity.UserEntity;
import board.repository.UserRepository;
import jakarta.servlet.ServletException;
import jakarta.servlet.http.HttpServletRequest;
import jakarta.servlet.http.HttpServletResponse;

@Component
public class CustomAuthenticationSuccessHandler implements AuthenticationSuccessHandler {
    @Autowired
    private UserRepository userRepository;

    @Override
    public void onAuthenticationSuccess(HttpServletRequest request, HttpServletResponse response,
            Authentication authentication) throws IOException, ServletException {
        UserDetails userDetails = (UserDetails) authentication.getPrincipal();
        UserEntity userEntity = userRepository.findByUsername(userDetails.getUsername());

        request.getSession().setAttribute("user", userEntity);

        response.sendRedirect("/");
    }
}
SecurityConfiguration에 로그인 성공 핸들러를 등록
package board.configuration;

import org.springframework.beans.factory.annotation.Autowired;
import org.springframework.context.annotation.Bean;
import org.springframework.context.annotation.Configuration;
import org.springframework.security.config.annotation.web.builders.HttpSecurity;
import org.springframework.security.config.annotation.web.configuration.EnableWebSecurity;
import org.springframework.security.crypto.bcrypt.BCryptPasswordEncoder;
import org.springframework.security.web.SecurityFilterChain;

import board.security.CustomAuthenticationSuccessHandler;

@Configuration
@EnableWebSecurity
public class SecurityConfiguration {
    @Autowired
    private CustomAuthenticationSuccessHandler successHandler;

    @Bean
    SecurityFilterChain securityFilterChain(HttpSecurity http) throws Exception {
        http.authorizeHttpRequests(auth -> auth
            .requestMatchers("/", "/login", "/home", "/join", "/joinProc").permitAll()
            .requestMatchers("/board", "/board/**", "/api/**").hasAnyRole("ADMIN", "USER")
            .anyRequest().authenticated()
        );
        http.formLogin(auth -> auth
            .loginPage("/login")
            .loginProcessingUrl("/loginProc")
            .permitAll()
            // .defaultSuccessUrl("/board")
            .successHandler(successHandler)
        );

        // 개발단계에서 임시적으로 Disable
        http.csrf(auth -> auth.disable());

        return http.build();
    }

    @Bean
    BCryptPasswordEncoder bCryptPasswordEncoder() {
        return new BCryptPasswordEncoder();
    }
}
세션에 저장된 내용을 템플릿에서 사용
index.html
<html xmlns:th="http://www.thymeleaf.org">
<head>
    <meta charset="utf-8">
    <title>메인</title>
</head>
<body>
    <h1>메인 입니다.</h1>
    <h2>로그인하지 않고 누구나 사용 가능합니다.</h2>

    <h3>
        Welcome,
        <span th:if="${session.user != null}" th:text="${session.user.username}"></span>
        <span th:unless="${session.user != null}">Guest</span>
    </h3>