(1) jQuery
jQuery는 Javascript를 미리 작성해둔것, 라이브러리
쓰기 전에 꼭 import 필요
id값을 사용하여 특정 버튼/인풋박스/div 등을 가리킴
- 1) input 박스의 값을 가져오기
id="article-url" : id 값 부여
<div class="posting-box">
        <div class="form-group">
            <label for="exampleInputEmail1">아티클 URL</label>
            <input type="email" class="form-control" id="article-url" aria-describedby="emailHelp"
                   placeholder="">
        </div>
        <div class="form-group">
            <label for="exampleFormControlTextarea1">간단 코멘트</label>
            <textarea class="form-control" id="exampleFormControlTextarea1" rows="3"></textarea>
        </div>
        <button type="submit" class="btn btn-primary">기사저장</button>
    </div>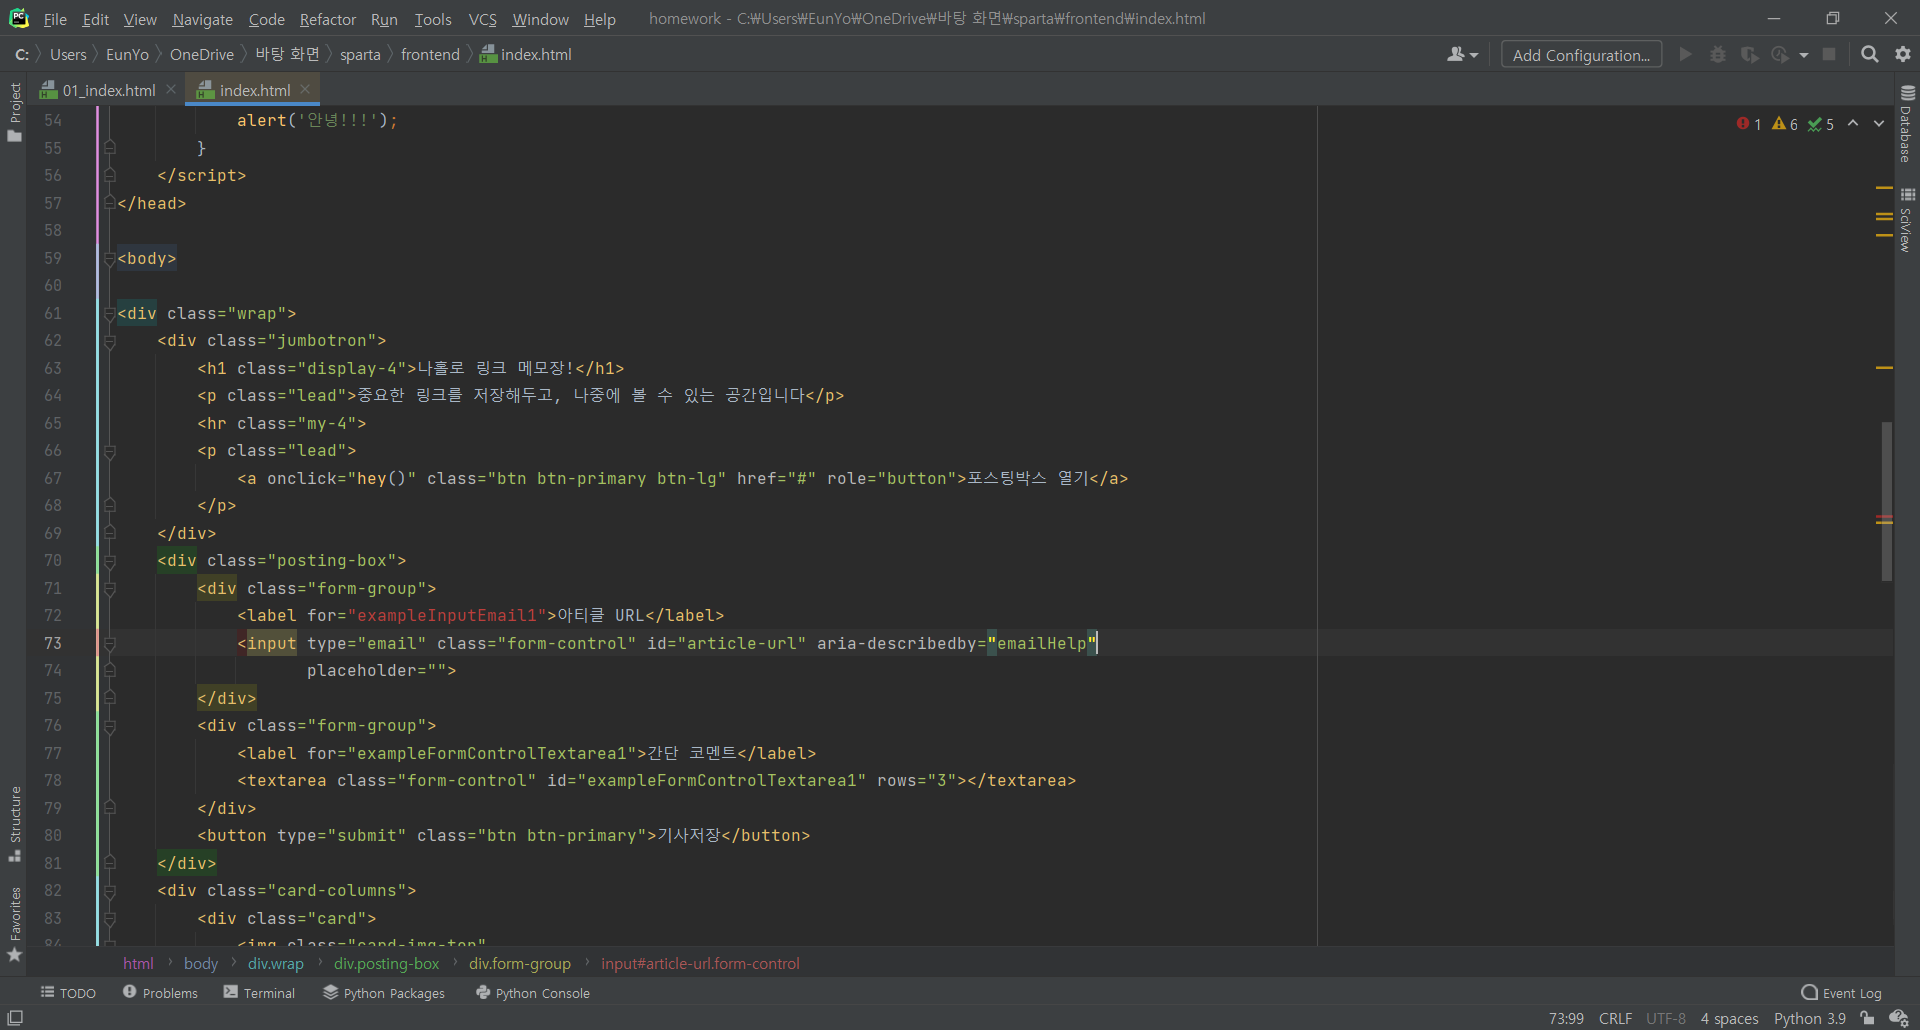
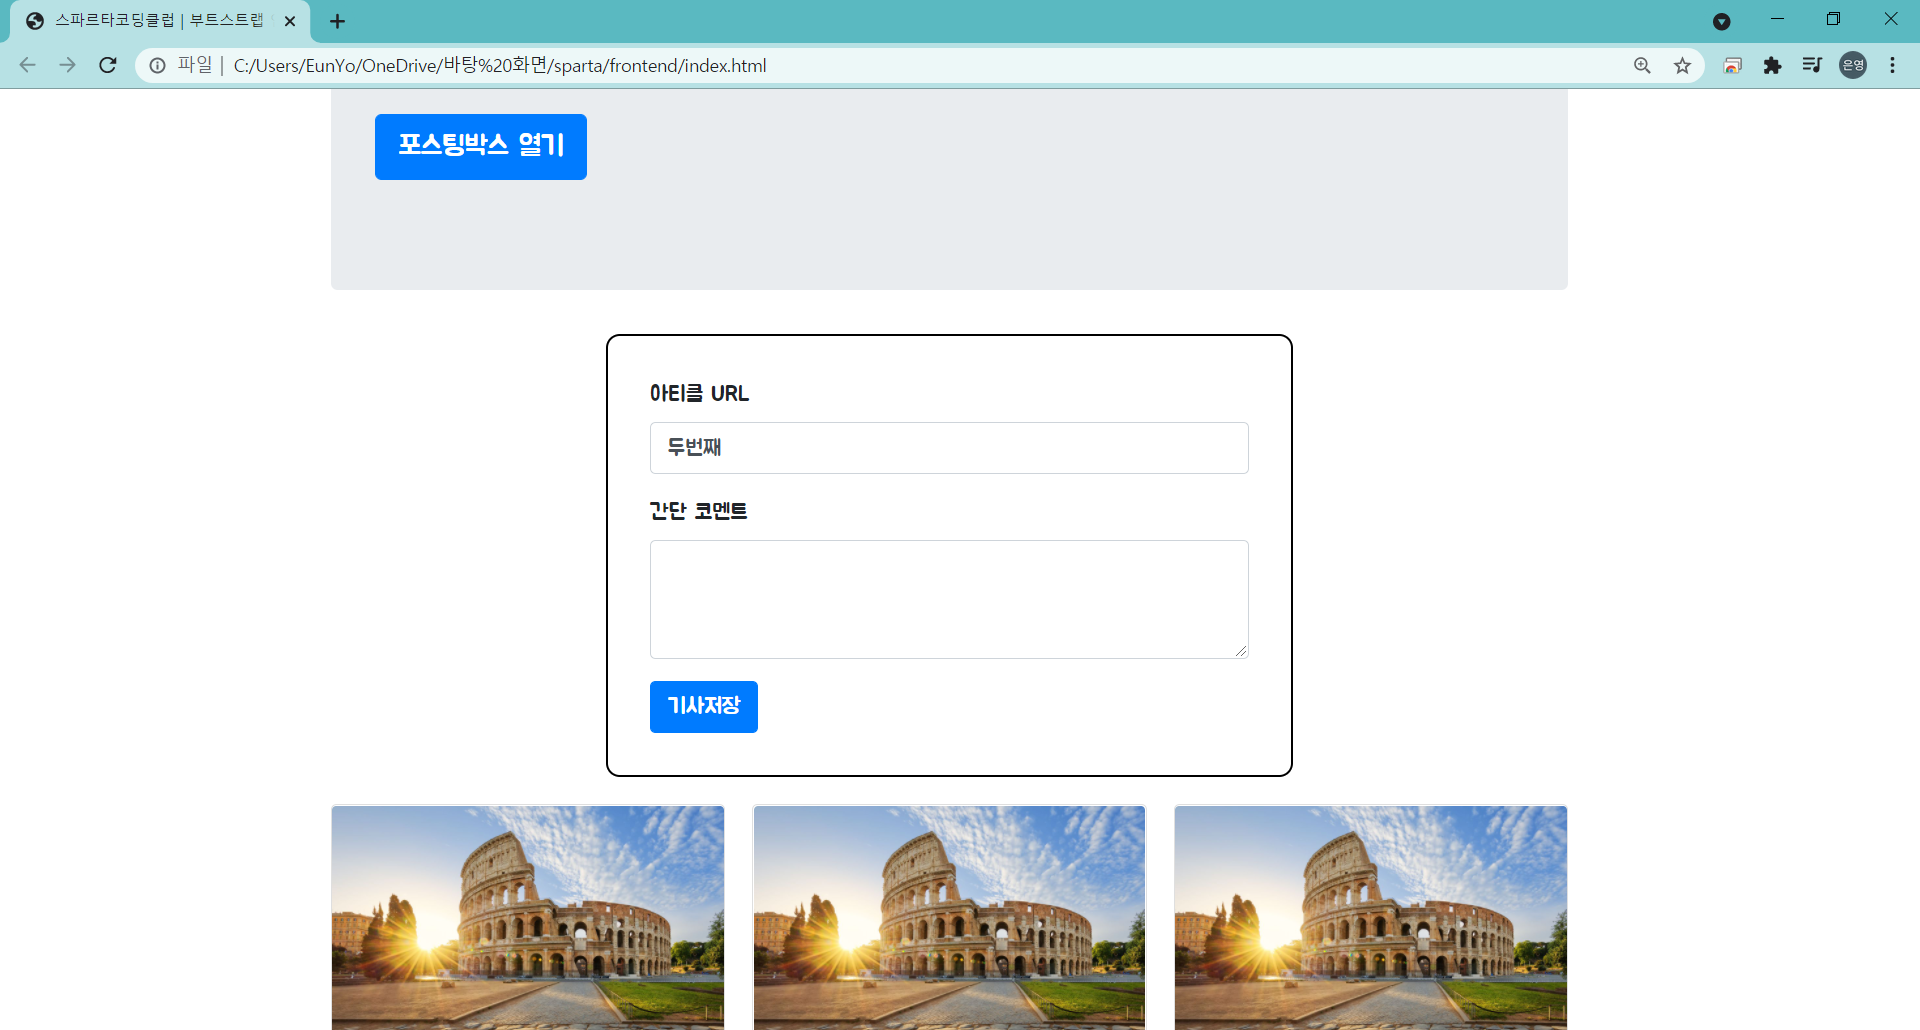
(1) 먼저 article-url에 "첫번째"를 입력
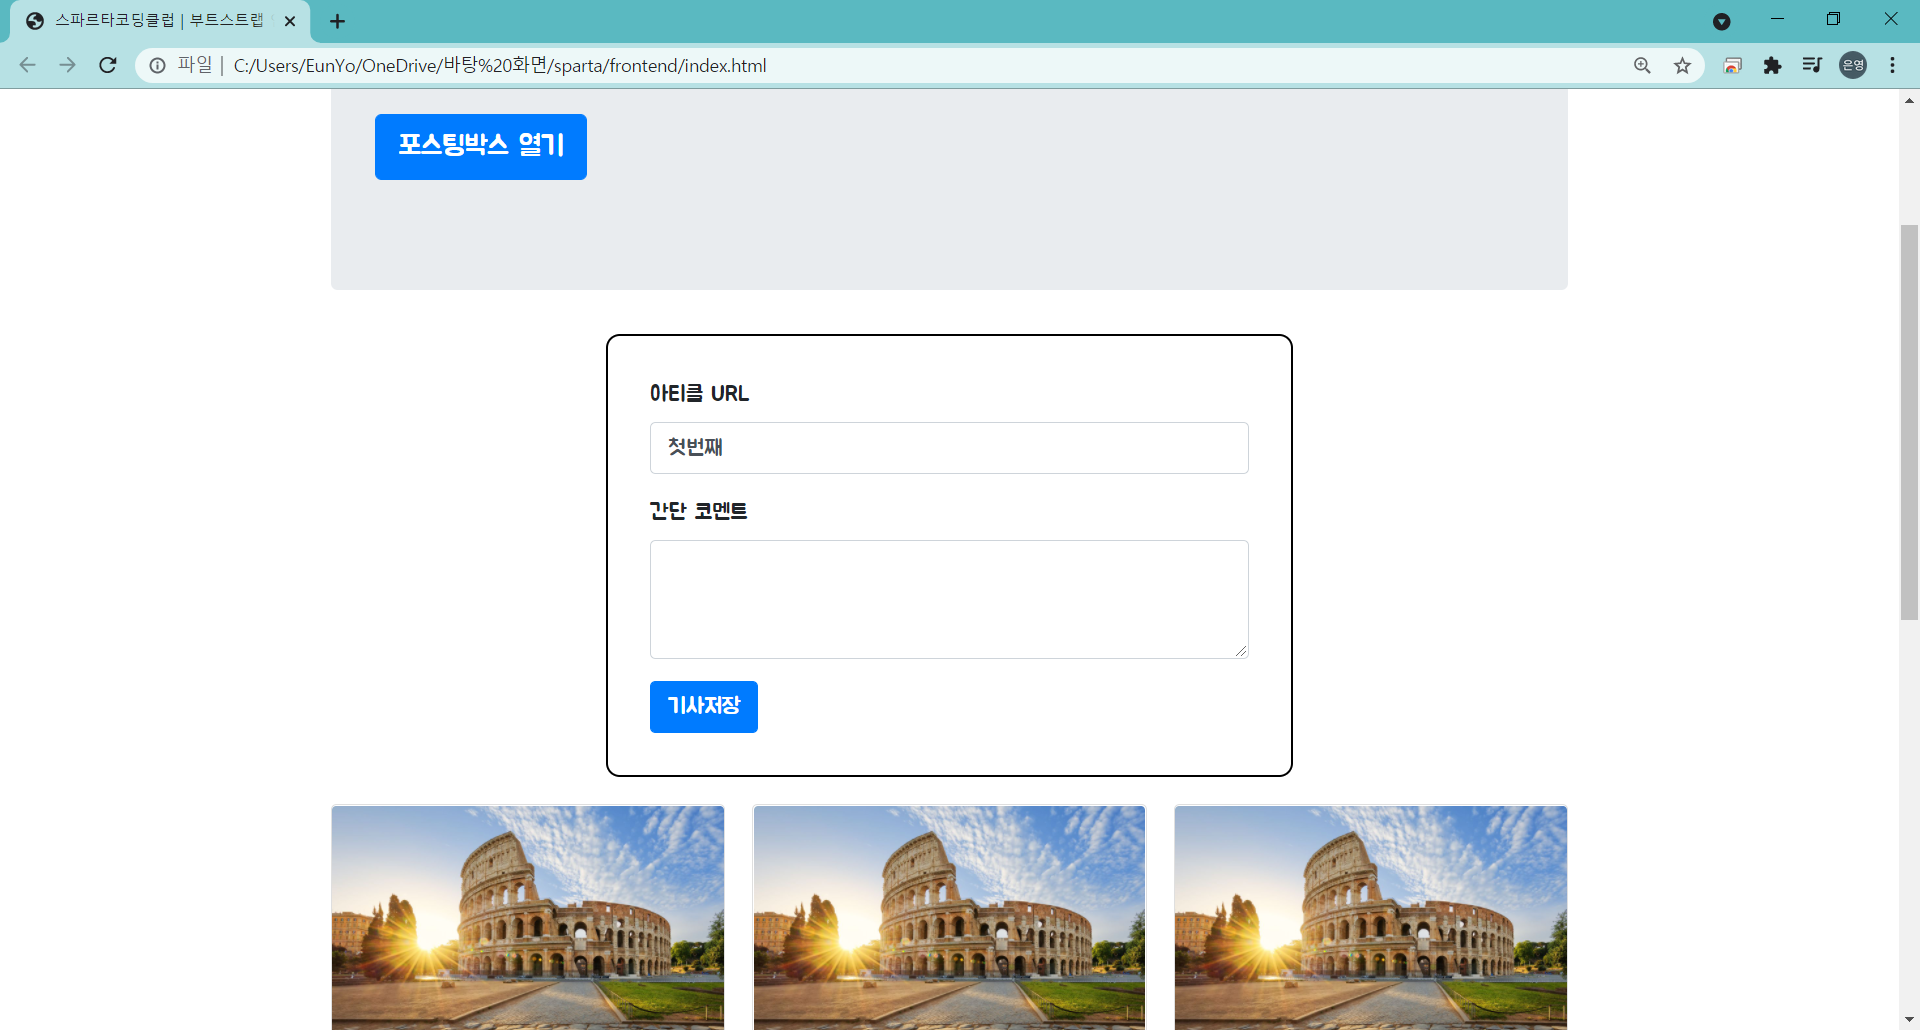
$('#article-url').val() : article-url을 가리키고, val()로 값을 가져옴
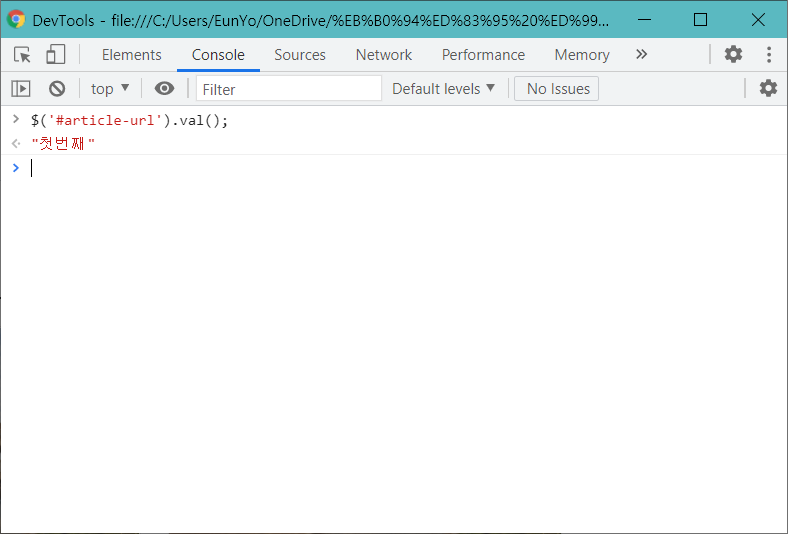
(2) 크롬 개발자도구 콘솔창에서 다음을 실행
$('#article-url').val('두번째') : "두번째"가 article-url에 입력됨
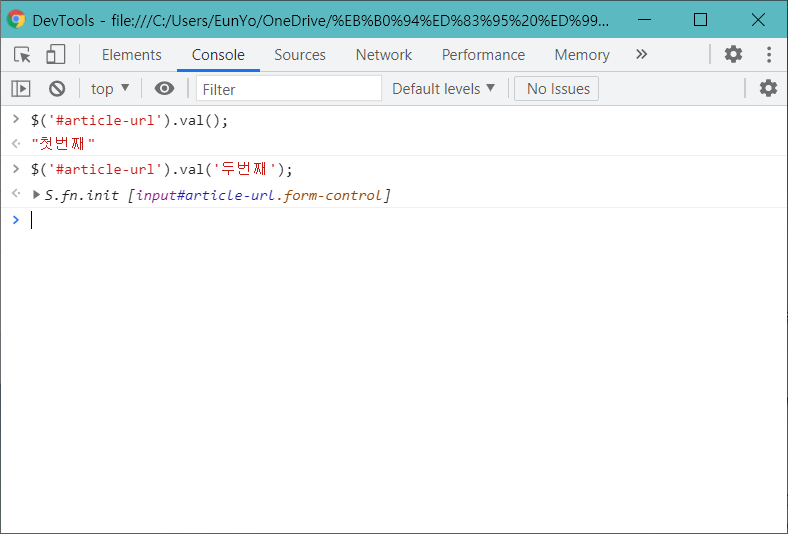
(실행 결과)
- 2) div 보이기/숨기기
id="post-box" : id 값 부여
 <div class="posting-box" id="post-box">
        <div class="form-group">
            <label for="exampleInputEmail1">아티클 URL</label>
            <input type="email" class="form-control" id="article-url" aria-describedby="emailHelp"
                   placeholder="">
        </div>
        <div class="form-group">
            <label for="exampleFormControlTextarea1">간단 코멘트</label>
            <textarea class="form-control" id="exampleFormControlTextarea1" rows="3"></textarea>
        </div>
        <button type="submit" class="btn btn-primary">기사저장</button>
    </div>
(1) div 숨기기
$('#post-box').hide() : post-box를 숨김
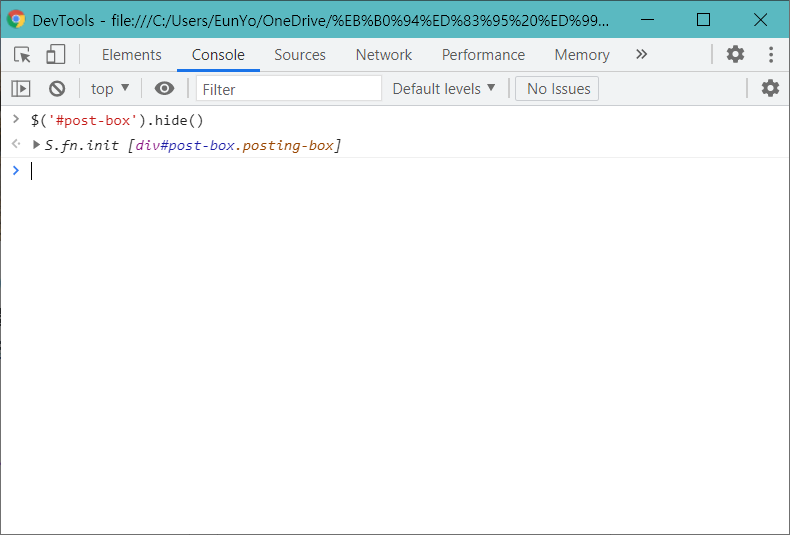
(실행결과)
id가 post-box 인 곳이 사라진 것을 볼 수 있음
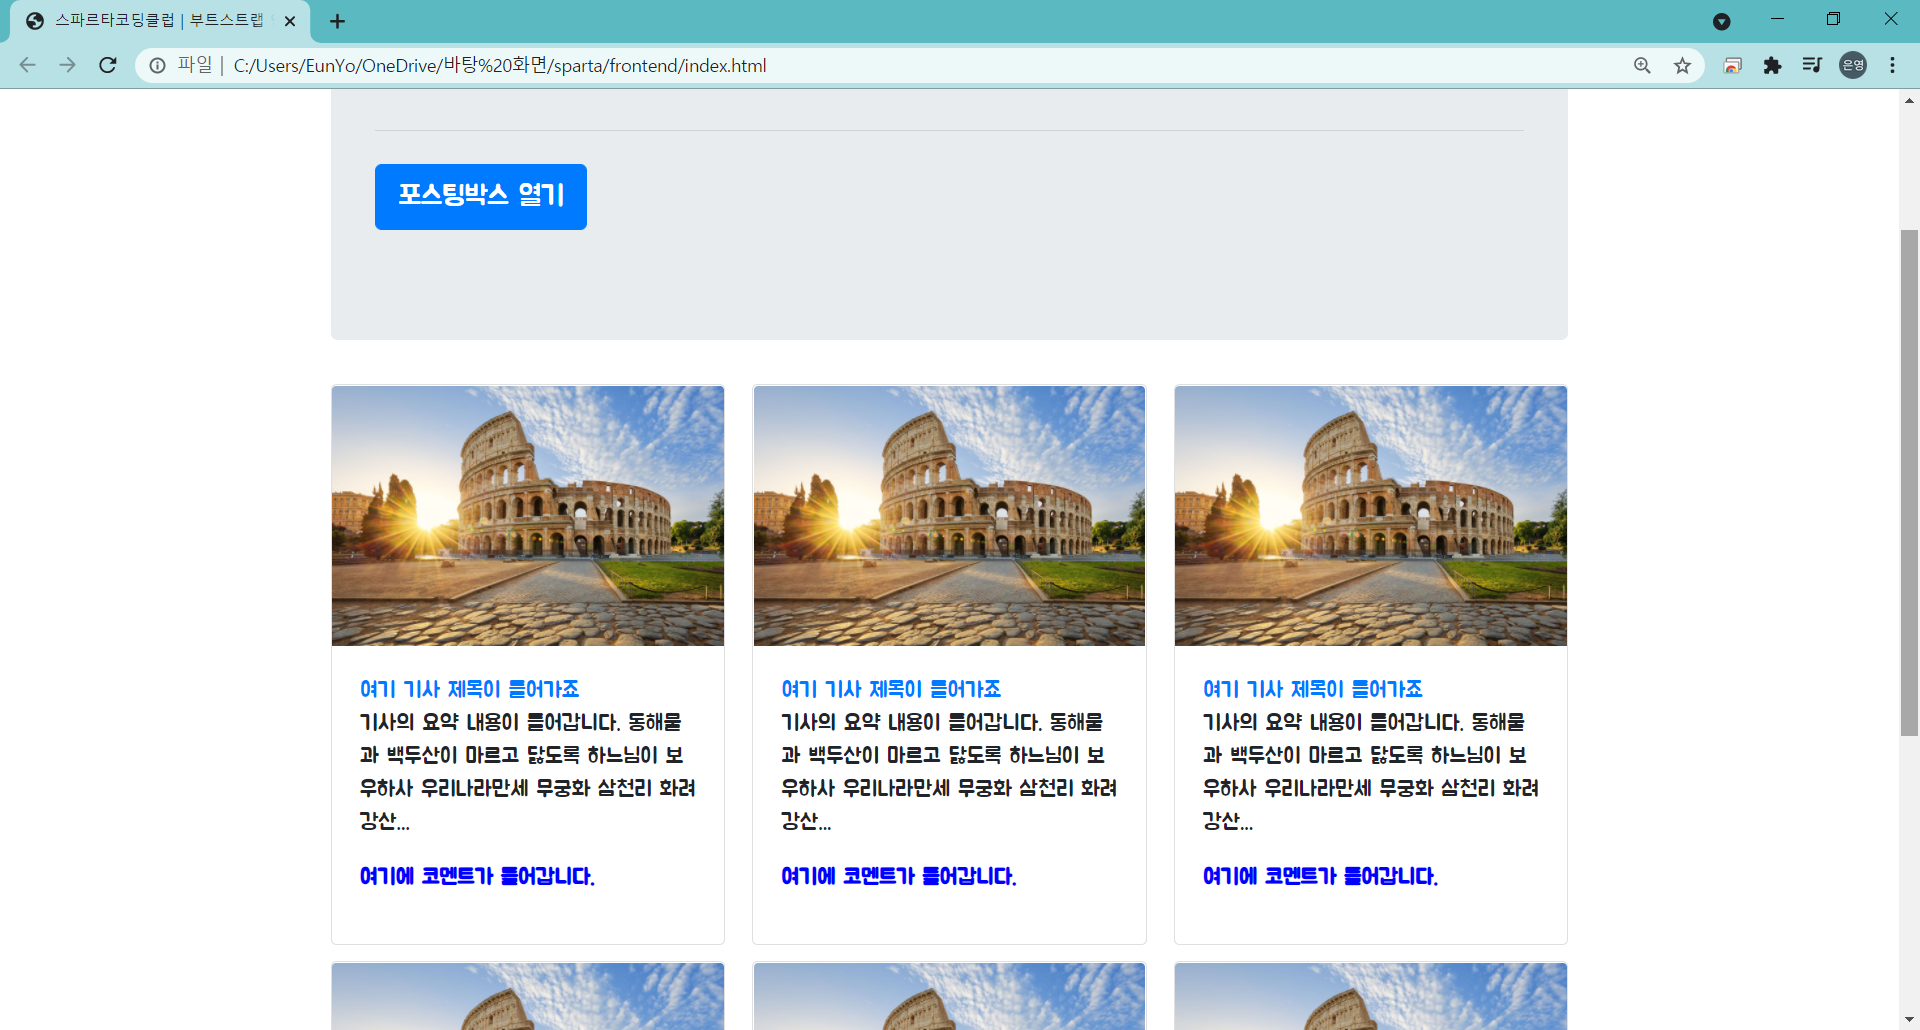
(2) div 보이기
$('#post-box').show() : 사라진 post-box를 다시 나타냄
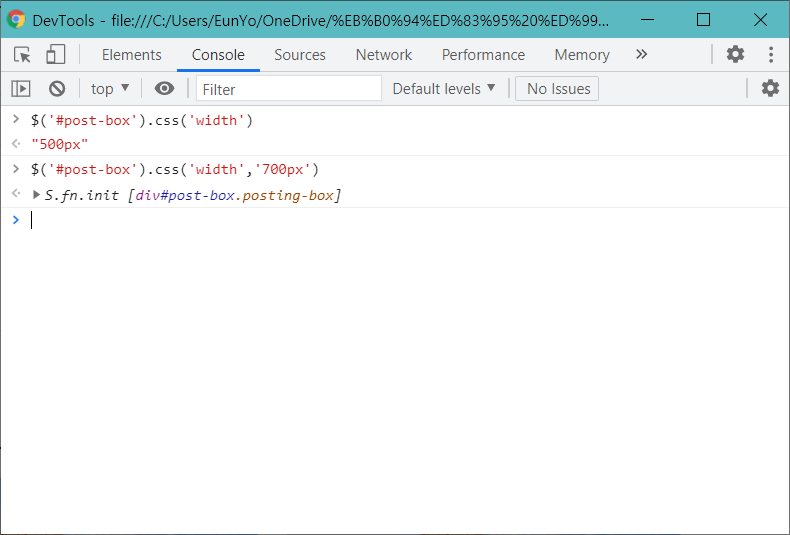
- 3) css의 값 가져오기 (display 속성 값 가져오기)
$('#post-box').css('width') : post-box의 가로크기 출력
$('#post-box').css('width', '700px') : post-box의 가로크기 변경
$('#post-box').css('display') : post-box의 display 값 출력 -> "block"
$('#post-box').hide() : post-box를 숨김
$('#post-box').css('display') : post-box의 display 값을 다시 출력 -> "none"
(block : 화면에 보이는 상태, none : 화면에 안 보이는 상태)

- 4) 태그 내 텍스트 입력
id="btn-posting-box" : id 값 부여
 <p class="lead">
            <a onclick="hey()" id="btn-posting-box" class="btn btn-primary btn-lg" href="#" role="button">포스팅박스 열기</a>
        </p>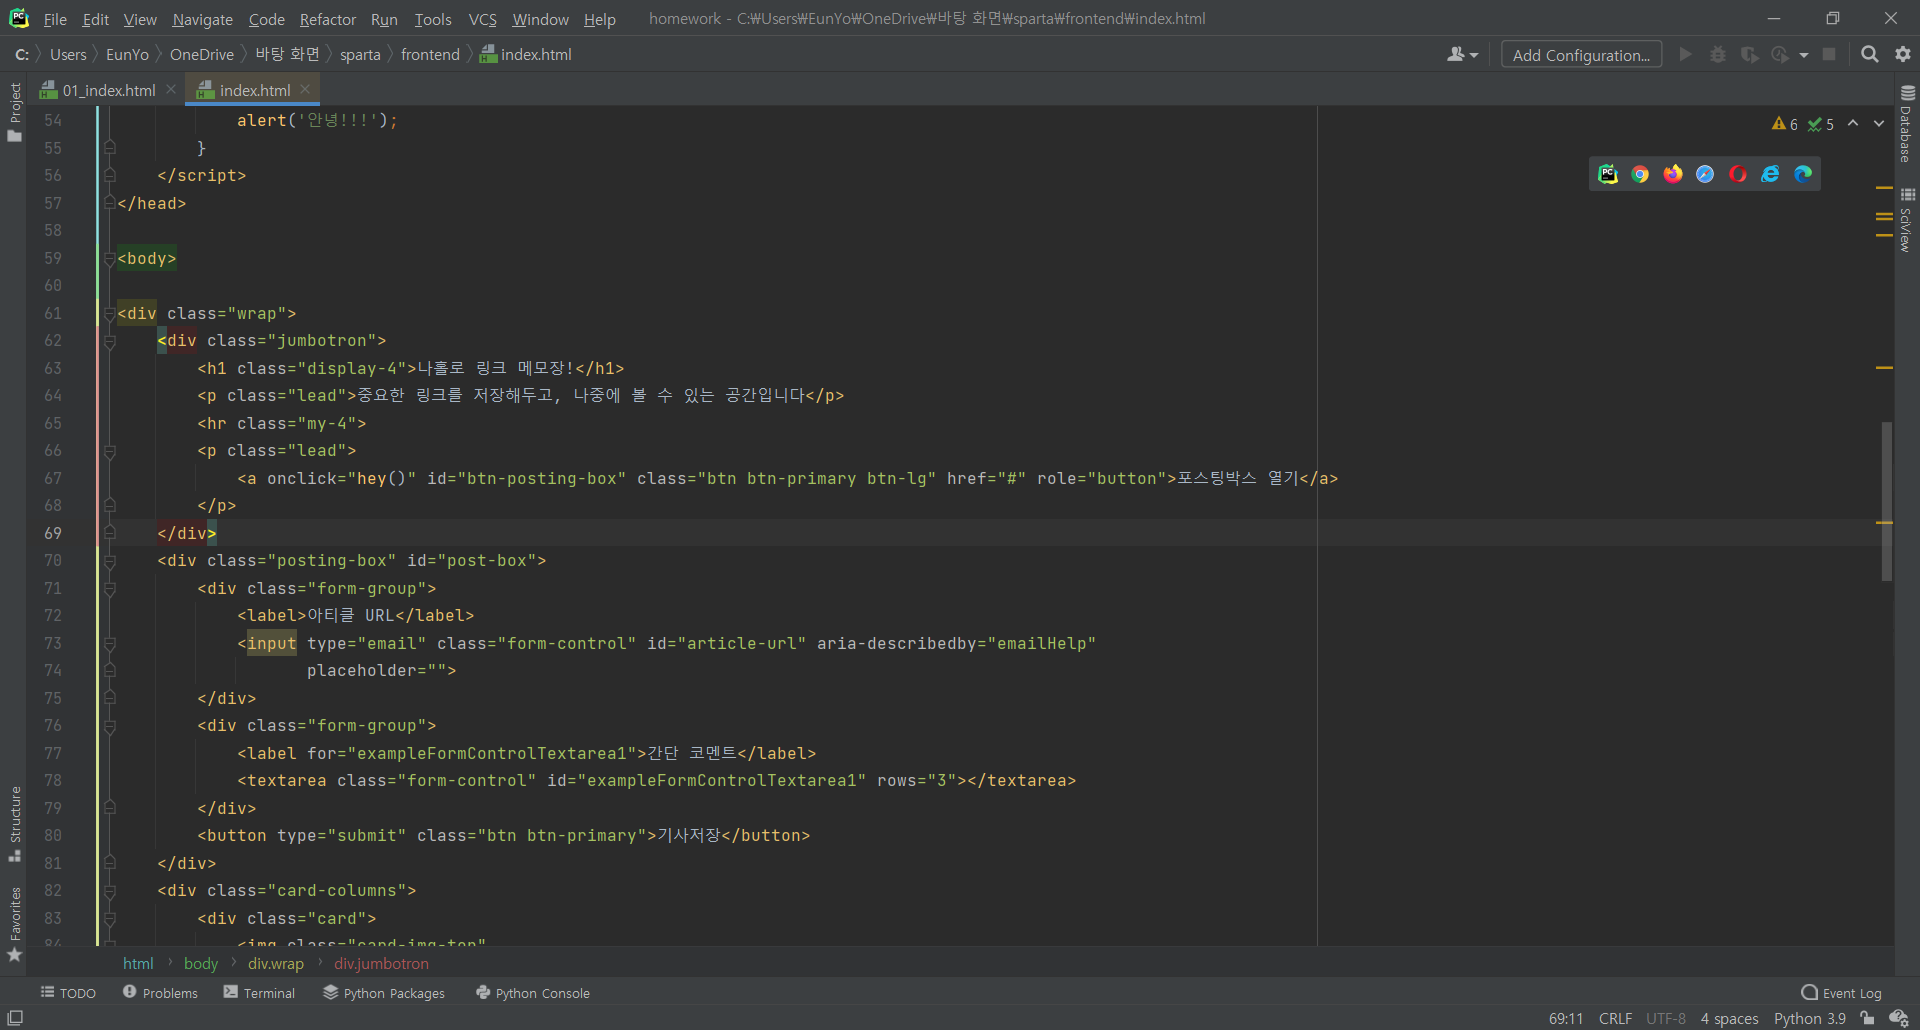
(1) 텍스트 변경
$('#btn-posting-box').text('OPEN') : btn-posting-box의 text를 'OPEN'으로 변경
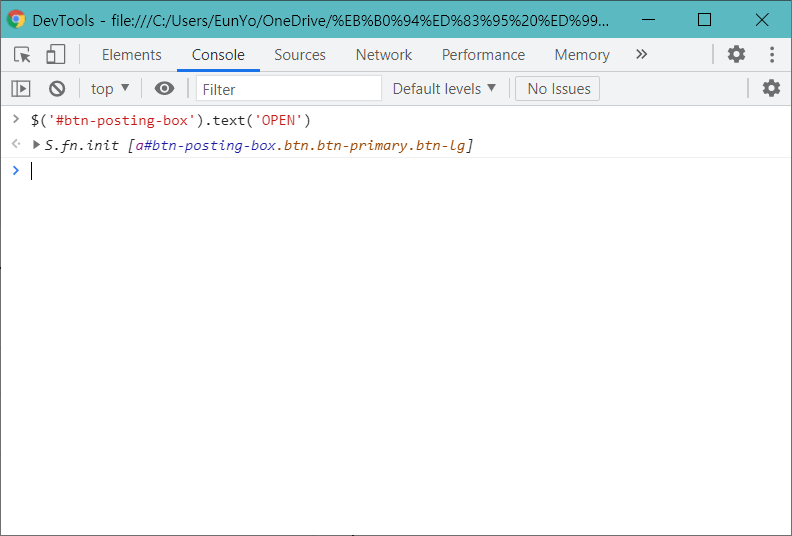
(실행결과)
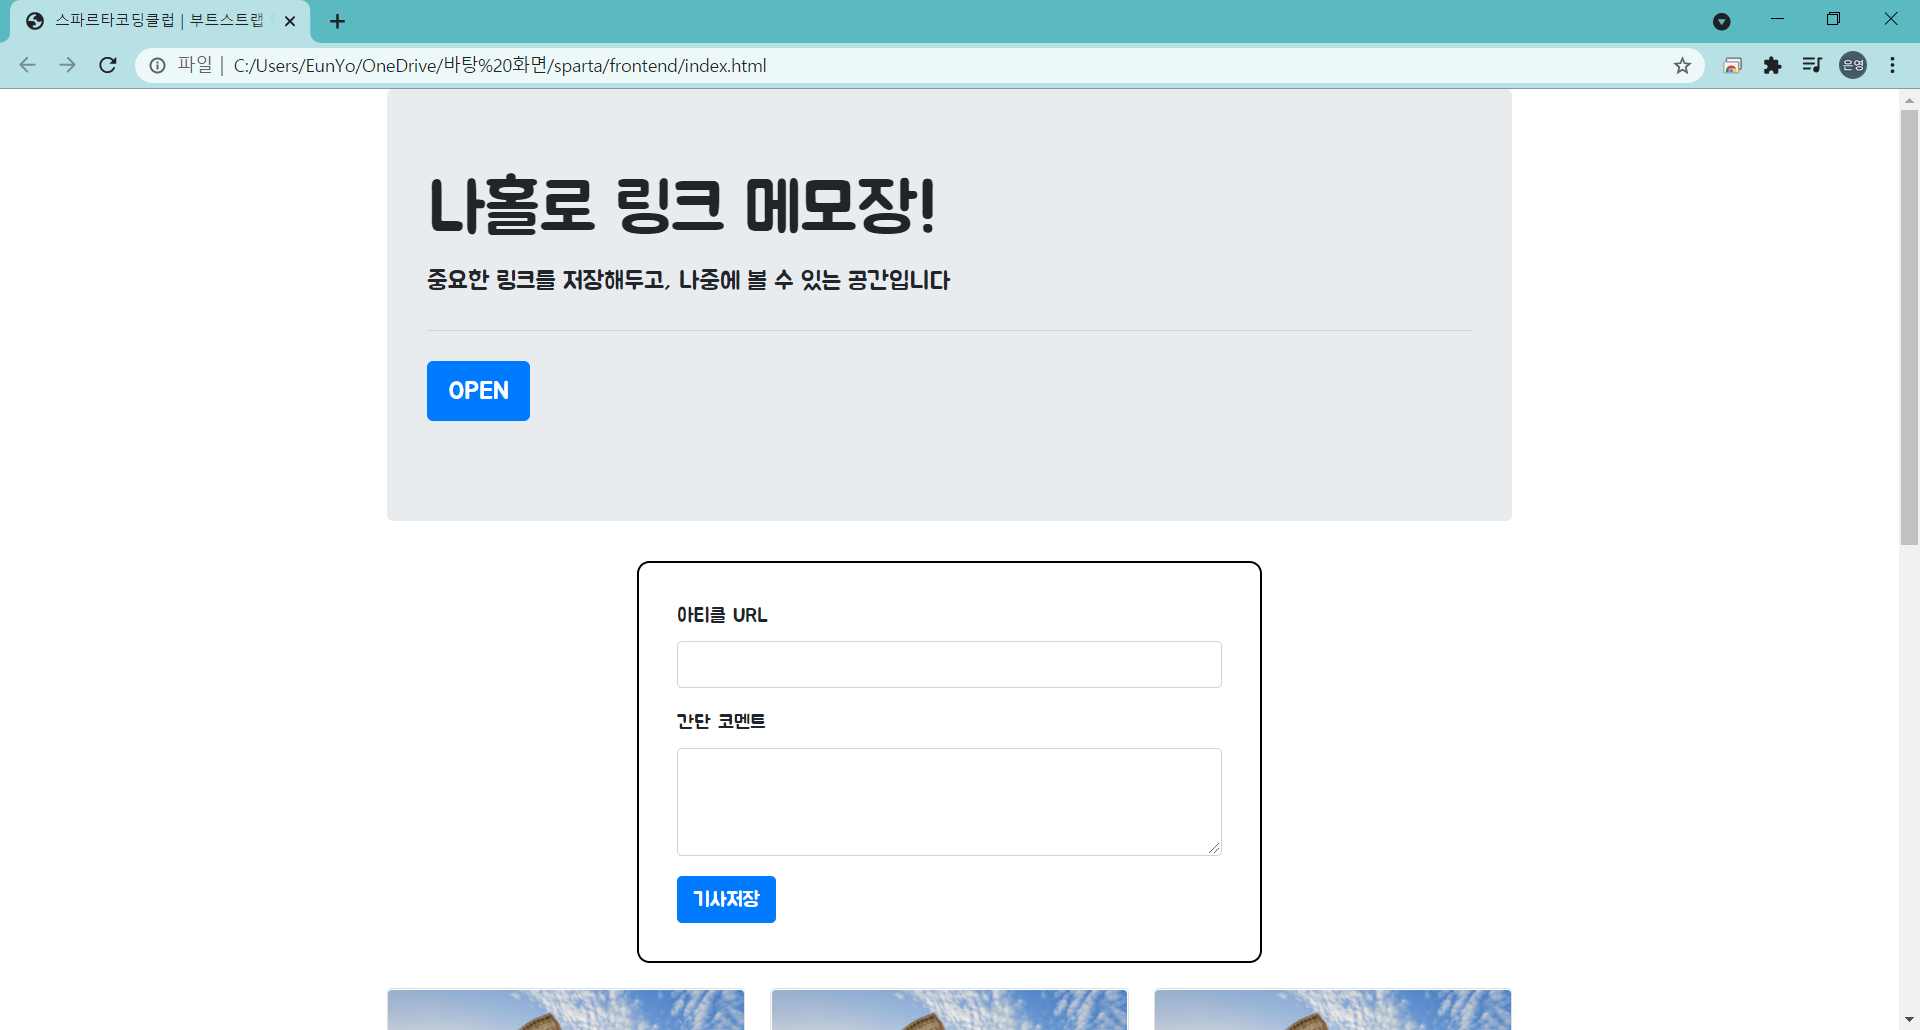
파란버튼의 텍스트가 OPEN으로 변경된 것을 볼 수 있다.
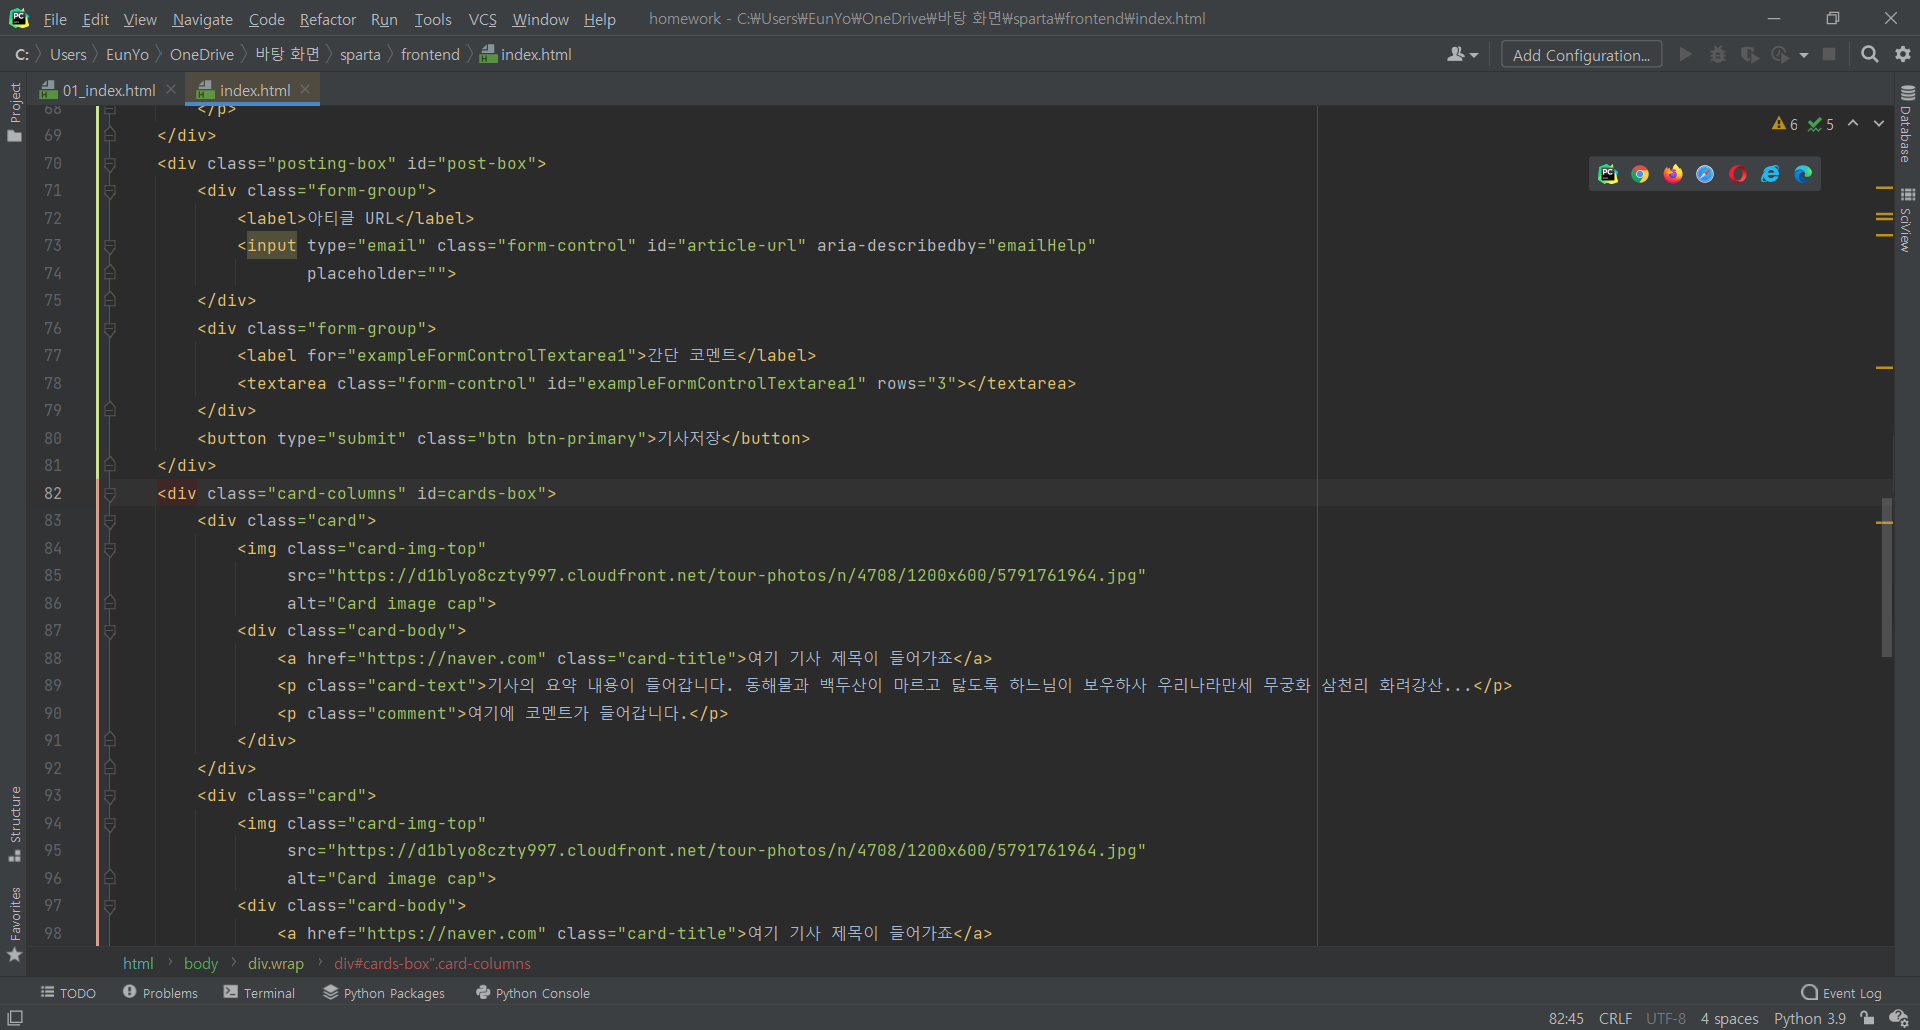
- 5) 태그 내 html 입력
id="cards-box" : id 값 부여
(1) 버튼 넣기
let temp_html= '<Button>나는 버튼이다</button>' : 백틱 사용, html처럼 생긴 단순 문자열
$('#cards-box').append(temp_html) : 단순 문자열을 html로 변환시켜줌
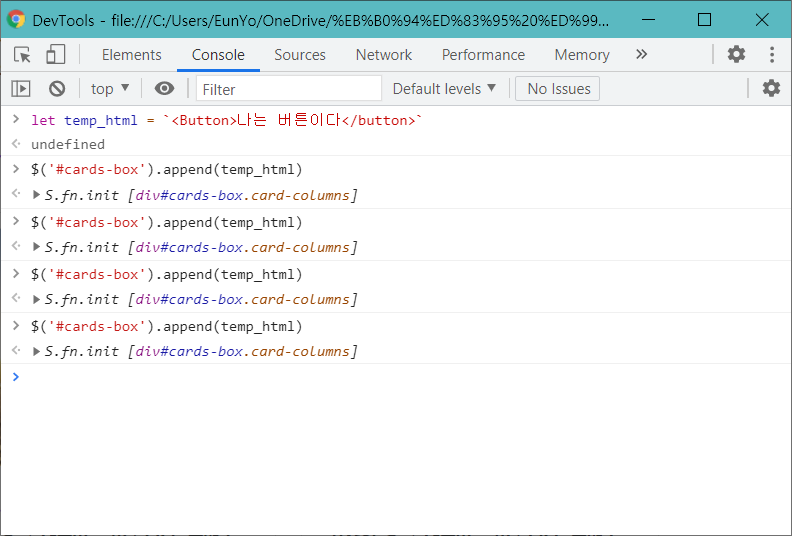
(실행화면)
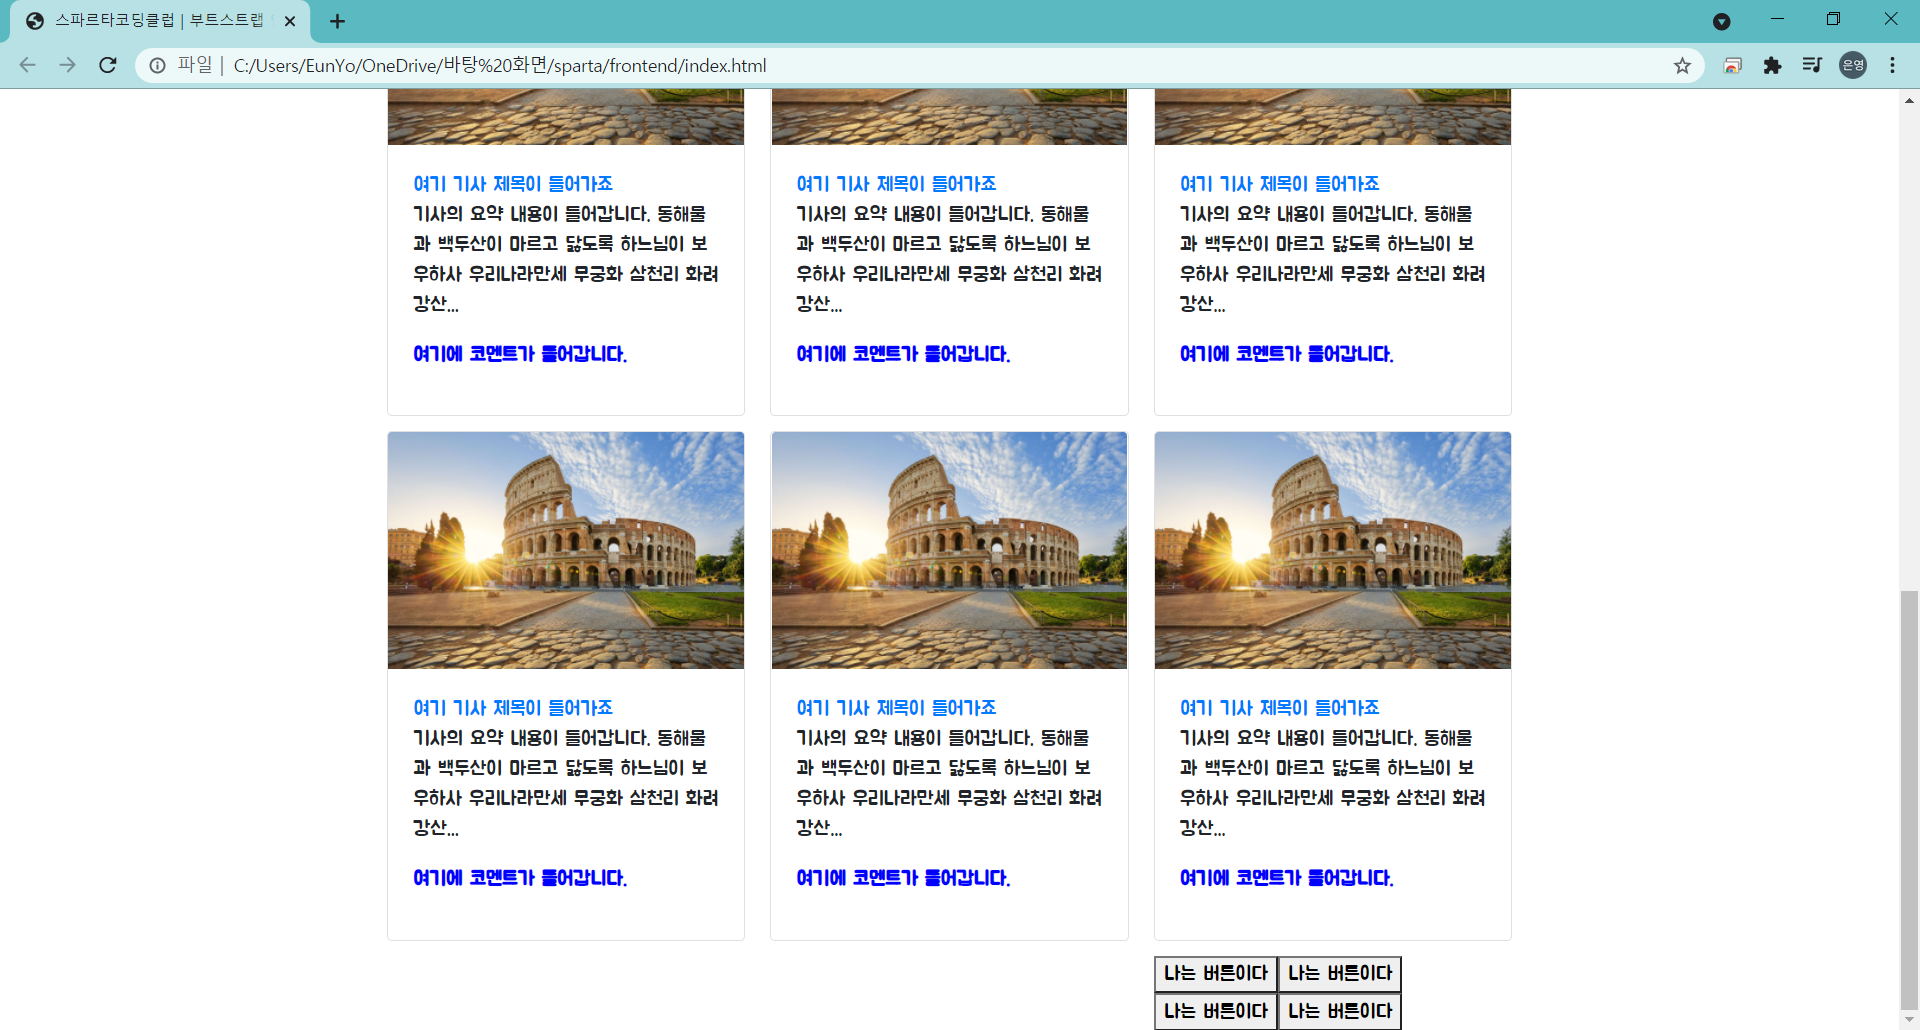
밑쪽에 '나는 버튼이다'라는 텍스트를 가진 버튼이 생기는 것을 볼 수 있음
(2) 버튼 말고, 카드 넣기
아래 그림에서 드래그한 파란영역(카드부분)을 복사하여
<div class="card">
            <img class="card-img-top"
                 src="https://d1blyo8czty997.cloudfront.net/tour-photos/n/4708/1200x600/5791761964.jpg"
                 alt="Card image cap">
            <div class="card-body">
                <a href="https://naver.com" class="card-title">여기 기사 제목이 들어가죠</a>
                <p class="card-text">기사의 요약 내용이 들어갑니다. 동해물과 백두산이 마르고 닳도록 하느님이 보우하사 우리나라만세 무궁화 삼천리 화려강산...</p>
                <p class="comment">여기에 코멘트가 들어갑니다.</p>
            </div>
        </div>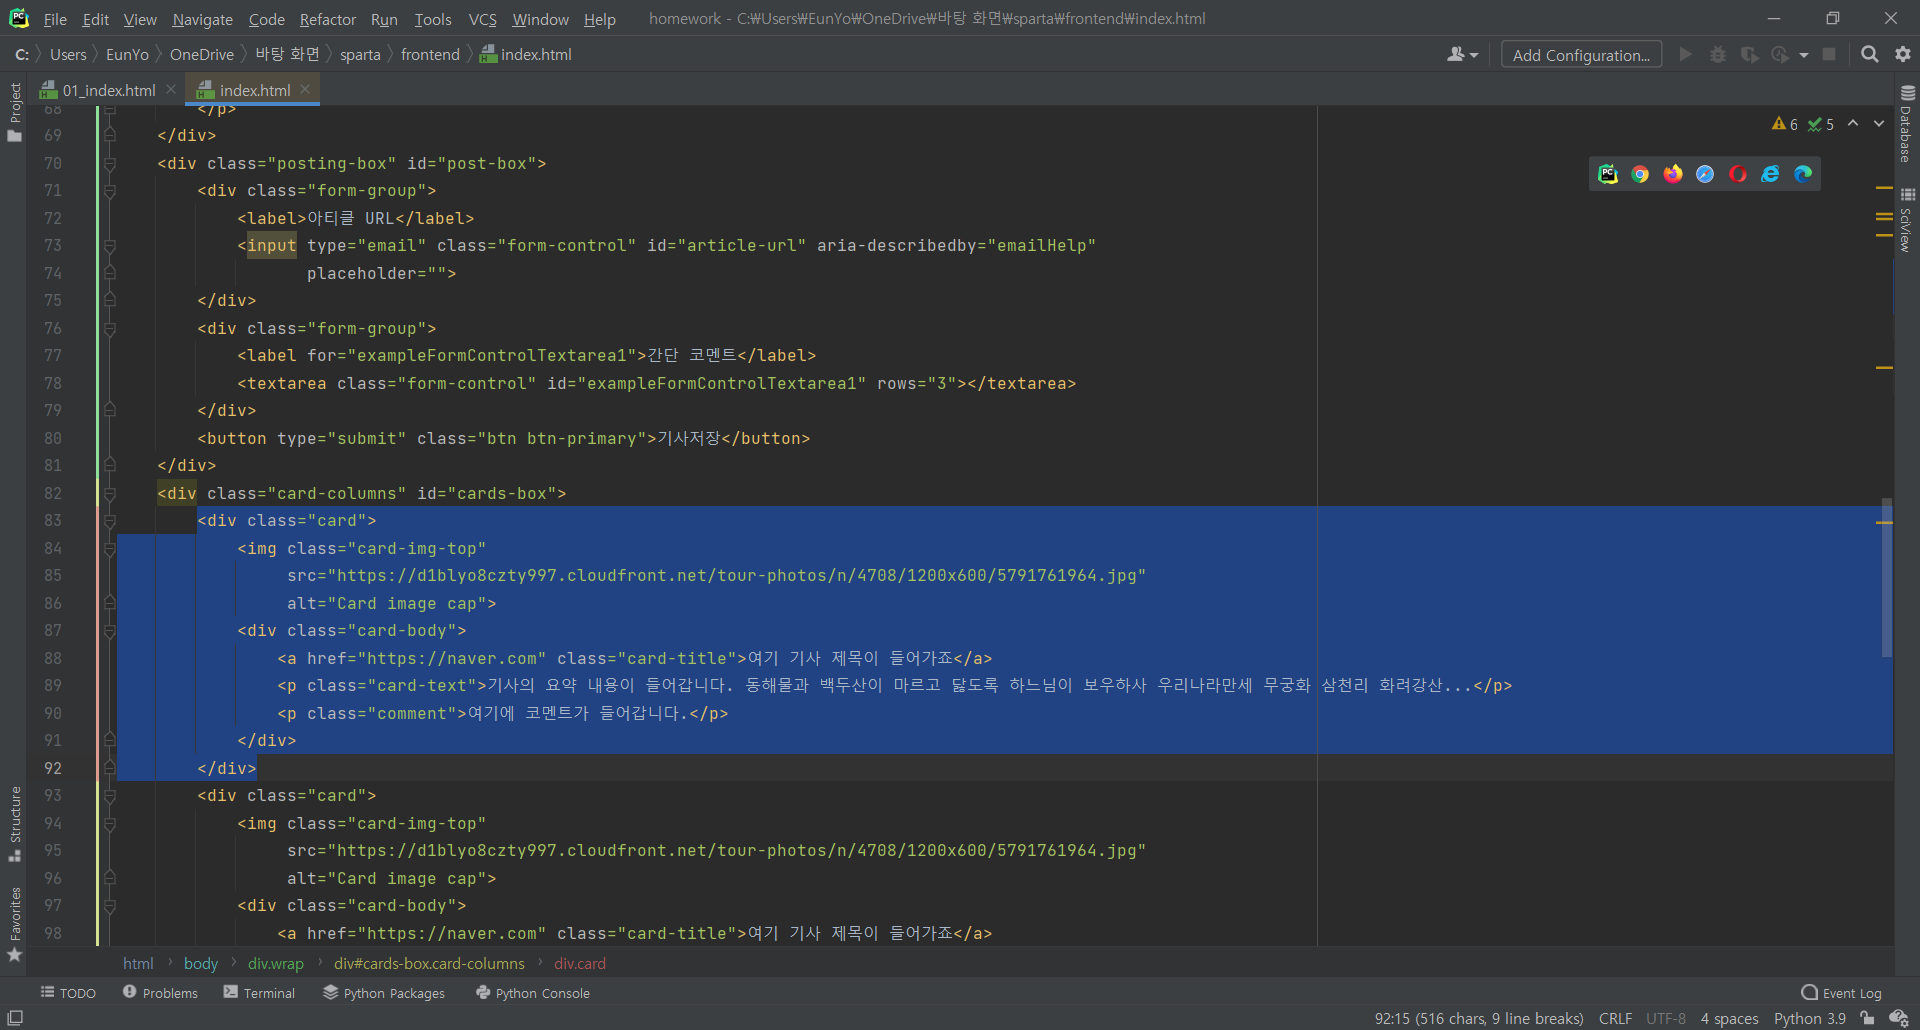
let temp_html = '카드부분' : 카드부분 전체
$('#cards-box').append(temp_html) : 카드부분 전체를 html로 변환
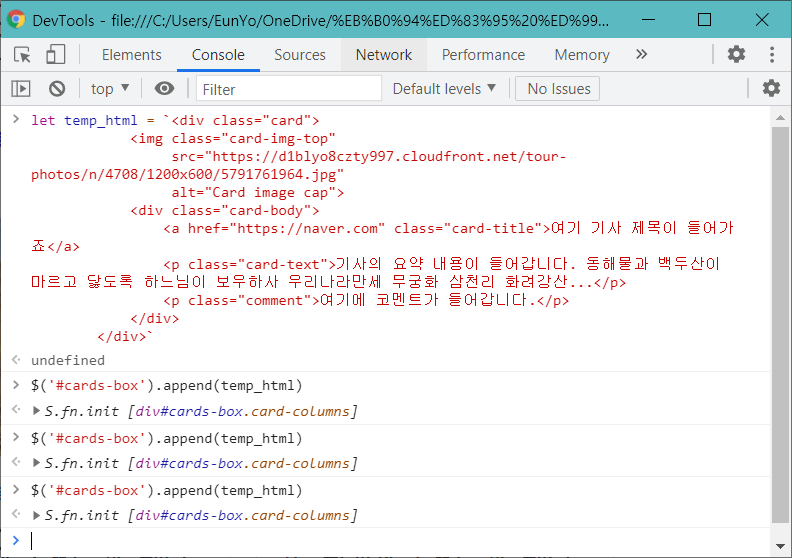
(실행결과)
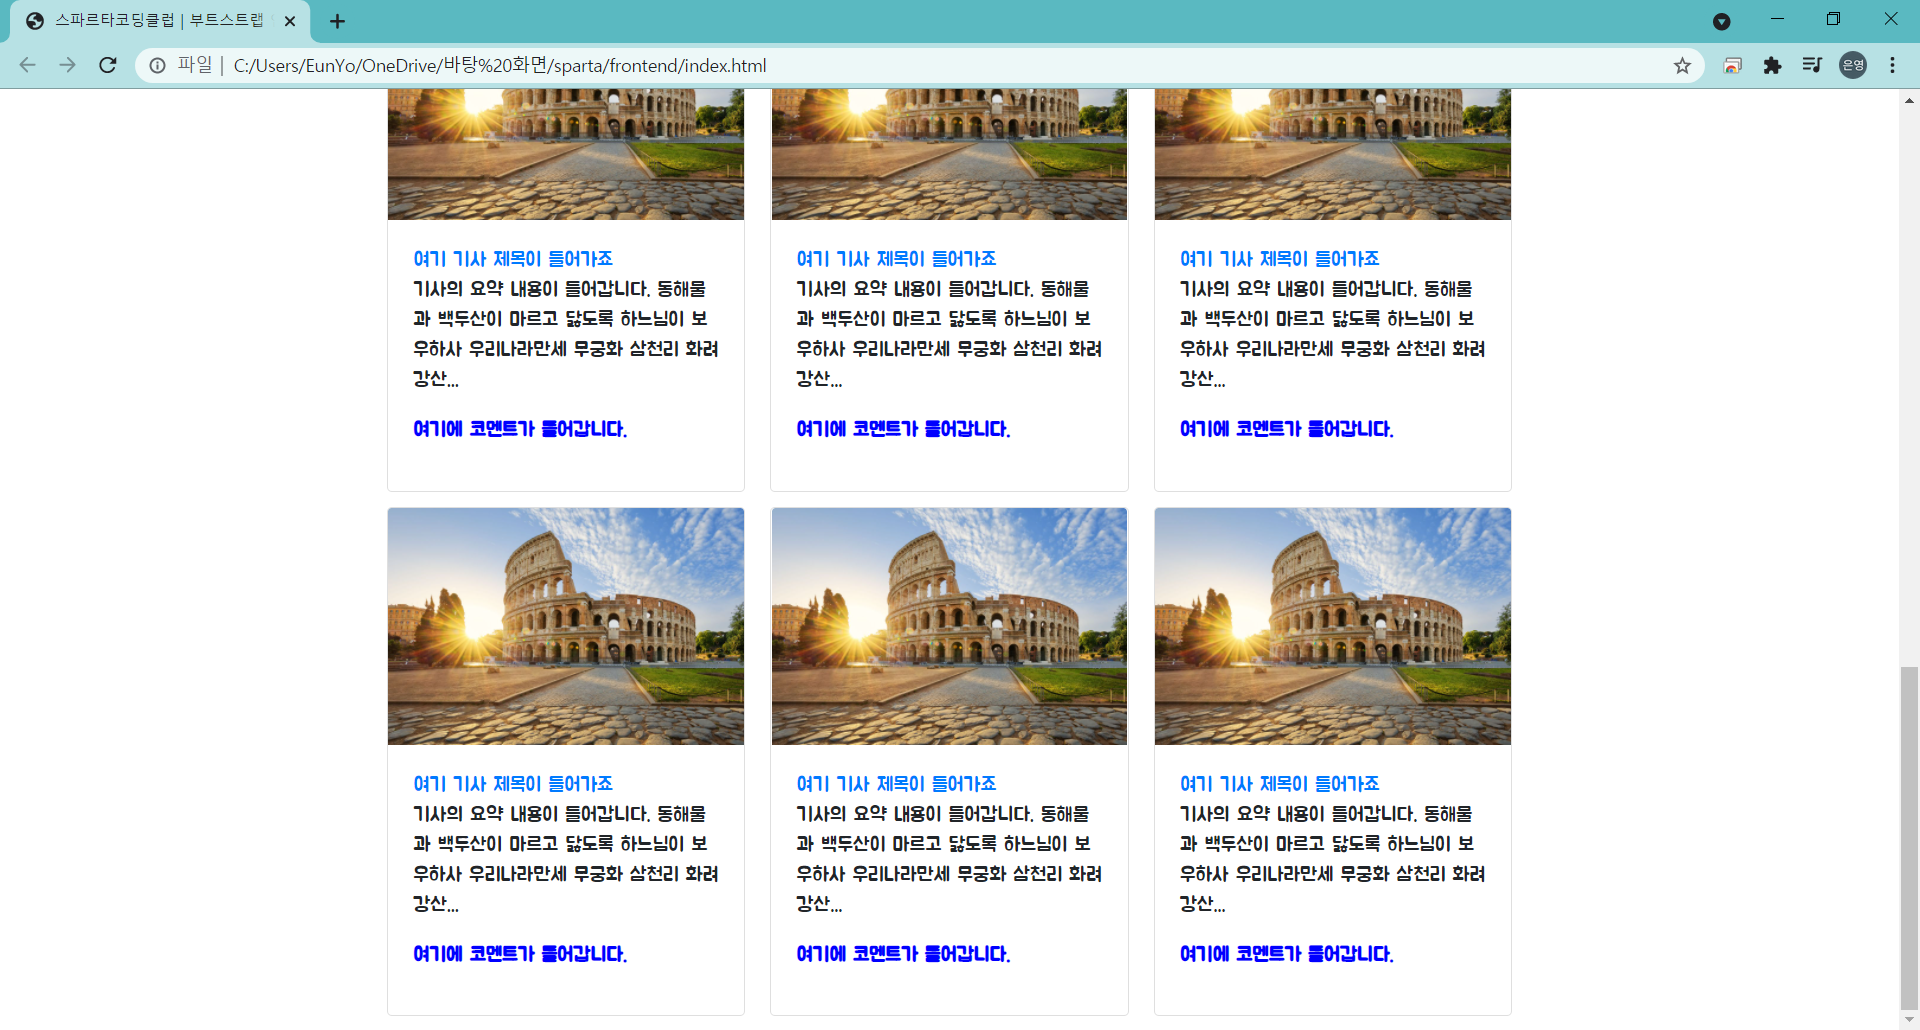
cards-box들이 밑으로 계속 추가되는 것을 볼 수 있다.
- 6) 포스팅 박스 열고 닫기 구현
(1) test
새로운 openclose() 함수 생성 -> '잘된다!!'라는 메세지 출력
 <script>
        function openclose(){
            alert('잘된다!!')
        }
    </script>
포스팅박스 열기 버튼을 누르면 openclose() 함수 실행
  <p class="lead">
            <a onclick="openclose()" id="btn-posting-box" class="btn btn-primary btn-lg" href="#" role="button">포스팅박스 열기</a>
        </p>
(실행결과)
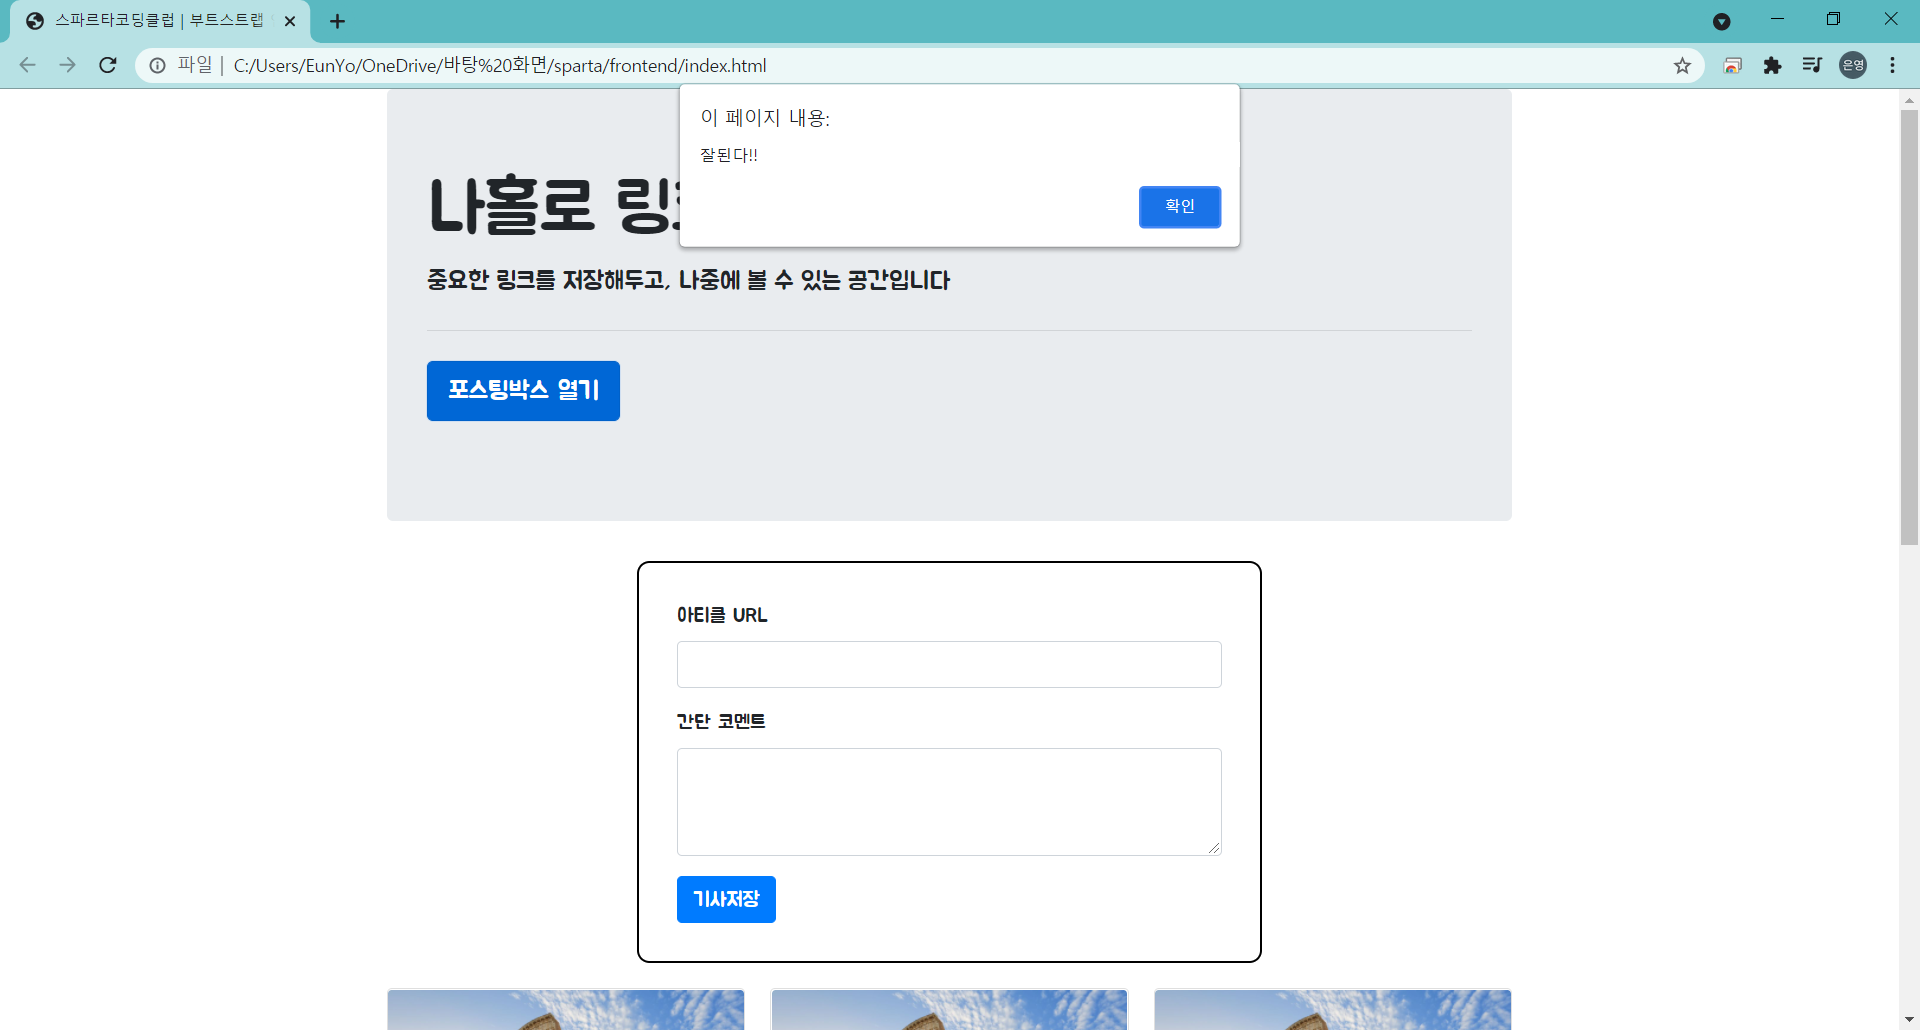
포스팅박스 열기 버튼을 클릭하면 상단에 '잘된다'라는 메세지가 뜨는 것을 볼 수 있다. 확인완료
(2) 함수 구현
  <script>
       function openclose() {
           let status = $('#post-box').css('display');
           if (status == 'block') {
               $('#post-box').hide();
               $('#btn-posting-box').text('포스팅박스 열기');
           } else {
               $('#post-box').show();
               $('#btn-posting-box').text('포스팅박스 닫기');
           }
       }
    </script>
id 값 post-box의 display 값이 block 이면 post-box를 가리고 글씨는 열기로 바꿔주고, 아니면 post-box를 나타내면서 글씨는 닫기로 바꿔둔다.
(실행결과)
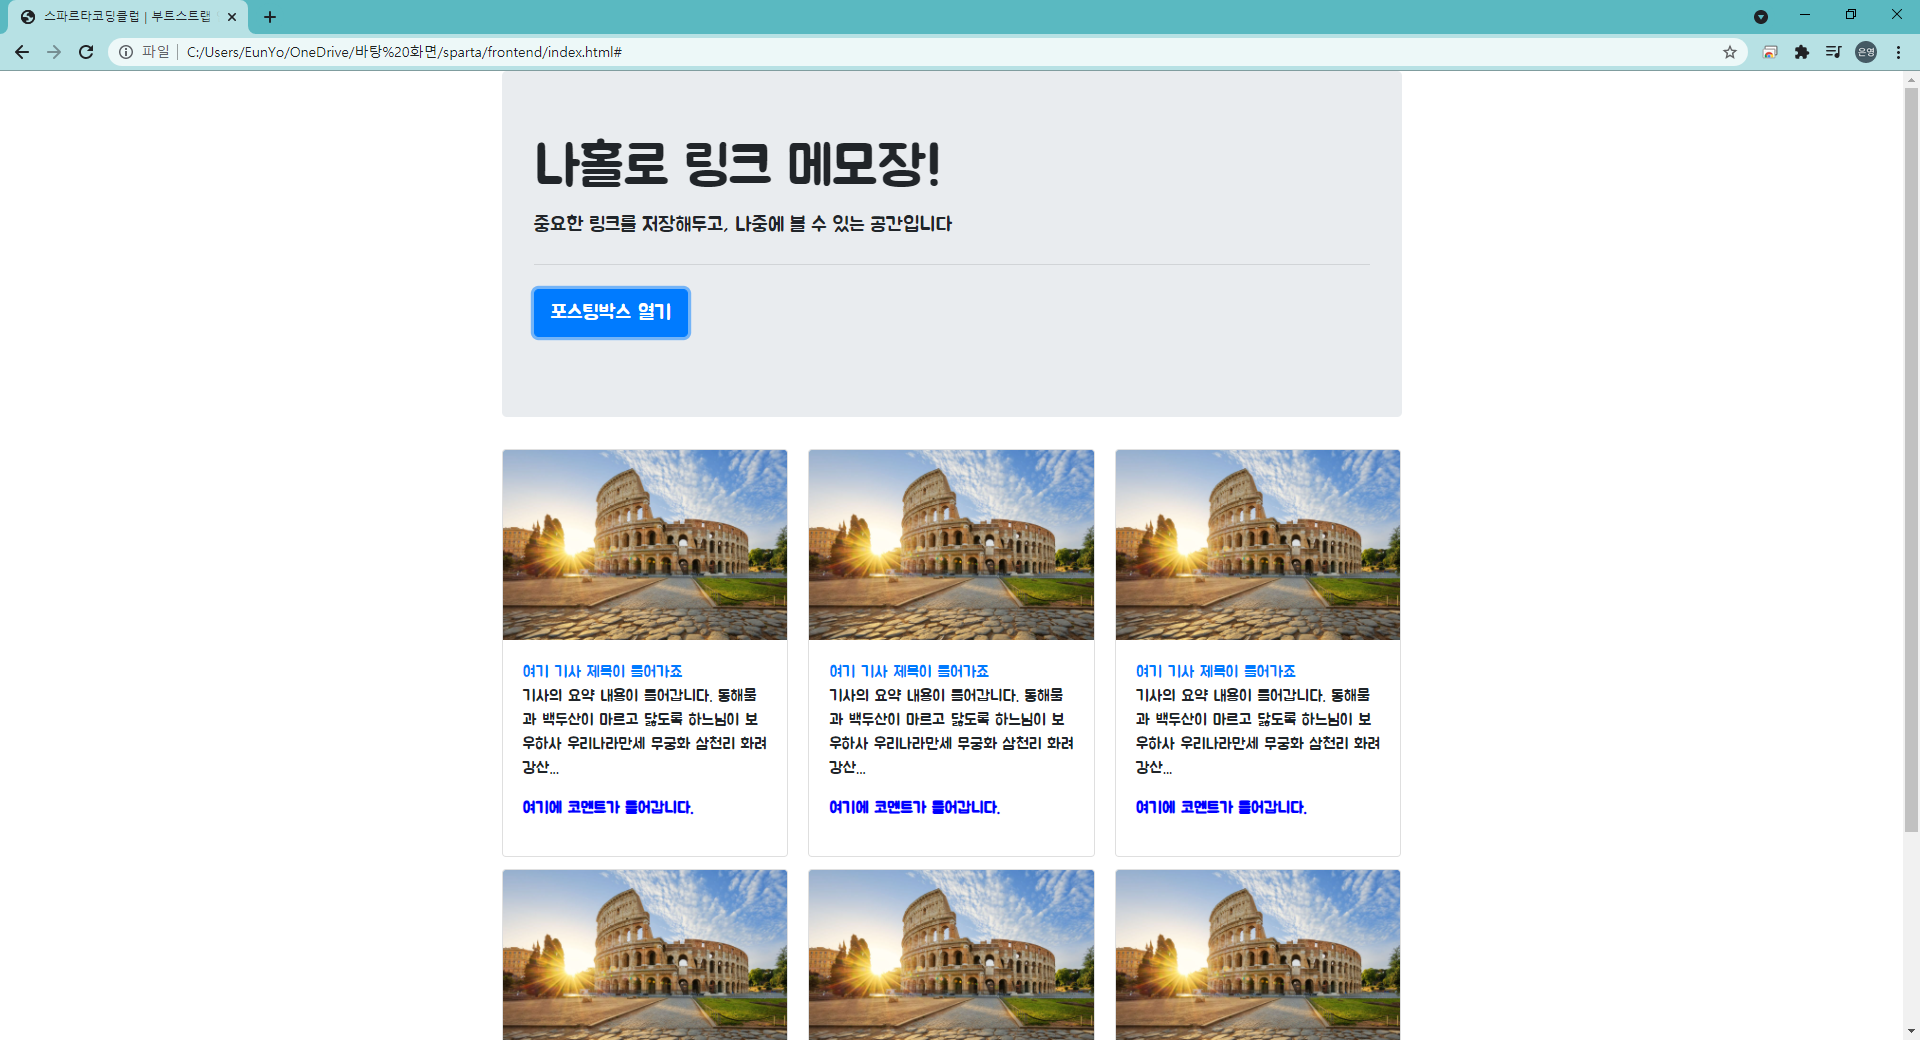
포스팅박스가 닫힌 상태이므로 글씨는 열기라고 나타난다.
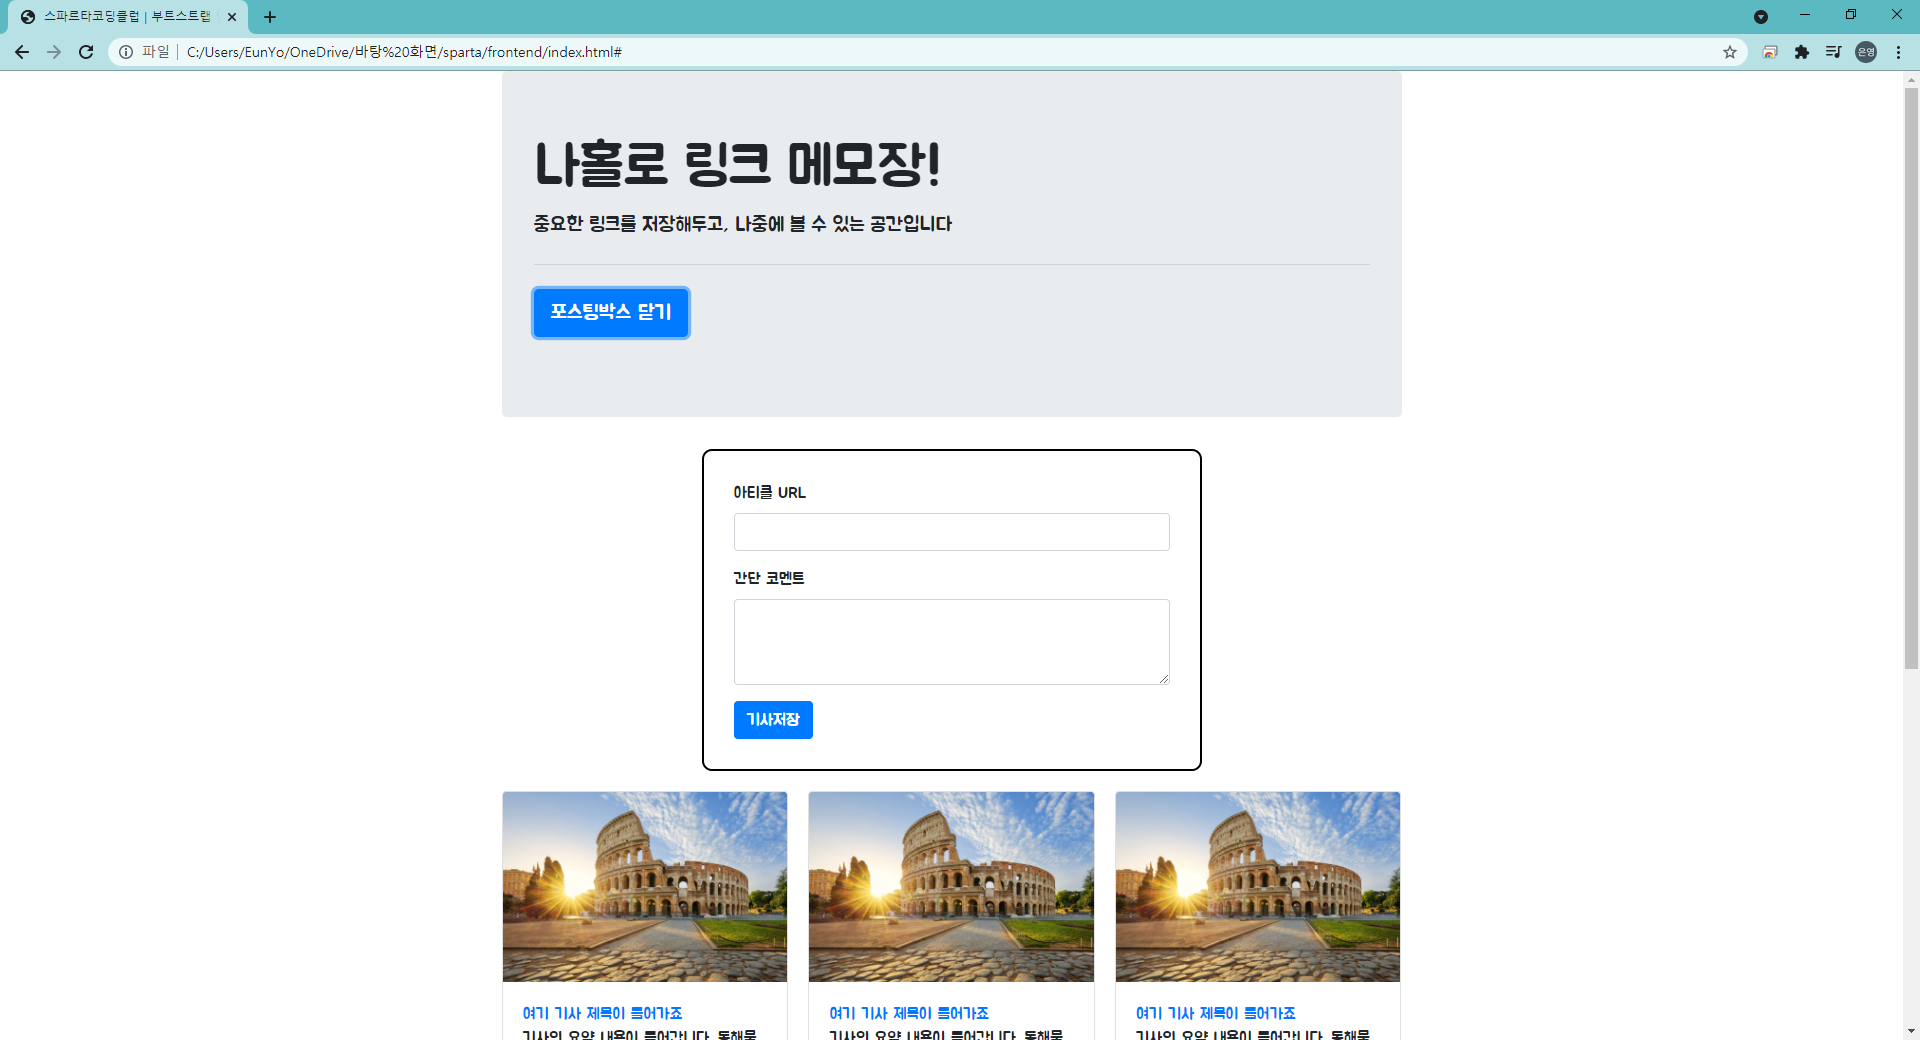
포스팅박스가 열린 상태이므로 글씨는 닫기라고 나타난다.
(3) 포스팅박스를 시작부터 감춰두려면?
display : none; : css의 display:none 속성
<style>
	.posting-box {
    	        width: 500px;
        	    margin: 0px auto 20px auto;

    	        border: 2px solid black;
        	    padding: 30px;

    	        border-radius: 10px;

    	        display: none;
   	 }
</style>
또는,
<div class="form-post" id="post-box" style="display:none">
    <div>
        <div class="form-group">
            <label for="exampleFormControlInput1">아티클 URL</label>
            <input class="form-control" placeholder="">
        </div>
        <div class="form-group">
            <label for="exampleFormControlTextarea1">간단 코멘트</label>
            <textarea class="form-control" rows="2"></textarea>
        </div>
        <button type="button" class="btn btn-primary">기사저장</button>
    </div>
</div>
(4) 최종 완성 코드
<!doctype html>
<html lang="en">

<head>
    <!-- Required meta tags -->
    <meta charset="utf-8">
    <meta name="viewport" content="width=device-width, initial-scale=1, shrink-to-fit=no">

    <!-- Bootstrap CSS -->
    <link rel="stylesheet" href="https://maxcdn.bootstrapcdn.com/bootstrap/4.0.0/css/bootstrap.min.css"
        integrity="sha384-Gn5384xqQ1aoWXA+058RXPxPg6fy4IWvTNh0E263XmFcJlSAwiGgFAW/dAiS6JXm" crossorigin="anonymous">

    <!-- Optional JavaScript -->
    <!-- jQuery first, then Popper.js, then Bootstrap JS -->
    <script src="https://ajax.googleapis.com/ajax/libs/jquery/3.5.1/jquery.min.js"></script>
    <script src="https://cdnjs.cloudflare.com/ajax/libs/popper.js/1.12.9/umd/popper.min.js"
        integrity="sha384-ApNbgh9B+Y1QKtv3Rn7W3mgPxhU9K/ScQsAP7hUibX39j7fakFPskvXusvfa0b4Q"
        crossorigin="anonymous"></script>
    <script src="https://maxcdn.bootstrapcdn.com/bootstrap/4.0.0/js/bootstrap.min.js"
        integrity="sha384-JZR6Spejh4U02d8jOt6vLEHfe/JQGiRRSQQxSfFWpi1MquVdAyjUar5+76PVCmYl"
        crossorigin="anonymous"></script>

    <title>스파르타코딩클럽 | 부트스트랩 연습하기</title>

    <link href="https://fonts.googleapis.com/css2?family=Jua&display=swap" rel="stylesheet">

    <style>
        * {
            font-family: 'Jua', sans-serif;
        }

        .wrap {
            margin: auto;
            width: 900px;
        }

        .comment {
            font-weight: bold;
            color: blue;
        }

        .posting-box {
            margin: 10px auto 30px auto;
            width: 500px;

            border: 3px solid black;
            border-radius: 5px;

            padding: 25px;
        }
    </style>
    <script>
        function openclose() {
            let status = $('#post-box').css('display');
            if (status == 'block') {
                $('#post-box').hide()
                $('#posting-box-btn').text('포스팅박스 열기')
            } else {
                $('#post-box').show()
                $('#posting-box-btn').text('포스팅박스 닫기')
            }
        }
    </script>
</head>

<body>
    <div class="wrap">
        <div class="jumbotron">
            <h1 class="display-4">나홀로 링크 메모장!</h1>
            <p class="lead">중요한 링크를 저장해두고, 나중에 볼 수 있는 공간입니다</p>
            <hr class="my-4">
            <p class="lead">
                <a id="posting-box-btn" onclick="openclose()" class="btn btn-primary btn-lg" href="#"
                    role="button">포스팅박스 열기</a>
            </p>
        </div>
        <div class="posting-box" id="post-box">
            <div class="form-group">
                <label for="exampleInputEmail1">아티클 URL</label>
                <input id="post-url" type="email" class="form-control" aria-describedby="emailHelp" placeholder="">
            </div>
            <div class="form-group">
                <label for="exampleInputPassword1">간단 코멘트</label>
                <input type="password" class="form-control" placeholder="">
            </div>
            <button type="submit" class="btn btn-primary">기사 저장</button>
        </div>
        <div class="card-columns" id="cards-box">
            <div class="card">
                <img class="card-img-top"
                    src="https://d2ur7st6jjikze.cloudfront.net/offer_photos/29590/185689_medium_1525763241.jpg?1525763241"
                    alt="Card image cap">
                <div class="card-body">
                    <a href="http://naver.com" class="card-title">여기 기사 제목이 들어가죠</a>
                    <p class="card-text">기사의 요약 내용이 들어갑니다. 동해물과 백두산이 마르고 닳도록 하느님이 보우하사 우리나라만세 무궁화 삼천리 화려강산...</p>
                    <p class="card-text comment">여기에 코멘트가 들어갑니다.</p>
                </div>
            </div>
        </div>
    </div>
</body>

</html>
- 7) jQuery 퀴즈
- 문제풀이 전 소스코드
<!doctype html>
<html lang="ko">
<head>
<meta charset="UTF-8">
<title>jQuery 연습하고 가기!</title>
<!-- JQuery를 import 합니다 -->
<script src="https://ajax.googleapis.com/ajax/libs/jquery/3.4.1/jquery.min.js"></script>
<style type="text/css">
div.question-box {
margin: 10px 0 20px 0;
}
</style>
<script>
function q1() {
// 1. input-q1의 입력값을 가져온다. $('# .... ').val() 이렇게!
// 2. 만약 입력값이 빈칸이면 if(입력값=='')
// 3. alert('입력하세요!') 띄우기
// 4. alert(입력값) 띄우기
}
function q2() {
// 1. input-q2 값을 가져온다.
// 2. 만약 가져온 값에 @가 있으면 (includes 이용하기 - 구글링!)
// 3. info.spartacoding@gmail.com -> gmail 만 추출해서 ( .split('@') 을 이용하자!)
// 4. alert(도메인 값);으로 띄우기
// 5. 만약 이메일이 아니면 '이메일이 아닙니다.' 라는 얼럿 띄우기
}
function q3() {
// 1. input-q3 값을 가져온다. let txt = ... q1, q2에서 했던 걸 참고!
// 2. 가져온 값을 이용해 names-q3에 붙일 태그를 만든다. (let temp_html = `<li>${txt}</li>`) 요렇게!
// 3. 만들어둔 temp_html을 names-q3에 붙인다.(jQuery의 $('...').append(temp_html)을 이용하면 굿!)
}
function q3_remove() {
// 1. names-q3의 내부 태그를 모두 비운다.(jQuery의 $('....').empty()를 이용하면 굿!)
}
</script>
</head>
<body>
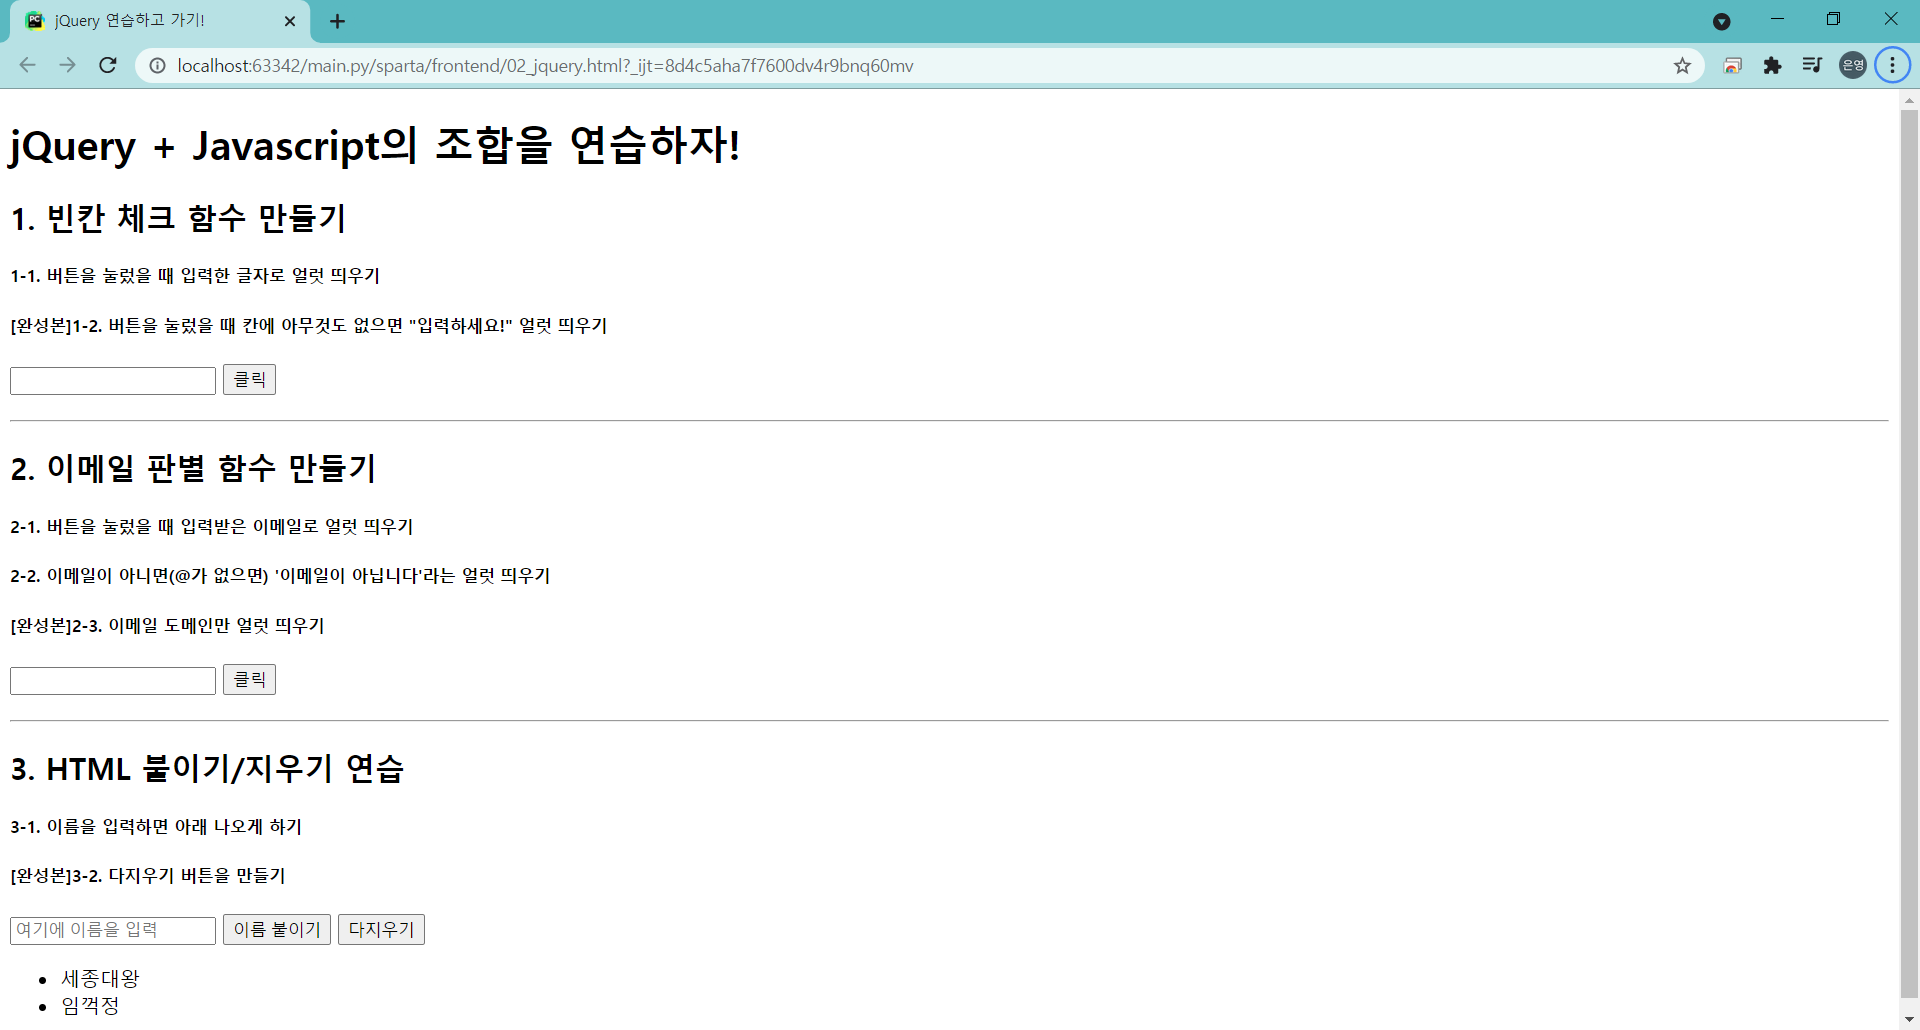
<h1>jQuery + Javascript의 조합을 연습하자!</h1>
<div class="question-box">
<h2>1. 빈칸 체크 함수 만들기</h2>
<h5>1-1. 버튼을 눌렀을 때 입력한 글자로 얼럿 띄우기</h5>
<h5>[완성본]1-2. 버튼을 눌렀을 때 칸에 아무것도 없으면 "입력하세요!" 얼럿 띄우기</h5>
<input id="input-q1" type="text" /> <button onclick="q1()">클릭</button>
</div>
<hr />
<div class="question-box">
<h2>2. 이메일 판별 함수 만들기</h2>
<h5>2-1. 버튼을 눌렀을 때 입력받은 이메일로 얼럿 띄우기</h5>
<h5>2-2. 이메일이 아니면(@가 없으면) '이메일이 아닙니다'라는 얼럿 띄우기</h5>
<h5>[완성본]2-3. 이메일 도메인만 얼럿 띄우기</h5>
<input id="input-q2" type="text" /> <button onclick="q2()">클릭</button>
</div>
<hr />
<div class="question-box">
<h2>3. HTML 붙이기/지우기 연습</h2>
<h5>3-1. 이름을 입력하면 아래 나오게 하기</h5>
<h5>[완성본]3-2. 다지우기 버튼을 만들기</h5>
<input id="input-q3" type="text" placeholder="여기에 이름을 입력" />
<button onclick="q3()">이름 붙이기</button>
<button onclick="q3_remove()">다지우기</button>
<ul id="names-q3">
<li>세종대왕</li>
<li>임꺽정</li>
</ul>
</div>
</body>
</html>-
문제 html
-
빈칸 체크 함수 만들기
1) 버튼을 눌렀을 때 입력한 글자로 얼럿 띄우기
2) 버튼을 눌렀을 때 칸에 아무것도 없으면 "입력하세요!" 얼럿 띄우기 -
이메일 판별 함수 만들기
1) 버튼을 눌렀을 때 입력받은 이메일로 얼럿 띄우기
2) 이메일이 아니면(@가 없으면) "이메일이 아닙니다"라는 얼럿 띄우기
3) 이메일 도메인만 얼럿 띄우기 -
HTML 붙이기/지우기 연습
1) 이름을 입력하면 아래 나오게 하기
2) 다지우기 버튼을 만들기
- 문제 풀이 후 소스코드
<!doctype html>
<html lang="ko">

<head>
    <meta charset="UTF-8">
    <title>jQuery 연습하고 가기!</title>

    <!-- JQuery를 import 합니다 -->
    <script src="https://ajax.googleapis.com/ajax/libs/jquery/3.4.1/jquery.min.js"></script>

    <style type="text/css">
        div.question-box {
            margin: 10px 0 20px 0;
        }
    </style>

    <script>
        function q1() {
            // 1. input-q1의 입력값을 가져온다.
            let value = $('#input-q1').val();
            // 2. 만약 입력값이 빈칸이면 if(입력값=='')
            if (value == '') {
                // 3. alert('입력하세요!') 띄우기
                alert('입력하세요!');
            } else {
                // 4. alert(입력값) 띄우기
                alert(value);
            }
        }

        function q2() {
            // 1. input-q2 값을 가져온다.
            let email = $('#input-q2').val();
            // 2. 만약 가져온 값에 @가 있으면 (includes 이용하기 - 찾아보자!)
            if (email.includes('@')) {
                // 3. info.spartacoding@gmail.com -> gmail 만 추출해서
                // 4. alert(도메인 값);으로 띄우기
                let domainWithDot = email.split('@')[1];
                let onlyDomain = domainWithDot.split('.')[0];
                alert(onlyDomain);
            } else {
                // 5. 만약 이메일이 아니면 '이메일이 아닙니다.' 라는 얼럿 띄우기
                alert('이메일이 아닙니다.');
            }
        }

        function q3() {
            // 1. input-q3 값을 가져온다.
            let newName = $('#input-q3').val();
            if (newName == '') {
                alert('이름을 입력하세요');
                return;
            }
            // 2. 가져온 값을 이용해 names-q3에 붙일 태그를 만든다. (let temp_html = `<li>${가져온 값}</li>`)
            let temp_html = `<li>${newName}</li>`;
            // 3. 만들어둔 temp_html을 names-q3에 붙인다.(jQuery의 $('...').append(temp_html)을 이용하면 굿!)
            $('#names-q3').append(temp_html);
        }

        function q3_remove() {
            // 1. names-q3의 내부 태그를 모두 비운다.(jQuery의 $('....').empty()를 이용하면 굿!)
            $('#names-q3').empty();
        }

    </script>

</head>

<body>
    <h1>jQuery + Javascript의 조합을 연습하자!</h1>

    <div class="question-box">
        <h2>1. 빈칸 체크 함수 만들기</h2>
        <h5>1-1. 버튼을 눌렀을 때 입력한 글자로 얼럿 띄우기</h5>
        <h5>[완성본]1-2. 버튼을 눌렀을 때 칸에 아무것도 없으면 "입력하세요!" 얼럿 띄우기</h5>
        <input id="input-q1" type="text" /> <button onclick="q1()">클릭</button>
    </div>
    <hr />
    <div class="question-box">
        <h2>2. 이메일 판별 함수 만들기</h2>
        <h5>2-1. 버튼을 눌렀을 때 입력받은 이메일로 얼럿 띄우기</h5>
        <h5>2-2. 이메일이 아니면(@가 없으면) '이메일이 아닙니다'라는 얼럿 띄우기</h5>
        <h5>[완성본]2-3. 이메일 도메인만 얼럿 띄우기</h5>
        <input id="input-q2" type="text" /> <button onclick="q2()">클릭</button>
    </div>
    <hr />
    <div class="question-box">
        <h2>3. HTML 붙이기/지우기 연습</h2>
        <h5>3-1. 이름을 입력하면 아래 나오게 하기</h5>
        <h5>[완성본]3-2. 다지우기 버튼을 만들기</h5>
        <input id="input-q3" type="text" placeholder="여기에 이름을 입력" />
        <button onclick="q3()">이름 붙이기</button>
        <button onclick="q3_remove()">다지우기</button>
        <ul id="names-q3">
            <li>세종대왕</li>
            <li>임꺽정</li>
        </ul>
    </div>
</body>

</html>
- 7) 서버-클라이언트 통신
1. 서버→클라이언트: "JSON"
-
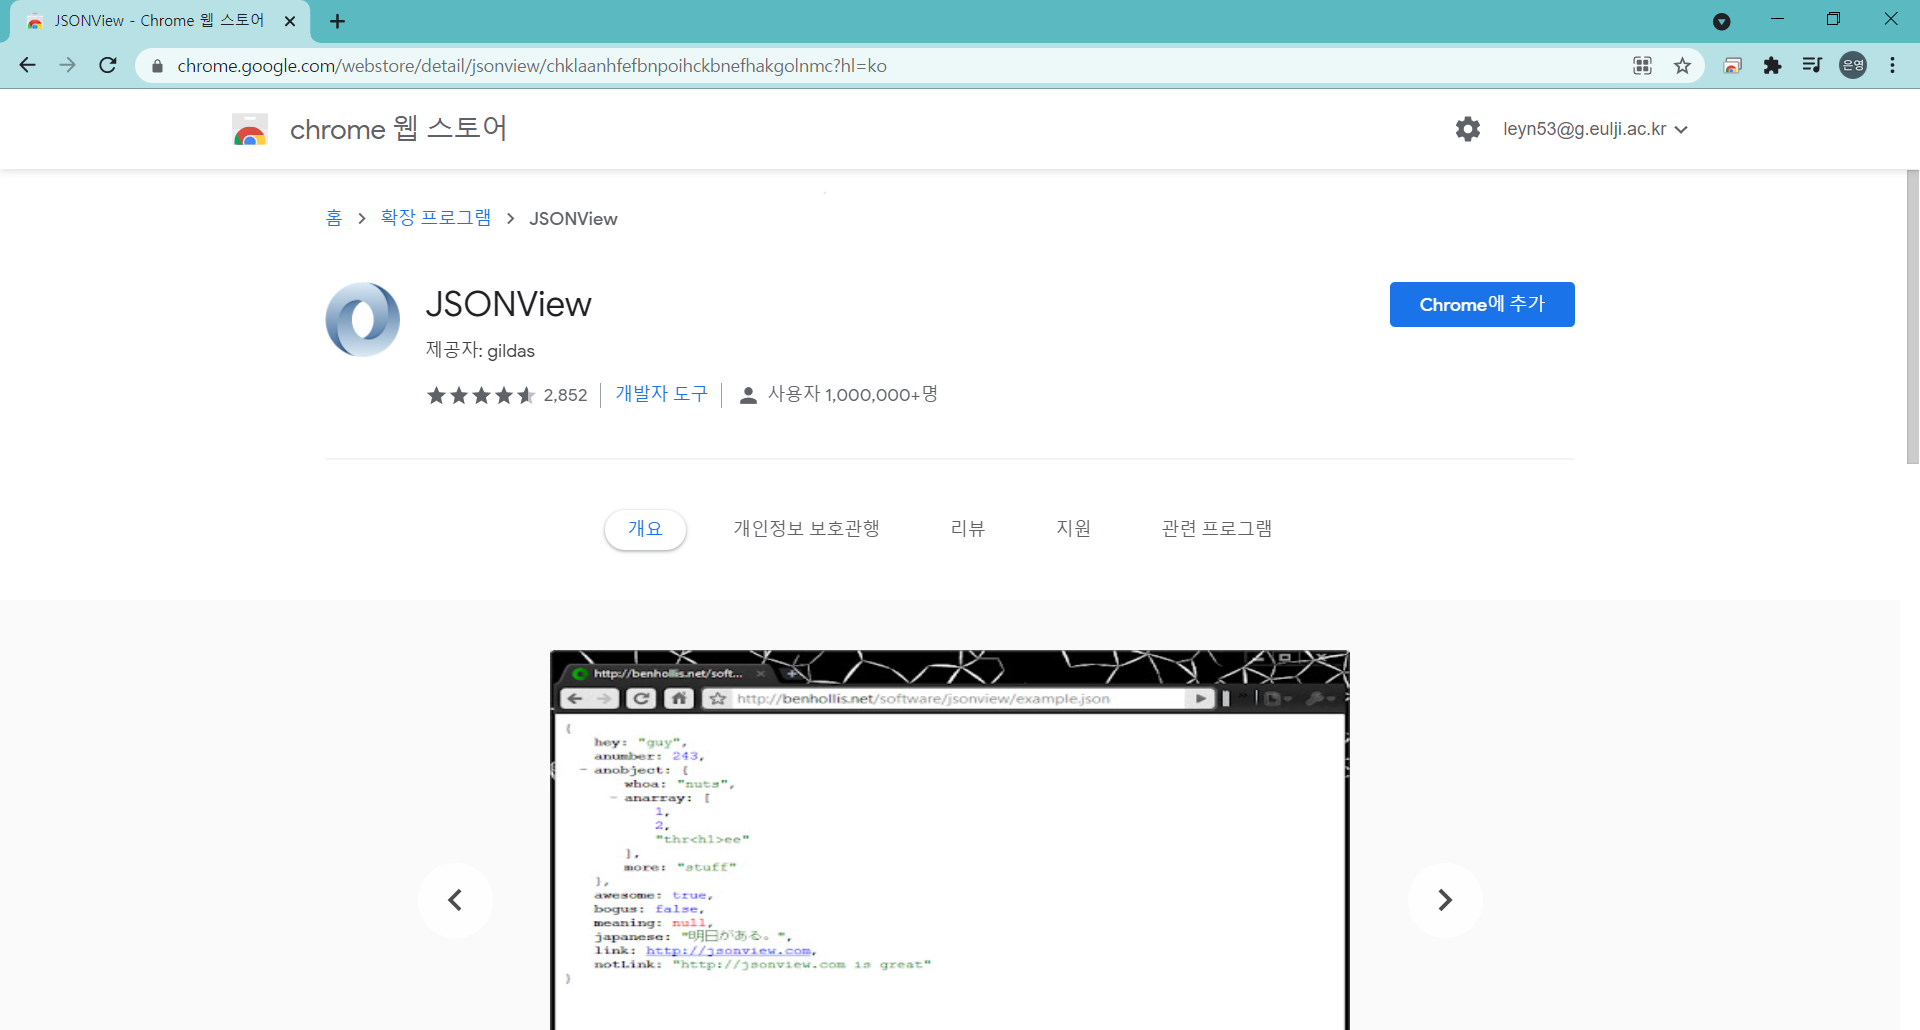
Jsonview 설치
-
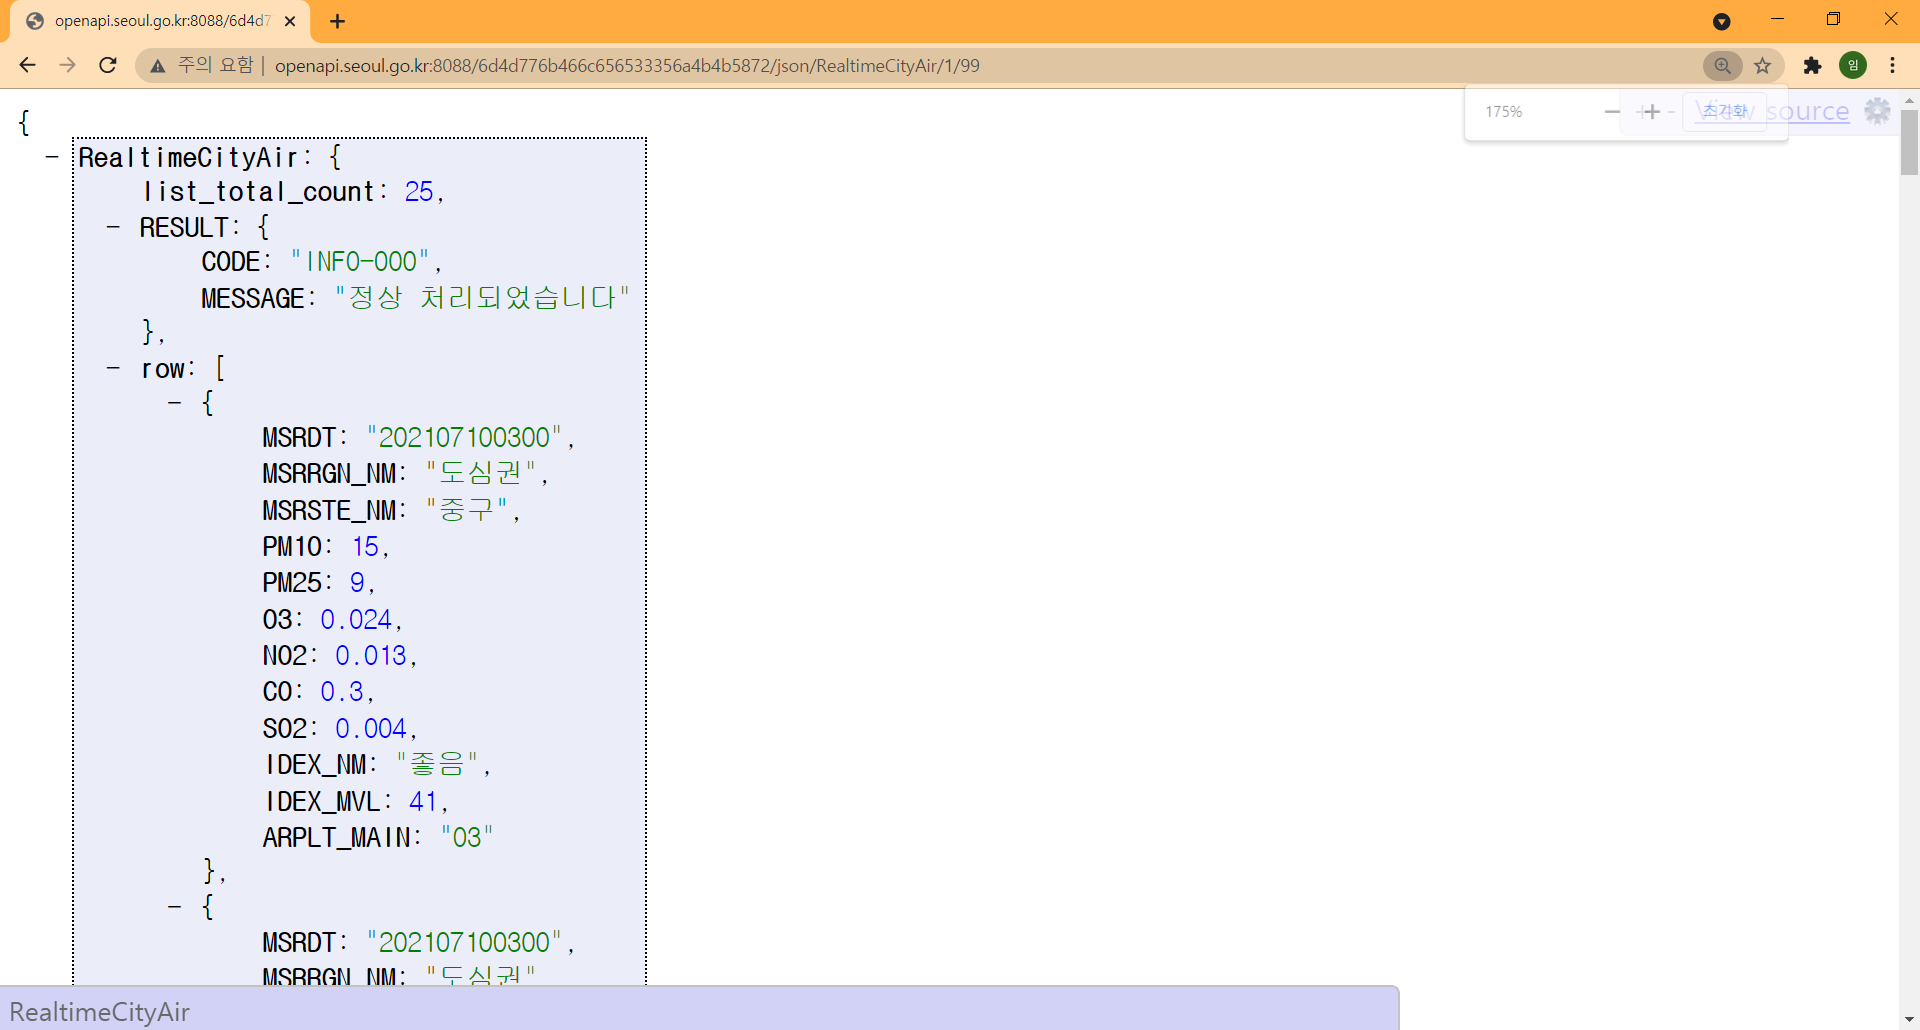
서울시 OpenAPI에 접속
2. 클라이언트→서버: GET 요청
ex) https://movie.naver.com/movie/bi/mi/basic.nhn?code=161967
- "?" 기준으로 앞부분이 <서버 주소>, 뒷부분이 <영화 번호>
+ 서버 주소 : https://movie.naver.com/movie/bi/mi/basic.nhn
+ 영화 정보 : code=161967
- code 라는 이름으로 번호를 주자는 것 : 프론트엔드 개발자와 백엔드 개발자가 미리 정해둔 약속
+ 프론트엔드 : "code라는 이름으로 영화번호를 주면 될까요?"
+ 백엔드 : "네 그렇게 하시죠. 그럼 code로 영화번호가 들어온다고 생각하고 코딩하고 있을게요."
- 8) Ajax
Ajax는 jQuery를 임포트한 페이지에서만 동작 가능
(http://google.com/ 과 같은 화면에서 개발자도구를 열면, jQuery가 임포트 되어있지 않기 때문에 아래와 같은 에러가 뜸.)Uncaught TypeError: $.ajax is not a function
→ ajax라는 게 없다는 뜻
- Ajax 기본 골격
$.ajax({
  type: "GET", // GET 방식으로 요청한다.
  url: "http://openapi.seoul.go.kr:8088/6d4d776b466c656533356a4b4b5872/json/RealtimeCityAir/1/99",
  data: {}, // 요청하면서 함께 줄 데이터 (GET 요청시엔 비워두세요)
  success: function(response){ // 서버에서 준 결과를 response라는 변수에 담음
    console.log(response) // 서버에서 준 결과를 이용해서 나머지 코드를 작성
  }
})
- 설명
1) type : "GET" -> GET 방식으로 요청한다.
2) url : 요청한 url 주소
3) data : 요청하면서 함께 줄 데이터 (GET 요청시엔 비워두기)
+ GET요청 - url뒤에 붙여서 데이터를 가져감
+ POST요청 - data : {}에 넣어서 데이터를 가져감
4) success : 성공하면, response값에 서버의 결과 값을 담아서 함수를 실행success: function(response){ // 서버에서 준 결과를 response라는 변수에 담음 console.log(response) }
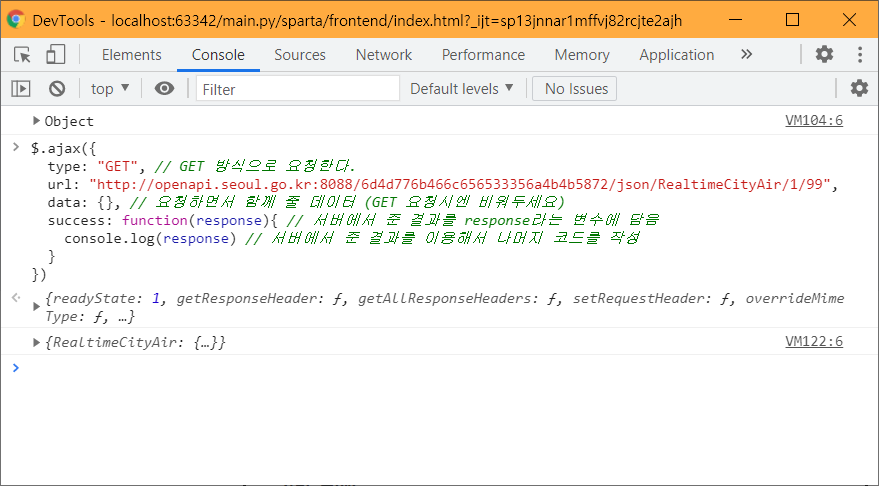
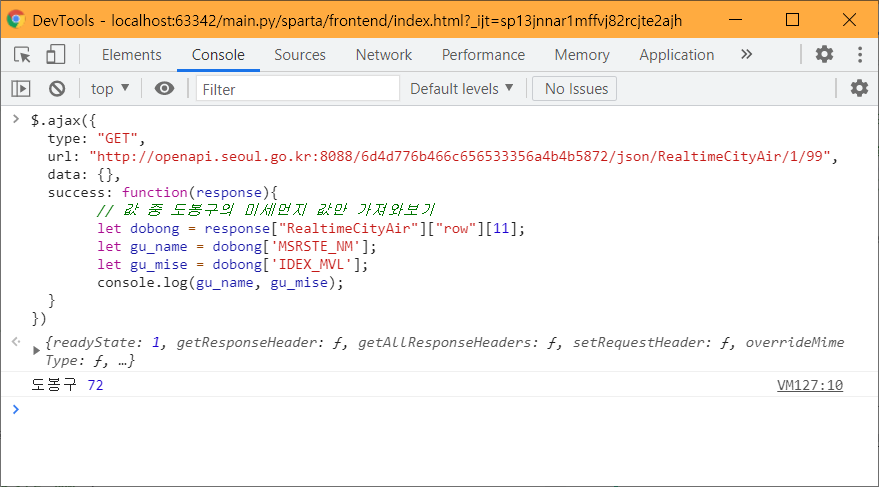
- 개발자도구 콘솔에 찍어 보기
$.ajax({
  type: "GET",
  url: "http://openapi.seoul.go.kr:8088/6d4d776b466c656533356a4b4b5872/json/RealtimeCityAir/1/99",
  data: {},
  success: function(response){
		// 값 중 도봉구의 미세먼지 값만 가져와보기
		let dobong = response["RealtimeCityAir"]["row"][11];
		let gu_name = dobong['MSRSTE_NM'];
		let gu_mise = dobong['IDEX_MVL'];
		console.log(gu_name, gu_mise);
  }
})
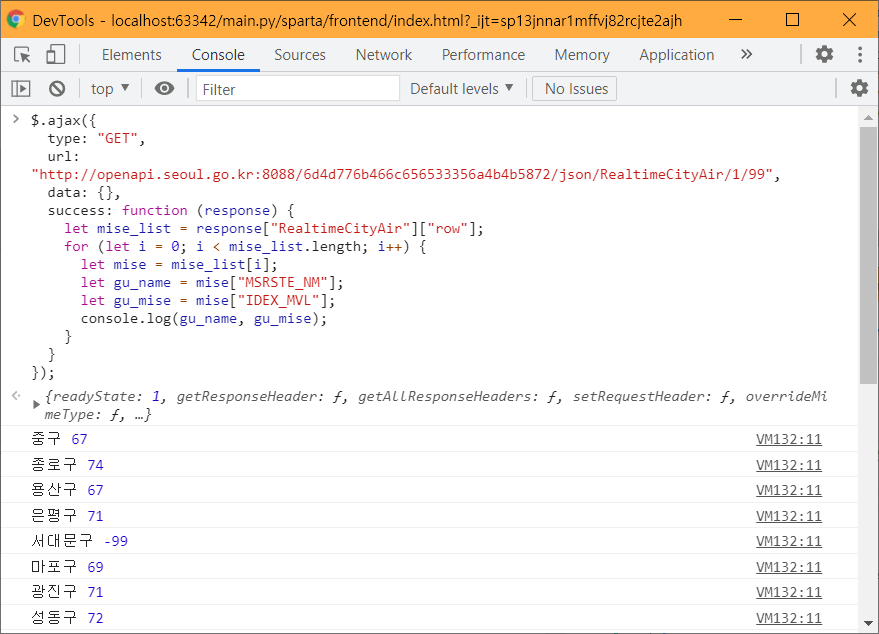
- 모든 구의 미세먼지 값을 찍어보기
$.ajax({
  type: "GET",
  url: "http://openapi.seoul.go.kr:8088/6d4d776b466c656533356a4b4b5872/json/RealtimeCityAir/1/99",
  data: {},
  success: function (response) {
    let mise_list = response["RealtimeCityAir"]["row"];
    for (let i = 0; i < mise_list.length; i++) {
      let mise = mise_list[i];
      let gu_name = mise["MSRSTE_NM"];
      let gu_mise = mise["IDEX_MVL"];
      console.log(gu_name, gu_mise);
    }
  }
});
- 해설
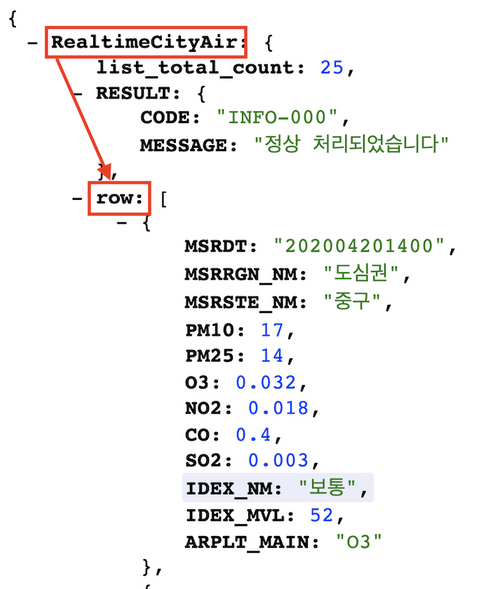
1) 우선, 미세먼지 데이터가 어디에 있는지 찾기
$.ajax({
  type: "GET",
  url: "http://openapi.seoul.go.kr:8088/6d4d776b466c656533356a4b4b5872/json/RealtimeCityAir/1/99",
  data: {},
  success: function(response){
		let mise_list = response["RealtimeCityAir"]["row"]; // 꺼내는 부분!
		console.log(mise_list);
  }
})
2) 반복문으로 구 데이터를 출력하기
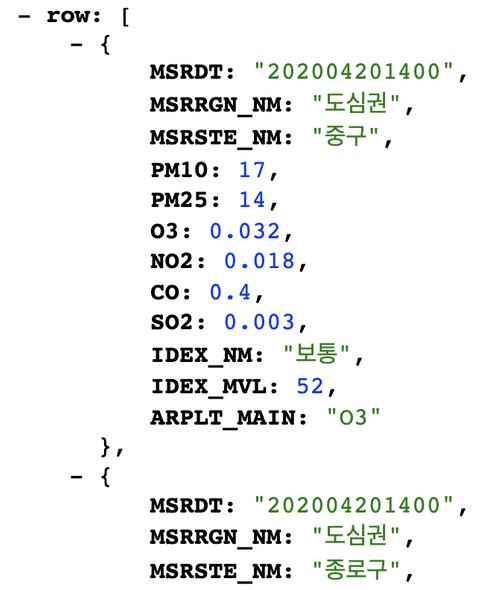
$.ajax({
  type: "GET",
  url: "http://openapi.seoul.go.kr:8088/6d4d776b466c656533356a4b4b5872/json/RealtimeCityAir/1/99",
  data: {},
  success: function (response) {
    let mise_list = response["RealtimeCityAir"]["row"];
    for (let i = 0; i < mise_list.length; i++) {
      let mise = mise_list[i];
      console.log(mise);
    }
  },
});
3) 구 데이터에서 구 이름, 미세먼지 수치를 골라내어 출력하기
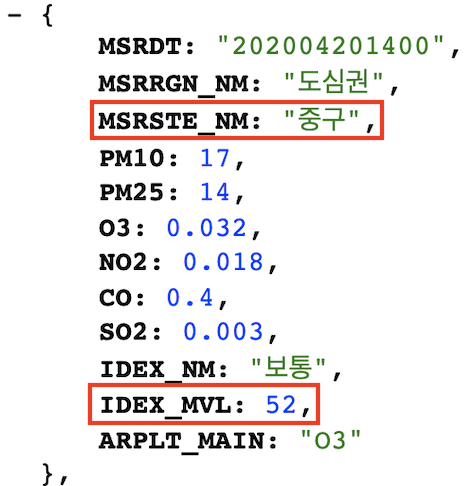
+구 이름 키 값인 "MSRSTE_NM", 미세먼지 수치 키값인 "IDEX_MVL"의 밸류를 출력$.ajax({ type: "GET", url: "http://openapi.seoul.go.kr:8088/6d4d776b466c656533356a4b4b5872/json/RealtimeCityAir/1/99", data: {}, success: function (response) { let mise_list = response["RealtimeCityAir"]["row"]; for (let i = 0; i < mise_list.length; i++) { let mise = mise_list[i]; let gu_name = mise["MSRSTE_NM"]; let gu_mise = mise["IDEX_MVL"]; console.log(gu_name, gu_mise); } } });
- 최종 결과
- 9) Ajax 연습