
저번 블로그에서는 스프링시큐리티를 추가해보고 접근이 제한되어 있는 요청에 대해 기본적으로 제공되는 로그인페이지를 통해 접근해보았습니다.
이번 블로그에서는 접근제한을 해제하거나 등록하여 시큐리티를 설정하는 방법에 대해 알아보겠습니다.
가장 먼저 시큐리티 설정을 담당하는 클래스를 만들겠습니다.
시큐리티 설정파일 생성
import org.springframework.context.annotation.Bean;
import org.springframework.context.annotation.Configuration;
import org.springframework.security.config.annotation.web.builders.HttpSecurity;
import org.springframework.security.web.SecurityFilterChain;

@Configuration
public class WebSecurityConfiguration {

    @Bean
    public SecurityFilterChain filterChain(HttpSecurity http) throws Exception {

        http.httpBasic().disable() // 기본 로그인 화면을 제거한다.
            .authorizeHttpRequests() // 인가정보를 설정한다.
                .anyRequest().authenticated() // 모든 요청에 대해 인증을 요구한다.
        ;

        return http.build();
    }
}
클래스의 위치는 컨트롤러와 마찬가지로 @SpringBootApplication가 있는 패키지의 하위패키지 어딘가에 만들어주시면 됩니다.
예시에서는 config라는 패키지를 생성하여 WebSecurityConfiguration이라는 클래스명으로 생성하였습니다.
이렇게 클래스를 만들어두면 스프링의 DI컨테이너가 설정Bean을 등록하여 알아서 사용하기 때문에 이 이상은 해주지 않아도 됩니다.
서버를 실행시키고 http://localhost:8080/test 로 접근해보겠습니다.
(이때 이전에 기본로그인을 하신분들은 쿠키에 세션아이디를 지워주세요. 로그인이 되어있는 상태로 인식될 수 있습니다.)
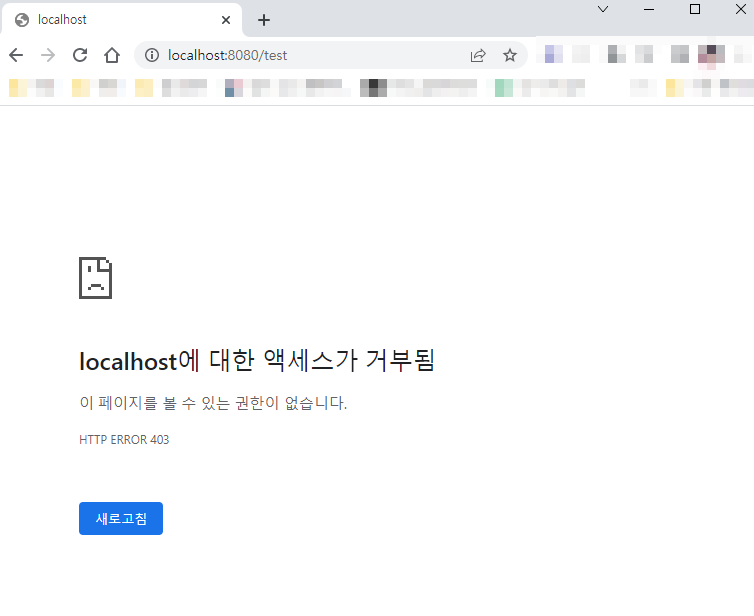
현재 인증정보가 존재하지않고, 모든 요청에 대해 인증이 필요하다는 설정이 있으므로 403에러가 뜨면서 접근이 거절되었습니다.
이번엔 설정을 모든 접근제한을 접근허용으로 변경해보겠습니다.
import org.springframework.context.annotation.Bean;
import org.springframework.context.annotation.Configuration;
import org.springframework.security.config.annotation.web.builders.HttpSecurity;
import org.springframework.security.web.SecurityFilterChain;
@Configuration
public class WebSecurityConfiguration {
@Bean
public SecurityFilterChain filterChain(HttpSecurity http) throws Exception {
http.httpBasic().disable()
.authorizeHttpRequests() // 인가정보를 설정한다.
.anyRequest().permitAll() // 모든 요청에 대해 인증을 허가한다.
;
return http.build();
}
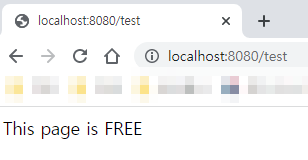
}이렇게 설정을 바꾸고 다시 접근해보겠습니다.

접근이 허용되어 페이지가 표시되는것을 확인할 수 있습니다.
이렇게 authenticated와 permitAll을 사용하여 모든 요청에 대한 접근을 제어할 수 있습니다.
선택적 요청 접근 제한
이번에는 선택적으로 요청에 대해 접근을 제한하고 허가하는 법을 알아보겠습니다.
/test는 접근을 허용하고
/test2는 접근을 제한해보겠습니다.
TestController
import org.springframework.web.bind.annotation.GetMapping;
import org.springframework.web.bind.annotation.RestController;

@RestController
public class TestController {

    @GetMapping("/test")
    public String test() {
        return "This page is FREE";
    }

    @GetMapping("/test2")
    public String test2() {
        return "This page is AUTHENTICATED";
    }
}
TestController의 내용을 위와같이 수정하겠습니다.
WebSecurityConfiguration
import org.springframework.context.annotation.Bean;
import org.springframework.context.annotation.Configuration;
import org.springframework.security.config.annotation.web.builders.HttpSecurity;
import org.springframework.security.web.SecurityFilterChain;


@Configuration
public class WebSecurityConfiguration {

    @Bean
    public SecurityFilterChain filterChain(HttpSecurity http) throws Exception {

        http.httpBasic().disable()
            .authorizeHttpRequests() // 인가정보를 설정한다.
                .requestMatchers("/test").permitAll()
                .requestMatchers("/test2").authenticated()
        ;

        return http.build();
    }
}
이 상태로 서버를 재시작후 각 페이지에 접근해보겠습니다
/test
/test2
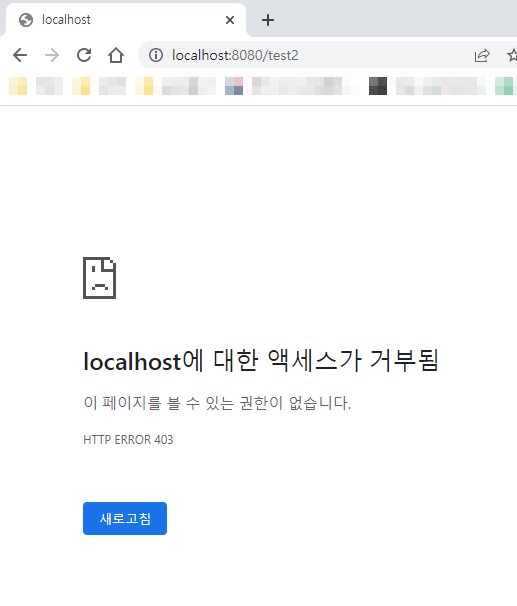
예상한대로 접근제한이 설정된 것을 확인할 수 있습니다.
이번시간에는 접근제한에 대해 알아보았습니다. 다음 블로그에서는 접근제한된 페이지에 접근하기 위한 방법에 대해 알아보겠습니다. 감사합니다.