Angular 시작하기
Angular cli 설치
npm install -g @angular/cli
Angular cli 명령어 종류 확인
ng help [options]
Angular 버젼확인
ng --version
프로젝트 생성
ng new 프로젝트이름
프로젝트 실행
ng serve
프로젝트 빌드
ng build
hello 컴포넌트 만들기
1.
Angular는 컴포넌트를 리액트와 다르게 html, css, 타입스크립트 따로 만든다.
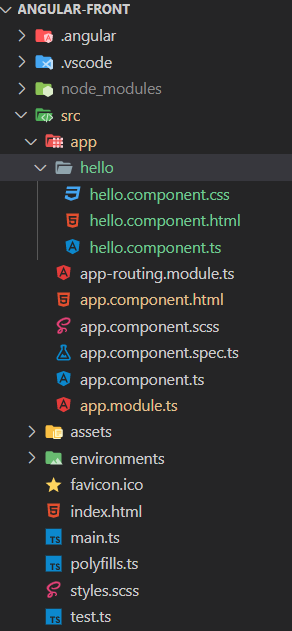
hello.component.ts 파일 코드
import { Component } from "@angular/core";

@Component({
	selector: "hello",
	templateUrl: "./hello.component.html",
	styleUrls: ["./hello.component.css"]
})
export class HelloComponent {


}
하나의 컴포넌트로 만들려면 @angular/core에서 Component를 불러와서 컴포넌트 속성을 작성해 준다.
2
app.module.ts에서
@NgModule의 declarations에 HelloComponent를 불러와서 넣어준다.
import { NgModule } from '@angular/core';
import { BrowserModule } from '@angular/platform-browser';

import { AppRoutingModule } from './app-routing.module';
import { AppComponent } from './app.component';
import { HelloComponent } from './hello/hello.component';

@NgModule({
  declarations: [
    AppComponent,
    HelloComponent
  ],
  imports: [
    BrowserModule,
    AppRoutingModule
  ],
  providers: [],
  bootstrap: [AppComponent]
})
export class AppModule { }
3.
app.component.html에서 <hello></hello> 태그를 넣어준다.
컴포넌트 자동으로 만들기
터미널에 ng generate component 이름 하면 자동으로 컴포넌트 생성.
자동으로 모듈에 등록까지 해준다.
줄여쓰면 ng g c 이름하면 위와 똑같음
컴포넌트 관리
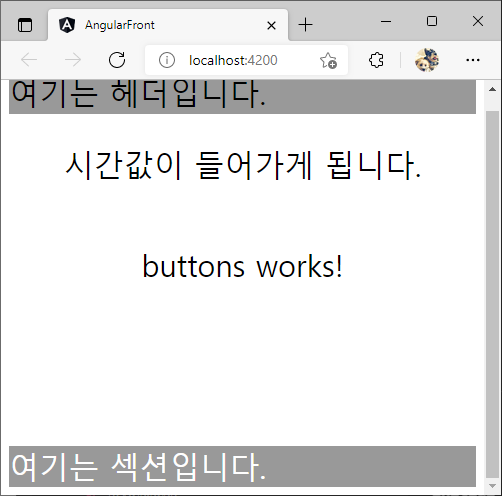
app.component.html은 화면을 구성한다.
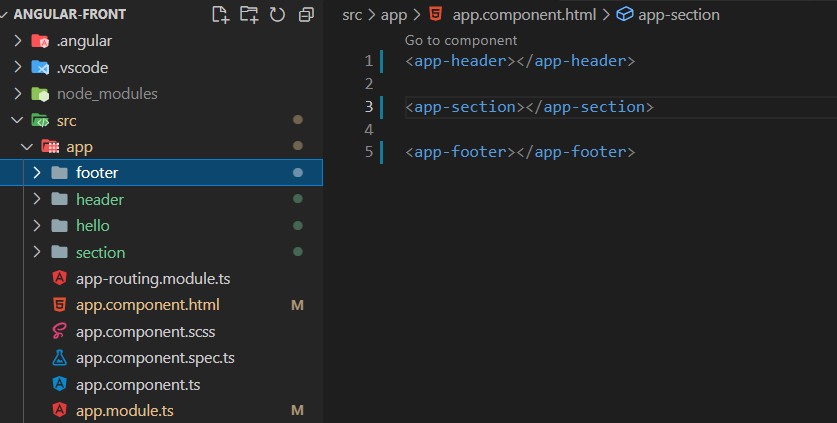
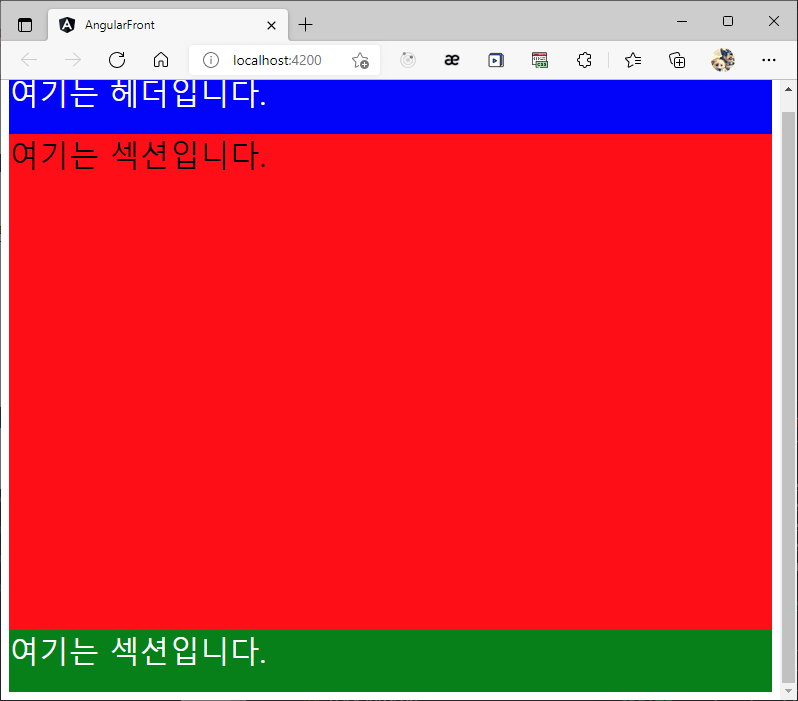
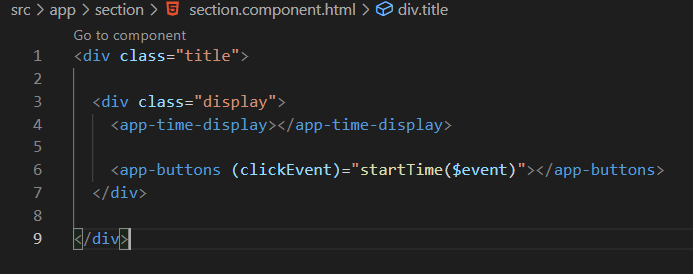
app-root 안에 app-header, app-section, app-footer가 있음
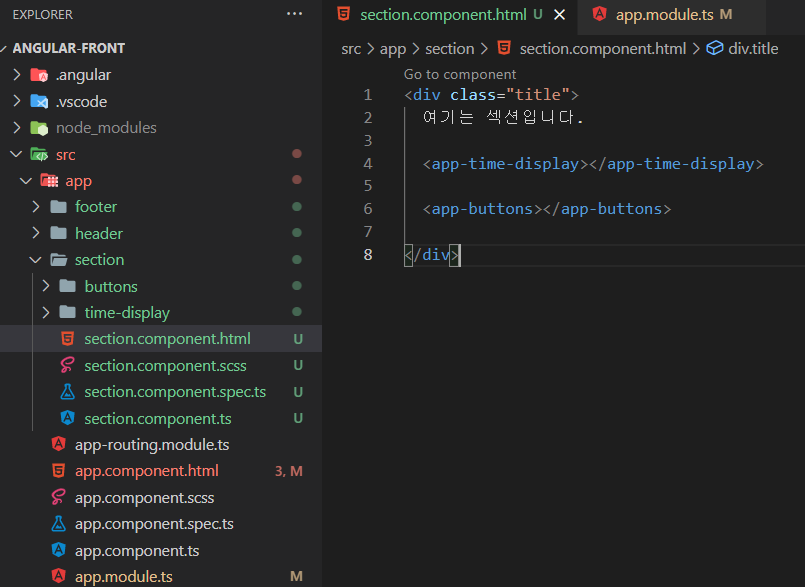
app-section의 자식컴포넌트는 section.component에서 관리한다.
(section 폴더 안에 자식컴포넌트 만들기 ng g c section/이름)
section 폴더 안에 button, time-display 자식 컴포넌트

데이터 바인딩
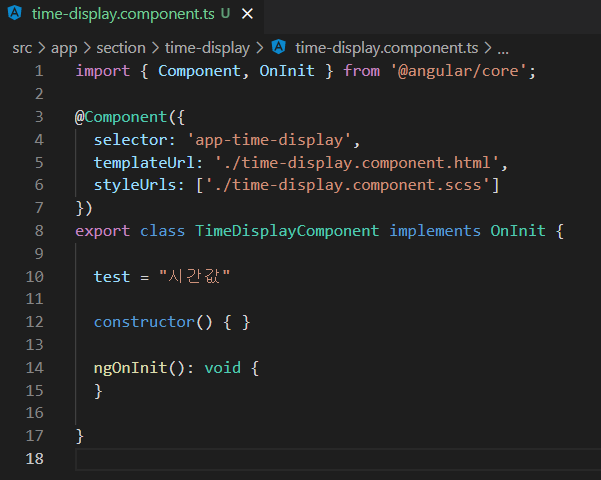
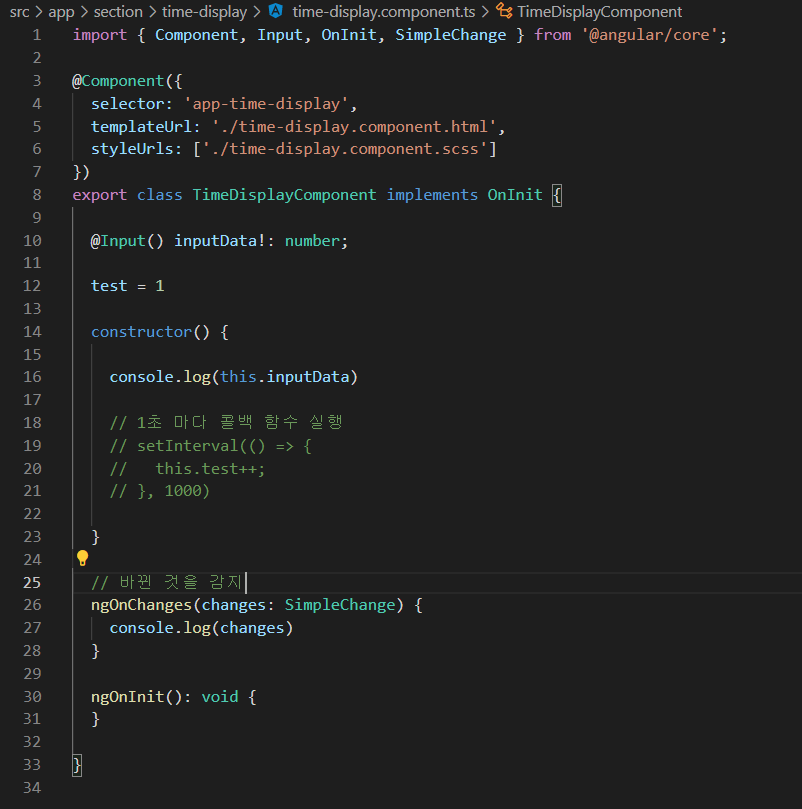
time-display 폴더 안의 구성내용
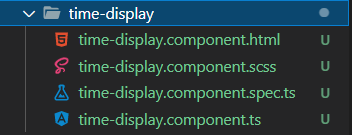
time-display.component.ts(컴포넌트)
test="시간값" 이 있음
time-display.component.html(템플릿)
time-display.component.ts의 test값을 사용하고 싶으면 {{네이밍}}을 사용하면 된다.
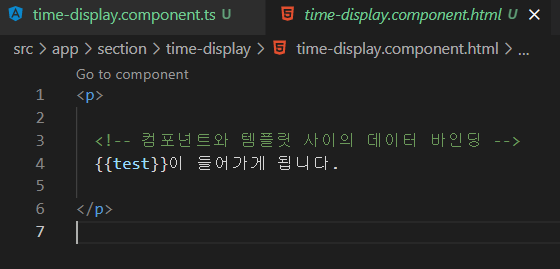
컴포넌트와 템플릿 간의 데이터 바인딩이다.
컴포넌트에서 -> 템플릿으로 단방향 바인딩이다.
이벤트
html 태그 안에 (이벤트)를 사용한다.
(click)은 클릭 이벤트를 사용한다.
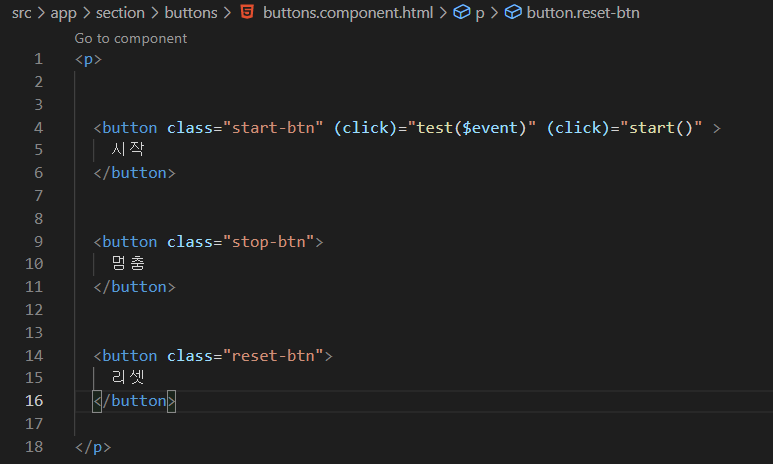
<!-- buttons.component.html -->
<button class="start-btn" (click)="test()" >
  시작
</button>
클릭을 할 때 마다 테스트 함수를 실행함
테스트 함수는 해당 컴포넌트에서 작성한다.
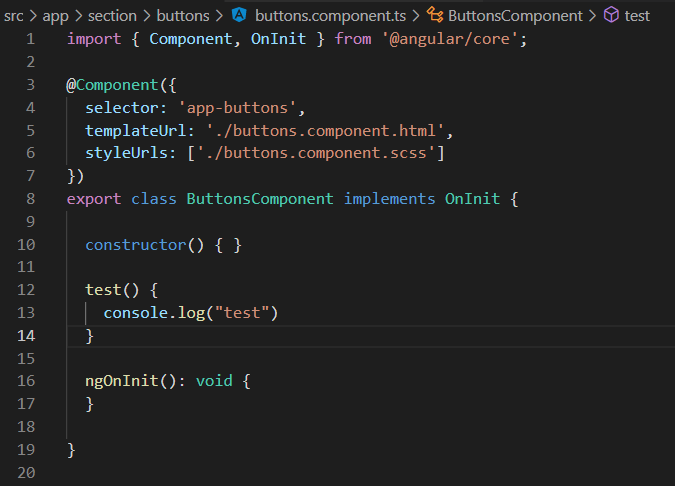
시작 버튼을 누를 때 마다 콘솔에 test가 찍힘
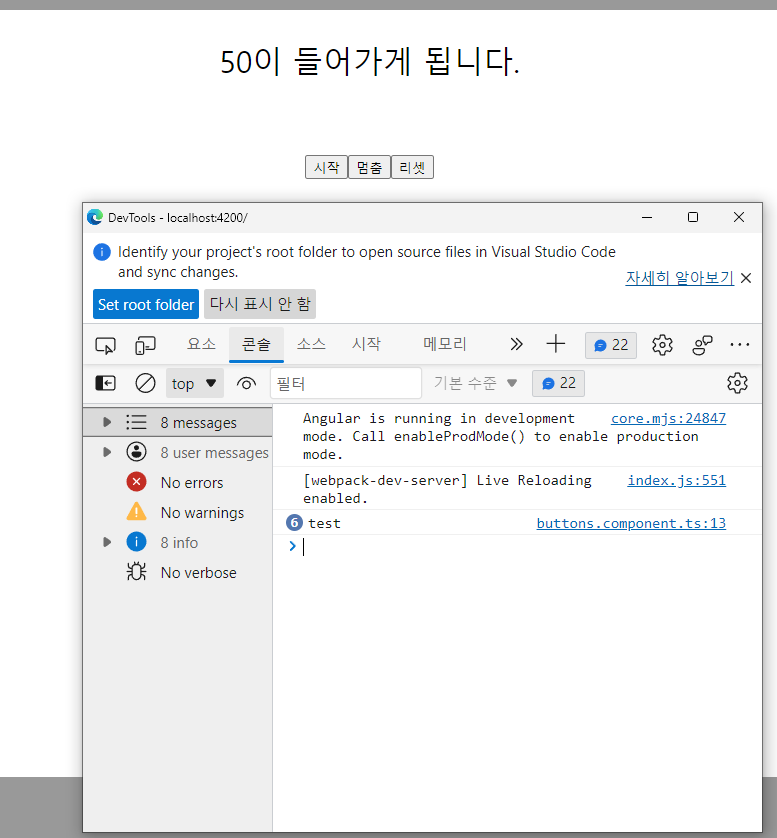
test 함수 인자로 event`이다
<!-- buttons.component.html -->
<button class="start-btn" (click)="test($event)" () >
시작
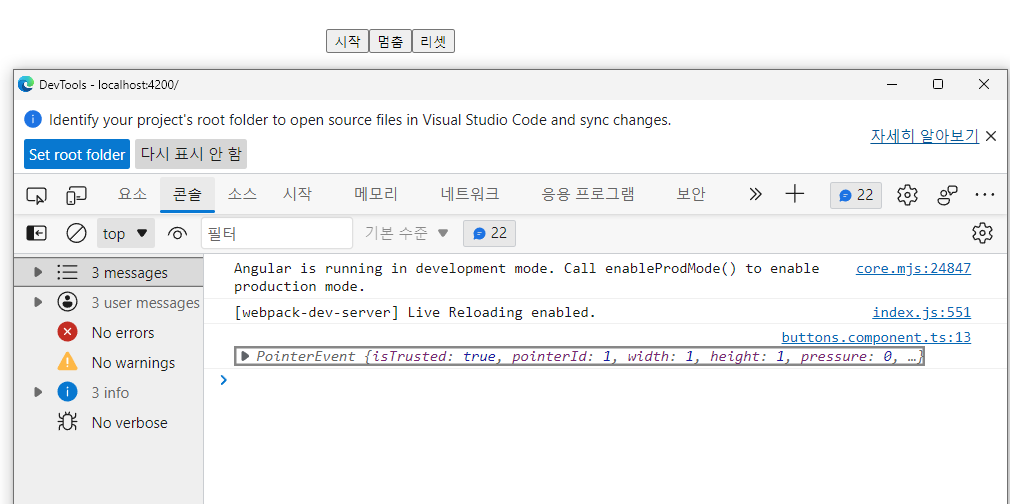
</button>컴포넌트에서 $event 속성 설정 하기
(:MouseEvent 안해줘도 동작 가능)
//buttons.component.ts
import { Component, OnInit } from '@angular/core';

@Component({
  selector: 'app-buttons',
  templateUrl: './buttons.component.html',
  styleUrls: ['./buttons.component.scss']
})
export class ButtonsComponent implements OnInit {

  constructor() { }

  test($event:MouseEvent) {
    console.log($event)
  }

  ngOnInit(): void {
  }

}
시작 버튼을 누르면 이벤트 속성이 콘솔에 찍힌다.
부모와 자식 컴포넌트 데이터 바인딩
1. 자식 -> 부모 컴포넌트로 데이터 바인딩
버튼 컴포넌트에서 섹션 컴포넌트로 데이터 바인딩
버튼컴포넌트(자식)
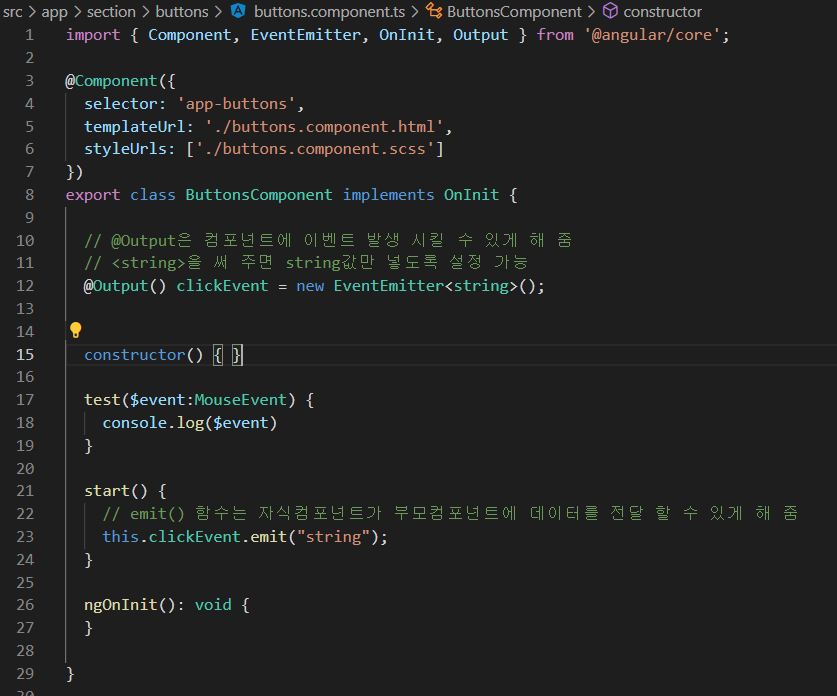
import { Component, EventEmitter, OnInit, Output } from '@angular/core';

@Component({
  selector: 'app-buttons',
  templateUrl: './buttons.component.html',
  styleUrls: ['./buttons.component.scss']
})
export class ButtonsComponent implements OnInit {

  // @Output은 컴포넌트에 이벤트 발생 시킬 수 있게 해 줌
  // <string>을 써 주면 string값만 넣도록 설정 가능
  @Output() clickEvent = new EventEmitter<string>();


  constructor() { }

  test($event:MouseEvent) {
    console.log($event)
  }

  start() {
    // emit() 함수는 자식컴포넌트가 부모컴포넌트에 데이터를 전달 할 수 있게 해 줌
    this.clickEvent.emit("string");
  }

  ngOnInit(): void {
  }

}
@Output() 과 emit() 함수를 사용한다.
emit(데이터)를 사용하여 데이터 이동
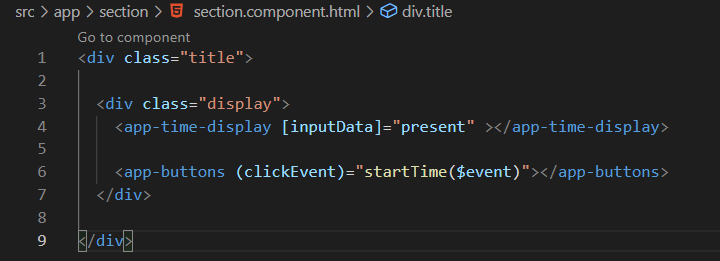
섹션 컴포넌트(부모)
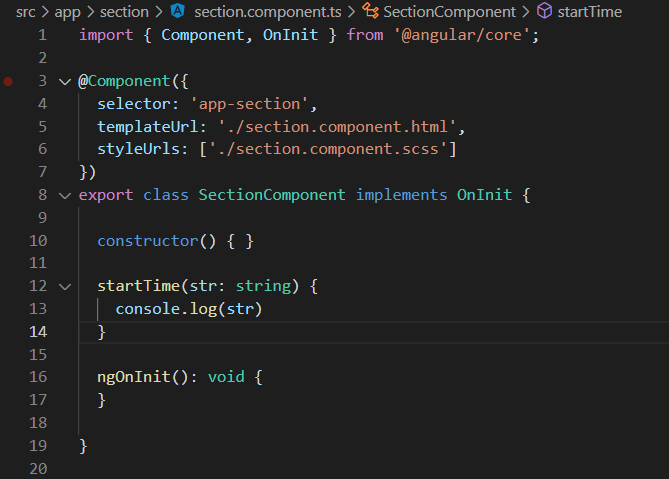
자식 컴포넌트에서 받은 클릭 이벤트로 startTime을 누으면 자식에게서 받은 문자열이 찍힌다.
버튼을 누르면 콘솔에 string이 찍힘.
2. 부모 -> 자식 컴포넌트로 데이터 바인딩
time-display 컴포넌트(자식)
@Input()으로 부모 컴포넌트를 받아 올 준비를 한다.
@Input() inputData!: number;는 부모에게서 inputData 이름으로 number 타입을 받아 온다는 말이다.
섹션 컴포넌트(부모)
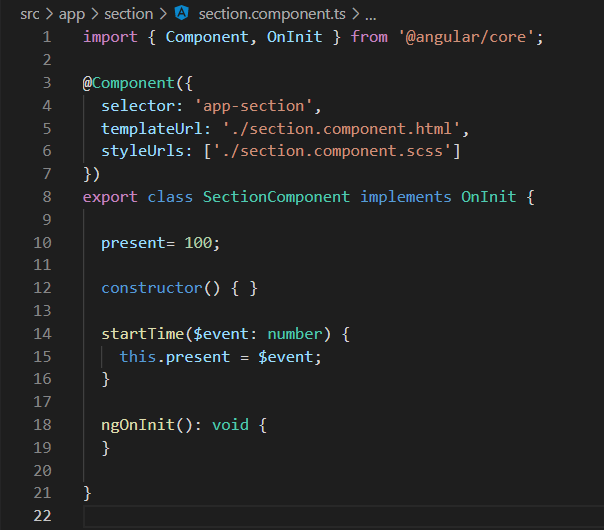
<app-time-display [inputData]="present" >
받는 값은 []를 이용한다.
모듈생성
ng g m 이름 또는 ng g m 경로/이름
ex) ng g m section/stopwatch 섹션 폴더 안에 stopwatch 모듈생성
라우터 모듈
app.module.ts에 @NgModule안 imports 의 AppRoutingModule이 있어야 함. 프로젝트 생성할 때 라우팅 물어 봄
라우팅 기본이 되는 부분
//app-routing.module.ts

import { NgModule } from '@angular/core';
import { RouterModule, Routes } from '@angular/router';

const routes: Routes = [
  {
    path: "", //경로
    redirectTo: "stopwatch",  //ex) https://domain.com/index
    pathMatch: "full" //ex) prefix로 설정하면 https://domain.com/index*** 일 때 index만 맞아도 연결
  },
  // {
  //   path: "index",
  //   component: AppComponent // index로 갈 때 AppComponent 보여주기
  // }
];

@NgModule({
  imports: [RouterModule.forRoot(routes)],
  exports: [RouterModule]
})
export class AppRoutingModule { }
다른 모듈에서 라우팅을 사용할 때
//section.module.ts

import { NgModule } from '@angular/core';
import { CommonModule } from '@angular/common';
import { SectionComponent } from './section.component';
import { StopwatchModule } from './stopwatch/stopwatch.module';
import { RouterModule, Routes } from '@angular/router';
import { StopwatchComponent } from './stopwatch/stopwatch.component';
import { ClockComponent } from './clock/clock.component';


const routes : Routes = [
  {
    path: 'stopwatch',
    component: StopwatchComponent,
  },
  {
    path: 'clock',
    component: ClockComponent,
  }
]


@NgModule({
  declarations: [
    SectionComponent,
    ClockComponent,
  ],
  exports: [
    SectionComponent,
    RouterModule
  ],
  imports: [
    CommonModule,
    StopwatchModule,
    RouterModule.forChild(routes)
  ]
})
export class SectionModule { }
라우팅을 사용하면 해당 html에서 <router-outlet></router-outlet>을 사용해야 함. (해당 페이지 보여 줌)
<a [routerLink]="'/clock'">시계로 이동</a> 이렇게도 라우팅 사용 가능(클릭하면 /clock 페이지로 이동)
해당 모듈파일 @NgModule 안의 imports에 RouterModule이 있어야 함.
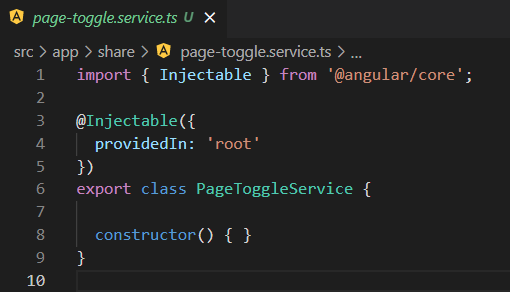
서비스 생성
ng g s 이름