JSON
- Javascript Object Notation
- ECMAScript 3rd 1999에 발표된 Javascript객체에 큰 영감을 받아서 만들어진 데이터 포멧
- key와 value로 이루어진 모습을 참고
- 모바일이나 파일 object를 파일 시스템에 저장할 때도 JSON을 이용


- 가장 간단한 텍스트 포멧
- 텍스트를 기반한 가벼운 포멧
- 가독성 좋음
- key와 value로 이루어짐
- 데이터를 서버와 주고 받을 때
serialization을 쓴다.serialization은 직렬화라고 하는데
TODO: 좀 더 정리하기 - 프로그래밍 언어나 platform에 상관 없이 사용 가능하다.

serialize와 deserialize방법을 중점적으로 배우면 됨

오버로딩
함수의 이름은 동일하지만, 파라미터에 따라 다른 방식으로 호출이 가능한 방식
premitype을 JSON으로 만들 경우
let json = JSON.stringify(true);
console.log(json);

json = JSON.stringify("apple")
console.log(json);

json = JSON.stringify(123)
console.log(json);
- 별 다른 특징은 없다.
객체를 JSON으로 만들 경우
const rabbit = {
    name: 'tory',
    color: 'white',
    size: null,
    birthDate: new Date(),
    jump: () => {
        console.log(`${this.name} can jump!`)
    },
    symbol: Symbol('id')
}
json = JSON.stringify(rabbit);
console.log(json){"name":"tory","color":"white","size":null,"birthDate":"2021-02-22T03:32:07.377Z"}- 메소드(jump)나 js 전용 데이터인 Symbol같은 경우 지원하지 않음
parse는 reviver를 통해 JSON을 문자열로 만들 때 몇 가지 설정을 할 수 있다.

json = JSON.stringify(rabbit, (key, value) => {
    console.log(`key: ${key}, value: ${value}`)
    return key === 'name' ? 'Ellie' : value;
});
console.log(json)- key가 name일 때 값을 Ellie로 변경할 수 있다.
{"name":"Ellie","color":"white","size":null,"birthDate":"2021-02-22T05:12:01.584Z"}
json = JSON.stringify(rabbit, ['name']); // 원하는 propery만 출력 가능
console.log(json)- 또는 원하는 property만 뽑아 올 수 있다.
{"name":"tory"}
stringify 역시 replacer 콜백 함수를 통해 설정 할 수 있다.

replacer함수를 적용하지 않았을 때,
let obj = JSON.parse(json);
console.log(obj)
{name: "tory", color: "white", size: null, birthDate: "2021-02-22T05:15:25.028Z"}
replacer함수를 적용했을 때
const obj = JSON.parse(json, (key, value) => {
    console.log(`key: ${key}, value: ${value}`)
    if (key === 'name' ) value = 'jongho'
    return key === 'birthDate' ? new Date(value) : value;
})- 위 같은경우 key가
name일 때,birthDate일 때 두번 변경했다. - 특히 'birthDate'의 경우 그 값이 javascript형식으로 변경되었음을 알 수 있다.
{name: "jongho", color: "white", size: null, birthDate: Mon Feb 22 2021 14:12:01 GMT+0900 (대한민국 표준시)}
그 밖에 추가 JSON을 공부할 때 알아두면 좋은 사이트
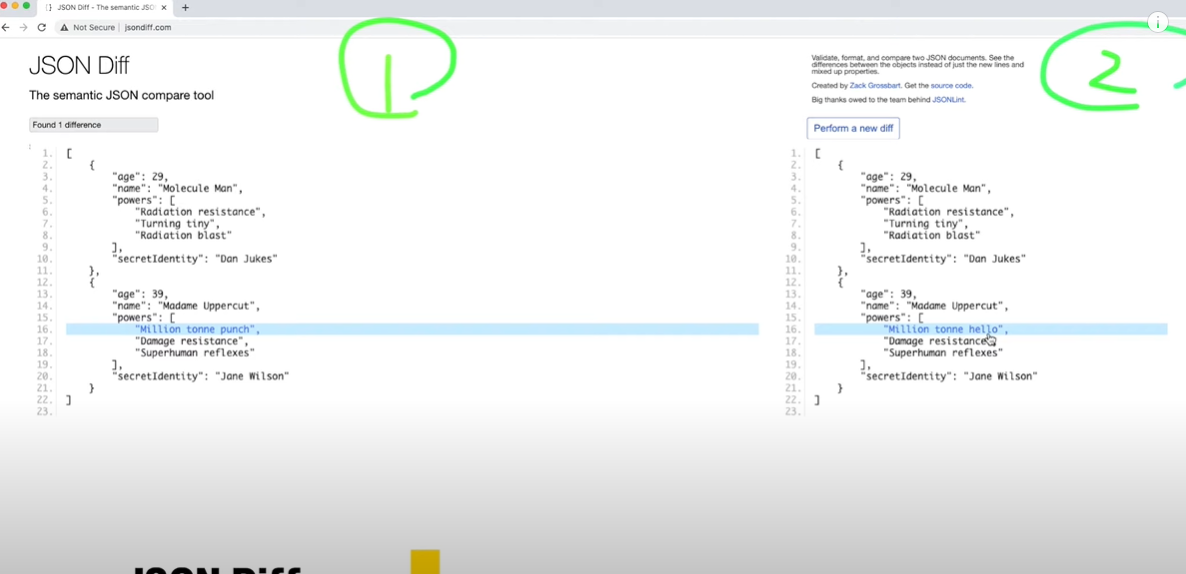
1. JSON diff

- 앞에 json과 뒤의 json이 어떤 데이터에서 변경이 있는지 쉽게 알려준다.
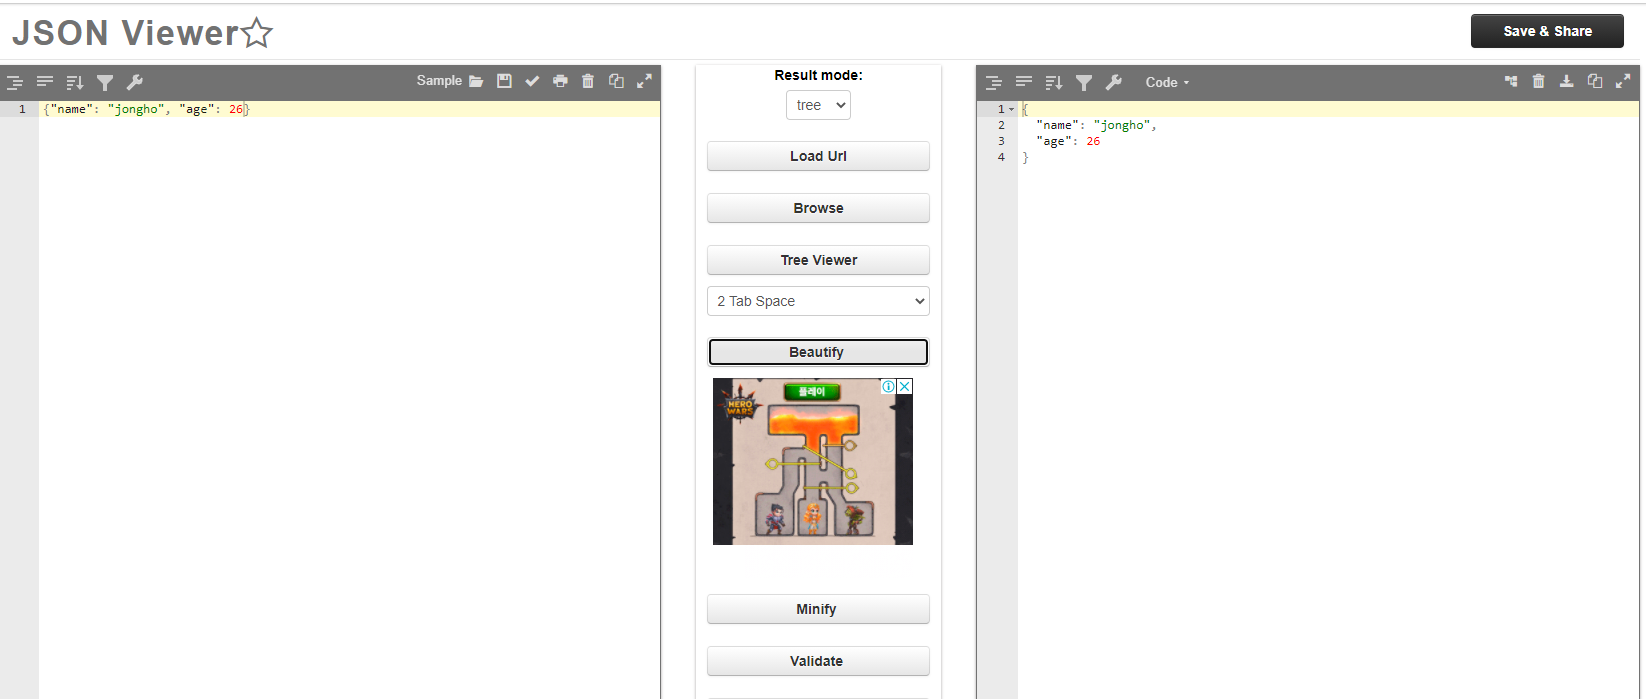
2. JSON Beautify

3. JSON parser

- json이 올바른 형식인지, js상에선 어떻게 보일 수 있는지 확인해주는 사이트
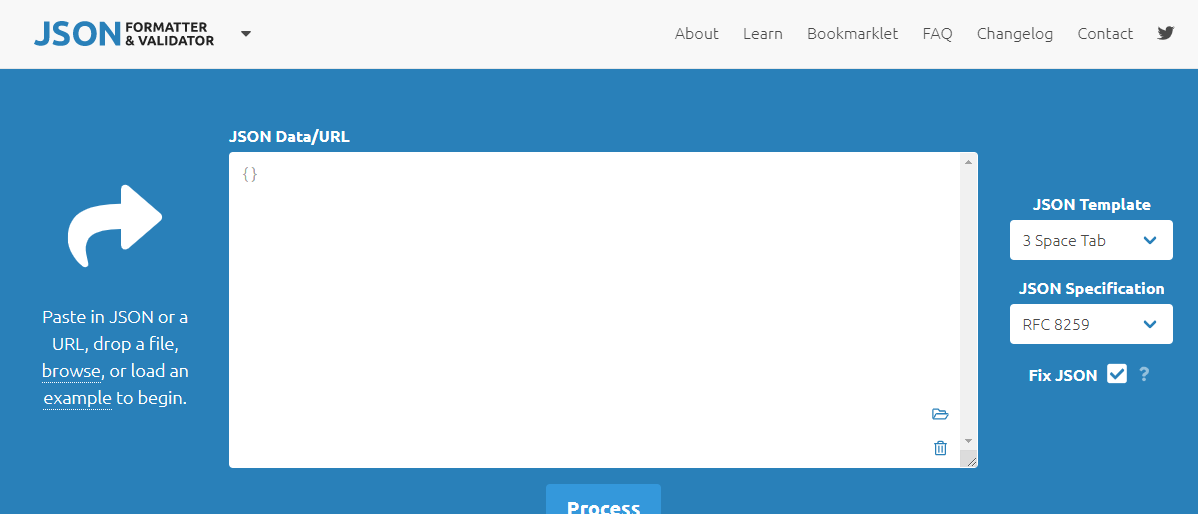
4. JSON validator

- 역시 json형식을 확인해 주는 사이트 같다.
