서론
사이드 프로젝트 시작을 위해 새로운 환경을 세팅해보려고 한다.
이번 프로젝트에서 사용할 라이브러리 및 기타 환경들은 아래와 같다.
next.js(>= 13)typescript(> = 5)tailwindCSSstyled-componentspnpmwebpackbabeleslintprettierChart.js
본론에서 next.js 와 typescript 환경을 중심으로 환경 세팅을 시작해보도록 하겠다.
본론
pnpm 설치
(공식 문서 참조)
corepack 을 이용하여pnpm 패키지 매니저를 설치한다. (macOS 기준)
corepack 서비스 설치 및 활성화
# 설치
brew install corepack

# 활성화
corepack enable
corepack 이란?
Node.js v16.13 부터 제공하는 패키지 관리자 서브 도구 이며, 호출 시 현재 프로젝트에 대해 구성된 패키지 관리자를 식별하고, 필요한 경우 투명하게 설치하고, 최종적으로 명시적인 사용자 상호 작용 없이 실행하는 지원되는 각 패키지 관리자 에 대해 바이너리 프록시를 노출하는 기능을 가지고 있다.
pnpm 설치
# Node.js < 16.17 일 경우
corepack prepare pnpm@<version> --activate

# Node.js >= 16.17 일 경우
corepack prepare pnpm@latest --activate
Next.js 설치 및 세팅
next app 프로젝트 생성
pnpm create next-app 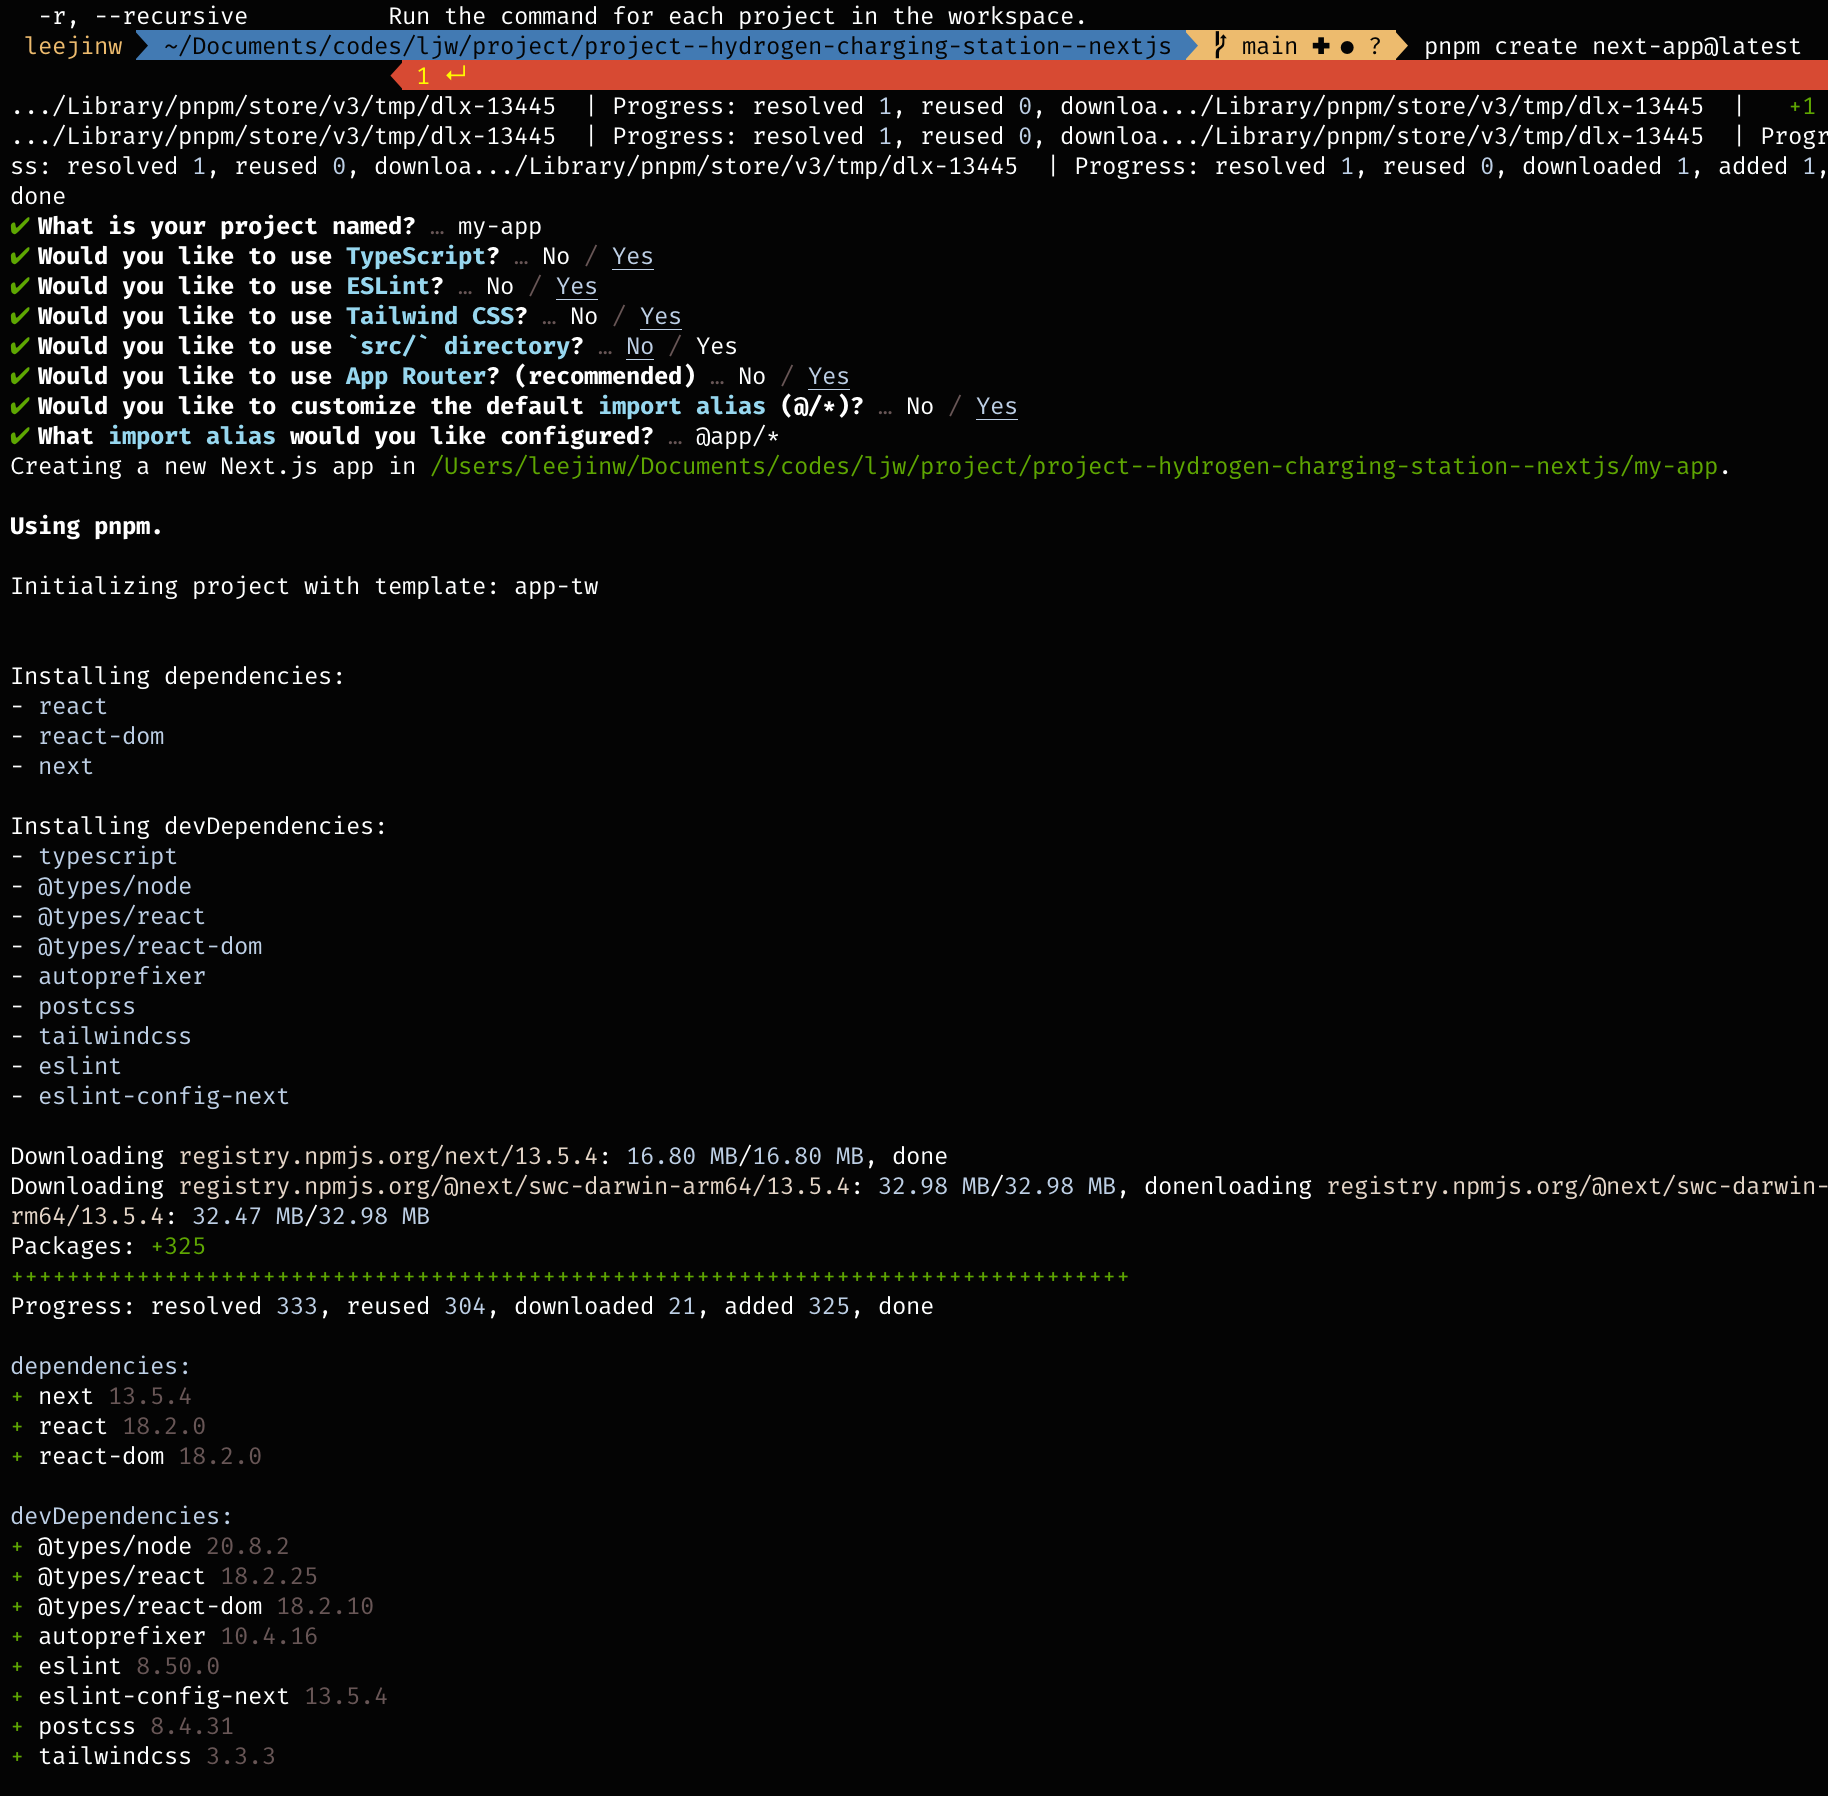
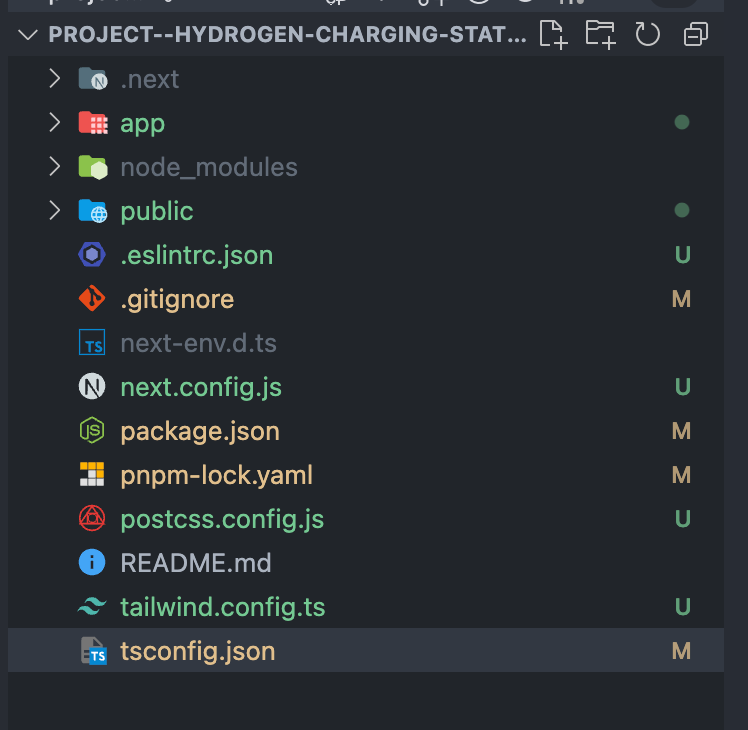
위와 같이 CLI 환경에서 기본 설정 세팅을 해주고 나면 아래처럼 tailwindCSS, typescript, eslint 등의 패키지 설치 및 환경설정 파일 생성 작업이 자동으로 진행된 것을 확인할 수 있다.
package.json
{
  "name": "my-app",
  "version": "0.1.0",
  "private": true,
  "scripts": {
    "dev": "next dev",
    "build": "next build",
    "start": "next start",
    "lint": "next lint"
  },
  "dependencies": {
    "chart.js": "^4.4.0",
    "next": "13.5.4",
    "react": "^18",
    "react-chartjs-2": "^5.2.0",
    "react-dom": "^18"
  },
  "devDependencies": {
    "@babel/plugin-syntax-dynamic-import": "^7.8.3",
    "@babel/plugin-transform-nullish-coalescing-operator": "^7.22.11",
    "@babel/plugin-transform-optional-chaining": "^7.23.0",
    "@faker-js/faker": "^8.1.0",
    "@types/node": "^20",
    "@types/react": "^18",
    "@types/react-dom": "^18",
    "@typescript-eslint/parser": "^5.0.1",
    "autoprefixer": "^10",
    "eslint": "^8",
    "eslint-config-next": "13.5.4",
    "postcss": "^8",
    "prettier": "^2.5.1",
    "tailwindcss": "^3",
    "terser-webpack-plugin": "^5.3.9",
    "ts-loader": "^9.5.0",
    "typescript": "^5"
  }
}
webpack 번들 파일 최적화 설정
빌드 파일 생성 시, 번들 파일 용량 압축 등 번들링 최적화를 위해 webpack의 optimization 설정을 해준다.
Terser webpack plugin 설치
webpack의 번들 압축 최적화 기능들을 제공하는 플러그인을 설치한다.
pnpm add -D terser-webpack-plugin그 후, next.config.js 에서 아래와 같이 terser-webpack-plugin 라이브러리 import 및 webpack 을 설정해준다.
/** @type {import('next').NextConfig} */
const isProduction = process.env.NODE_ENV === "production";
const TerserPlugin = require("terser-webpack-plugin");
const nextConfig = {
  webpack: (config) => {
    // 기존 대비 약 50% bundle file size 감소 효과
    config.optimization = {
      ...config.optimization,
      minimize: isProduction, // minimizer 에 설정된 플러그인을 기반으로 번들을 최소화 시킴.
      minimizer: isProduction
        ? [
            new TerserPlugin({
              parallel: true, // 병렬 작업
              terserOptions: {
                format: {
                  comments: false, // 빌드 시, comment 제거 (주석 제거)
                },
                compress: {
                  drop_console: true, // 빌드 시, console.* 구문 코드 제거
                },
              },
              extractComments: false, // 주석을 별도의 파일로 추출할 지 여부
            }),
          ]
        : [],
    };
    return config;
  },
};

module.exports = nextConfig;
로컬 실행
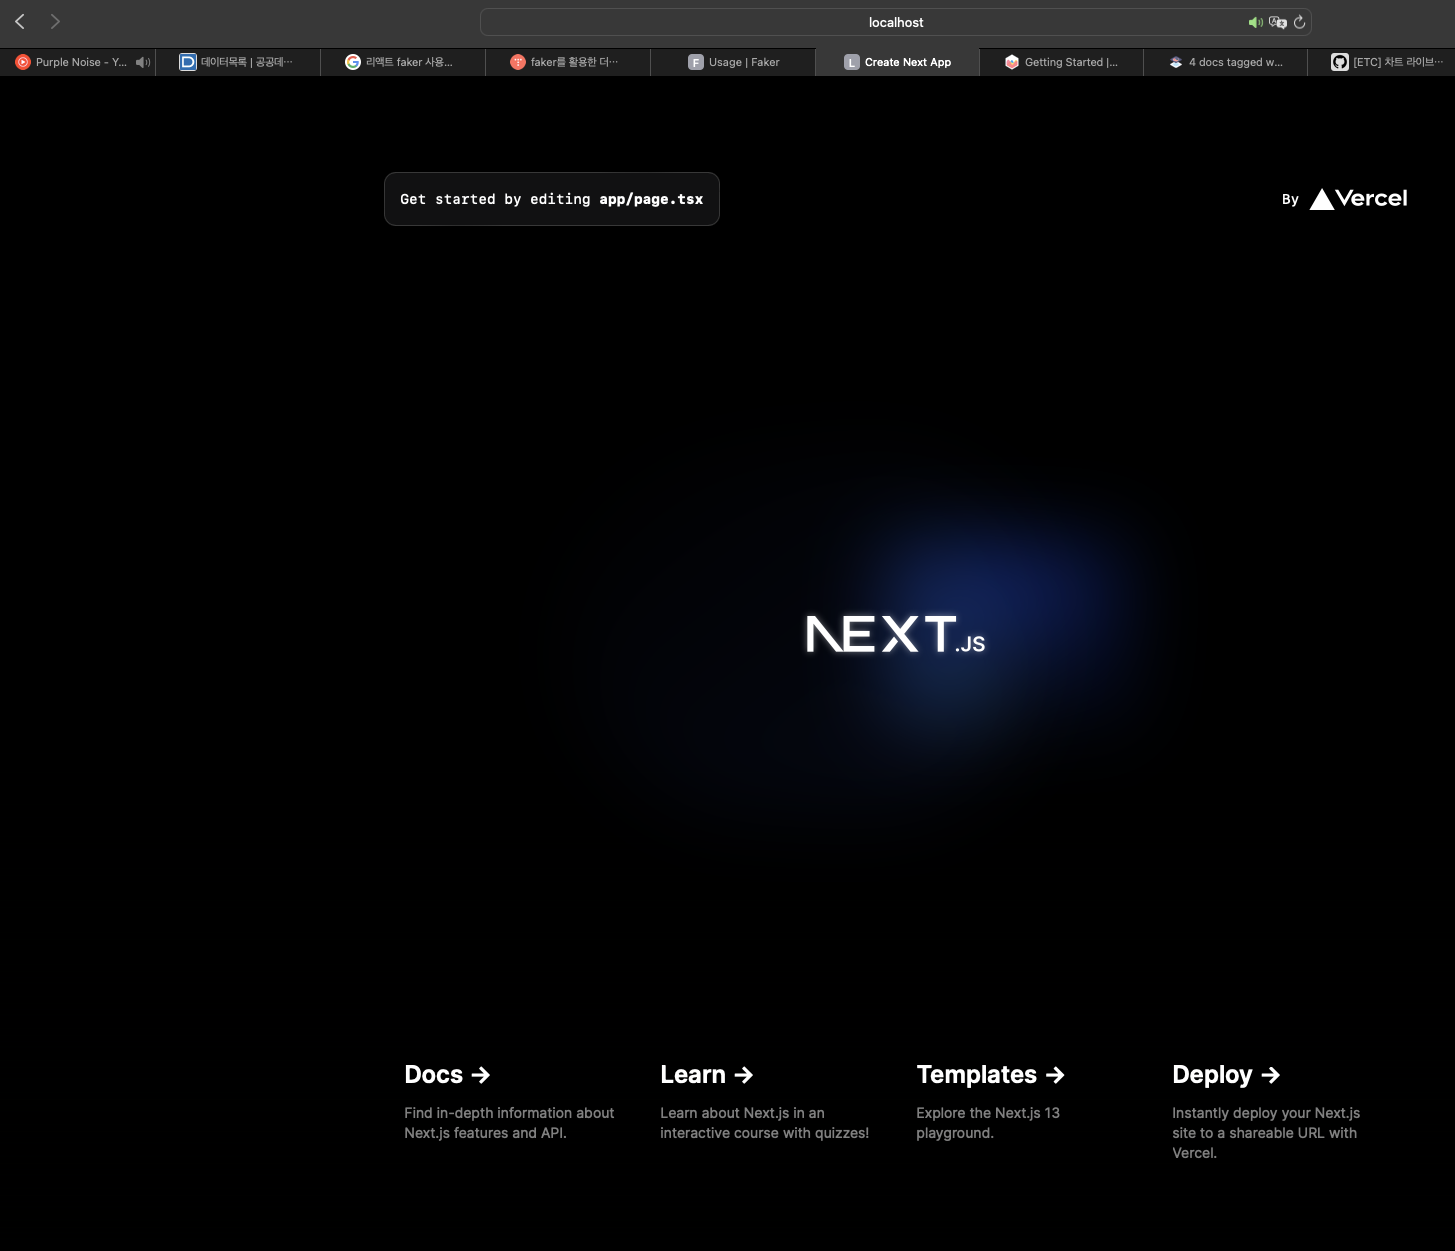
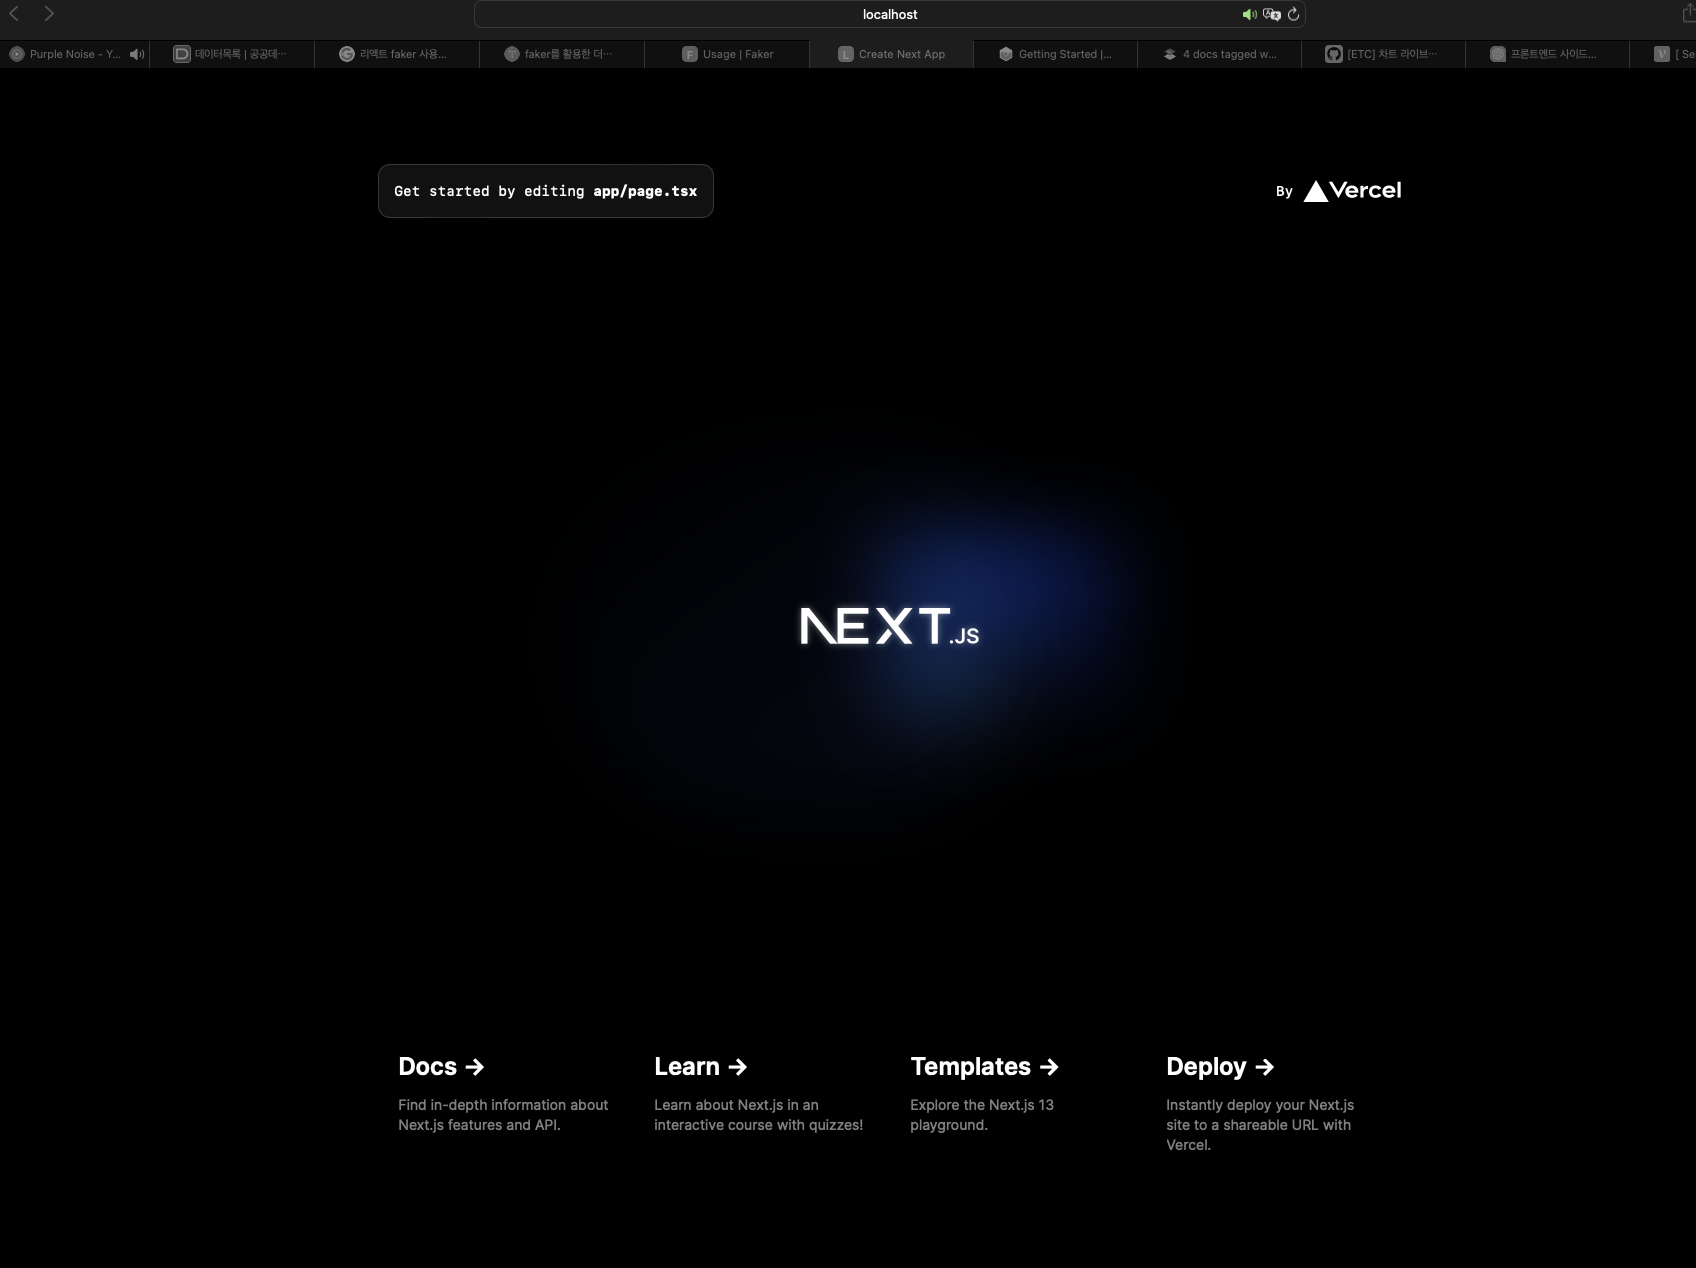
http://localhost:3000 으로 접속하여 웹 애플리케이션이 정상적으로 동작하는지 확인한다.
똑똑하진 않아서 꾸준히라도 할려고 하는 그러한 사람