
1. 알아둘 내용
- Kubernetes + Helm + Kustomize
- Prometheus
2. 설치
Argo CD 설치
- 헬름 레포지토리 추가
helm repo add argo https://argoproj.github.io/argo-helm- 레포지토리 업데이트

helm repo update- 네임스페이스 생성
kubectl create namespace argocd- 설치
helm install argocd argo/argo-cd -n argocd- 설치 확인
kubectl get all -n argocd- 서비스 확인 : 모든 서비스가
ClusterIP로 만들어진다.- 로컬 쿠버네티스를 운영하는 경우에는 argocd-server 에 설정된 포트를 port-farwarding 해야만 로컬 컴퓨터에서 접근이 가능하다.
- 로컬 쿠버네티스가 아니고 Public IP를 가진 클러스터나 EKS 와 같은 Public Cloud Managed Service를 사용하는 경우에는
NodePort나Load Balancer로 서비스를 수정해서 외부에서 접근이 가능하다.
helm show values argo/argo-cd > argocd-values.yaml
nano argocd-values.yaml
helm upgrade argocd argo/argo-cd -n argocd -f argocd-values.yaml
argocd-values.yaml 파일에서
argocd-server 를 ctrl + w 로 찾고
service :
type: NodePort로 바꿔준다.

-
로컬 쿠버네티스를 실습하기 위해서 가상머신을 이용해서 리눅스를 설치하고 클러스터를 구성할 때 되도록이면 Control Plane은 GUI를 같이 설치하는 것이 좋다.
-
초기 비밀번호 확인
kubectl get secret argocd-initial-admin-secret -n argocd -o jsonpath="{.data.password}" | base64 -d유저네임 : admin
비밀번호 : u5oFop2vDay5Q187
- 서비스 타입 변경
kubectl edit svc argocd-server -n argocd- name: http
port: 80
protocol: TCP
targetPort: 8080
nodePort: 30080 # 요기
- name: https
port: 443
protocol: TCP
targetPort: 8080
nodePort: 30443 # 요기
selector:
app.kubernetes.io/instance: argocd
app.kubernetes.io/name: argocd-server
sessionAffinity: None
type: NodePort # 요기- 로컬 쿠버네티스에서 Web UI 접근을 위한 포트포워딩
ClusterIP에서 NodePort로 바꿨으면 안해줘도 그냥 접속이 가능하다.
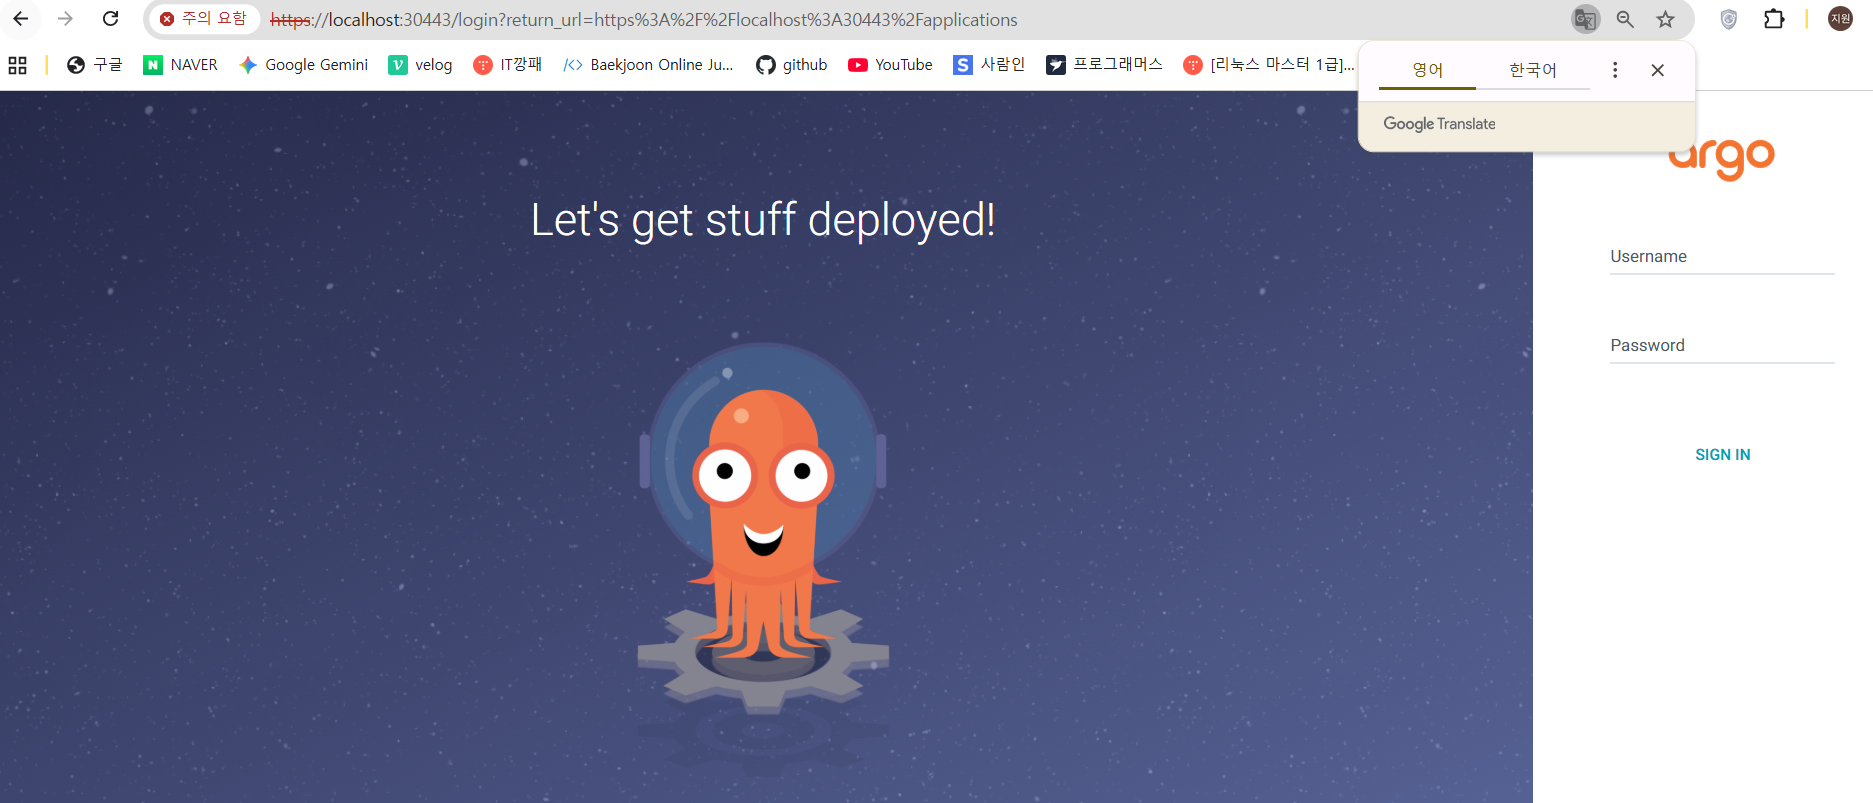
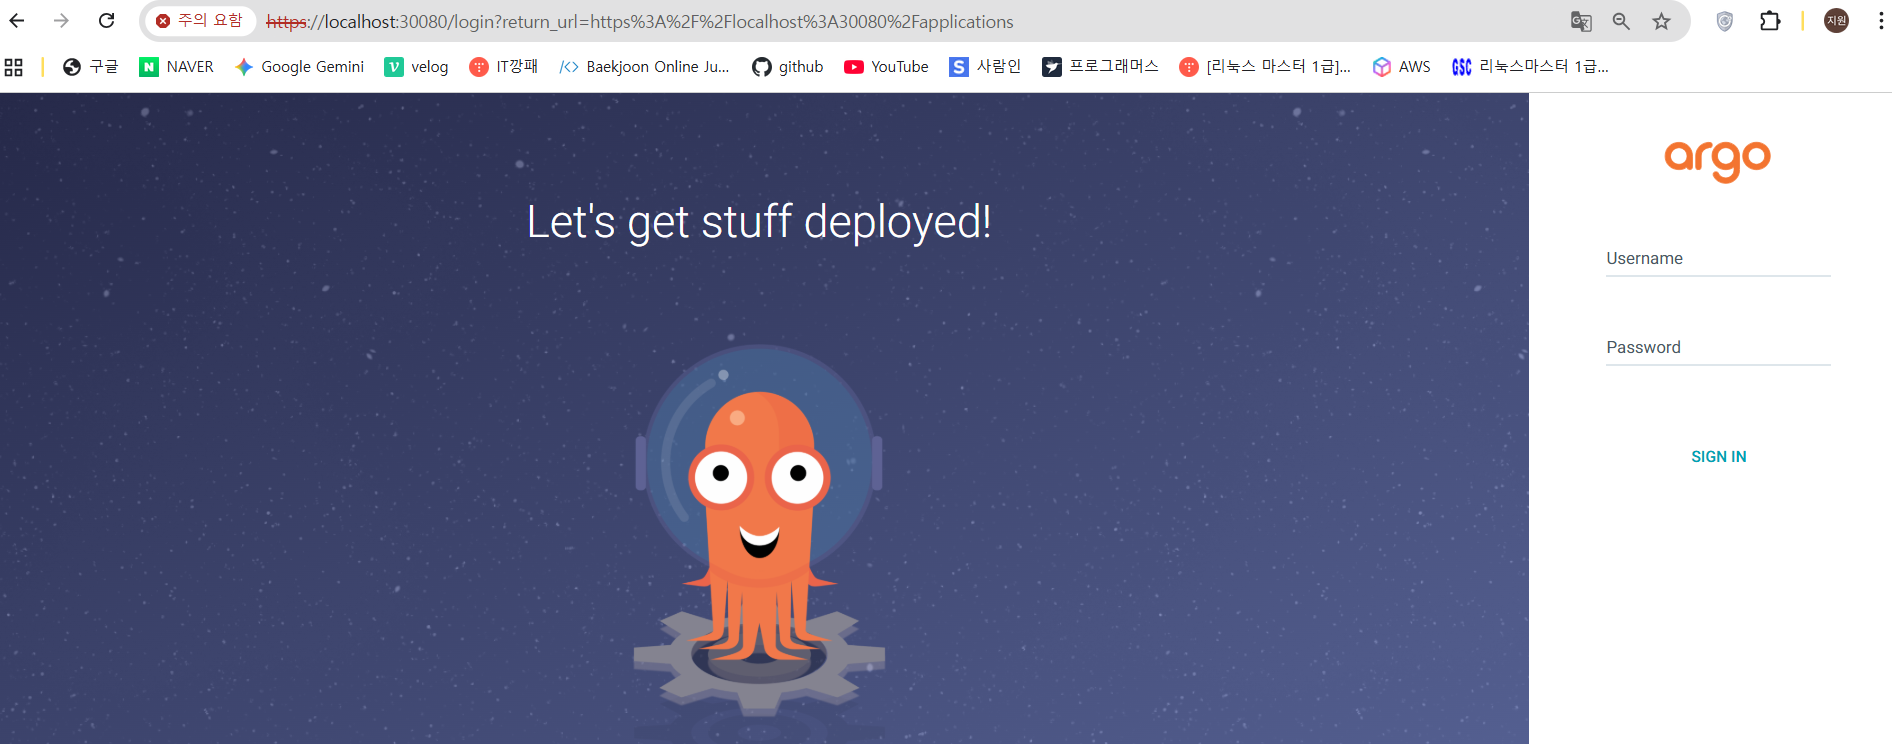
service/argocd-server NodePort 10.101.180.29 <none> 80:30080/TCP,443:30443/TCP 18m이므로 http://localhost:30443, http://localhost:30080 로 접속 가능
NodePort로 바꿔주지 않았다면
kubectl port-forward service/argocd-server -n argocd 포트번호:443
kubectl port-forward service/argocd-server -n argocd 포트번호:80
kubectl port-forward service/argocd-server -n argocd 30443:443로컬 컴퓨터에서 http://localhost:30443 로 브라우저에서 접근 가능
kubectl port-forward service/argocd-server -n argocd 30080:80로컬 컴퓨터에서 http://localhost:30080 로 브라우저에서 접근 가능
- 리소스 파일 생성
argo/application.yaml
apiVersion: argoproj.io/v1alpha1
kind: Application
metadata:
  name: nginx
  namespace: argocd
  finalizers:
    - resources-finalizer.argocd.argoproj.io
spec:
  syncPolicy:
    automated:
      prune: true
      selfHeal: true
    syncOptions:
    - CreateNamespace=true
  destination:
    namespace: nginx
    server: https://kubernetes.default.svc
  project: default
  source:
    repoURL: https://charts.bitnami.com/bitnami
    chart: nginx
targetRevision: 13.2.10- 애플리케이션 배포
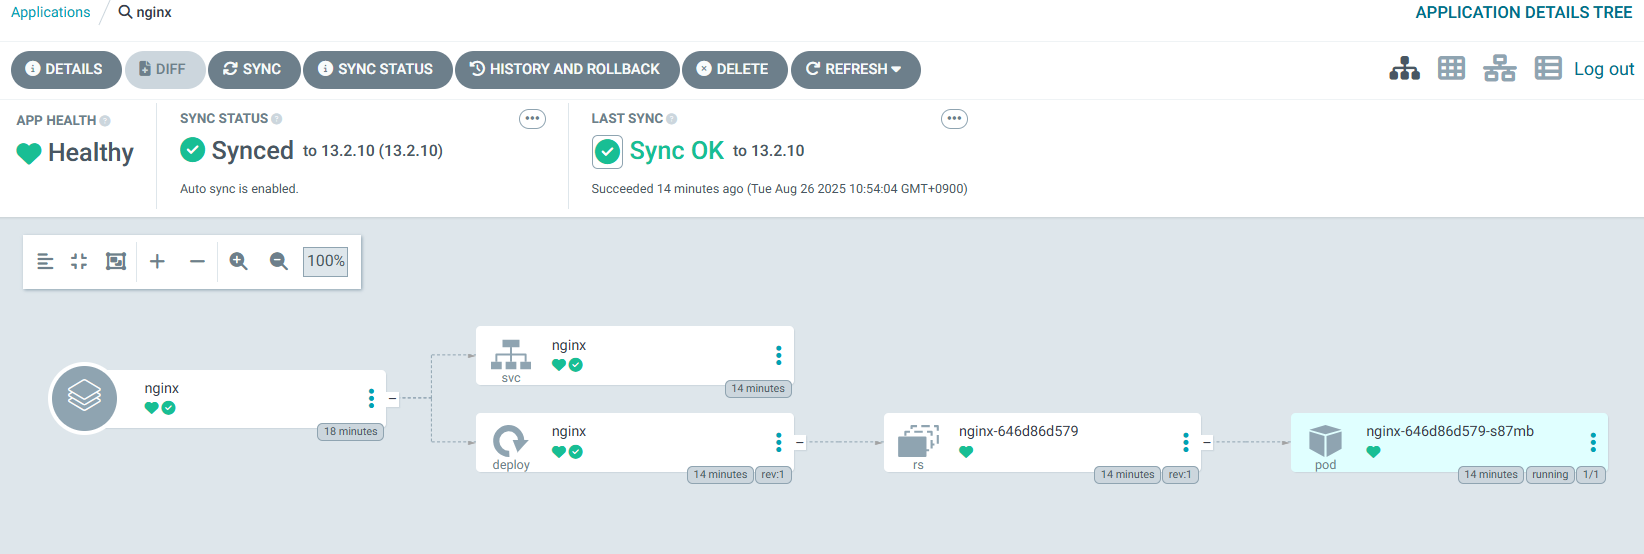
kubectl apply -f argo- 웹브라우저에서 확인
http://localhost:30080에 접속해서 확인하면 아래처럼 볼 수 있다.

3. Argo CD CLI를 활용한 애플리케이션 배포
1) Argo CD CLI 를 설치
-
다운로드 :
curl -sSL -o argocd-linux-amd64 https://github.com/argoproj/argo-cd/releases/latest/download/argocd-linux-amd64 -
실행권한 부여 :
chmod +x argocd-linux-amd64 -
파일 이동 :
sudo mv argocd-linux-amd64 /usr/local/bin/argocd -
버전확인 : argocd version

2) 현재 argocd Web UI 에 로그인
argocd login localhost:30080 # 자신이 설정한 노드포트3) 이전 애플리케이션 삭제
argocd app delete nginx
4) nginx 배포
argocd app create nginx \
--repo https://charts.bitnami.com/bitnami \
--helm-chart nginx \
--revision 13.2.10 \
--dest-server https://kubernetes.default.svc \
--dest-namespace nginx
5) 동기화
argocd app sync nginx

# 실행 결과

TIMESTAMP                  GROUP        KIND   NAMESPACE                  NAME    STATUS    HEALTH        HOOK  MESSAGE
2025-08-26T02:32:38+00:00            Service       nginx                 nginx  OutOfSync  Missing
2025-08-26T02:32:38+00:00   apps  Deployment       nginx                 nginx  OutOfSync  Missing
2025-08-26T02:32:38+00:00            Service       nginx                 nginx  OutOfSync  Healthy
2025-08-26T02:32:38+00:00            Service       nginx                 nginx    Synced  Healthy
2025-08-26T02:32:38+00:00            Service       nginx                 nginx    Synced   Healthy              service/nginx created
2025-08-26T02:32:38+00:00   apps  Deployment       nginx                 nginx  OutOfSync  Missing              deployment.apps/nginx created
2025-08-26T02:32:38+00:00   apps  Deployment       nginx                 nginx    Synced  Progressing              deployment.apps/nginx created

Name:               argocd/nginx
Project:            default
Server:             https://kubernetes.default.svc
Namespace:          nginx
URL:                https://argocd.example.com/applications/nginx
Source:
- Repo:             https://charts.bitnami.com/bitnami
  Target:           13.2.10
SyncWindow:         Sync Allowed
Sync Policy:        Manual
Sync Status:        Synced to 13.2.10
Health Status:      Progressing

Operation:          Sync
Sync Revision:      13.2.10
Phase:              Succeeded
Start:              2025-08-26 02:32:38 +0000 UTC
Finished:           2025-08-26 02:32:38 +0000 UTC
Duration:           0s
Message:            successfully synced (all tasks run)

GROUP  KIND        NAMESPACE  NAME   STATUS  HEALTH  HOOK  MESSAGE
       Service     nginx      nginx  Synced                service/nginx created
apps   Deployment  nginx      nginx  Synced                deployment.apps/nginx created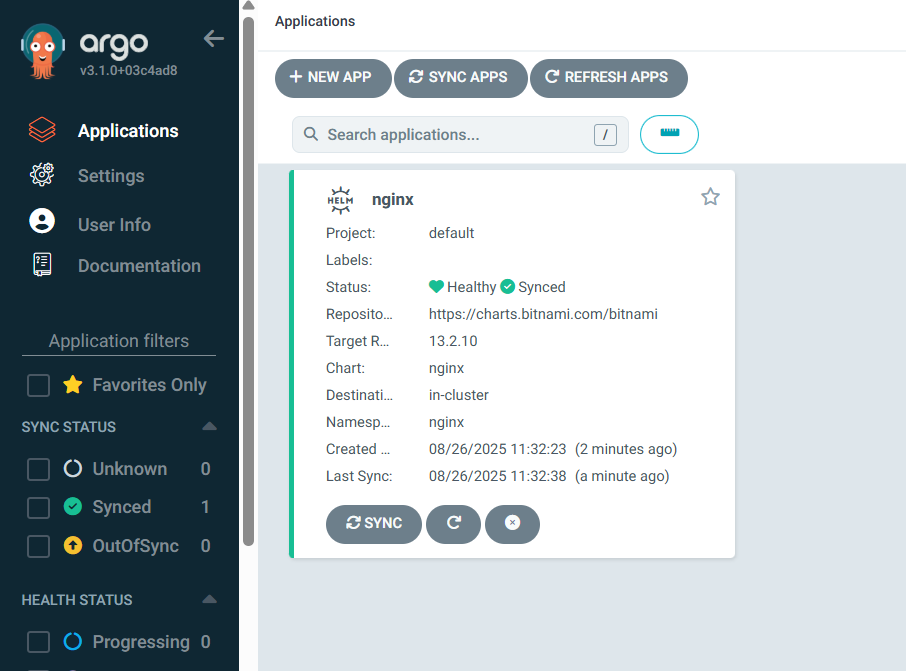
4. Argo CD Autopilot을 이용한 설치
- Argo CD를 GitOps 방식으로 설치/운영하기 쉽게 만들어주는 툴
- Argo CD는 수동으로 설치하고 Application을 하나하나 정의하지만 Autopilot은 Argo CD 자체 설치하고 애프ㅡㄹ리케이션 관리 구조를 Git Repository 중심으로 자동화 함
1) 기능
- GitOps 를 사용해 부트스트랩 Argo CD애플리케이션을 생성하고 관리할 수 있음
- Git Repository 를 짜여진 구조로 세팅해 새로운 서비스를 추가하고 Argo CD의 수명주기에 적용
- ArgoCD 애플리케이션에 시크릭에 대한 암호화도 지원
2) 설치
설치 가이드 : https://argocd-autopilot.readthedocs.io/en/stable/Installation-Guide/
리눅스 에서 설치
# get the latest version or change to a specific version
VERSION=$(curl --silent "https://api.github.com/repos/argoproj-labs/argocd-autopilot/releases/latest" | grep '"tag_name"' | sed -E 's/.*"([^"]+)".*/\1/')

# download and extract the binary
curl -L --output - https://github.com/argoproj-labs/argocd-autopilot/releases/download/"$VERSION"/argocd-autopilot-linux-amd64.tar.gz | tar zx

# move the binary to your $PATH
sudo mv ./argocd-autopilot-* /usr/local/bin/argocd-autopilot

# check the installation
argocd-autopilot version
3) GitHub Repository 등록
Access Token 발급
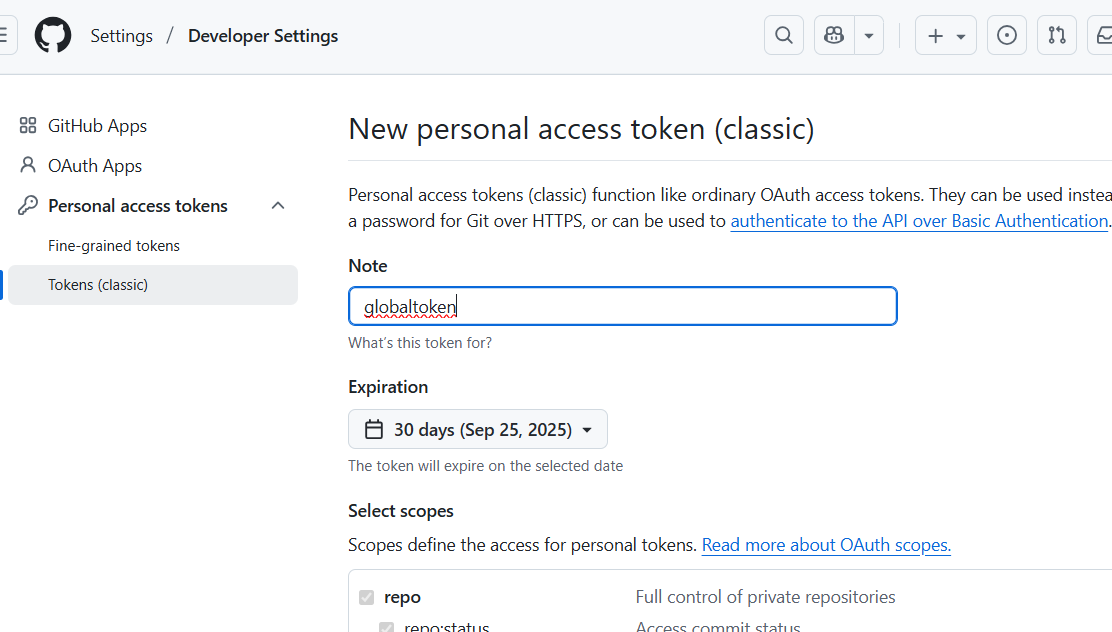
권한 전체 선택 하고 토큰 발급 받기
token : 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
Repository 생성
https://github.com/lnaura/argocd_proj
환경변수 등록
export GIT_TOKEN=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
export GIT_REPO=https://github.com/lnaura/argocd_proj
4) Argo CD 설치
argocd-autopilot repo bootstrap서비스 수정 NodePort 로
(이미 전에 수정해서 수정 안해도 됨)
kubectl get svc -n argocd
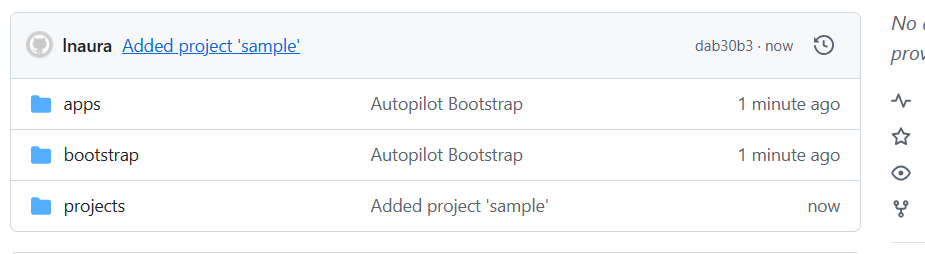
5) 프로젝트 생성
argocd-autopilot project create sample깃허브 접속해서 확인
6) 앱 생성
argocd-autopilot app create 앱이름 --app 앱url -p 프로젝트이름

argocd-autopilot app create hello-world --app github.com/argoprojlabs/argocd-autopilot/examples/demo-app/ -p sample
argocd 웹 확인
argocd-autopilot app create hello-world --app github.com/argoprojlabs/argocd-autopilot/examples/demo-app/ -p sample깃 확인