목록 업데이트
Presentation이 Full Screen
- MemoListTableViewController에 viewWillAppear를 추가해주자(현재 Presentation - Full Screen)
override func viewWillAppear(_ animated: Bool) {
        super.viewWillAppear(animated)
        tableView.reloadData()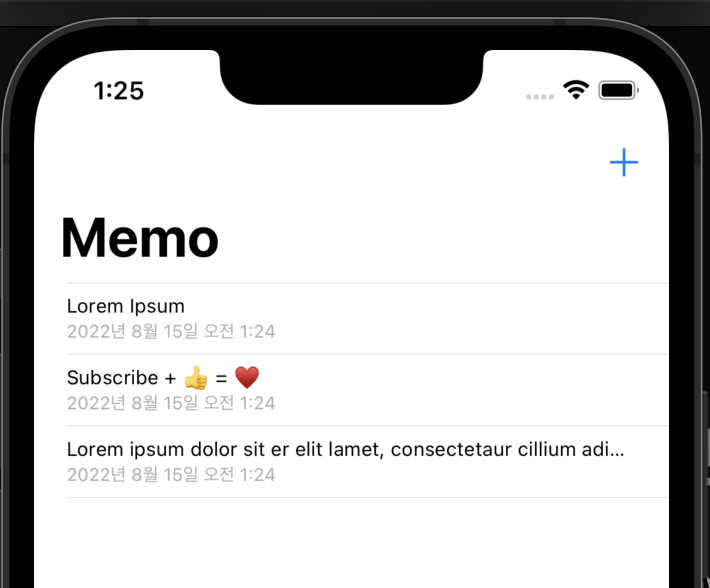
}- save를 한다면 아래와 같이 save가 된다.
Presentation = Sheet일 경우(Modal)
- 근데 만약 Presentaion = sheet로 설정을 하면 save를 해도 목록이 업데이트가 되지 않는다. 따라서 notification을 설정하자!
ComposeViewController에다가 extension을 추가해주자(주파수 이름 설정)
extension ComposeViewController {
    static let newMemoDidInsert = Notification.Name(rawValue: "newMemoDidInsert")
}
또, save 코드에 notificationCenter를 추가해준다.
    @IBAction func save(_ sender: Any) {
        // memoTextView에 있는 text를 newMemo로 저장!
        guard let memo = memoTextView.text, memo.count > 0 else {
            alert(message: "메모를 입력하세요")
            return
        }
        let newMemo = Memo(content: memo)
        Memo.dummyMemoList.append(newMemo)

        // NotificationCenter Post 설정하기
        NotificationCenter.default.post(name: ComposeViewController.newMemoDidInsert, object: nil)

        // 새 메모 창을 닫기
        dismiss(animated: true, completion: nil)
}- 그리고 MemoListTableViewController에 observer를 추가해준다.
    override func viewDidLoad() {
        super.viewDidLoad()

        // queue -> 어느 쓰레드에서 실행할 것인가? 무조건 main, 뒤의 클로저를 queue에서 실행한다!
        NotificationCenter.default.addObserver(forName: ComposeViewController.newMemoDidInsert, object: nil, queue: OperationQueue.main) { [weak self] (noti) in
            self?.tableView.reloadData()
        }

}- 그러면 sheet의 형식에서도 목록이 업데이트가 된다.
그리고, 메모리 낭비를 피하기 위하여 옵져버를 해제해보자
- 아래와 같이 token 이라는 변수를 만들어주자
var token: NSObjectProtocol?

    deinit {
        if let token = token {
            NotificationCenter.default.removeObserver(token)
        }
}- 그리고 token이라는 변수를 addobserver로 설정해준다.
override func viewDidLoad() {
        super.viewDidLoad()

        // queue -> 어느 쓰레드에서 실행할 것인가? 무조건 main, 뒤의 클로저를 queue에서 실행한다!
        token = NotificationCenter.default.addObserver(forName: ComposeViewController.newMemoDidInsert, object: nil, queue: OperationQueue.main) { [weak self] (noti) in
            self?.tableView.reloadData()
        }

    }
메모 보기 화면 1)
-
새로운 viewController를 생성해준다.
-
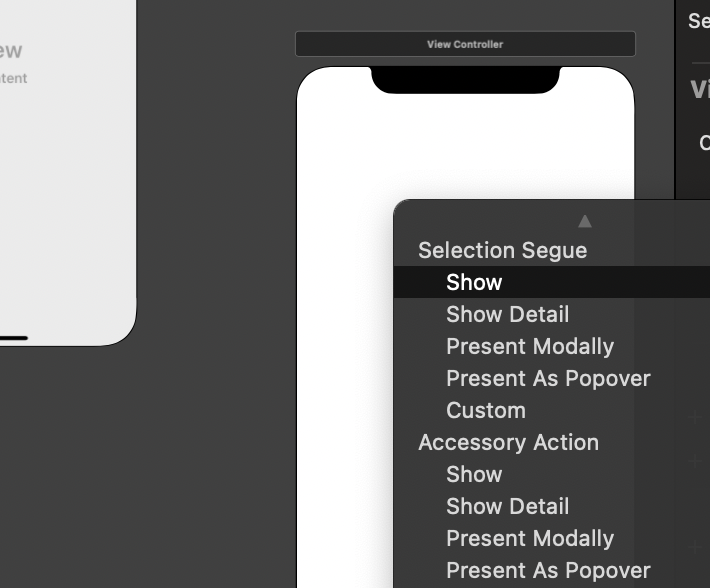
그리고 cell을 선택하여 새로 생성한 viewController에 show 로 이어준다.
-
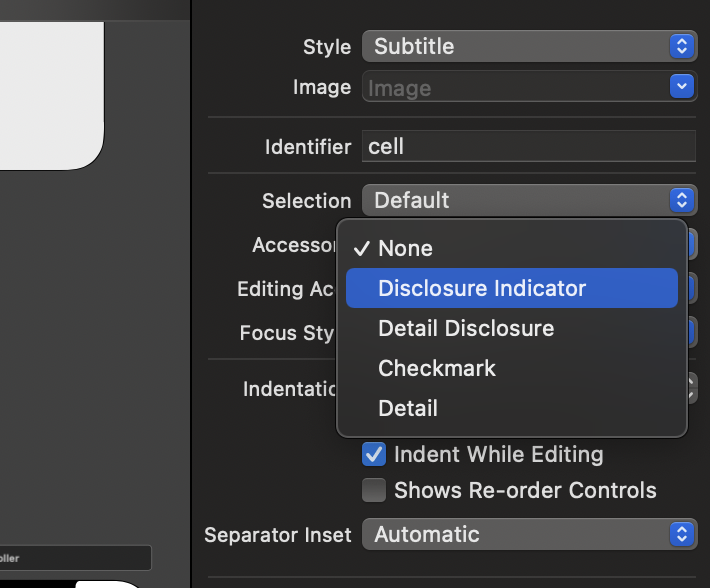
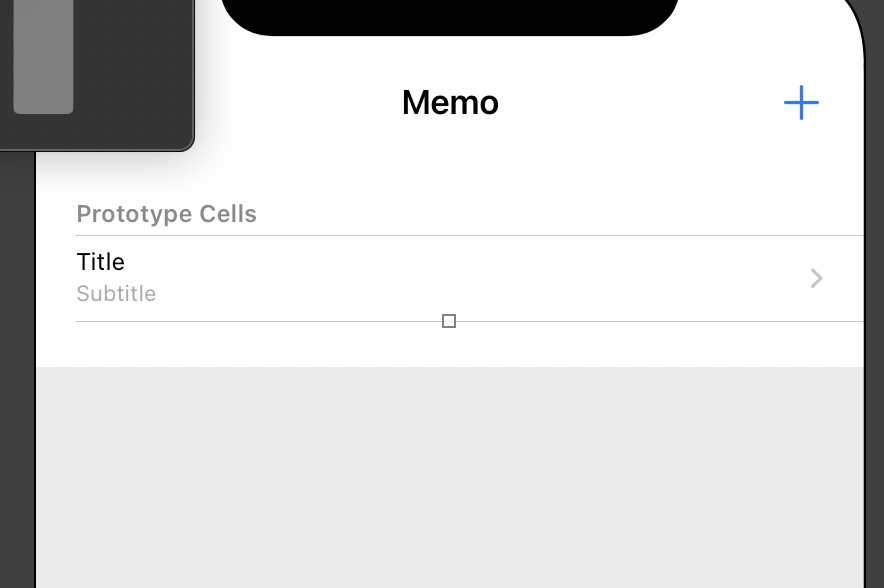
그리고 cell을 선택하고 Accessory를 Disclosure Indicator로 설정을 해주면
-
아래와 같이 > 가 생기게 된다.
-
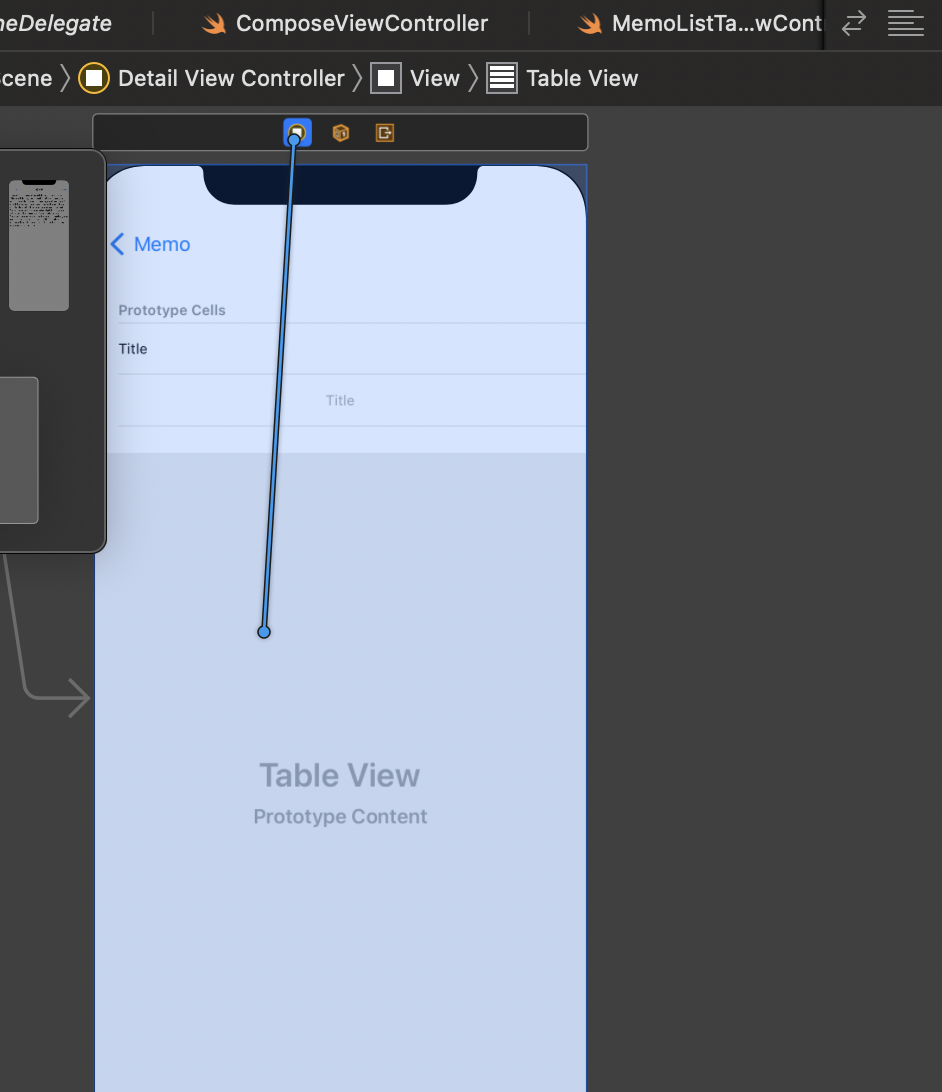
새로운 viewController class를 만들고, view controller와 연결해준다.
-
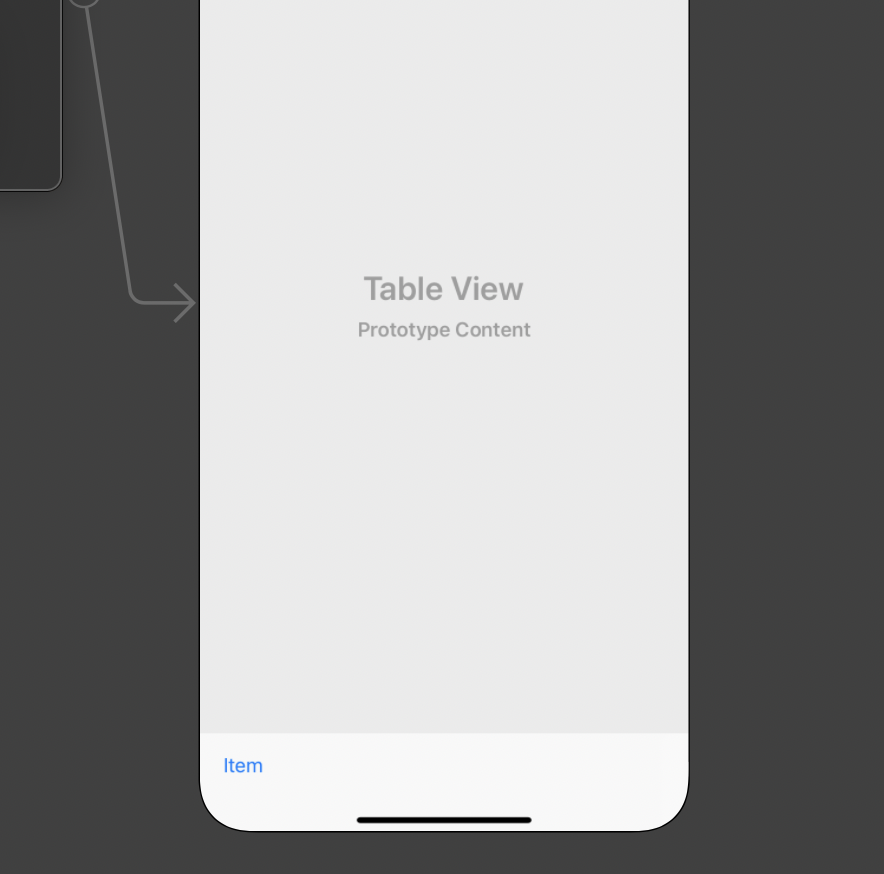
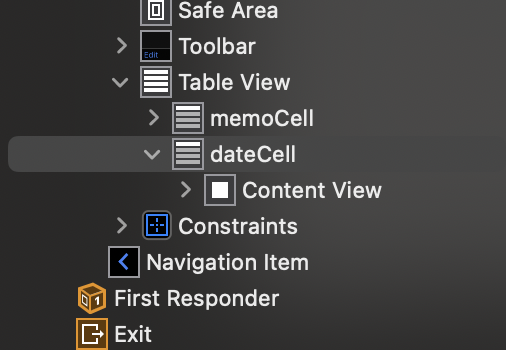
그리고 아래와 같이 DetailViewController에 TableView와ToolBar를 생성해준다.
-
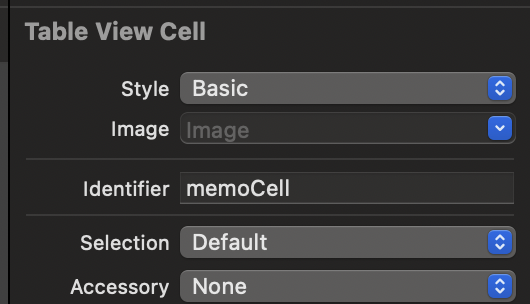
그리고 Table View Cell의 style을 basic으로 바꾸고 identifier를 memoCell로 바꾼다.
-
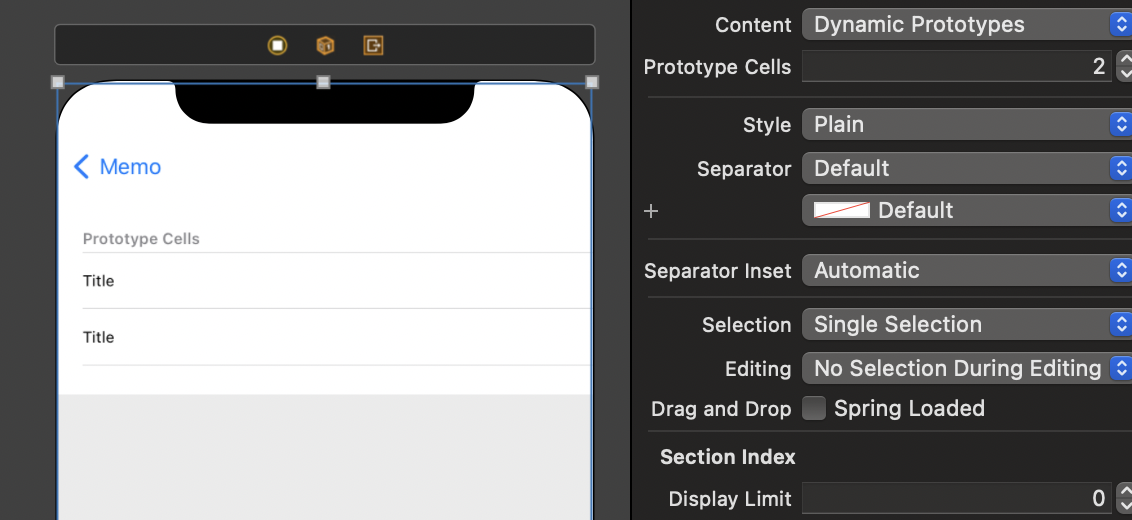
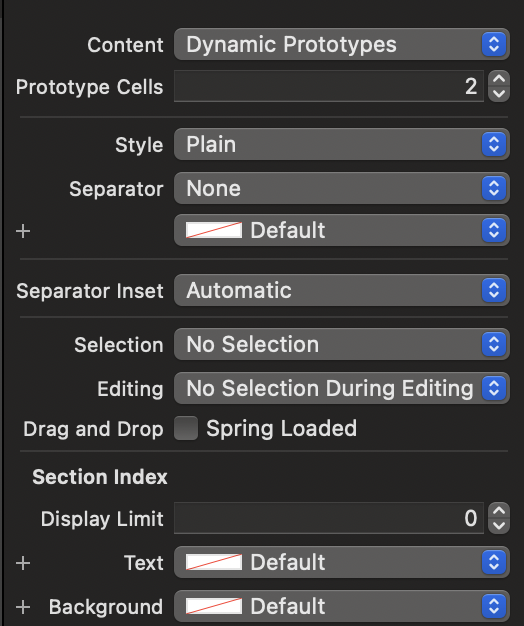
TableView를 선택하고 아래와 같이 Prototype cells를 2로 해주면 cell이 두개 생성이된다.
-
아래와 같이 각각의 cell의 이름을 memoCell, dateCell로 설정해준다.
- tableView를 선택하고 아래와 같이 datesource를 추가해준다.

-
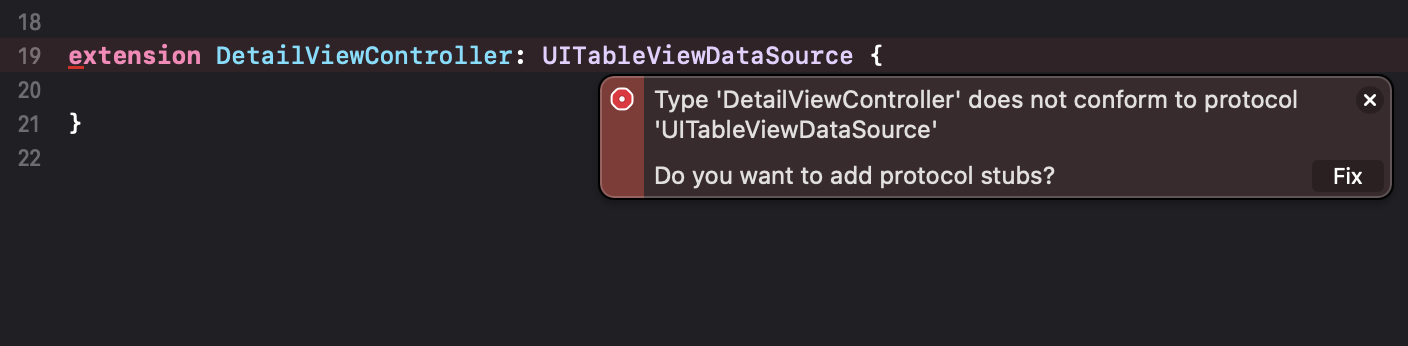
DetailViewController에 tableViewDateSource를 설정해주자.
-
Fix를 누르면 아래와 같이 설정이된다.

-
cellForRowAt는 아래와 같은 코드로 구성한다.
extension DetailViewController: UITableViewDataSource {
    func tableView(_ tableView: UITableView, numberOfRowsInSection section: Int) -> Int {
        return 2
    }

    func tableView(_ tableView: UITableView, cellForRowAt indexPath: IndexPath) -> UITableViewCell {
        switch indexPath.row{
        case 0:
            let cell = tableView.dequeueReusableCell(withIdentifier: "memoCell", for: indexPath)

            return cell

        case 1:
            let cell = tableView.dequeueReusableCell(withIdentifier: "dateCell", for: indexPath)

            return cell

        default:
            fatalError()
        }
    }


}
데이터 전달
- DetailViewController에 memo? 변수를 생성해준다.
var memo: Memo?- MemoListViewController에서 prepare 함수를 생성한다. 이를 통하여 DetailViewController의 memo 변수를 설정할 수 있다.
'prepare 함수'
segue가 연결된 화면을 생성하고, 화면을 전환하기 직전에 호출이 된다. sender -> 앞선 tableviewcell을 받는다.
    // segue가 연결된 화면을 생성하고, 화면을 전환하기 직전에 호출이 된다. sender -> cell을 받는다.
    // 아래 코드는 Detailview의 memo 변수를 설정하는 과정이다.
    override func prepare(for segue: UIStoryboardSegue, sender: Any?) {
        if let cell = sender as? UITableViewCell, let indexPath = tableView.indexPath(for: cell){
            // destination -> 새로 전환되는 화면(DetailView)
            if let vc = segue.destination as? DetailViewController {
                vc.memo = Memo.dummyMemoList[indexPath.row]
            }
        }
}- DetailviewController에서 앞서 설정한 memo를 통하여 textLabel을 설정을 한다.
    func tableView(_ tableView: UITableView, cellForRowAt indexPath: IndexPath) -> UITableViewCell {
        switch indexPath.row{
        case 0:
            let cell = tableView.dequeueReusableCell(withIdentifier: "memoCell", for: indexPath)
            cell.textLabel?.text = memo?.content
            return cell

        case 1:
            let cell = tableView.dequeueReusableCell(withIdentifier: "dateCell", for: indexPath)
            cell.textLabel?.text = formatter.string(for: memo?.insertDate)
            return cell

        default:
            fatalError()
        }
    }
선택 기능과 줄바꿈 구현
-
아래와 같이 tableview의 selection을 no selection, separator은 None으로 설정을 한다.
-
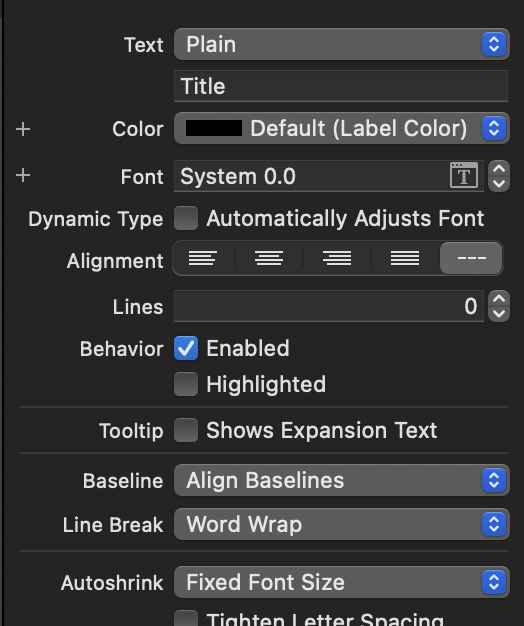
그리고 memoCell의 textlabel 설정을 변경하면, Lines를 0으로 하여 여러 줄이 나올 수 있도록 설정하고, line break를 word wrap으로 하여 단어 묶음으로 줄 바꿈을 할 수 있도록 설정을 한다.