
메모 삭제 구현
이미 작성하여 DB에 저장된 memo를 삭제해보자.
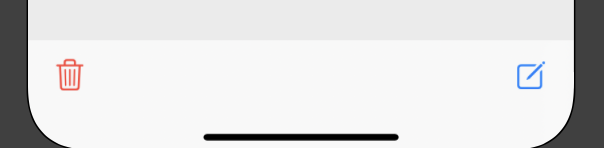
삭제 버튼
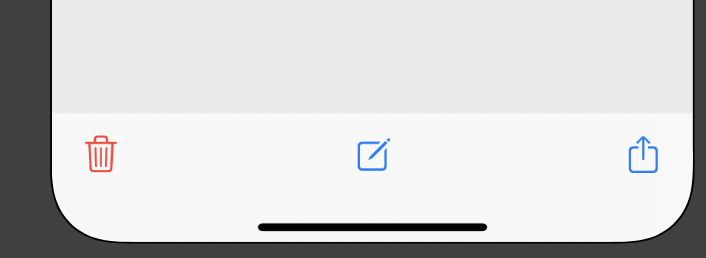
- Bar button item을 하나 더 추가해주고, 그 사이에 Flexible Space Bar Item을 추가해준다.

- 그러면 아래와 같이 bar를 구성할 수 있다.
삭제하기(1)
- delete 버튼을 DetailViewController에 action으로 추가해준다.
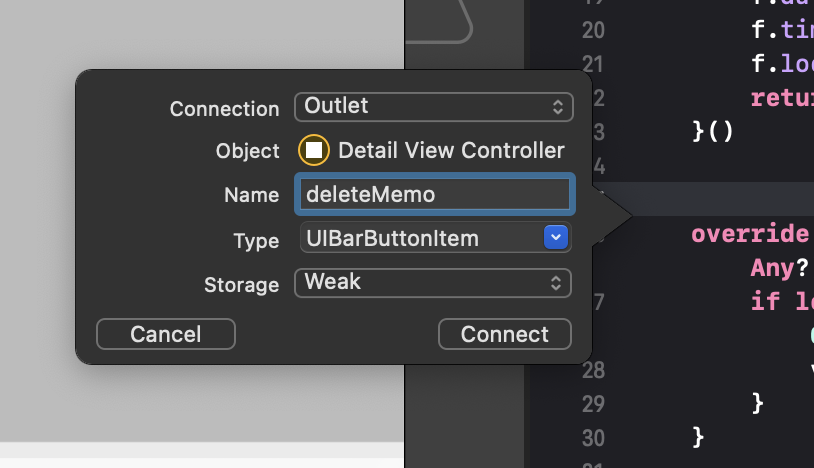
    @IBAction func deleteMemo(_ sender: Any) {
}- deleteMemo 함수에 경고창을 띄우는 코드를 추가하자!(삭제버튼 + 취소버튼) / (현재, okAction 코드는 완성하지 x)
    @IBAction func deleteMemo(_ sender: Any) {
        // 경고창을 생성
        let alert = UIAlertController(title: "삭제 확인", message: "메모를 삭제할까요?", preferredStyle: .alert)
        // 삭제 버튼 생성
        let okAction = UIAlertAction(title: "삭제", style: .destructive) { [weak self] (action) in

        }
        // 추가
        alert.addAction(okAction)
        // 취소 버튼 생성
        let cancelAction = UIAlertAction(title: "취소", style: .cancel, handler: nil)
        alert.addAction(cancelAction)

        // 경고창 띄우기
        present(alert, animated: true, completion: nil)
}- DataManager class에 DB에 실제로 해당 데이터를 삭제하는 코드를 생성해보자.
    func deleteMemo(_ memo: Memo?){
        // 실제로 메모가 전달이 되었다면?
        if let memo = memo {
        	// 아래의 delete는 원래 있는 Method이다.
            mainContext.delete(memo)
            saveContext()
        }
}- 그리고 다시 위에 올라가서 deleteMemo 함수에 삭제 버튼에 아래와 같은 Handler 코드를 완성해준다.-> 실제로 db에서 메모를 삭제하고/ 이전 화면으로 돌아가기!
        let okAction = UIAlertAction(title: "삭제", style: .destructive) { [weak self] (action) in
            // 메모를 삭제한다.
            DataManager.shared.deleteMemo(self?.memo)
            // 현재 화면을 닫고 이전 화면으로 이동하자!-> Pop하기
            self?.navigationController?.popViewController(animated: true)
        }
삭제하기 (2)
-
memolist에서 왼쪽 스와이프를 통하여 메모를 삭제해보자
-> 즉 테이블 뷰에서 메모 삭제하기, 그러기위해서는 MemoListTaleViewController에 세개의 func코드가 필요하다. -
먼저 MemoListTaleViewController속 아래의 코드의 주석을 삭제한다. -> 해당 코드에서 true를 return 하면 편집기능이 활성화가 된다.
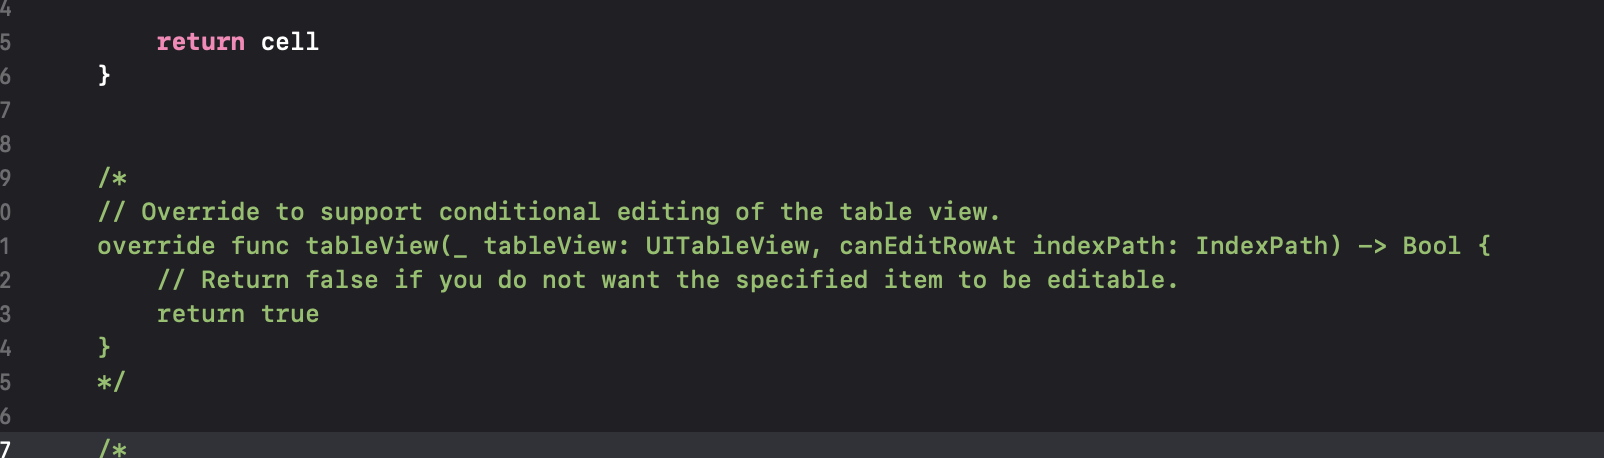
- 그리고 편집스타일을 리턴하는 새로운 코드를 작성한다.
    // 편집스타일 리턴하기
    override func tableView(_ tableView: UITableView, editingStyleForRowAt indexPath: IndexPath) -> UITableViewCell.EditingStyle {
        return .delete
}-
아래의 주석 처리된 코드 또한 주석을 없애준다.
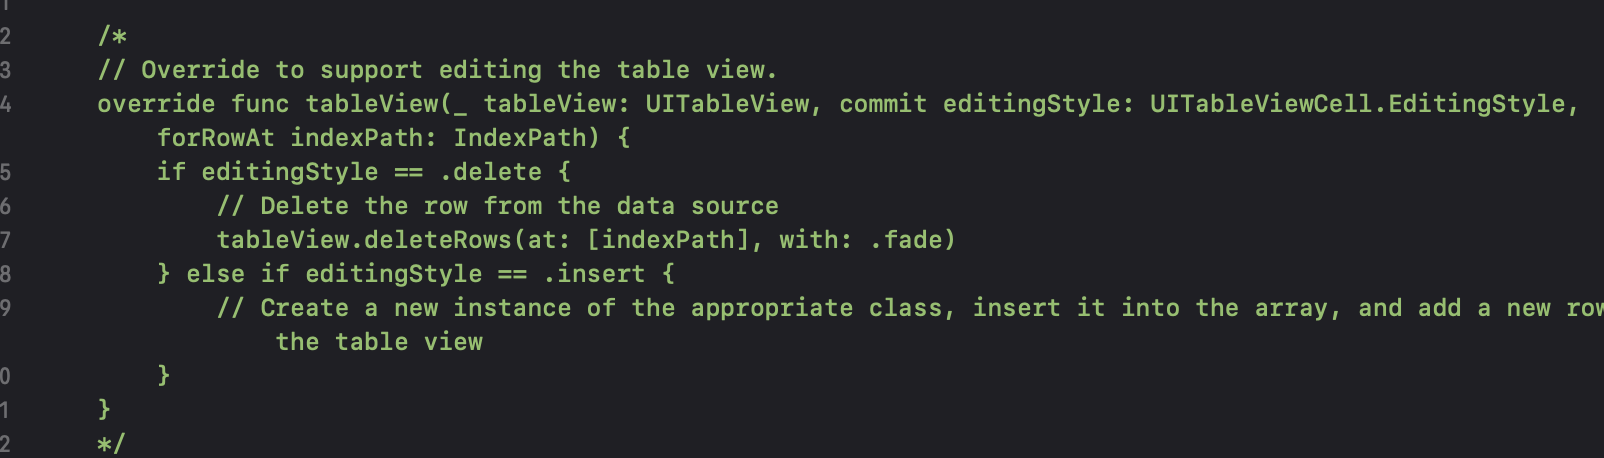
-
DB에서 실제로 memo를 삭제하는 코드를 완성해준다.
    // Override to support editing the table view.
    override func tableView(_ tableView: UITableView, commit editingStyle: UITableViewCell.EditingStyle, forRowAt indexPath: IndexPath) {
        if editingStyle == .delete {

            // 메모삭제 코드 설정
            let target = DataManager.shared.memoList[indexPath.row]

            // DB에서 memo 삭제
            DataManager.shared.deleteMemo(target)

            // 메모리스트에서 memo 삭제하기
            DataManager.shared.memoList.remove(at: indexPath.row)

            // 최종적으로 tableview에서 memo 삭제하기
            tableView.deleteRows(at: [indexPath], with: .fade)

        } else if editingStyle == .insert {
            // Create a new instance of the appropriate class, insert it into the array, and add a new row to the table view
        }
    }
메모 공유
-
DetailViewController view에 오른쪽 끝과 같이 bar item을 하나 더 추가해준다.
-
해당 bar item을 DetailViewController에 action으로 추가해준다.
-> 그러면 알아서 공유 modal이 나온다!
@IBAction func share(_ sender: Any) {

        // 새로운 상수로 바인딩하기
        guard let memo = memo?.content else {return}
        let vc = UIActivityViewController(activityItems: [memo], applicationActivities: nil)
        present(vc, animated: true, completion: nil)

        // 나머지는 기기가 알아서 해준다!

    }
키보드 노티피케이션
-
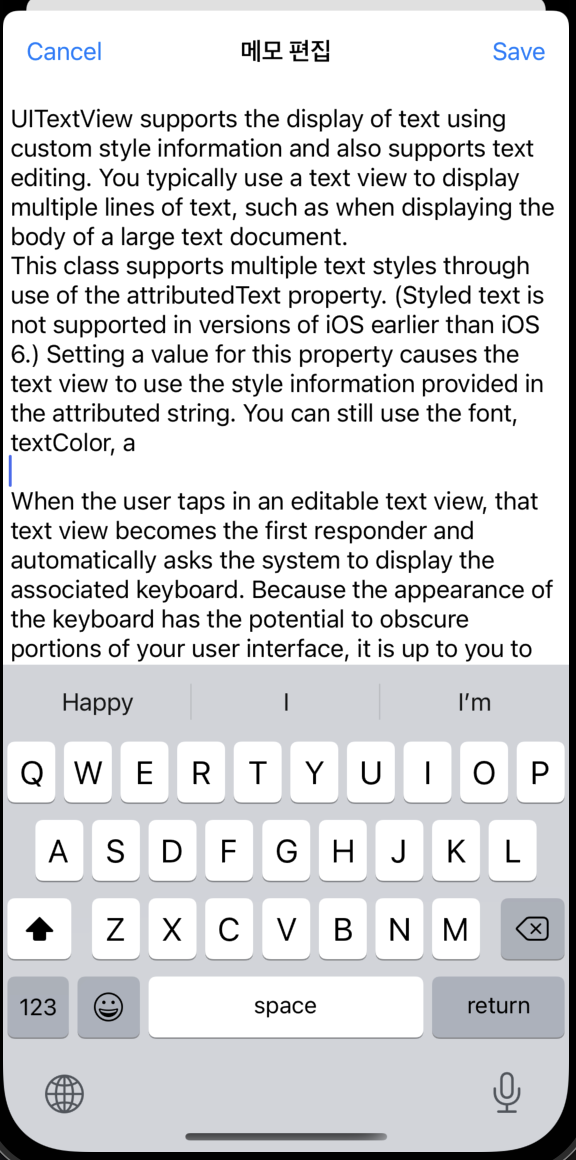
아래와 같이 키보드가 textview를 가리는 것을 알 수 있다.
-> 키보드 노티피케이션을 사용하여 키보드가 올라오면 그 만큼 textview 밑에 여백을 추가해주자.
-
먼저 토큰을 설정해주고, 옵저버를 해제하는 코드를 추가해준다.
    // 토큰 설정하기
    var willShowToken: NSObjectProtocol?
    var willHideToken: NSObjectProtocol?

    // 옵져버 해제하기
    deinit {
        if let token = willShowToken {
            NotificationCenter.default.removeObserver(token)
        }

        if let token = willHideToken {
            NotificationCenter.default.removeObserver(token)
        }
}- 키보드가 올라올 때 여백을 만들자.+scroll indicator의 여백도 추가!
        // 키보드가 생길 때 여백이 생기는 코드!
        willShowToken = NotificationCenter.default.addObserver(forName: UIResponder.keyboardWillShowNotification, object: nil, queue: OperationQueue.main, using: { [weak self] (noti) in
            guard let strongSelf = self else {return}

            if let frame = noti.userInfo?[UIResponder.keyboardFrameEndUserInfoKey] as?
                NSValue {
                // height에 키보드 높이를 저장한다.
                let height = frame.cgRectValue.height

                var inset = strongSelf.memoTextView.contentInset
                inset.bottom = height
                strongSelf.memoTextView.contentInset = inset

                // 스크롤도 inset을 주자
                inset = strongSelf.memoTextView.scrollIndicatorInsets
                inset.bottom = height
                strongSelf.memoTextView.scrollIndicatorInsets = inset
            }
})- keyboard가 내려갈 때 여백을 없애기
// keyboard가 없어질 때 여백 없애기
        willHideToken = NotificationCenter.default.addObserver(forName: UIResponder.keyboardWillHideNotification, object: nil, queue: OperationQueue.main, using: { [weak self] (noti) in
            guard let strongSelf = self else {return}

            var inset = strongSelf.memoTextView.contentInset
            inset.bottom = 0
            strongSelf.memoTextView.contentInset = inset

            inset = strongSelf.memoTextView.scrollIndicatorInsets
            inset.bottom = 0
            strongSelf.memoTextView.scrollIndicatorInsets = inset
        })
}- Composeview에 들어가면 바로 편집을 할 수 있도록 만들어보자(바로 커서가 생기도록!)
becomeFirstResponder()를 사용하자!
    override func viewWillAppear(_ animated: Bool) {
        super.viewWillAppear(animated)
        // 화면이 열리자마자 바로 편집 가능하게 커서가 생김
        memoTextView.becomeFirstResponder()
        navigationController?.presentationController?.delegate = self
    }

    override func viewWillDisappear(_ animated: Bool) {
        super.viewWillDisappear(animated)
        //FirstResponder 해제하기
        memoTextView.resignFirstResponder()
        navigationController?.presentationController?.delegate = nil
    }
Miro.