branch에 대해서 배워보자
- 현재 branch 확인
git branch- 현재 branch의 이름이 나타난다.
- 설정을 해주지 않았으면 master로 출력된다.
- branch 이름 변경
git branch -m 변경할이름
git branch- 새로운 branch 생성하기
git checkout -b 생성할이름
git branch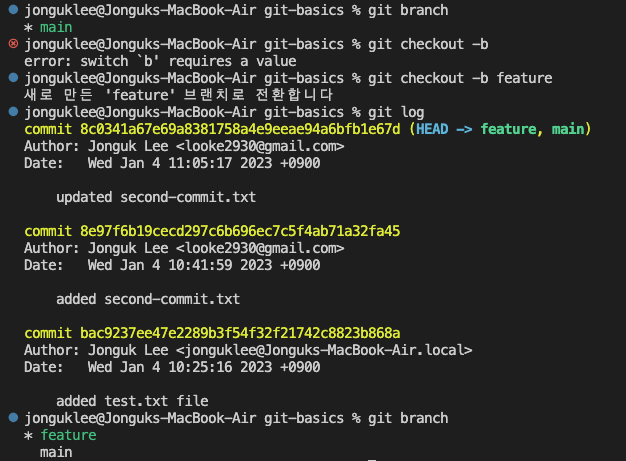
- 새로운 폴더를 만든 후 다시 커밋을 진행해보자!
git add .
git commit -m "전달할 메세지"
git log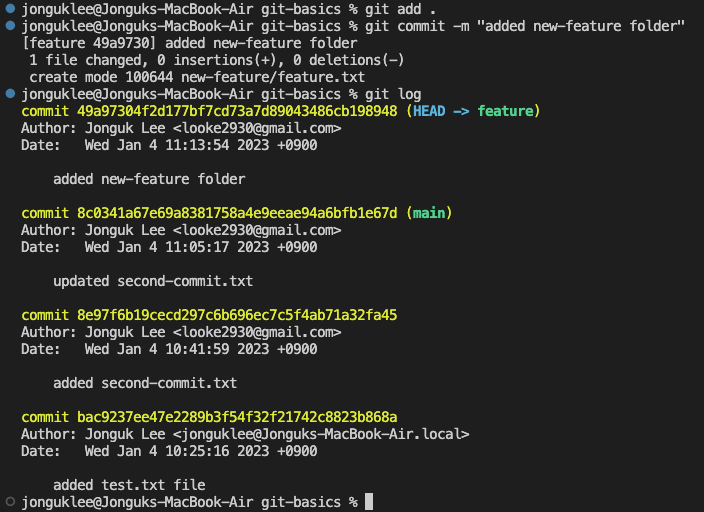
- 두 개의 branch가 있는 것을 확인할 수 있다.
- 두 개의 브런치를 합쳐(?)보자
브런치 변경
git checkout main
브런치 확인
git log
브런치 병합
git merge feature
다시 브런치 확인
git log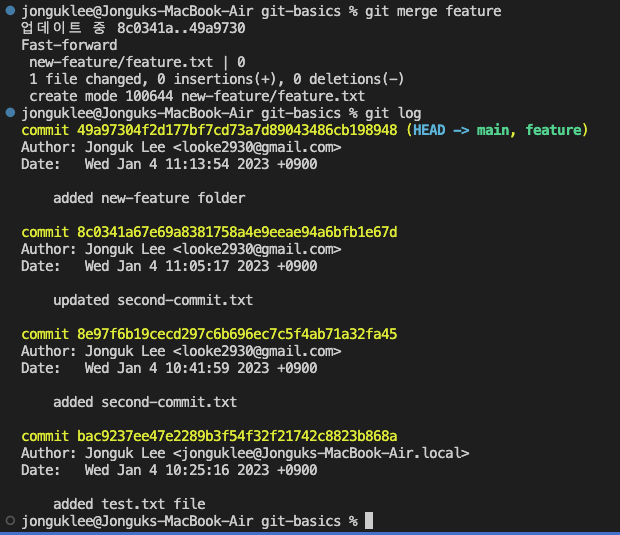
- 브런치 두개가 헤드가 되는 것을 볼 수 있다.
충돌 해결
- main 브런치에 있는 test.txt에는 "another commit", feature > test.txt에는 "again a"이라고 수정했다.
- 만약 파일명은 같은데 컨텐츠가 다른 파일을 merge할 경우
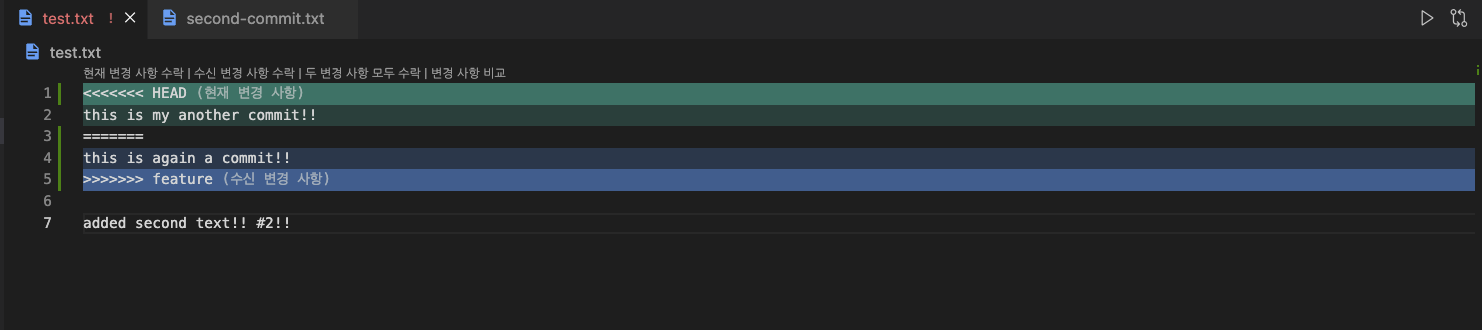
- 위와 같은 오류가 생긴다.

- 위는 터미널 창이다.
해결 방법
- 맨 위의 수신 변경 사항 수락을 클릭 후 해당 파일을 저장
- 다시 commit 진행
git add .
git commit -m "merged test.txt from feature"
git log- 확인
사실 이건 실제 데이터(커밋, 브랜치)를 삭제하는 것이 아니다!! 다음 글에서 다뤄보도록 해보자!

안녕하세요! 만나서 반갑습니다.