
HardHat
HardHat?
우리가 작성한 스마트컨트랙트 코드를 컴파일하고, 테스트하고, 원하는 네트워크에 온체인 시킬 수 있게 도와주는 라이브러리이다.
왜 썼어?
프로젝트에서 그룹 단위로 컨트랙트를 매 번 배포해 독립적으로 계약서를 관리하려고 했으나 기획적으로 방향이 간결해지면서 트렌젝션을 최대한 줄이고 비용을 절약하기 위한 최적화가 필요했고, 그에 따라 스마트 컨트랙트를 5개 배포 후 로드벨런싱 (RR 방식)을 통해 트랜젝션을 찔러주기로 결정했다.
따라서 기존 코드에서 compile하고 abi파일을 지속적으로 생성하고 보관해야 했는데 HardHat을 이용해 단일성 배포를 편리하게 진행하기 위해서 사용했다.
추가로 사용자가 많아져 컨트랙트가 더 많이 필요하다면 수동으로 추가 배포도 가능해 서비스의 고가용성을 높힐 수 있게 됐다.
참고 자료
Quick Start
빈 폴더를 준비하고 터미널의 경로를 폴더와 맞추어준다.
npx hardhat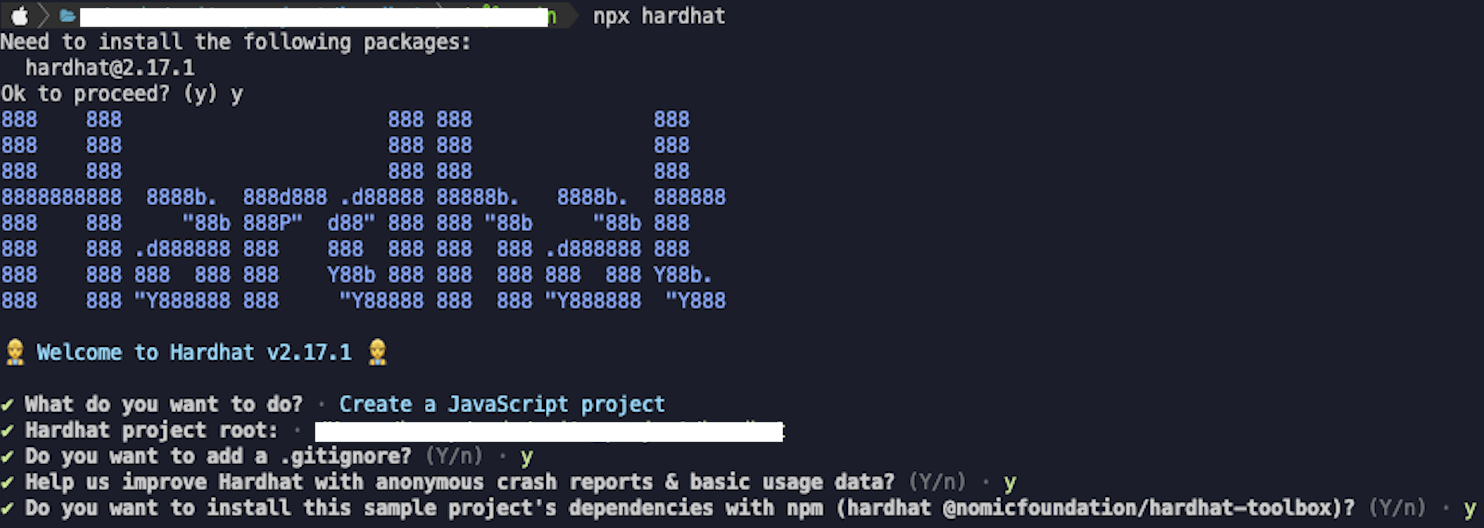
hardhat.config.js
컨트랙트 배포를 위한 설정 파일이다. 우선적으로 작성해주어야 한다.
module.exports = {
  defaultNetwork: "hardhat",
  networks: {
    hardhat: {
      chainId: 1337,
      accounts: [
        {
          privateKey: process.env.WALLET_PRIVATE_KEY,
          balance: "10000000000000000000000",
        },
      ],
    },
    polygon_testnet: {
      // Polygon (Matic) 테스트넷 설정
      url:
        process.env.POLYGON_TEST_NET_RPC_PROVIDER_URL + process.env.RPC_API_KEY, // Polygon Mumbai Testnet RPC URL
      accounts: [process.env.WALLET_PRIVATE_KEY], // 지갑 pk 주소
    },
    polygon_mainnet: {
      // Polygon (Matic) 메인넷 설정
      url:
        process.env.POLYGON_MAIN_NET_RPC_PROVIDER_URL + process.env.RPC_API_KEY, // Polygon Mainnet RPC URL
      accounts: [process.env.WALLET_PRIVATE_KEY], // 지갑 pk 주소 // 지갑 pk 주소
    },
  },
  solidity: {
    version: "0.8.18", // solidity compiler version
    settings: {
      optimizer: {
        enabled: true,
        runs: 200
      }
    }
  },
  paths: {
    sources: "./contracts",
    tests: "./test",
    cache: "./cache",
    artifacts: "./artifacts"
  },
  mocha: {
    timeout: 40000
  }
}
Contract Compile
./contracts 내부에 스마트컨트랙트 파일을 생성한 뒤 npx hardhat compile
Contract Test
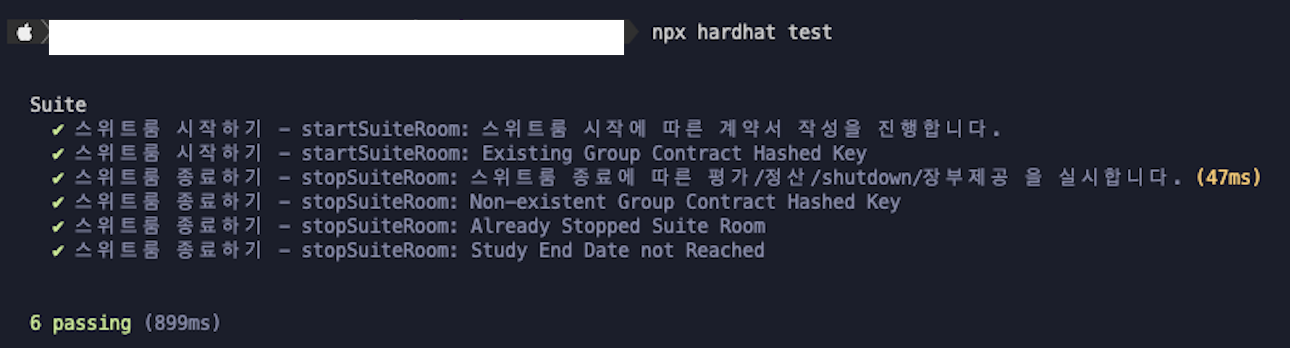
컨트랙트를 배포하기 전 hardhat을 이용해 테스트를 돌려볼 수 있다.
테스트코드는 ./test 에 컨트랙트 이름과 동일한 파일 이름으로 만들어 작성한다.
공식문서의 예시를 참고해서 작성했다.
npx hardhat test 로 테스트를 한다.
반드시 컨트랙트를 컴파일 한 후 테스트를 진행해야 진행된다
Deploy Example
Contract
./contracts/Lock.sol
// SPDX-License-Identifier: UNLICENSED
pragma solidity ^0.8.9;

// Uncomment this line to use console.log
// import "hardhat/console.sol";

contract Lock {
    uint public unlockTime;
    address payable public owner;

    event Withdrawal(uint amount, uint when);

    constructor(uint _unlockTime) payable {
        require(
            block.timestamp < _unlockTime,
            "Unlock time should be in the future"
        );

        unlockTime = _unlockTime;
        owner = payable(msg.sender);
    }

    function withdraw() public {
        // Uncomment this line, and the import of "hardhat/console.sol", to print a log in your terminal
        // console.log("Unlock time is %o and block timestamp is %o", unlockTime, block.timestamp);

        require(block.timestamp >= unlockTime, "You can't withdraw yet");
        require(msg.sender == owner, "You aren't the owner");

        emit Withdrawal(address(this).balance, block.timestamp);

        owner.transfer(address(this).balance);
    }
}
deploy.js
./scripts/deploy.js
// We require the Hardhat Runtime Environment explicitly here. This is optional
// but useful for running the script in a standalone fashion through `node <script>`.
//
// You can also run a script with `npx hardhat run <script>`. If you do that, Hardhat
// will compile your contracts, add the Hardhat Runtime Environment's members to the
// global scope, and execute the script.
const hre = require("hardhat");

async function main() {
  const currentTimestampInSeconds = Math.round(Date.now() / 1000);
  const unlockTime = currentTimestampInSeconds + 60;

  const lockedAmount = hre.ethers.parseEther("0.001");

  const lock = await hre.ethers.deployContract("Lock", [unlockTime], {
    value: lockedAmount,
  });

  await lock.waitForDeployment();

  console.log(
    `Lock with ${ethers.formatEther(
      lockedAmount
    )}ETH and unlock timestamp ${unlockTime} deployed to ${lock.target}`
  );
}

// We recommend this pattern to be able to use async/await everywhere
// and properly handle errors.
main().catch((error) => {
  console.error(error);
  process.exitCode = 1;
});
배포를 위한 구동 CLI
npx hardhat run scripts/deploy.js --network <hardhat.config.js에 있는 networks.networkname 을 적으세요>

좋은 글 감사합니다.