SQL Query 와 Visual Studio Code 연결
^ 만들어주고
^ 없애주고
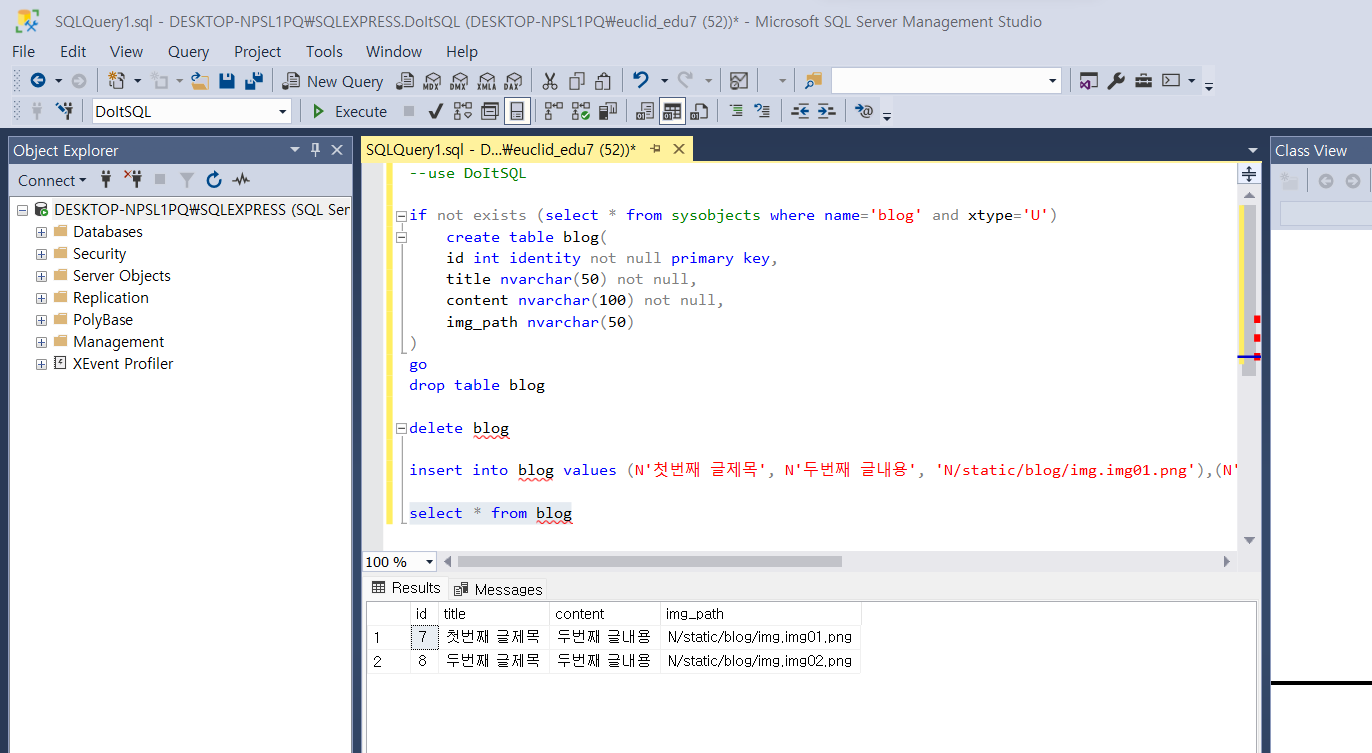
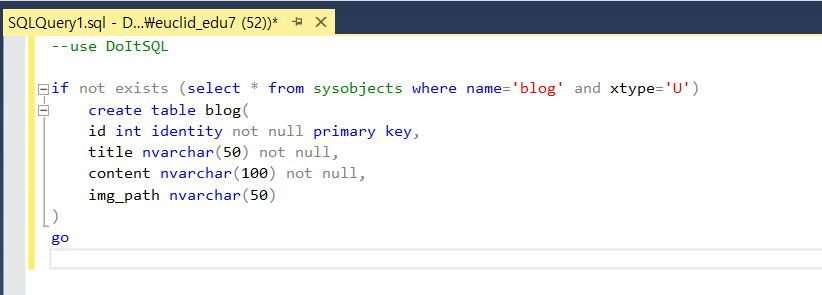
if not exists (select * from sysobjects where name='blog' and xtype='U')
	create table blog(
	id int identity not null primary key,
	title nvarchar(50) not null,
	content nvarchar(100) not null,
	img_path nvarchar(50)
)
go
insert into blog values (N'첫번째 글제목', N'두번째 글내용', 'N/static/blog/img.img01.png'),(N'두번째 글제목', N'두번째 글내용','N/static/blog/img.img02.png')select * from blog
^ 다음 버전 사용
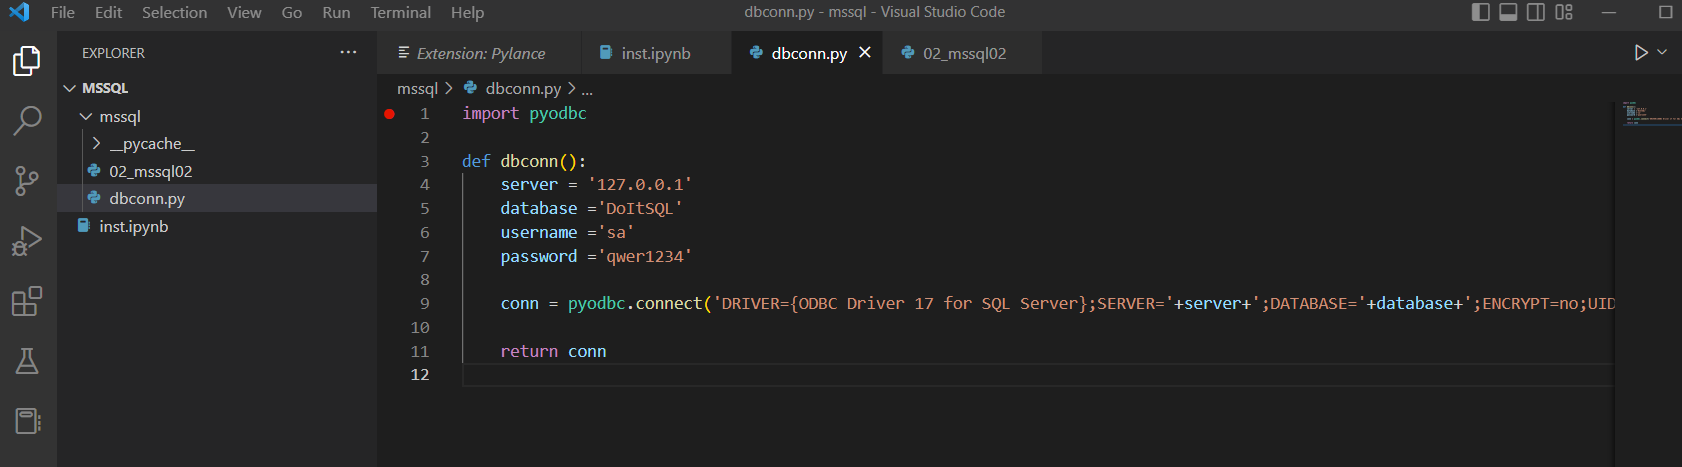
import pyodbc

def dbconn():
    server = '127.0.0.1'
    database ='DoItSQL'
    username ='sa'
    password ='qwer1234'

    conn = pyodbc.connect('DRIVER={ODBC Driver 17 for SQL Server};SERVER='+server+';DATABASE='+database+';ENCRYPT=no;UID='+username+';PWD='+ password)

    return conn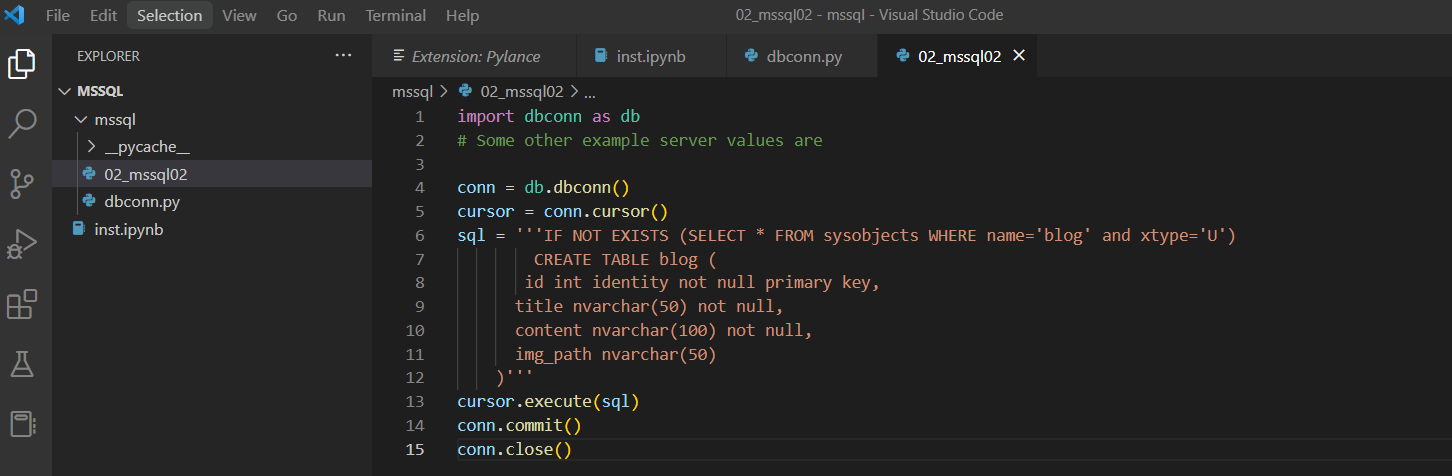
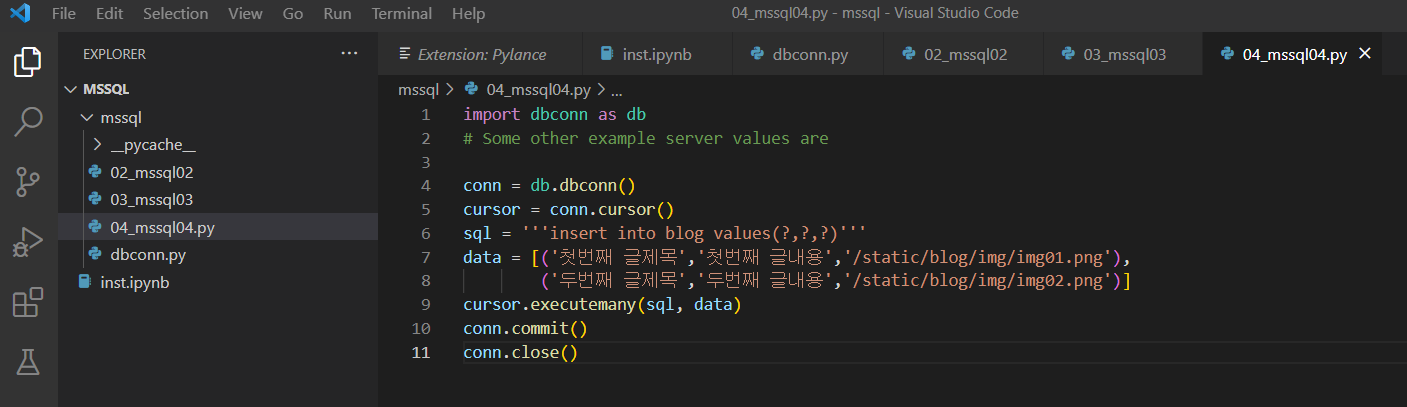
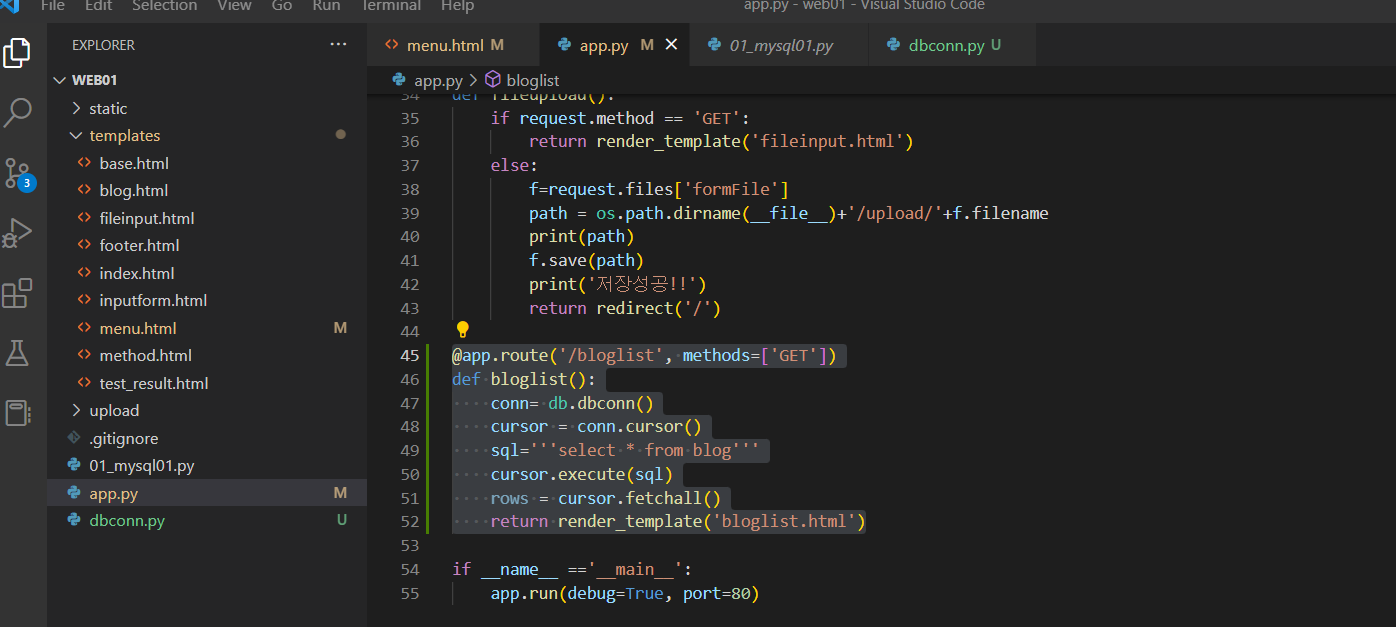
import dbconn as db
# Some other example server values are

conn = db.dbconn()
cursor = conn.cursor()
sql = '''IF NOT EXISTS (SELECT * FROM sysobjects WHERE name='blog' and xtype='U')
        CREATE TABLE blog (
       id int identity not null primary key,
      title nvarchar(50) not null,
      content nvarchar(100) not null,
      img_path nvarchar(50)
    )'''
cursor.execute(sql)
conn.commit()
conn.close()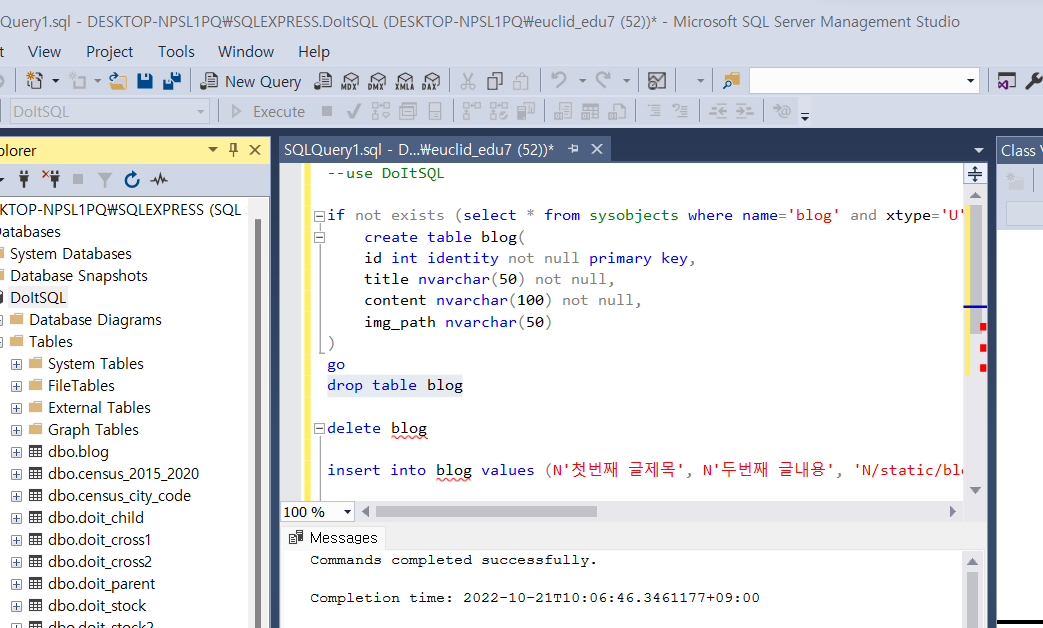
^ 폴더에 blog 파일 생성된 것 확인 가능
^ 04 번 파일 만들고 코드 입력하고
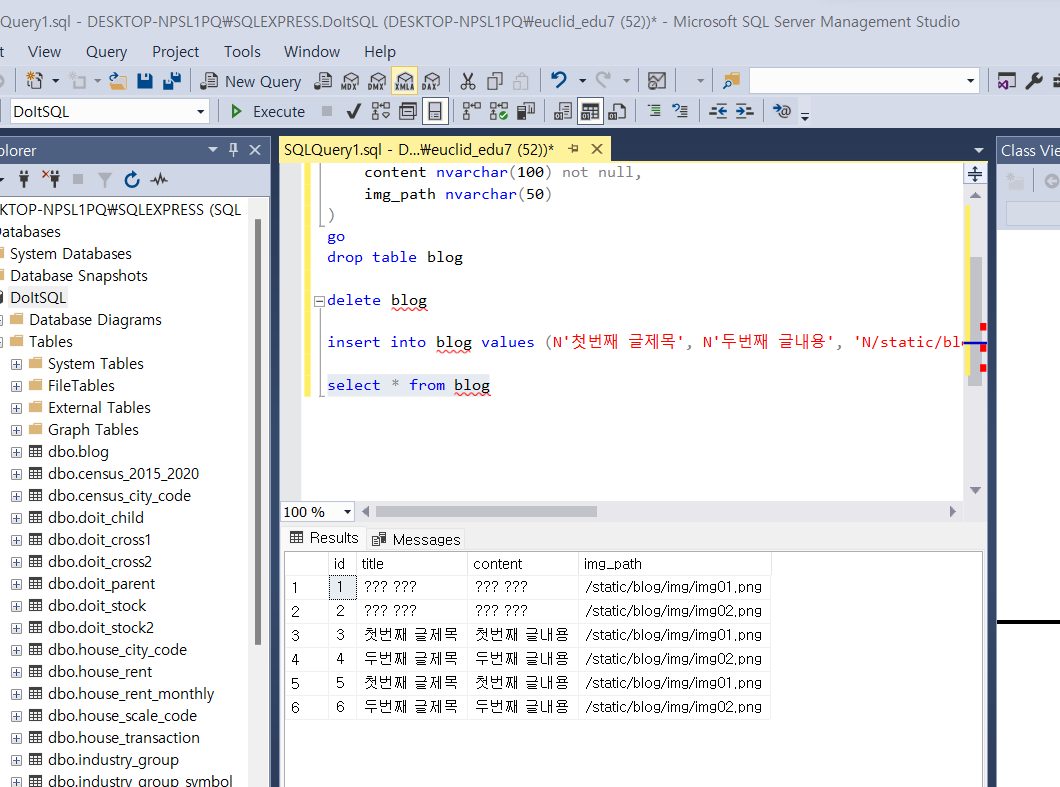
^ select * from blog 에서 확인하면 결과 확인 가능.....
홈페이지
^ 홈페이지 만든 코드 실행 후 사이트 들어가기
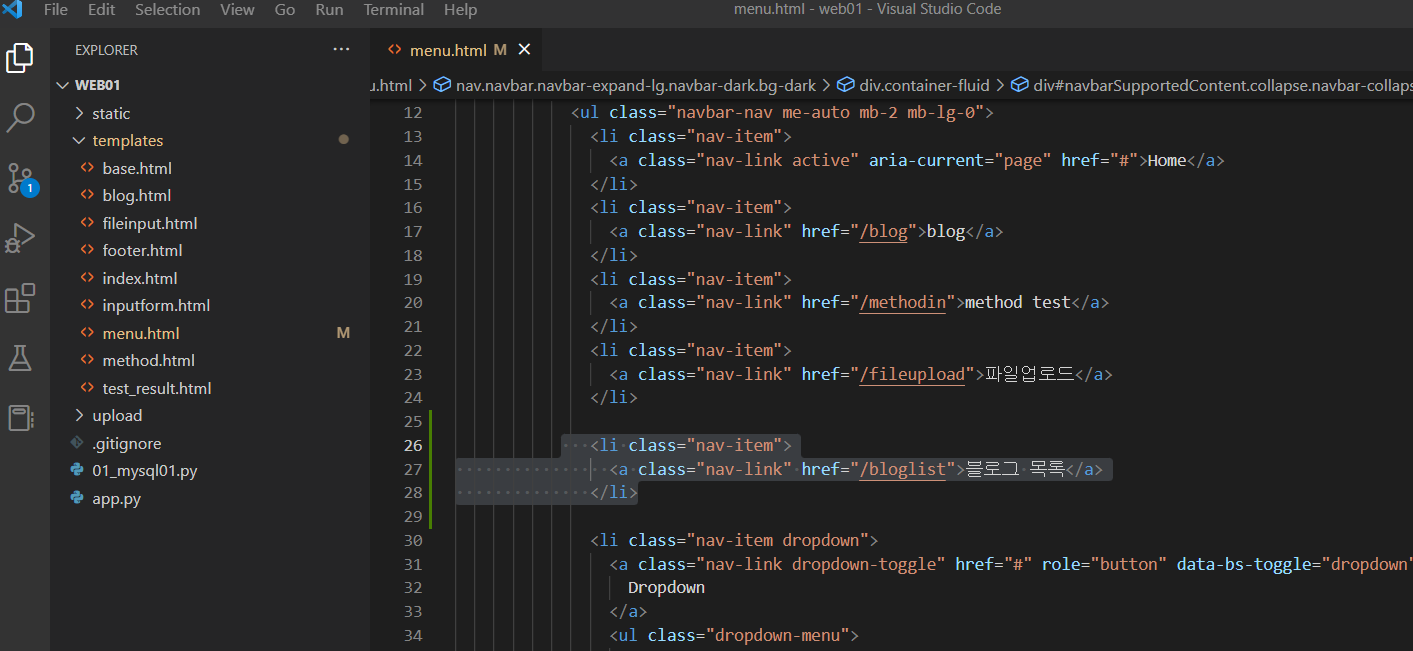
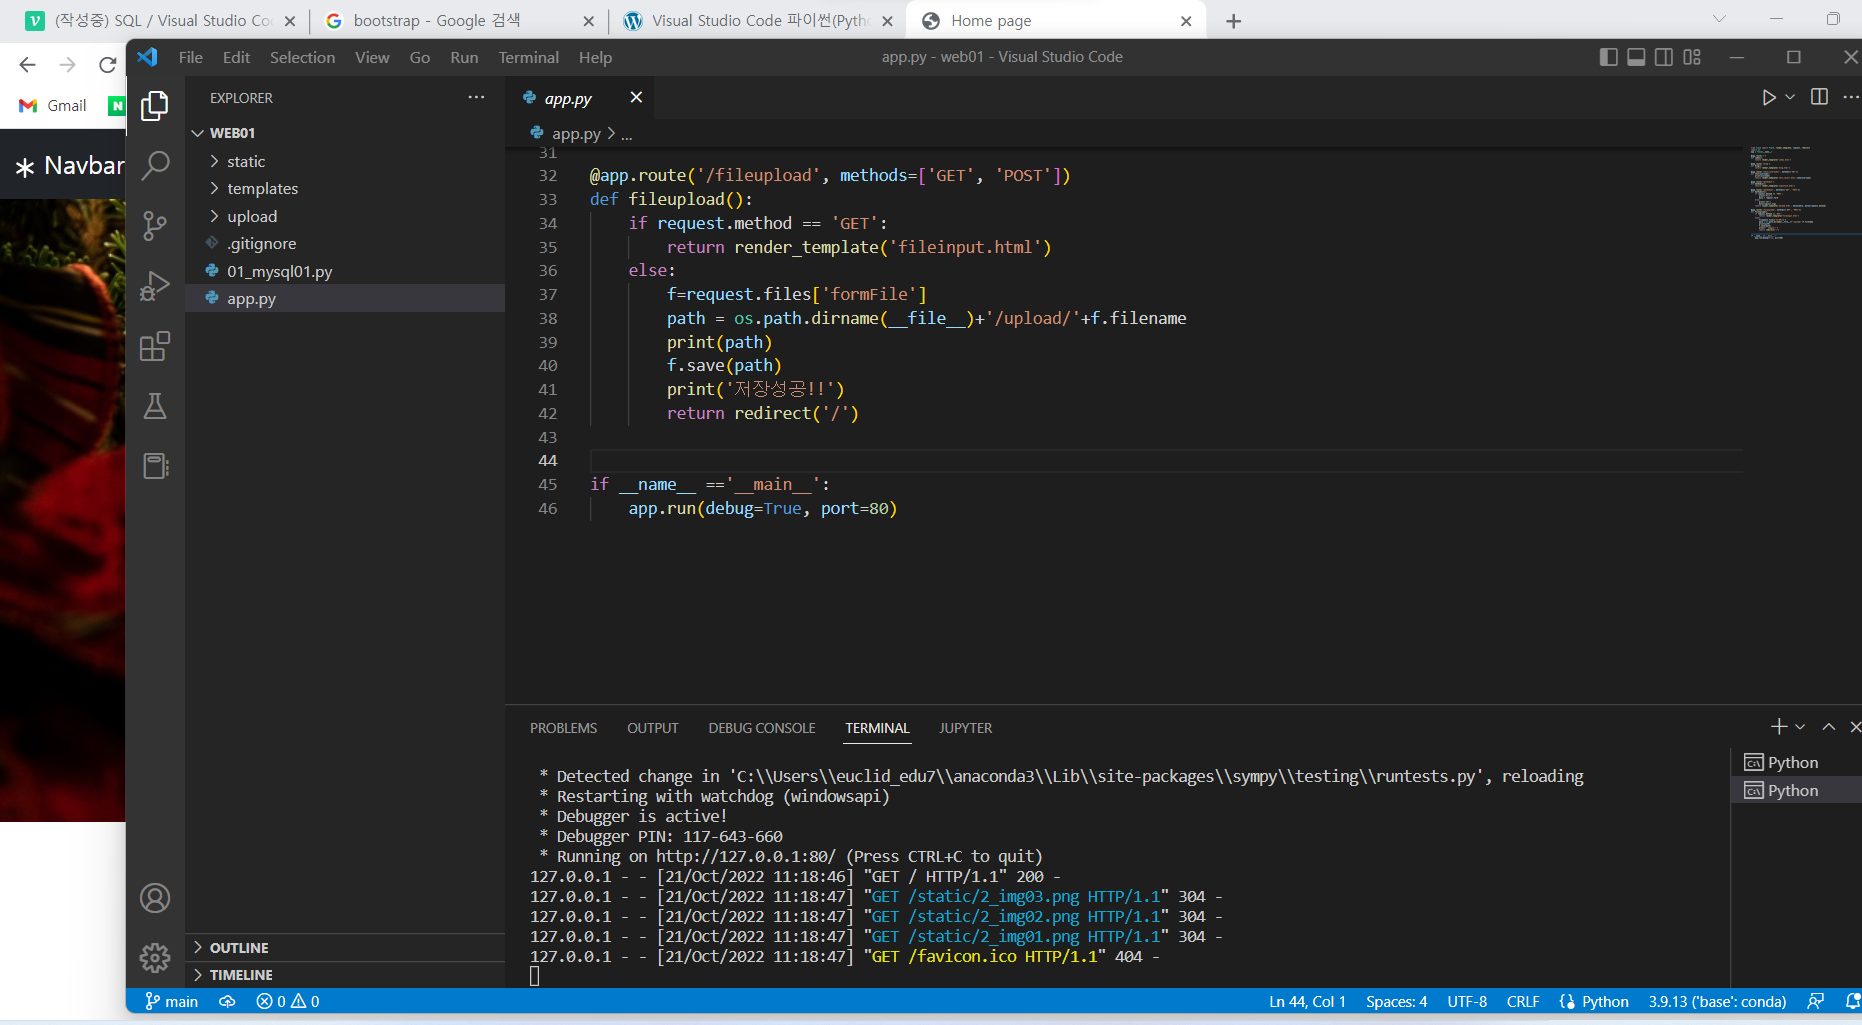
^ 블로그 목록 li 코드 추가
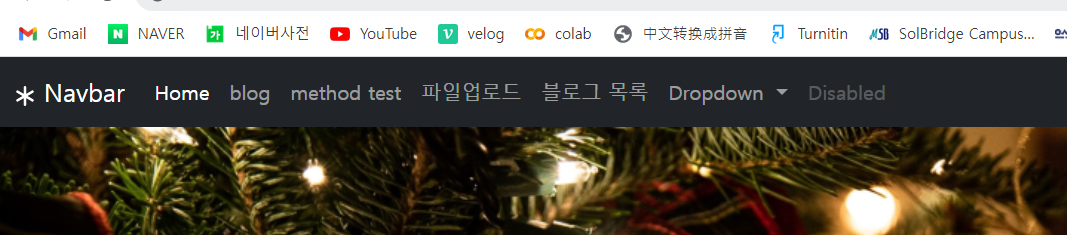
^ 블로그 목록 생성 확인 가능
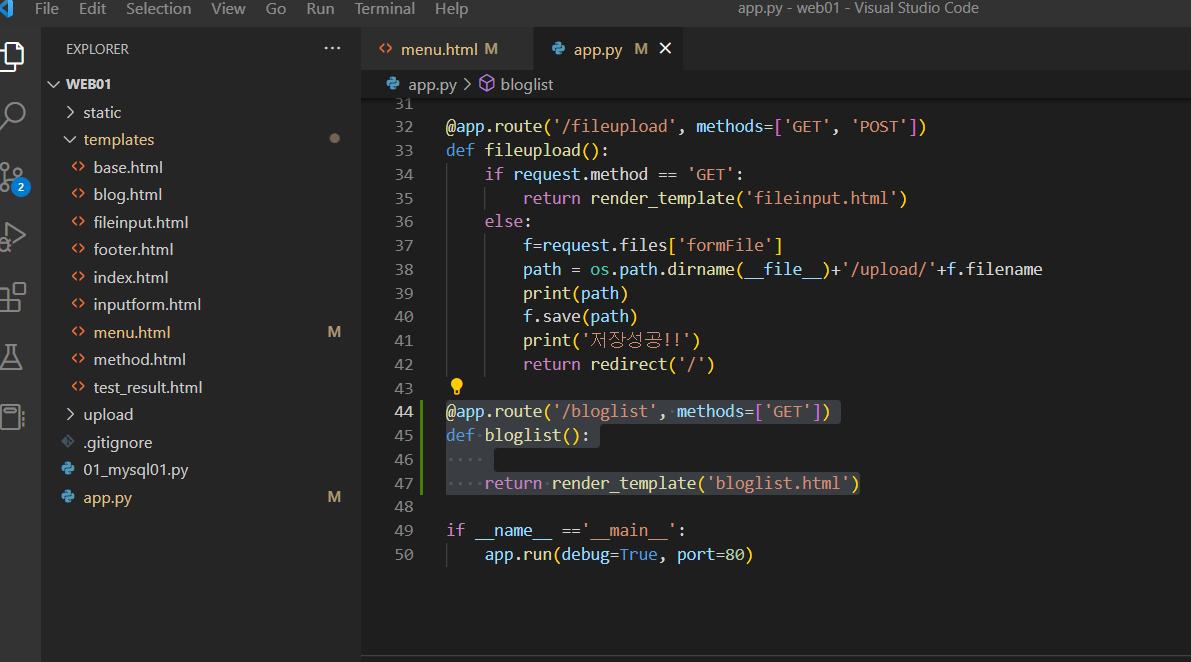
^ 코드 생성
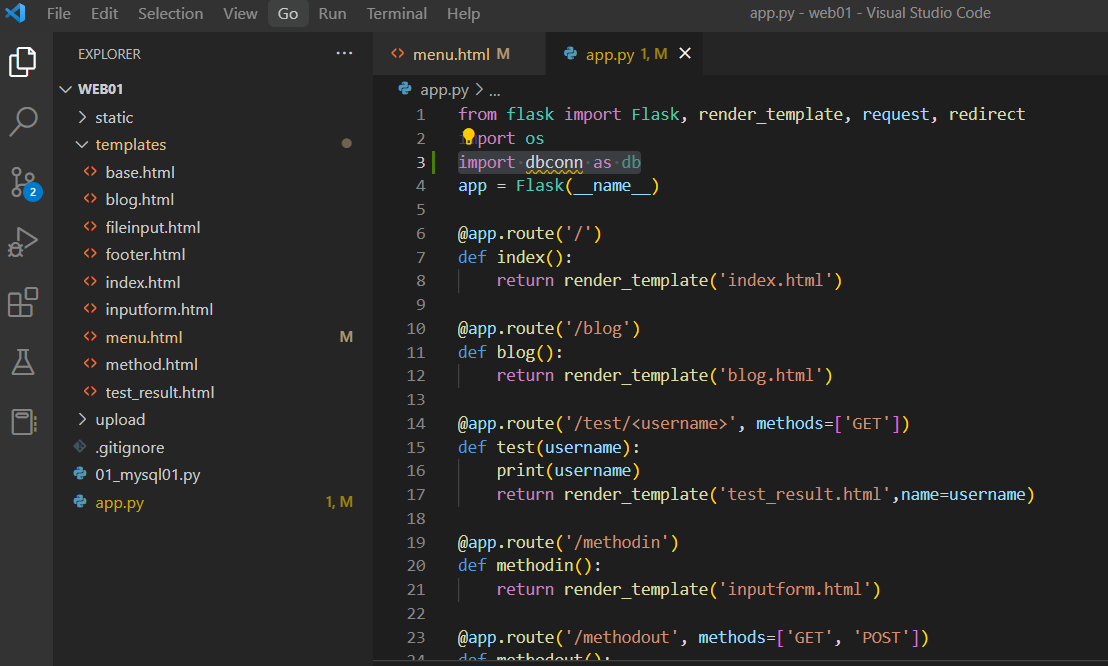
^ import dbconn as db 입력해주기
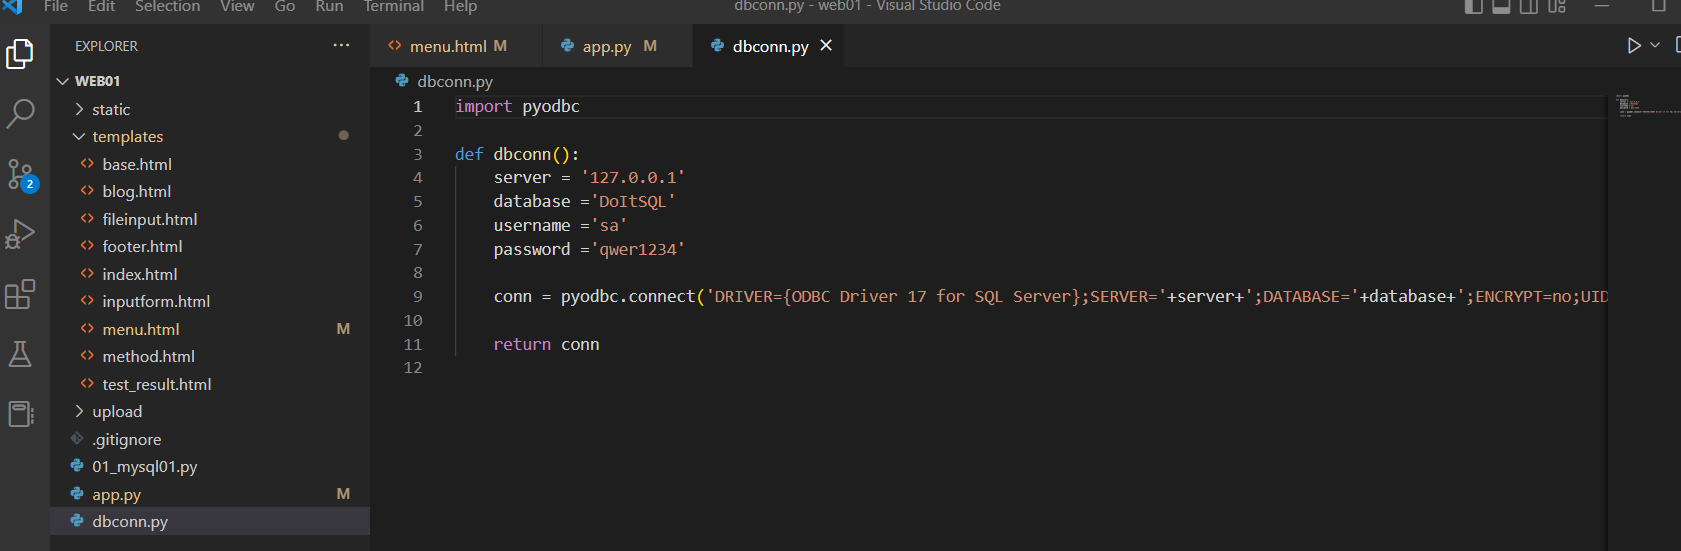
^ dbconn.py 파일 복붙해서 가져오기
^ 코드 수정
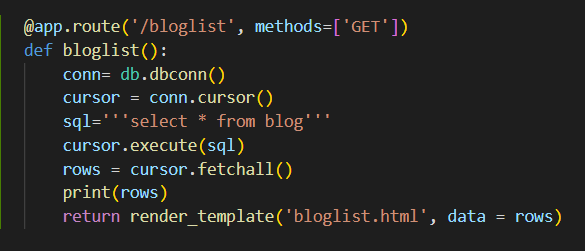
^ 잘 보냈는지 확인하기 위해 print(rows) 하고 data = rows 추가해줌
^ bloglist 파일 생성 후 아래 코드 입력
{% extends "base.html" %}
{% block title %}블로그 리스트 page{% endblock %}
{% block content %}
<br>
<div class="container">
    <table class = "table table-hover">
        <thead>
            <tr>
              <th scope="col">#</th>
              <th scope="col">First</th>
              <th scope="col">Last</th>
              <th scope="col">Handle</th>
            </tr>
          </thead>
          <tbody>
            <tr>
              <th scope="row">1</th>
              <td>Mark</td>
              <td>Otto</td>
              <td>@mdo</td>
            </tr>
            <tr>
              <th scope="row">2</th>
              <td>Jacob</td>
              <td>Thornton</td>
              <td>@fat</td>
            </tr>
            <tr>
              <th scope="row">3</th>
              <td colspan="2">Larry the Bird</td>
              <td>@twitter</td>
            </tr>
          </tbody>
    </table>
</div>
{% endblock %}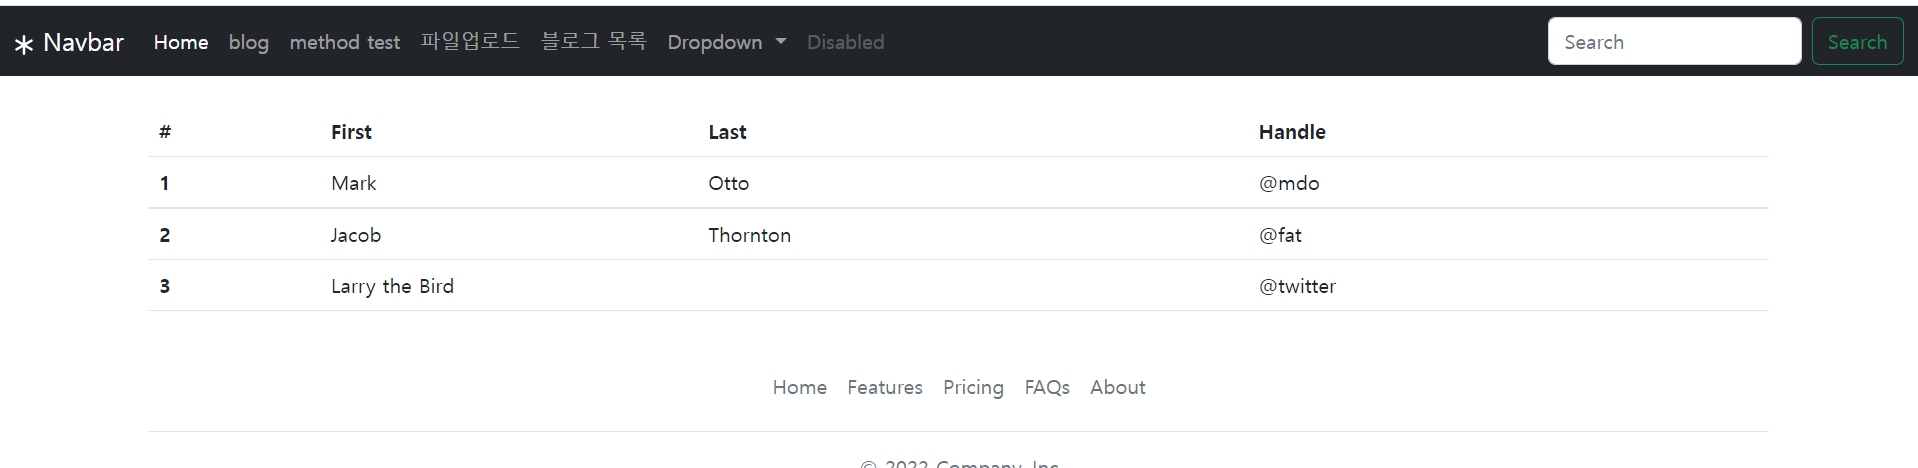
^ 결과

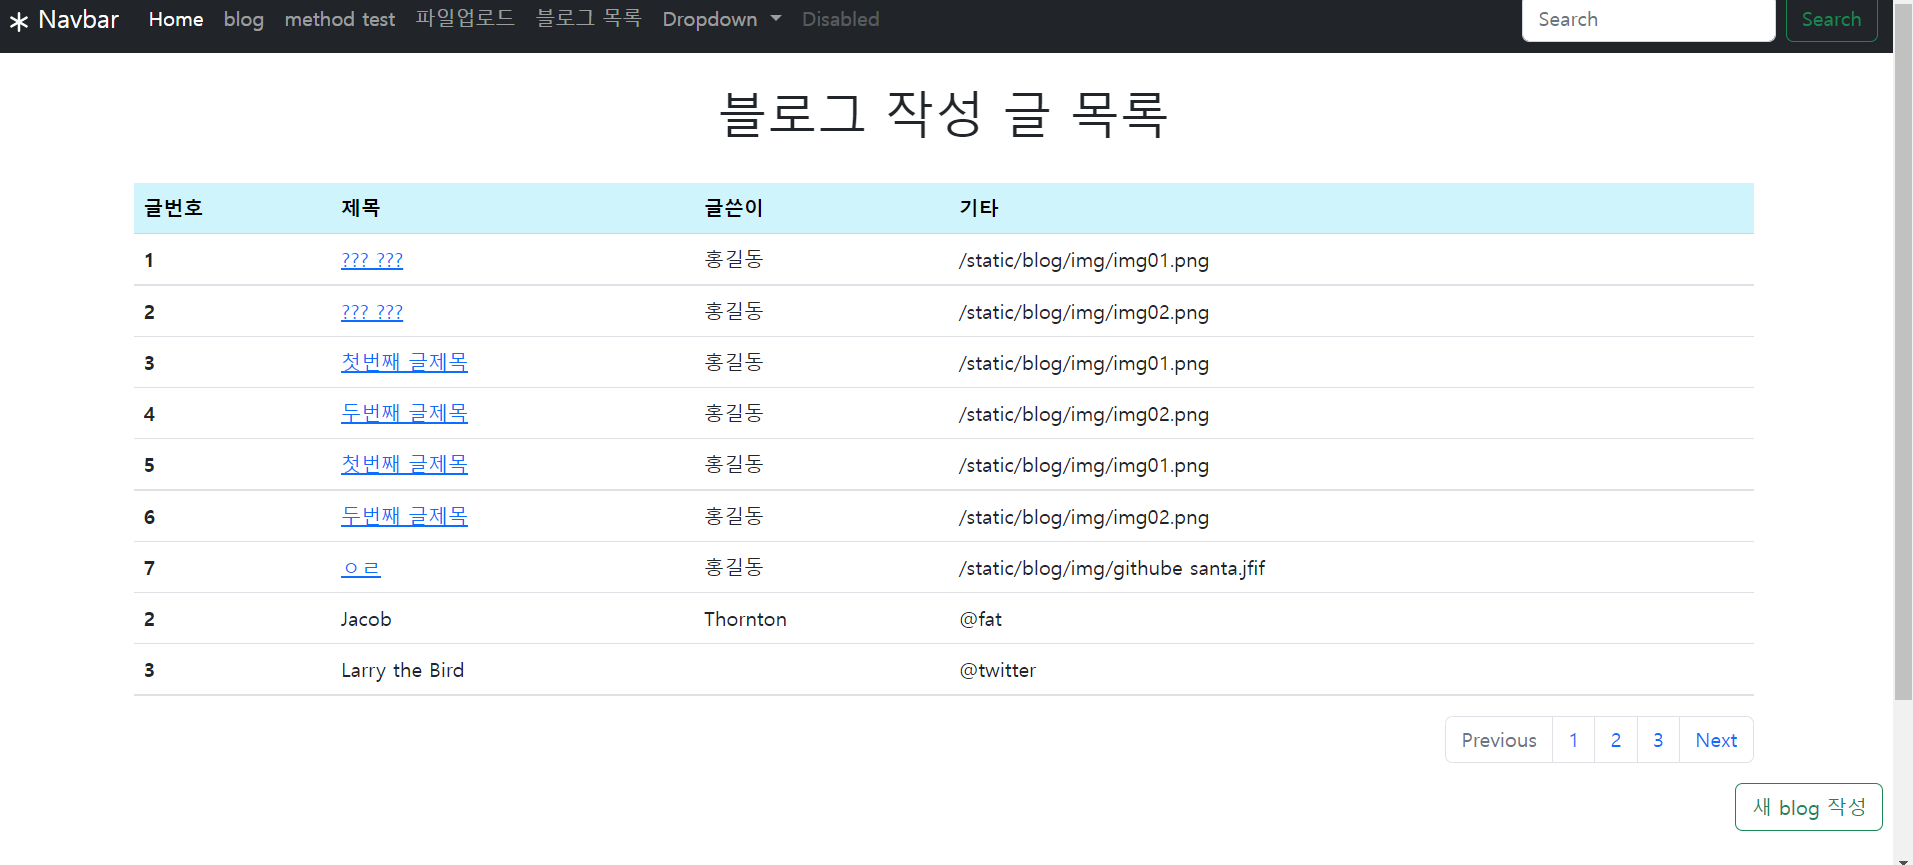
^ bloglist.html 추가 입력

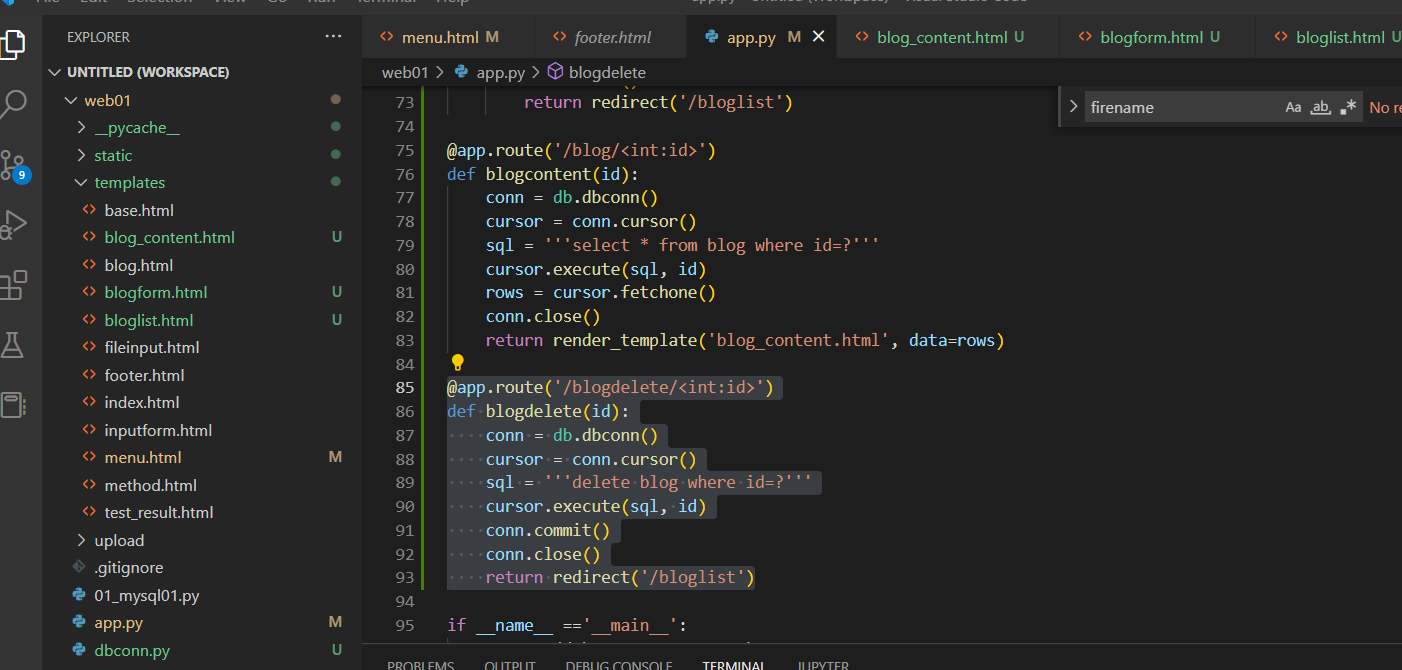
^ bloglist.html 에 tr class 명 추가 입력
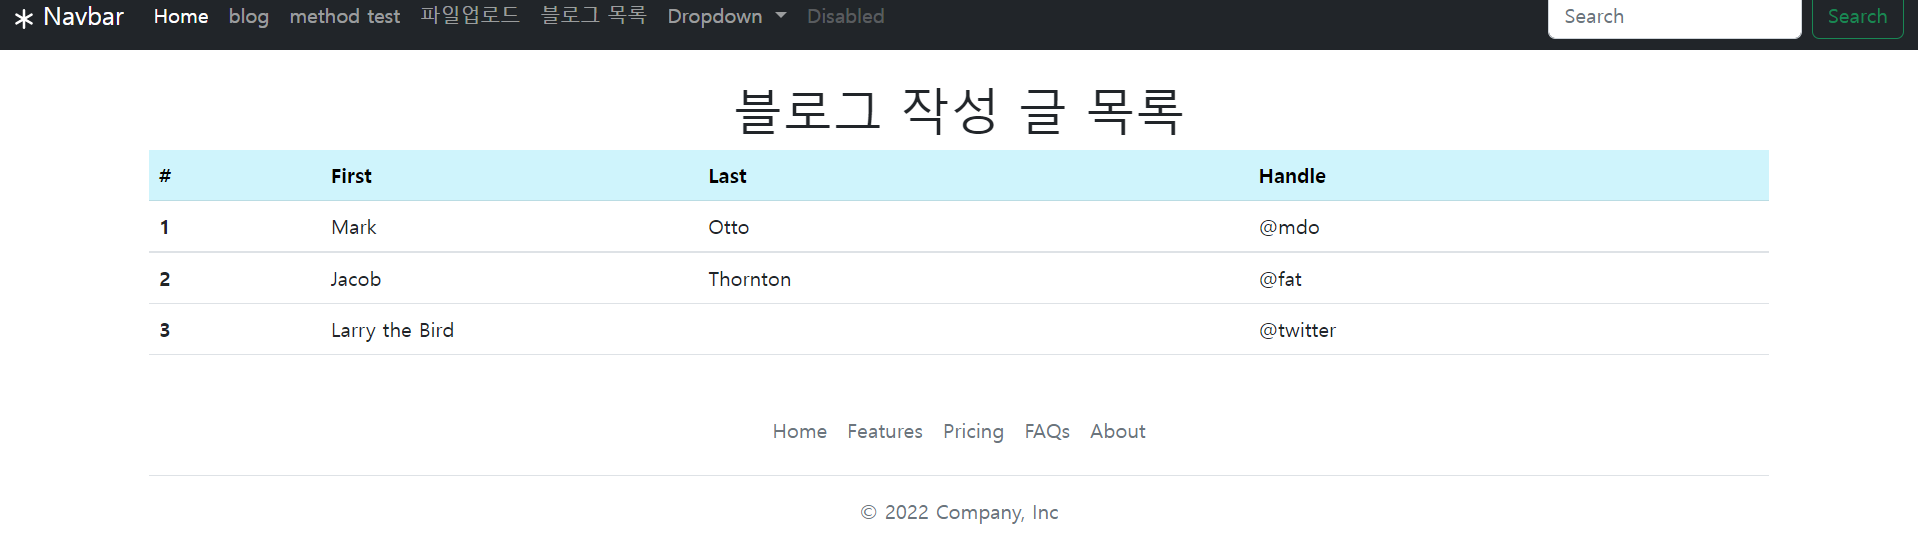
^ 결과

^ bloglist.html 수정 및 추가
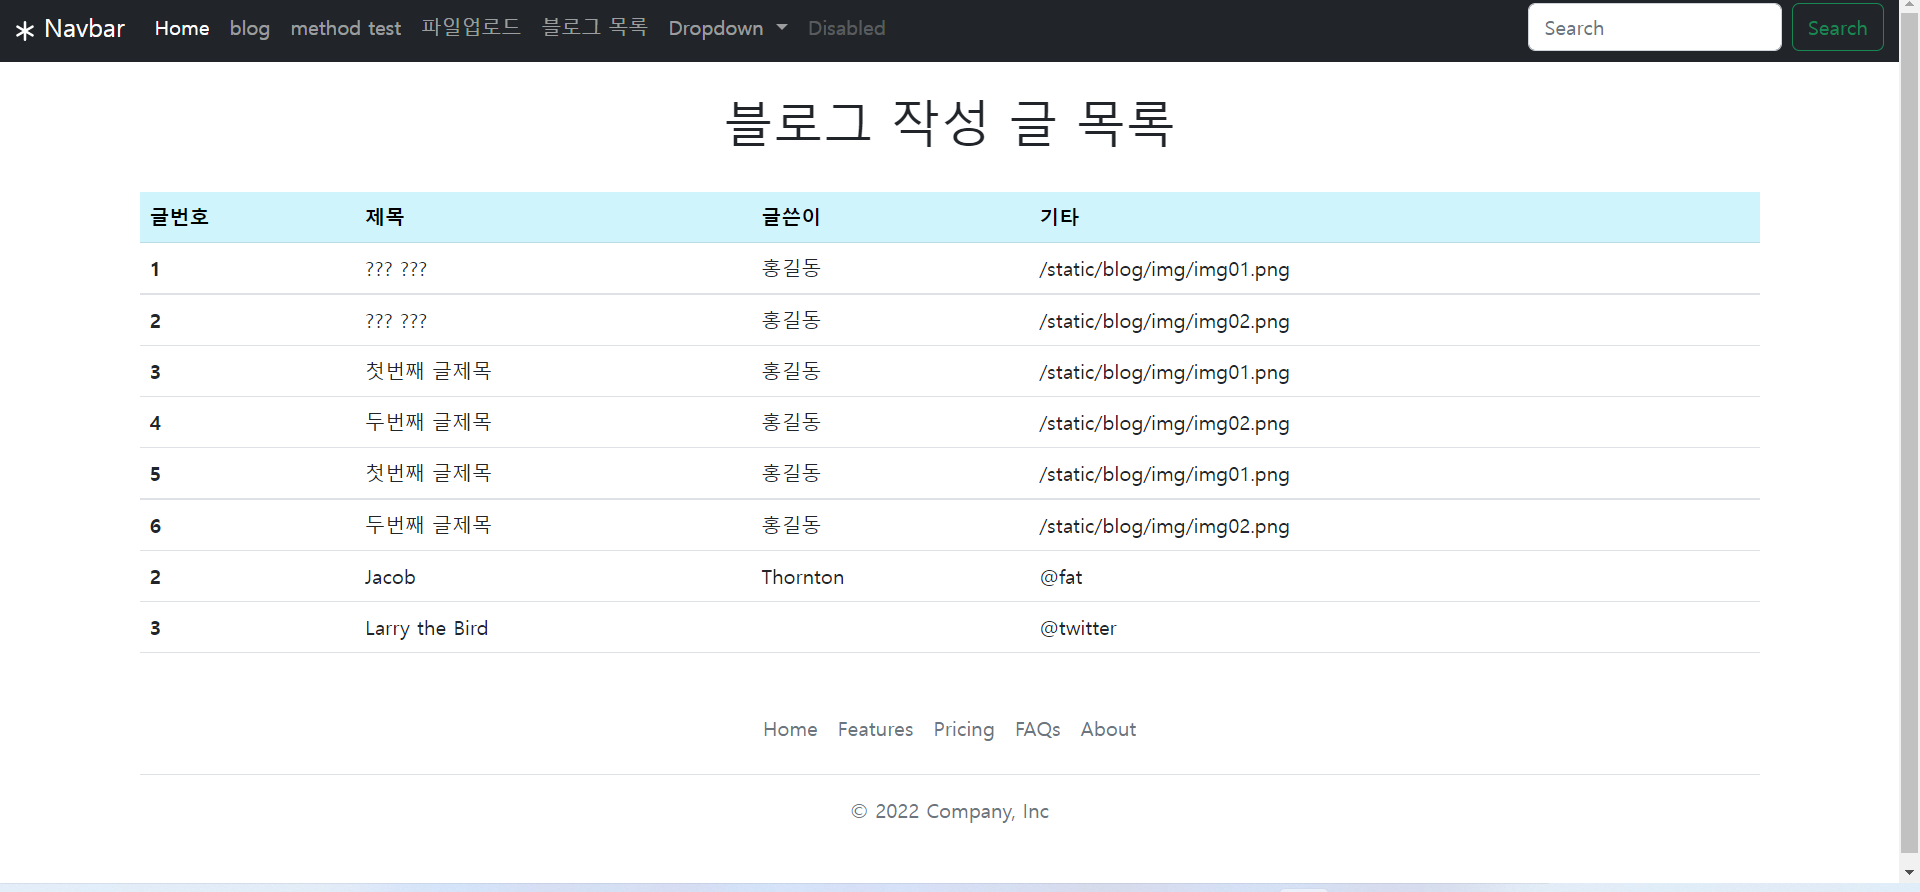
^ 결과

^ bootstrap
<nav aria-label="Page navigation example">
  <ul class="pagination justify-content-end">
    <li class="page-item disabled">
      <a class="page-link">Previous</a>
    </li>
    <li class="page-item"><a class="page-link" href="#">1</a></li>
    <li class="page-item"><a class="page-link" href="#">2</a></li>
    <li class="page-item"><a class="page-link" href="#">3</a></li>
    <li class="page-item">
      <a class="page-link" href="#">Next</a>
    </li>
  </ul>
</nav>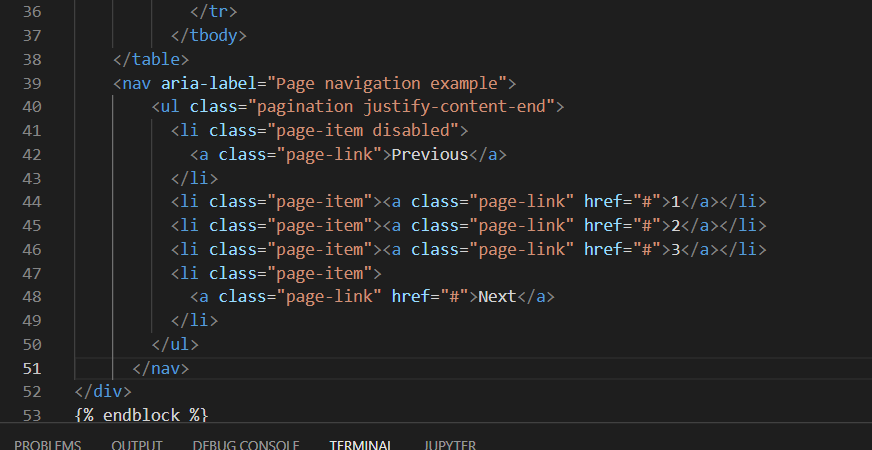
^ bloglist table 끝나는 지점에 위의 bootstrap 코드 복붙해준다.
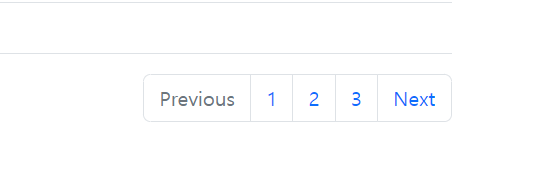
^ 결과
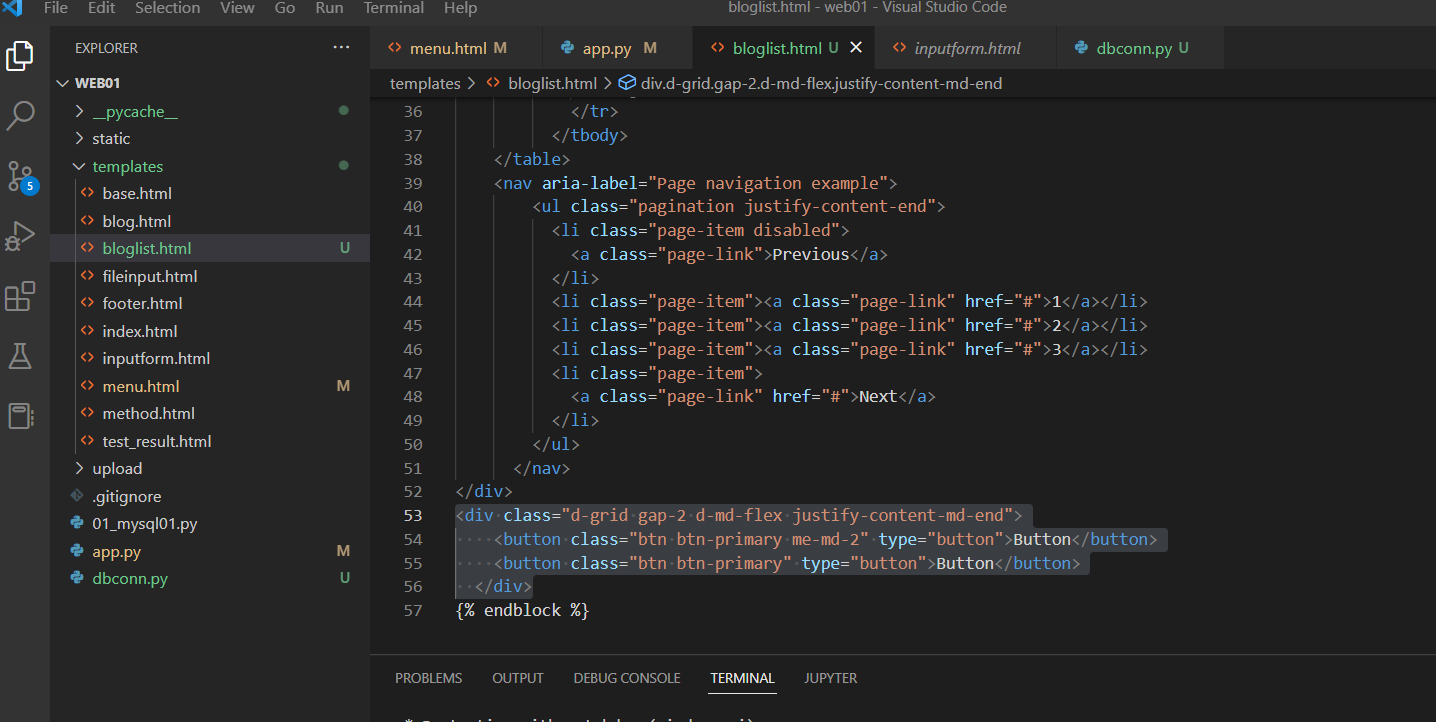
<div class="d-grid gap-2 d-md-flex justify-content-md-end">
  <button class="btn btn-primary me-md-2" type="button">Button</button>
  <button class="btn btn-primary" type="button">Button</button>
</div>
^ 코드 넣기

<div class="d-grid gap-2 d-md-flex justify-content-md-end">
    <div class="d-grid gap-2 d-md-flex justify-content-md-end">
        <button class="btn btn-outline-success me-md-2" type="button"> 새 blog 작성</button>
    </div>
  </div>
^ 코드 수정
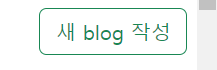
^ 결과
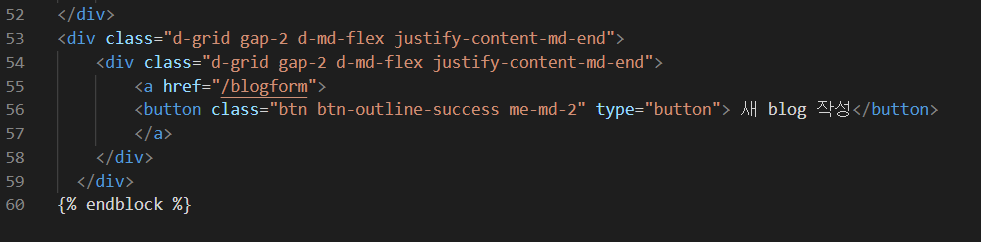
^ 버튼 누르면 화면 넘어가게 href
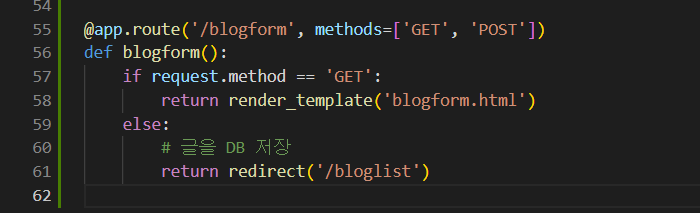
^ app.py 파일에 코드 추가 입력
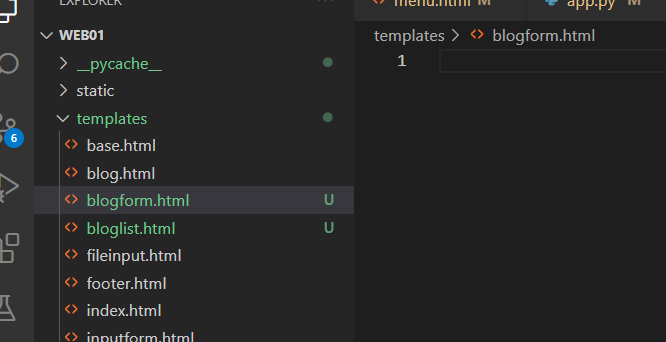
^ blogform.html 생성 및 아래 코드 추가
{% extends "base.html" %}
{% block title %}data input page{% endblock %}
{% block content %}
<br>
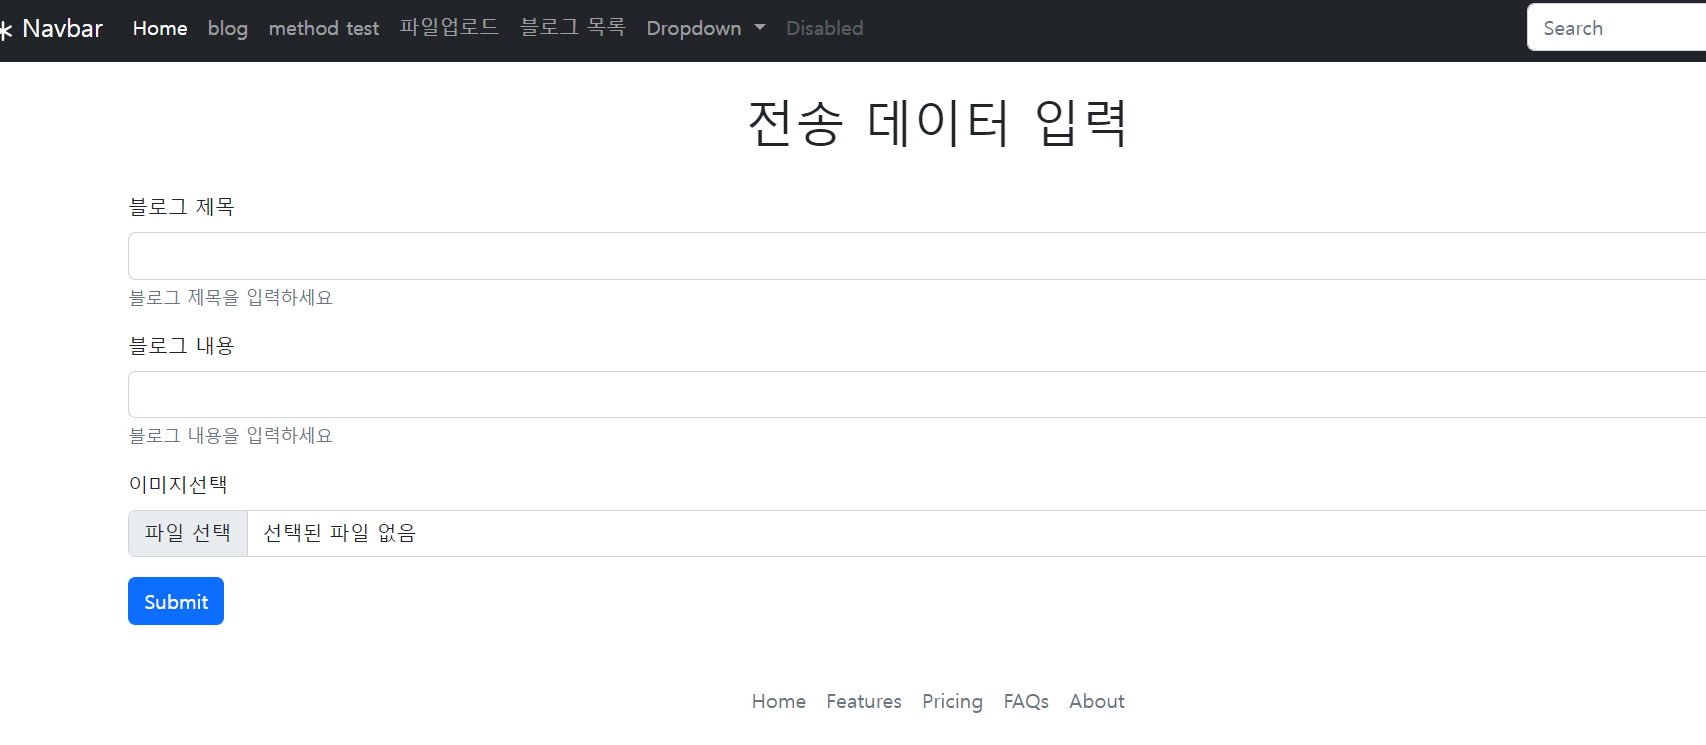
<h1 class="text-center"> 전송 데이터 입력</h1>
<br>
<div class="container">
<form action="/blogform" method="post" enctype="multipart/form-data">
<div class="mb-3">
<label for="title" class="form-label">블로그 제목</label>
<input type="text" class="form-control" id="title" name="title" aria-describedby="titleHelp">
<div id="titleHelp" class="form-text">블로그 제목을 입력하세요</div>
</div>
<div class="mb-3">
<label for="content" class="form-label">블로그 내용</label>
<input type="text" class="form-control" id="content" name="content" aria-describedby="contentHelp">
<div id="contentHelp" class="form-text">블로그 내용을 입력하세요</div>
</div>
<div class="mb-3">
<label for="formFile" class="form-label">이미지선택</label>
<input class="form-control" type="file" id="formFile" name="formFile">
</div>
<button type="submit" class="btn btn-primary">Submit</button>
</form>
</div>
{% endblock %}
^ 홈페이지 들어가 아래 < 새 blog 작성 > 누르기
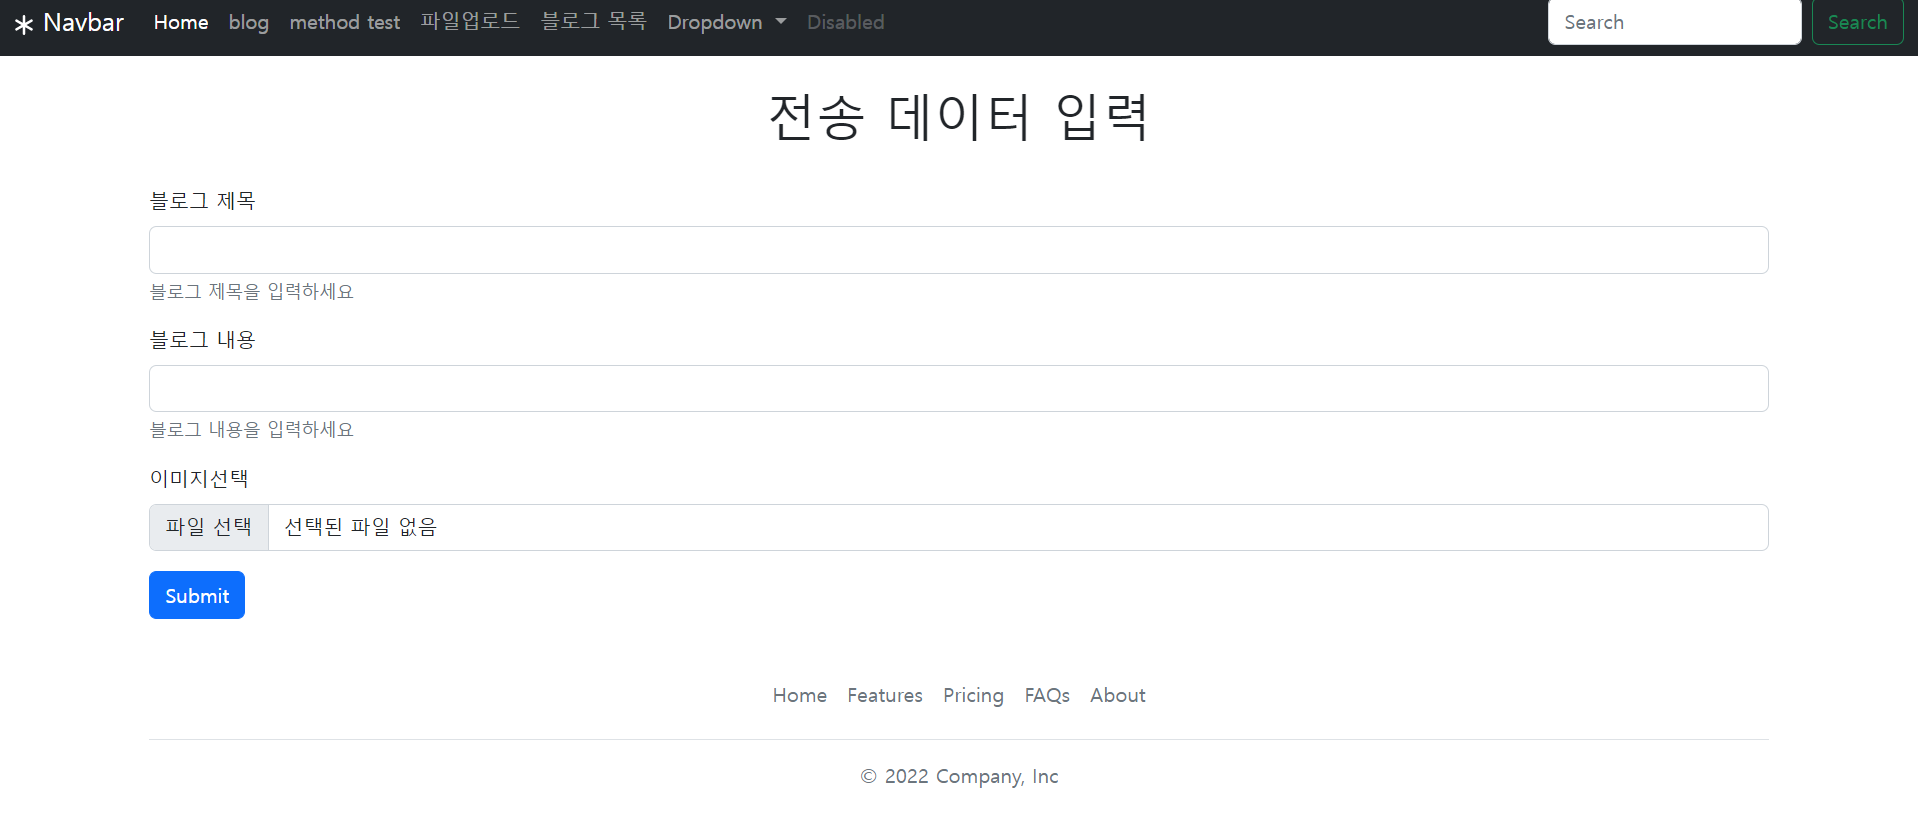
^ 다음과 같이 뜸
^ 코드 수정
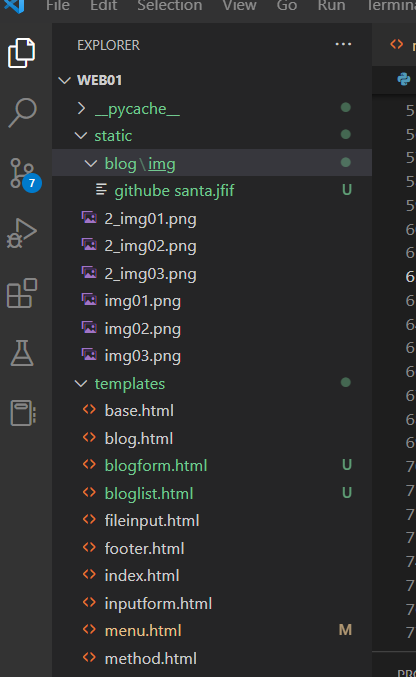
^ static 안에 blog 파일 생성하기. blog 파일안에 img 파일 생성하기.
^ 여기에 파일 submit 하면 위의 위치에 이미지 저장됨.
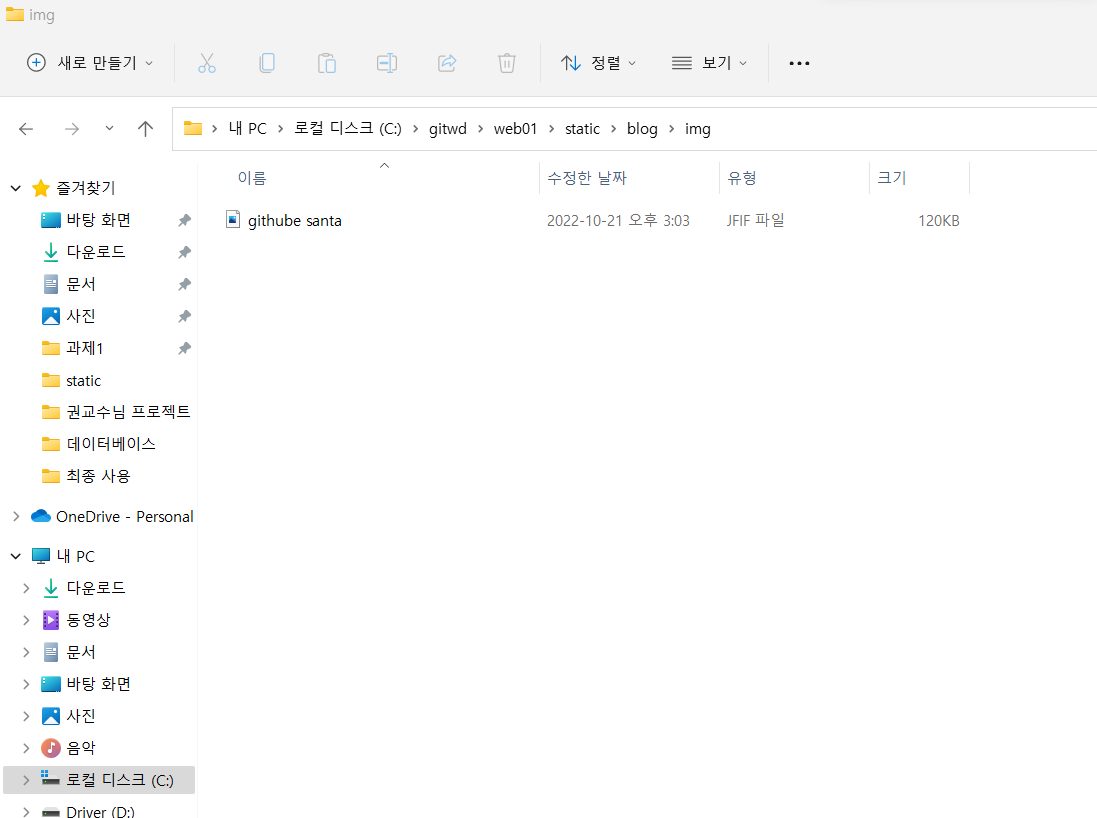
^ 이미지 폴더 들어가면 이 위치 저장된 것 확인 가능.
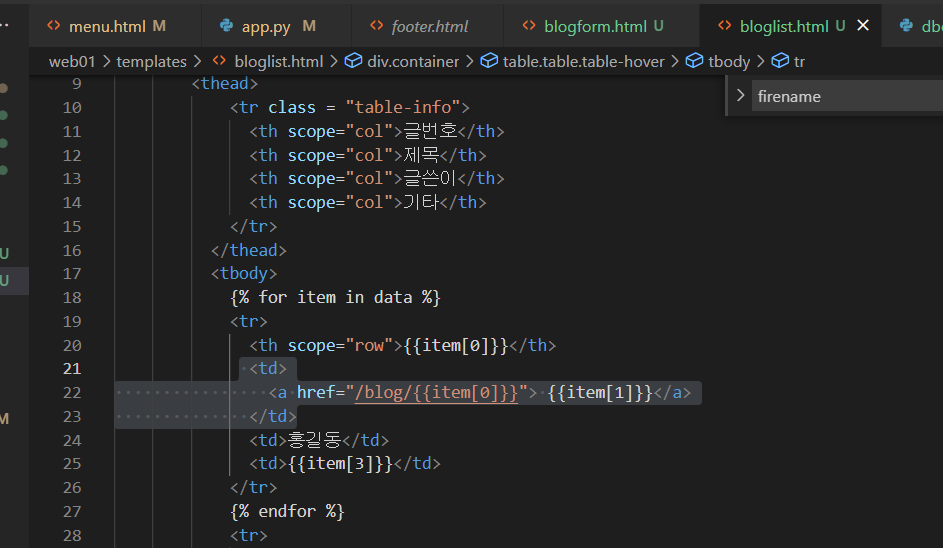
^ bloglist 코드 수정
^ 하이퍼링크 걸린것 확인 가능

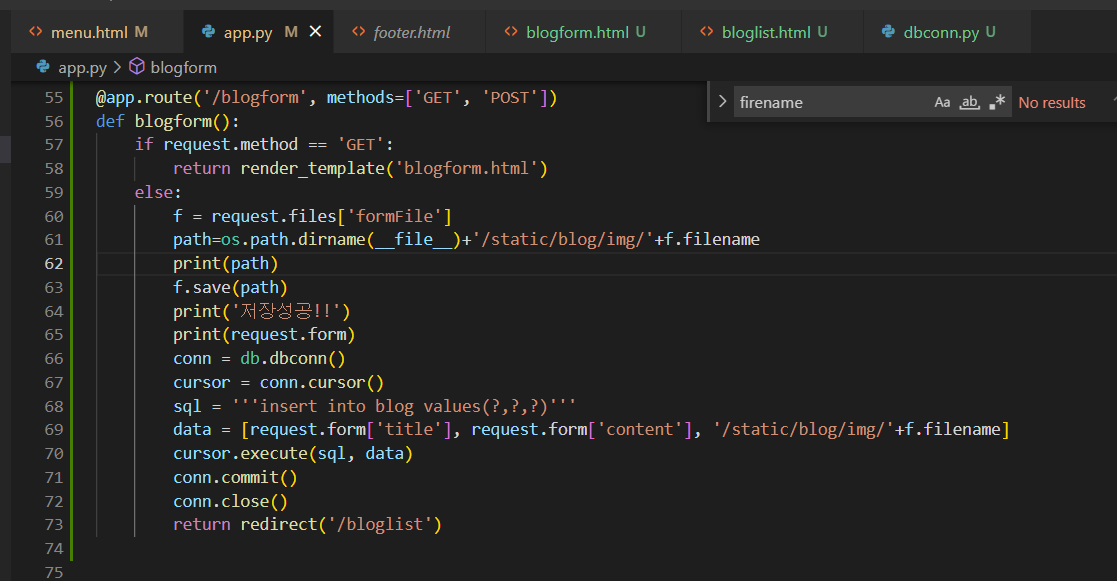
^ app.py 입력
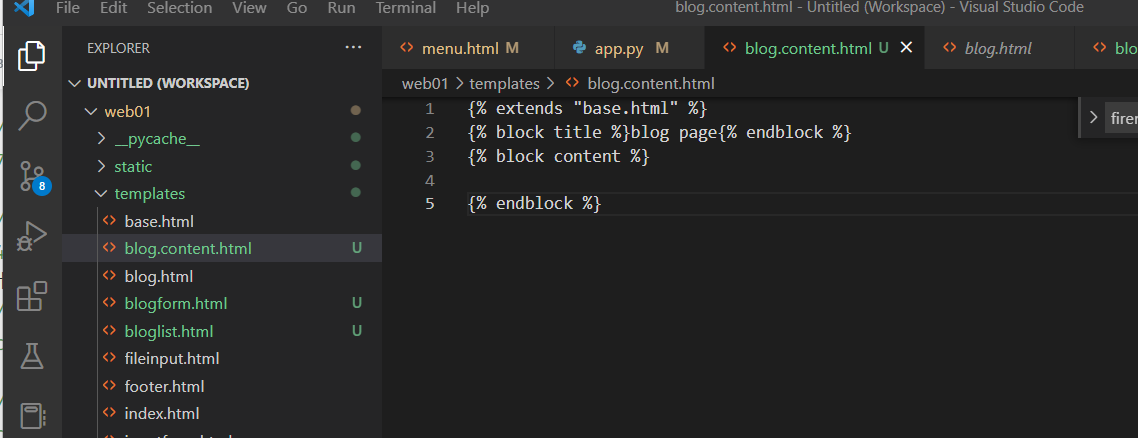
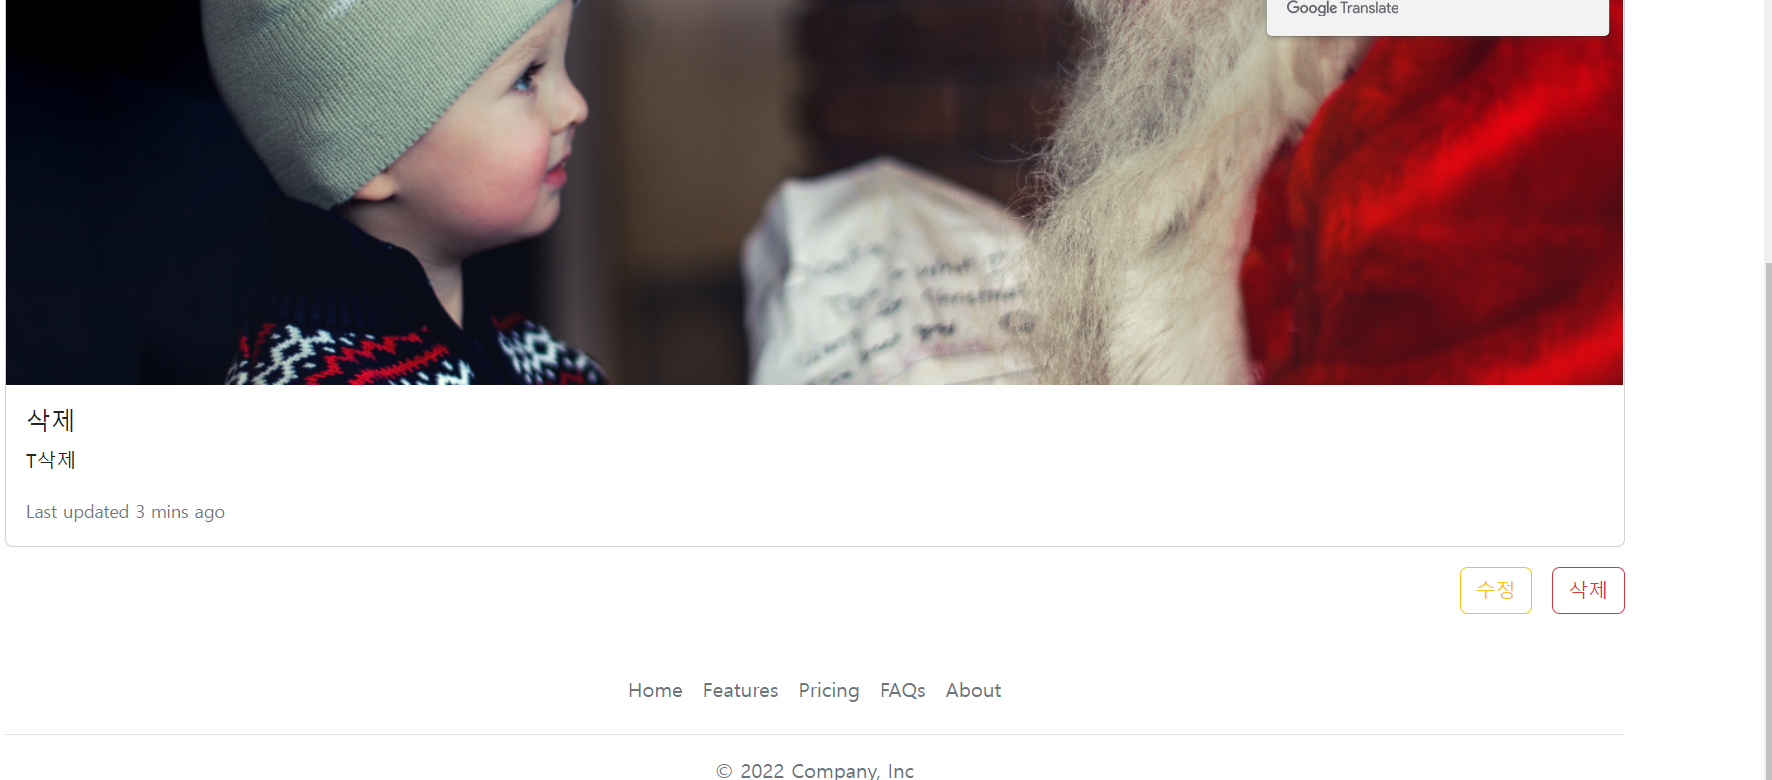
^ blog.content.html 파일 생성
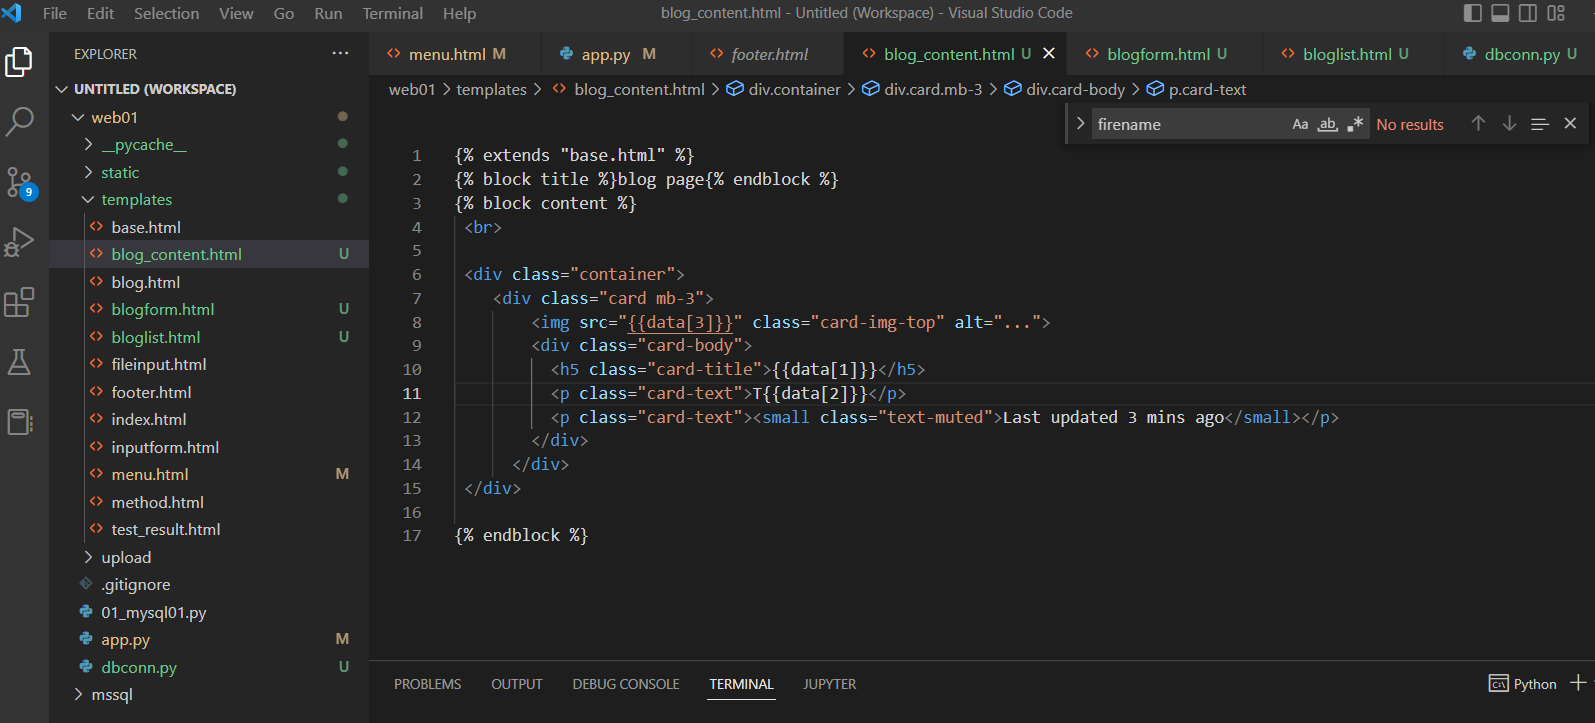
{% extends "base.html" %}
{% block title %}blog page{% endblock %}
{% block content %}
 <br>

 <div class="container">
    <div class="card mb-3">
        <img src="{{data[3]}}" class="card-img-top" alt="...">
        <div class="card-body">
          <h5 class="card-title">{{data[1]}}</h5>
          <p class="card-text">T{{data[2]}}</p>
          <p class="card-text"><small class="text-muted">Last updated 3 mins ago</small></p>
        </div>
      </div>
 </div>

{% endblock %}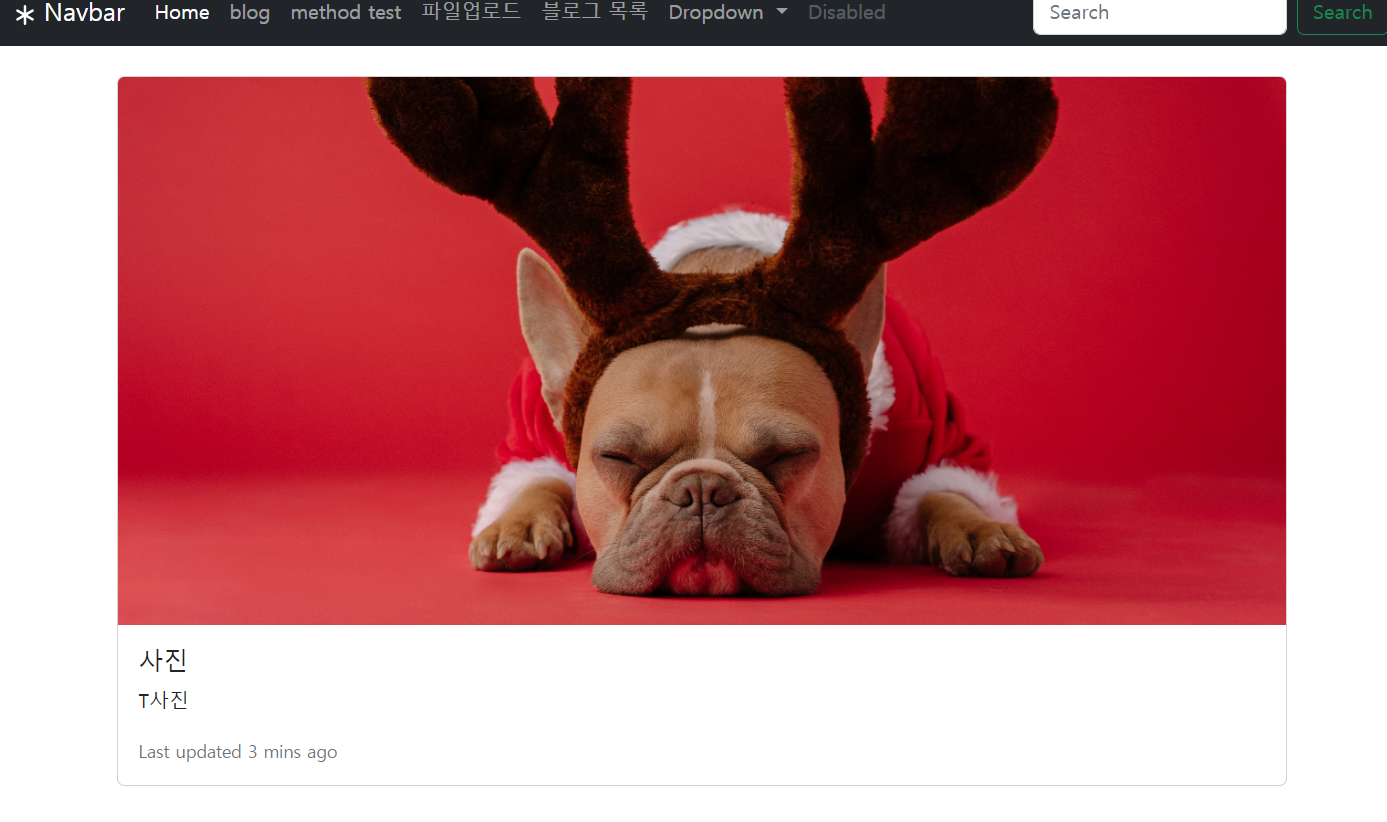
^ 링크 다고 게시글 이렇게 올라온 것 확인 가능
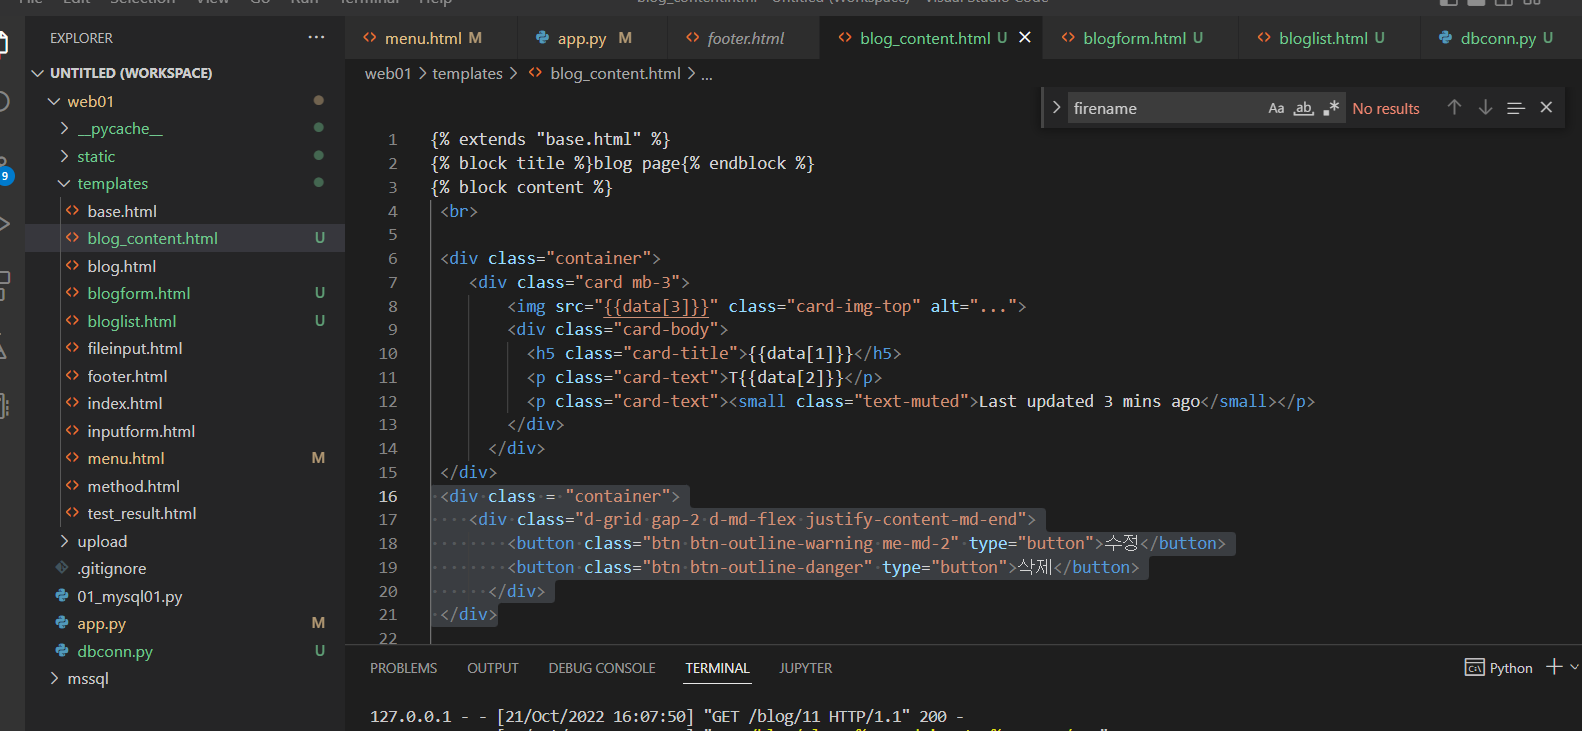
^ 버튼 타입 추가
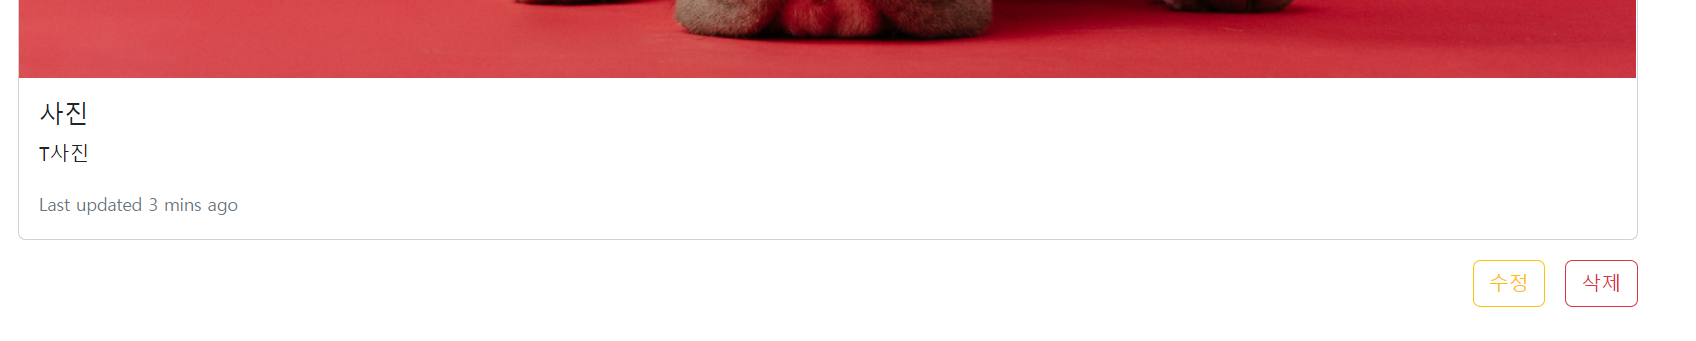
^ 수정. 삭제 들어간것 확인 가능
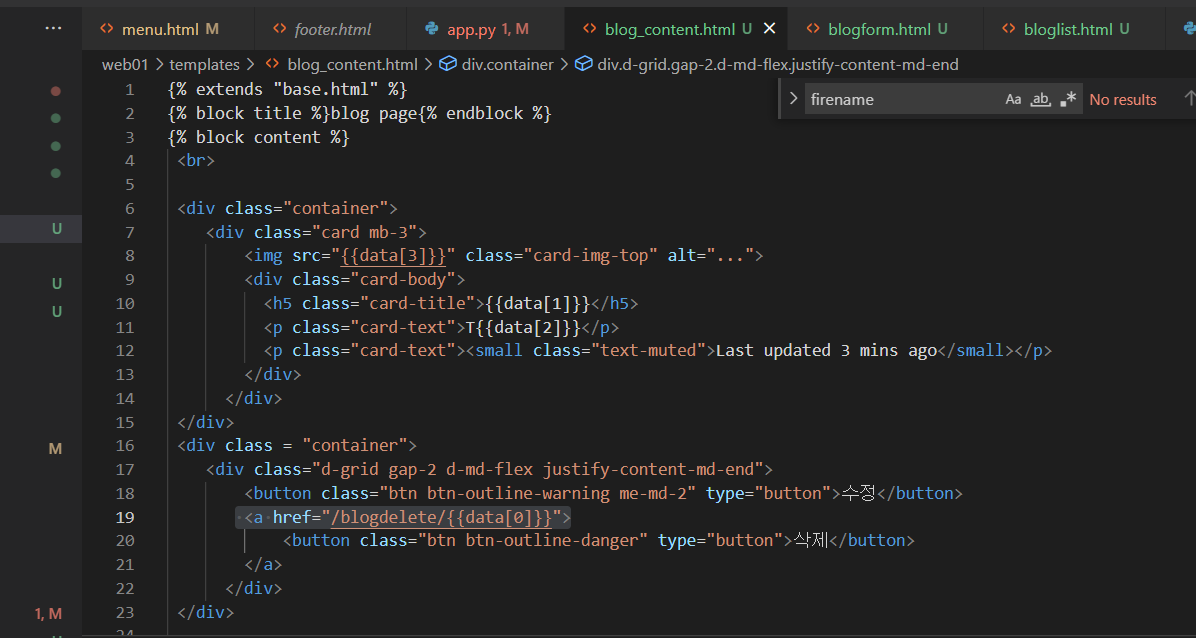
^ href delete 코드 추가
^ delete app 코드 입력
^ 삭제누르면 삭제됨.