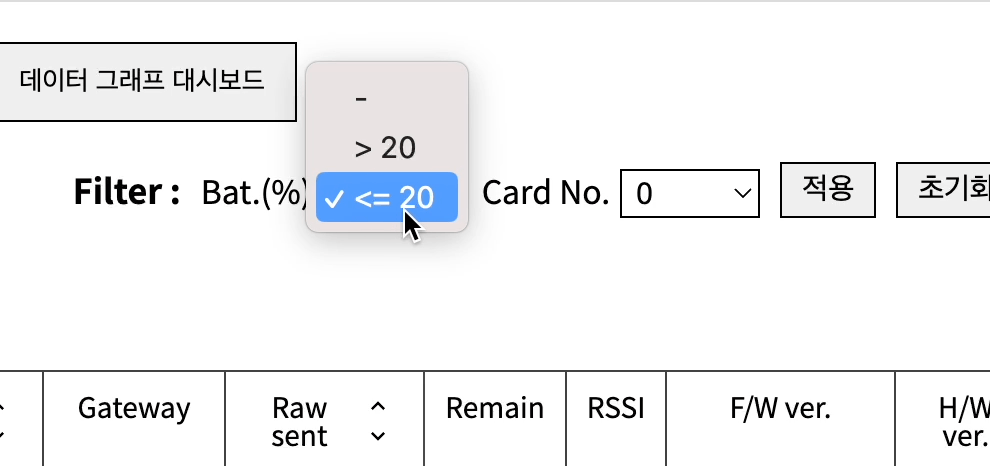
센서의 목록을 나열하는 표가 있고, 그 표를 배터리수준과 카드 번호로 필터링할 수 있는 필터를 작성하는 도중 구조분해 할당으로 효율적으로 코드를 리팩토링했다.
➡️ 깃허브에서 코드보기
원래 코드
카드번호 필터와 배터리수준 필터를 조작하는 함수를 각각 만들고,
그 함수 내에서 각각 상태를 반영해줬다. 상태를 반영하는 로직은 똑같은데,
분리해서 쓰다보디 코드가 중복되고, 읽기도 힘들다는 느낌이 든다.
// 선택된 필터의 정보를 저장하는 state
const [filters, setFilters] = useState({ batLvl: '-', cardNum: '-' });

// 선택된 카드번호 필터의 정보를 state에 반영하는 함수
const handleCardNumFilter = (e) => {
	if (
		filterItems['cardNum'] !== e.target.options[e.target.selectedIndex].value
	) {
		setFilterItems((prev) => ({
			...prev,
          cardNum:
          Number(e.target.options[e.target.selectedIndex].value),
		}));
	}
};

// 선택된 배터리수준 필터의 정보를 state에 반영하는 함수
const handleBatLvlFilter = (e) => {
	if (
		filterItems['batLvl'] !== e.target.options[e.target.selectedIndex].value
	) {
		setFilterItems((prev) => ({
			...prev,
			batLvl: e.target.options[e.target.selectedIndex].value,
		}));
	}
};
구조분해 할당으로 리팩토링하기
두개의 필터의 선택된 값을 하나의 함수로 관리.
select 태그에 부여한 id와 선택된 값의 value를 구조분해 할당해서
훨씬 가독성이 좋아진 느낌.
//수정된 코드
const [filters, setFilters] = useState({ batLvl: '-', cardNum: '-' });

// 선택된 배터리수준, 카드번호 필터의 정보를 state에 반영하는 함수
// select 태그에 부여한 id로 필터 종류 구분
const handleFilters = (e) => {
	const { id } = e.target;
	const { value } = e.target.options[e.target.selectedIndex];
	if (filterItems[id] !== value) {
		setFilterItems((prev) => ({
			...prev,
			[id]: value,
		}));
	}
};

return(
	<select id='batLvl' onChange={handleFilters}>
		<option>-</option>
		...
	</select>
    <select id='cardNum' onChange={handleFilters}>
		<option>-</option>
		...
	</select>
    ...
)
개발 좋아 lynn08082@gmail.com