1.S3 버킷 만들기
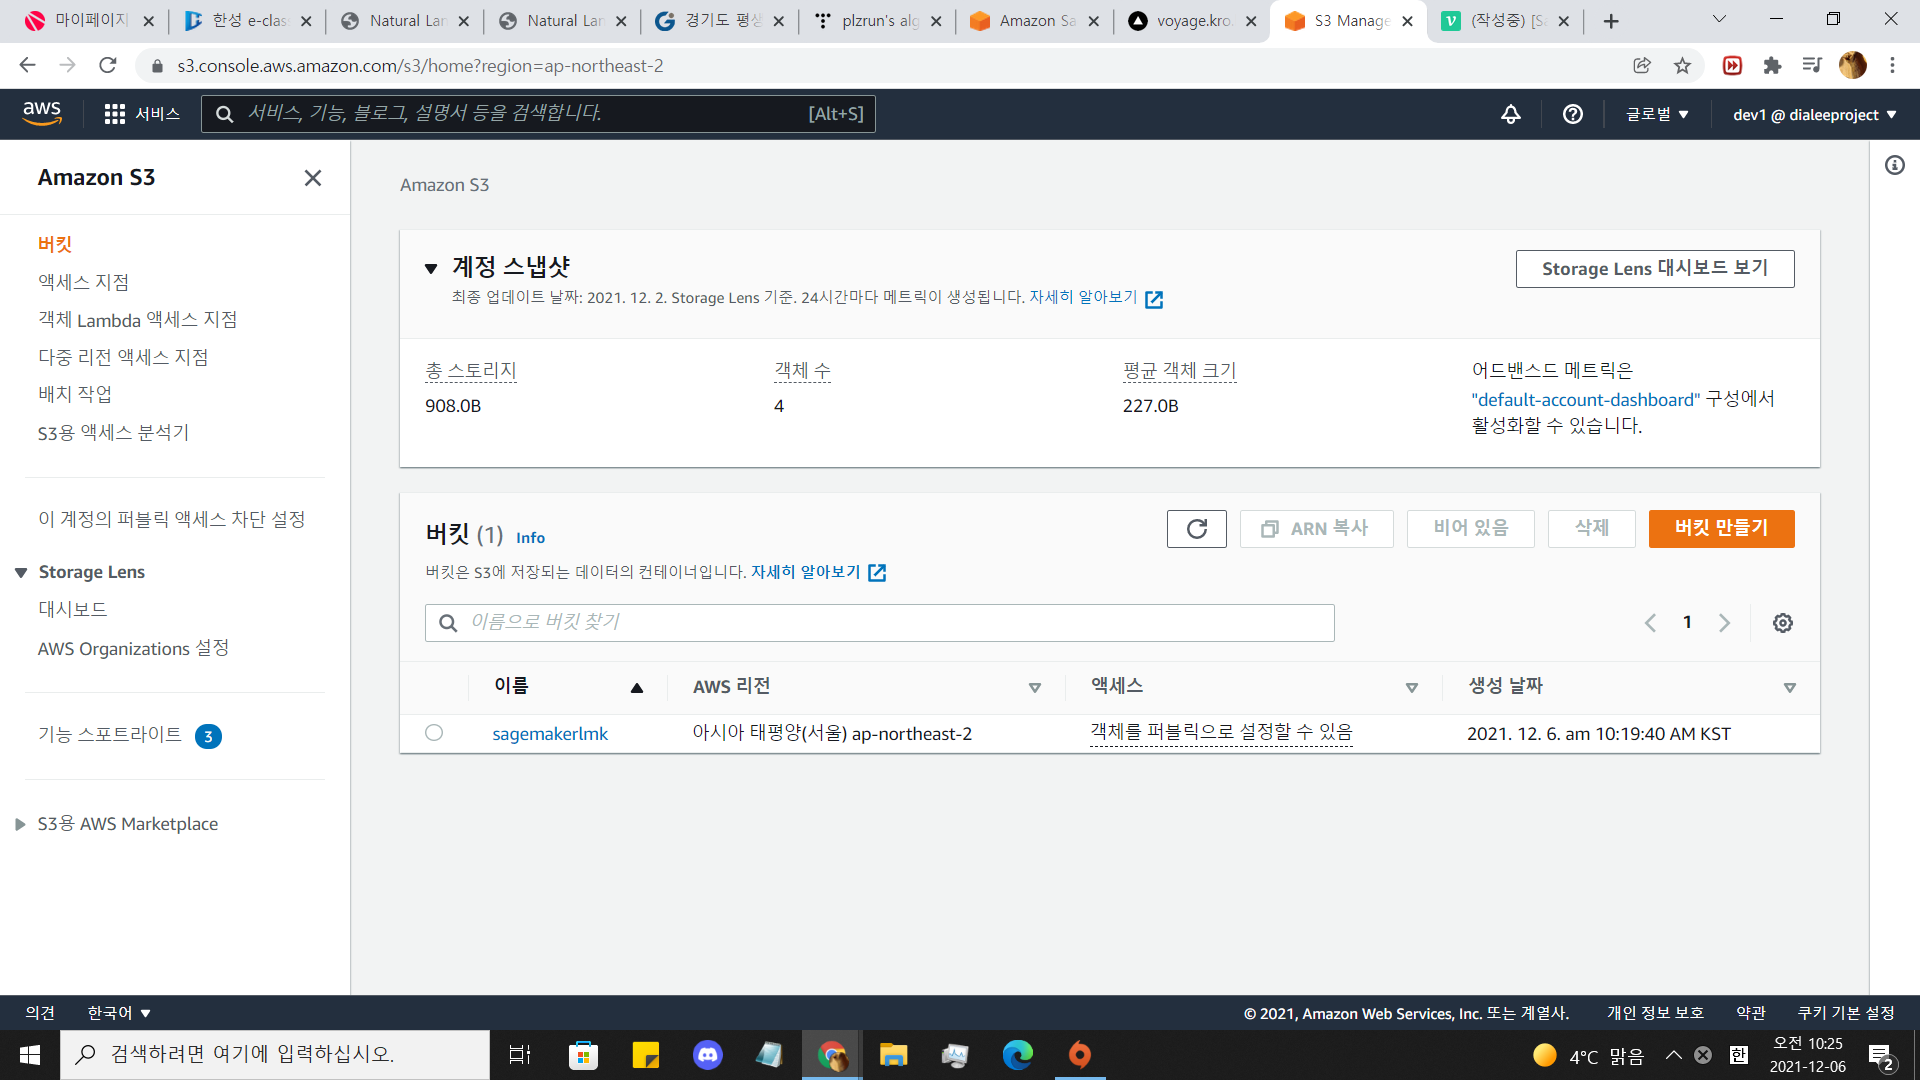
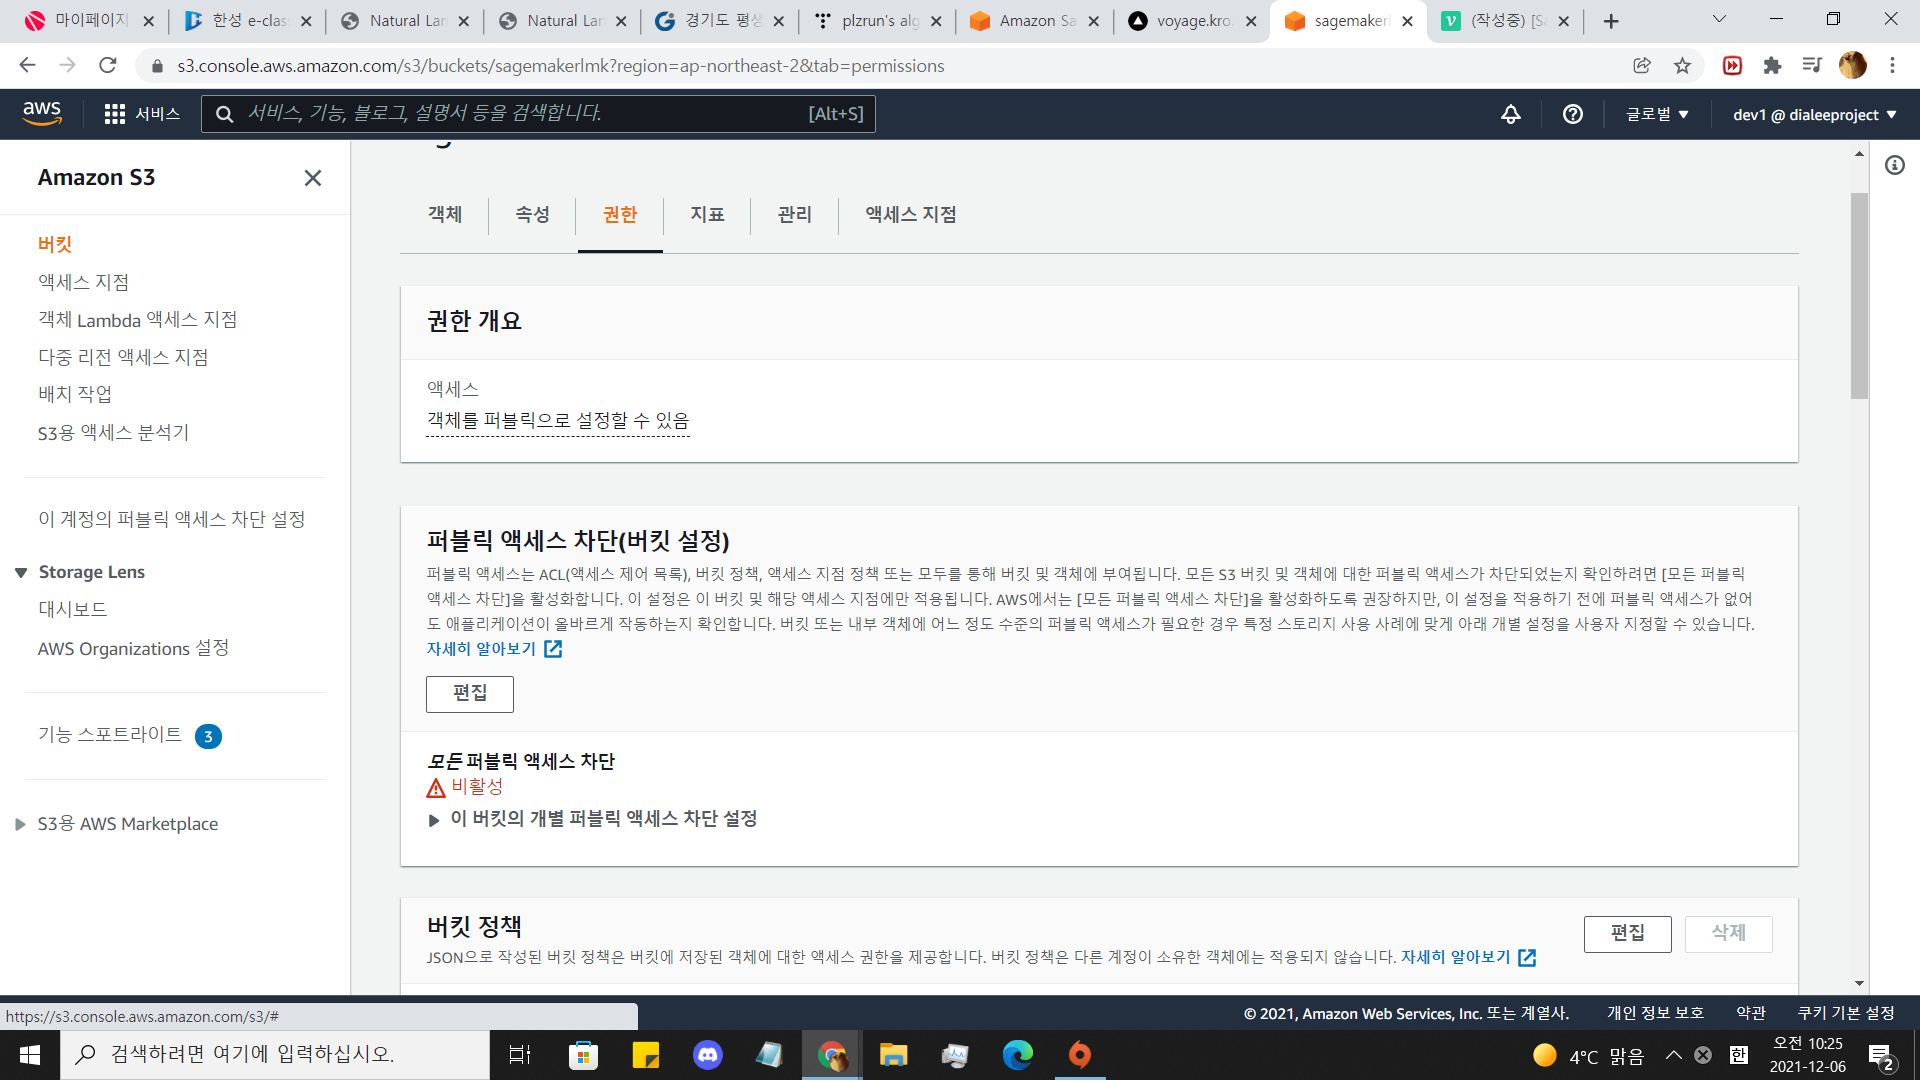
모든 퍼블릭 액세스 차단을 비활성 해줍시다.
만들어둔 버킷 이름을 기억해둡시다.
%%% 버킷이름 만들 때 lmk-sagemaker-bucket1 이런식으로 -을 붙여서 만들어줍시다. 이렇게 안만들면 오류가 나더라구요;
2.노트북 인스턴스 만들기
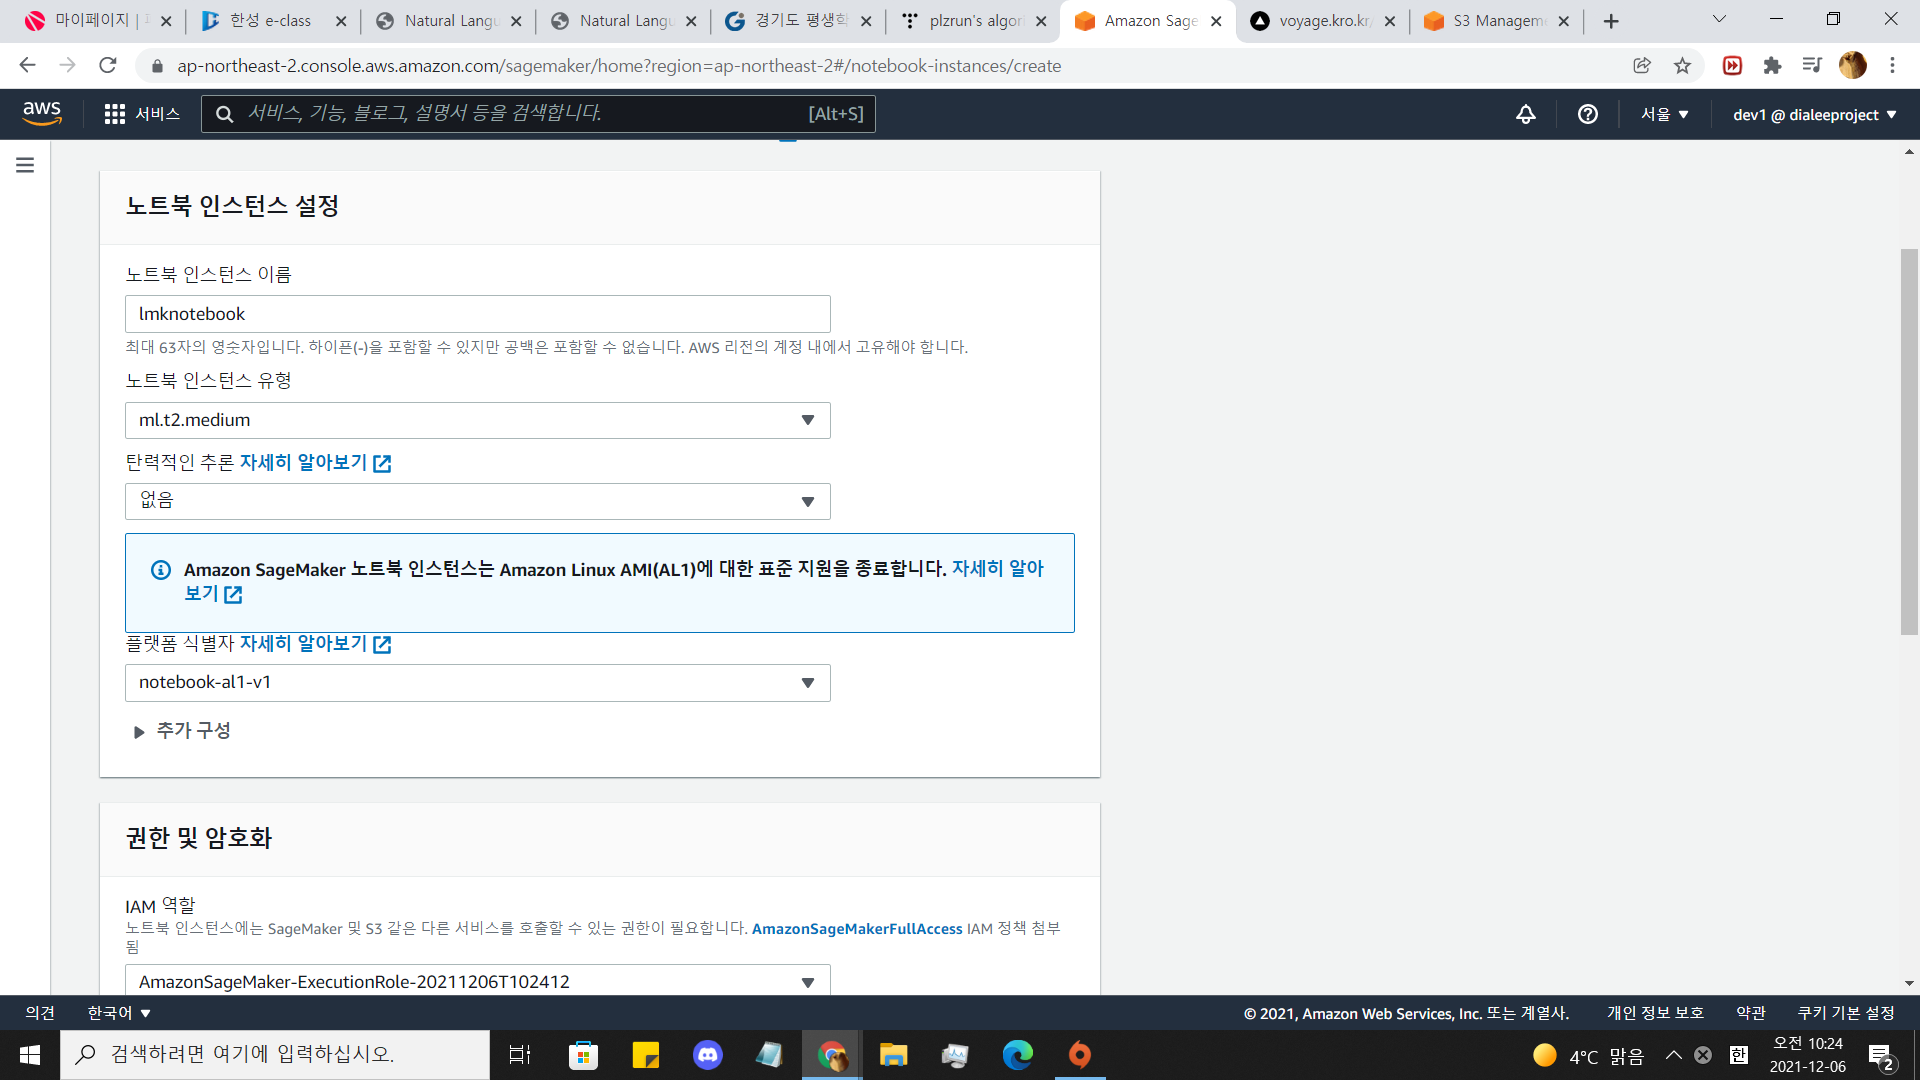
sagemaker로 이동해서 대쉬보드에서 노트북을 찾아
노트북 인스턴스를 생성합시다.
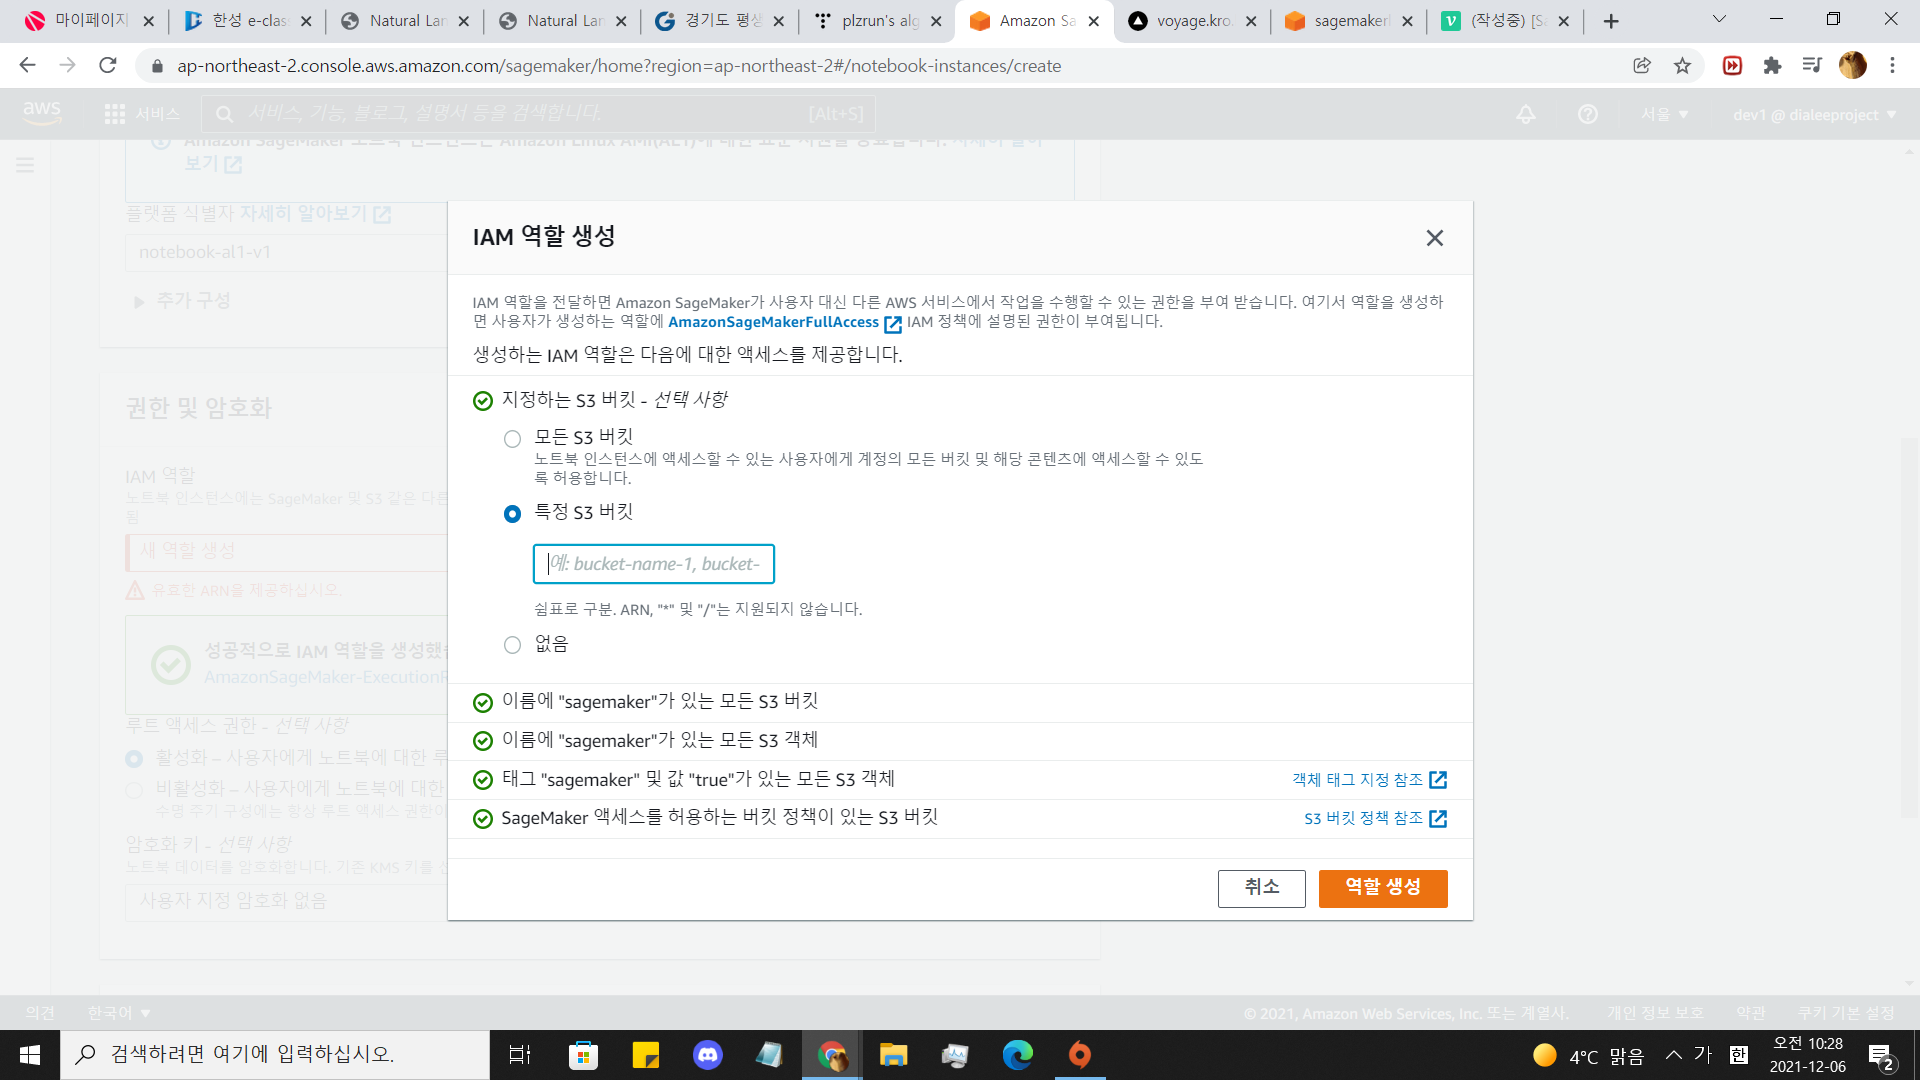
여기서 추가적으로 설정해야 할 부분은
IAM역할에서 새역할 생성 > 특정 S3 버킷 > 1에서 만든 버킷 이름 적기입니다.
3. jupyterLab 열기
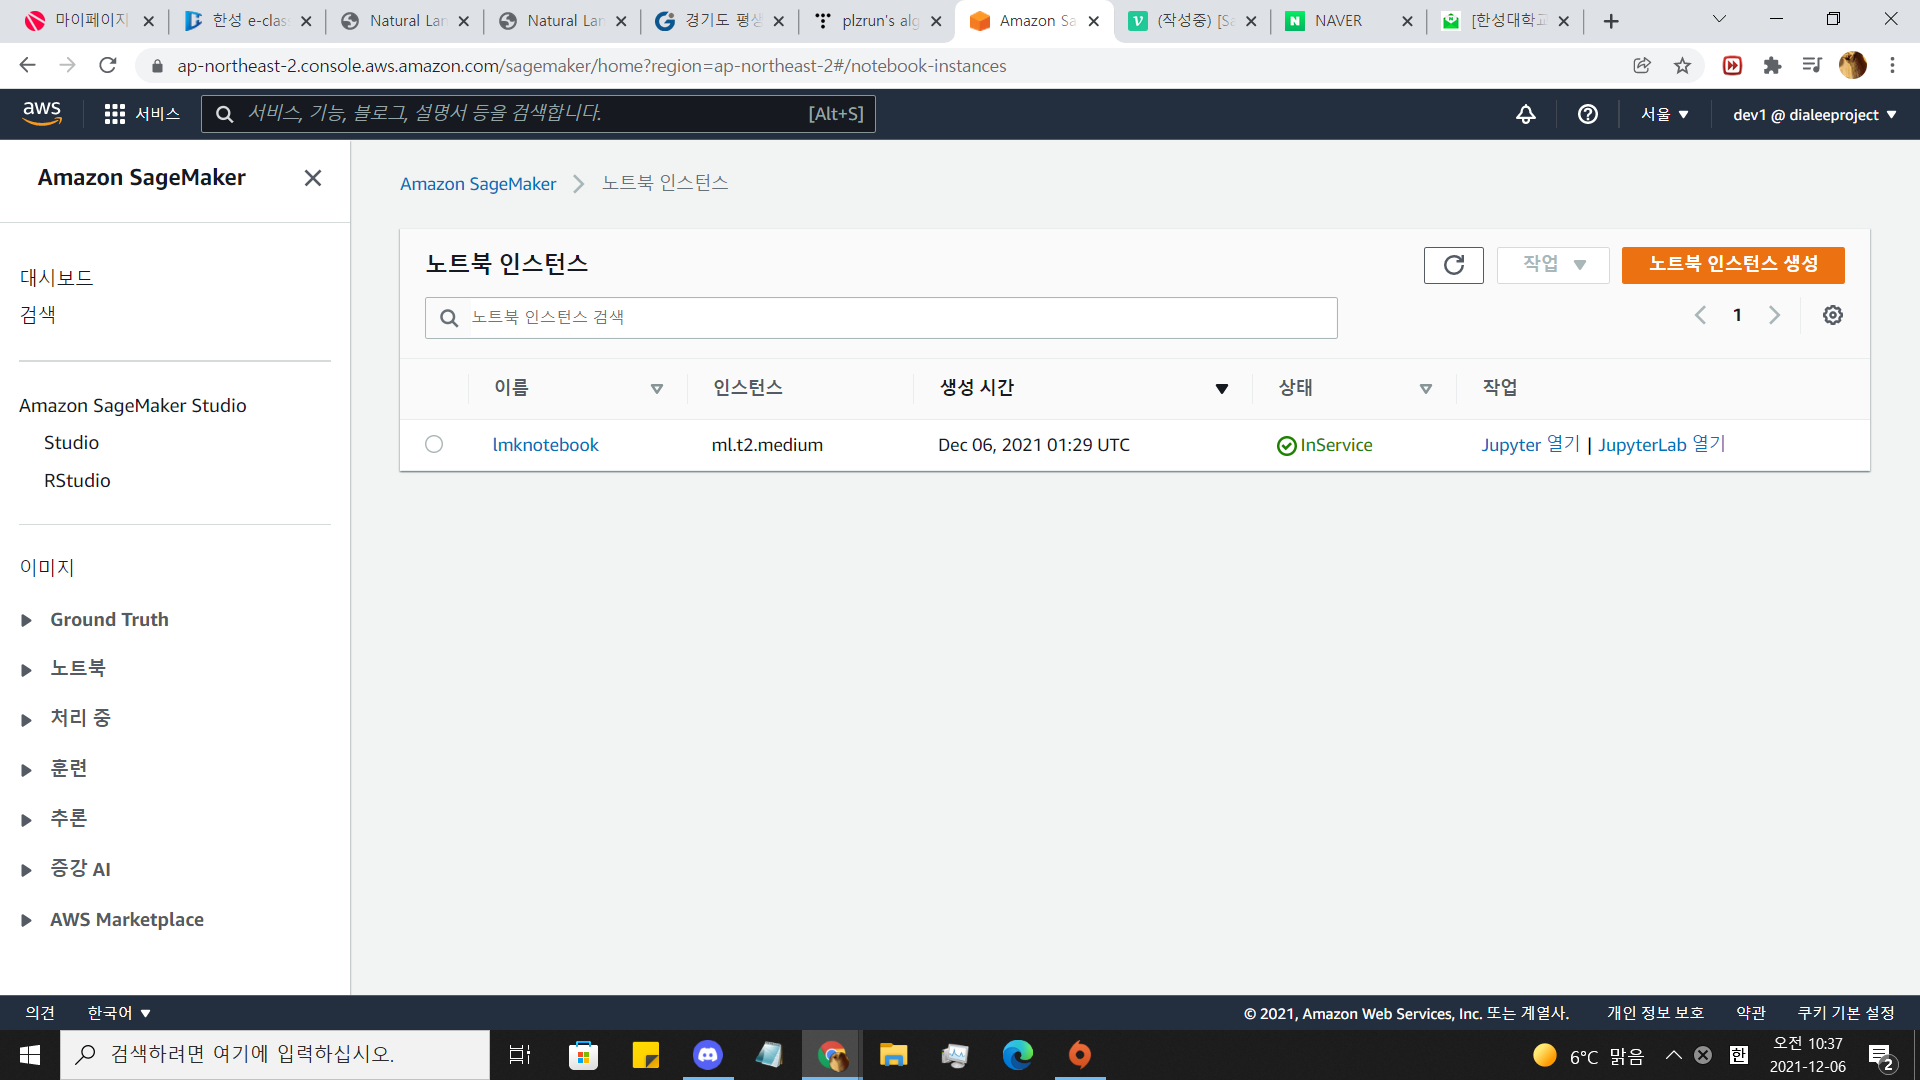
InService 될 때까지 기다립니다.(오래걸림)
InService 가 되면 JupyterLab을 엽니다.
.
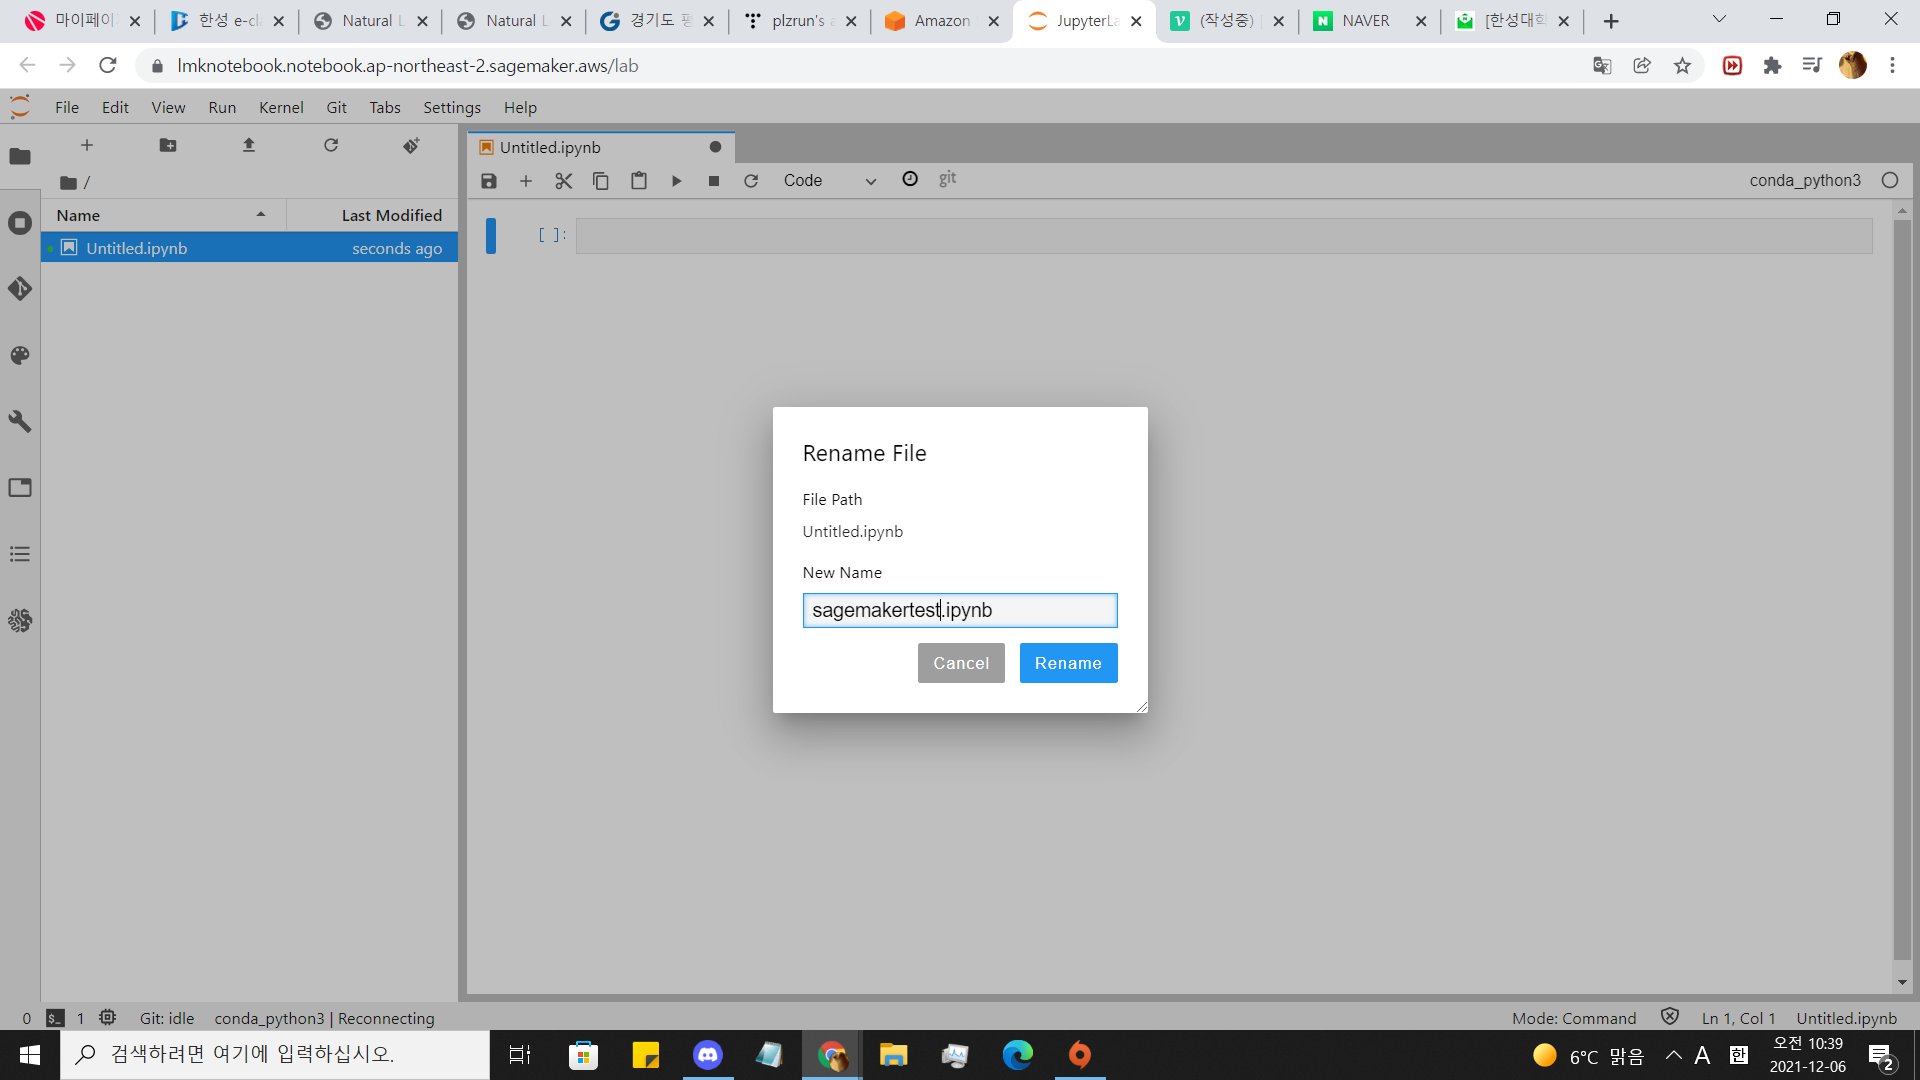
conda_python3을 열고 이름을 바꿔줍시다.
4.아까 만든 버킷을 연결
from sagemaker import get_execution_role
role = get_execution_role()
bucket='<버킷 이름>'
이 코드를 주피터노트북에 칩시다.
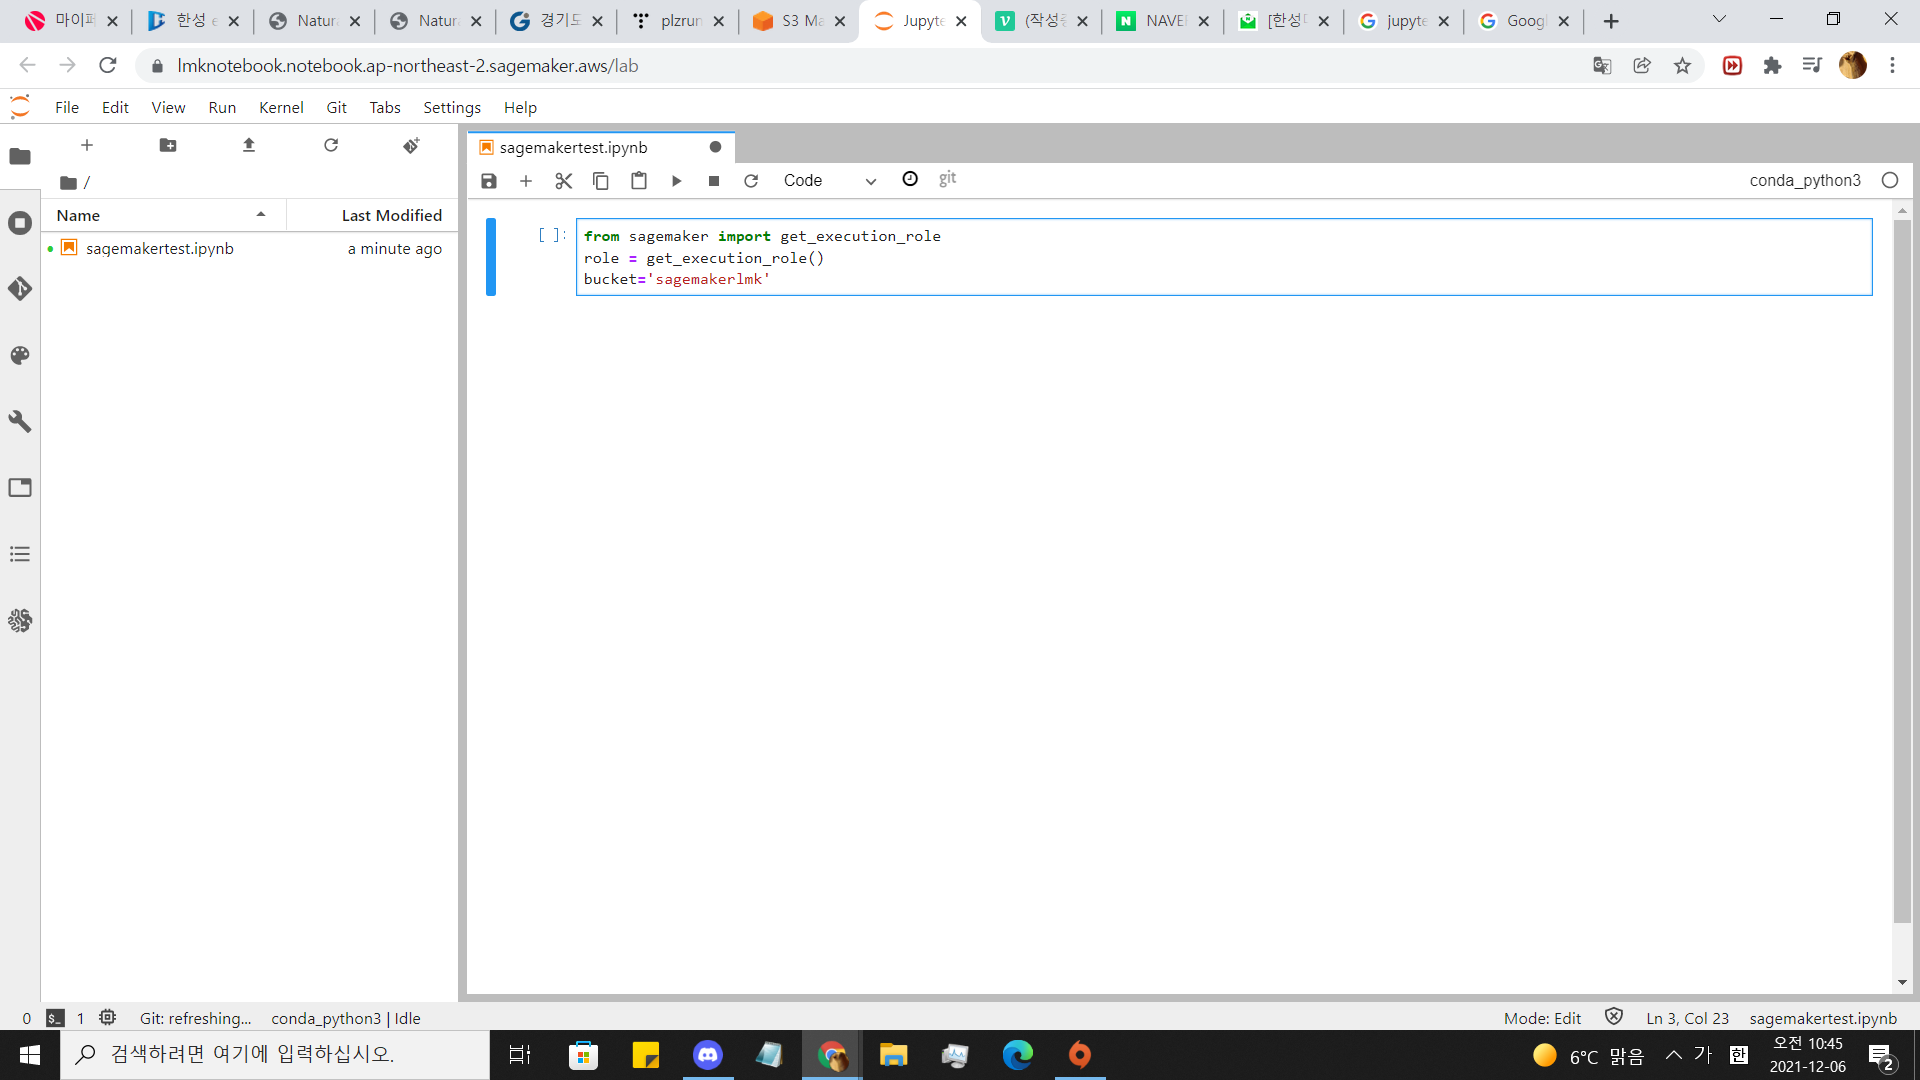
다쳣으면 실행합니다.
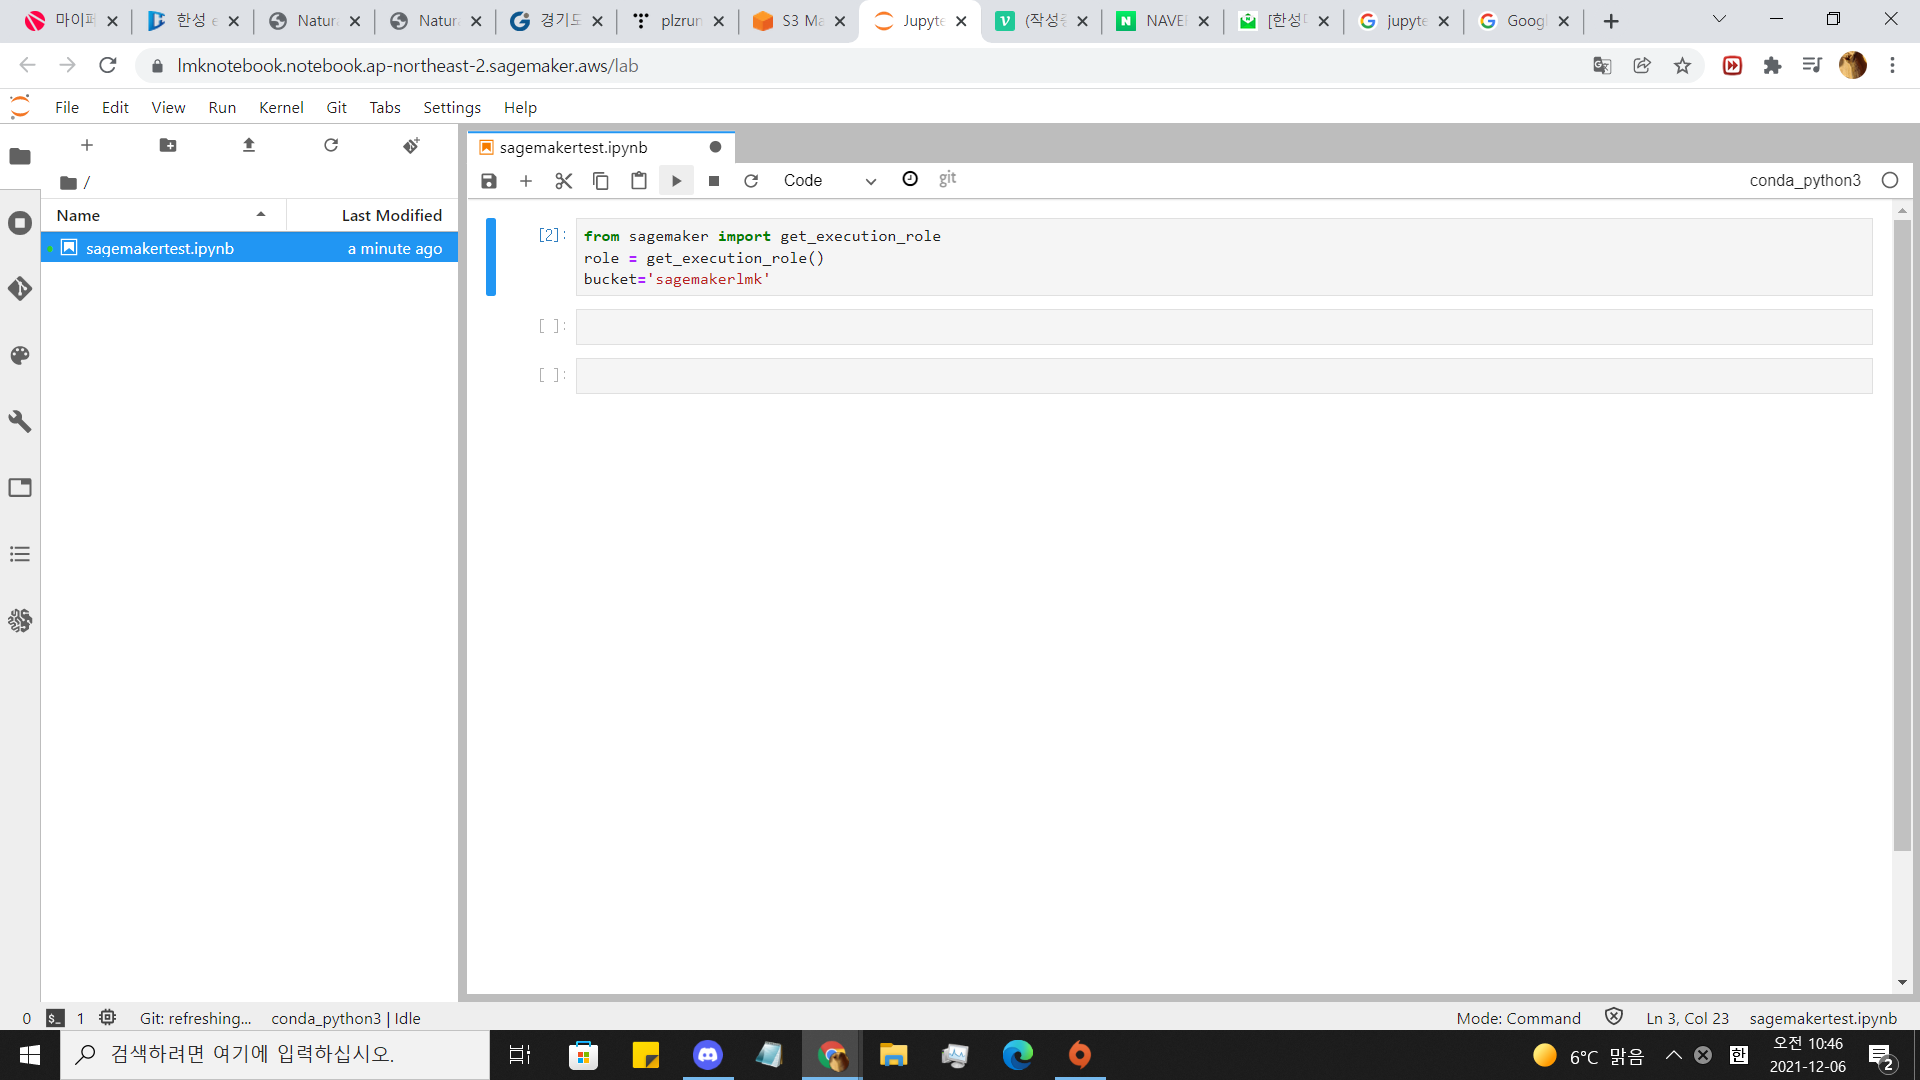
위에 플레이 버튼 누르거나 쉬프트 엔터 칩니다. 실행되었으면
옆에 [ ] 안에 숫자가 바뀝니다.
5.데이터 다운받기
%%time
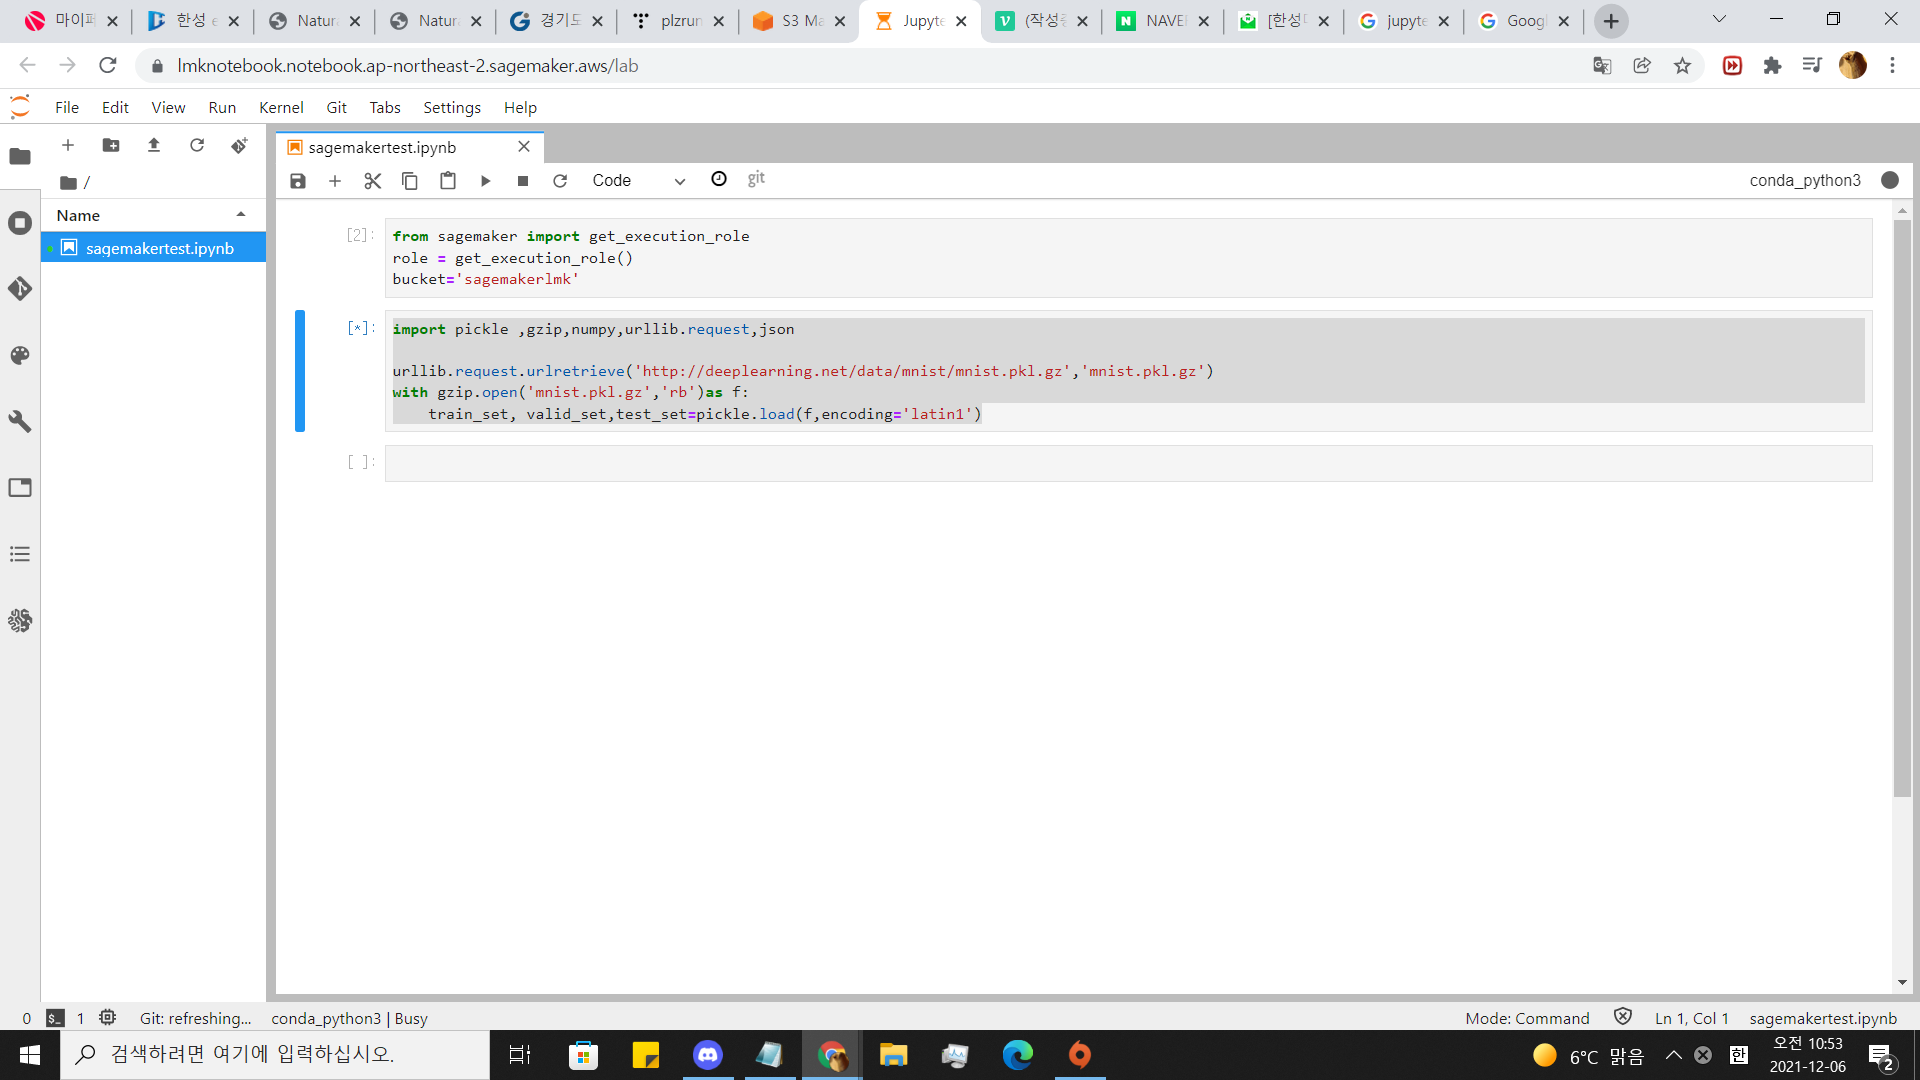
import pickle ,gzip, numpy ,urllib.request , json
urllib.request.urlretrieve('https://figshare.com/ndownloader/files/25635053', 'mnist.pkl.gz')
with gzip.open('mnist.pkl.gz','rb')as f:
    train_set, valid_set,test_set=pickle.load(f,encoding='latin1')
이 코드를 칩시다.
저 url 에서 minst.pkl.gz를 다운받아서 picle로 데이터를 나누는 작업입니다.
6.데이터 변환하기
%matplotlib inline
import matplotlib.pyplot as plt
plt.rcParams['figure.figsize']=(2,10)
그림 사이즈 지정
def show_digit(img,caption='',subplot=None):
    if subplot==None:
        _,(subplot)=plt.subplots(1,1)
        imgr=img.reshape((28,28))
        subplot.axis('off')
        subplot.imshow(imgr,cmap='gray')
        plt.title(caption)
show_digit(train_set[0][30],'This is a {}'.format(train_set[1][30]))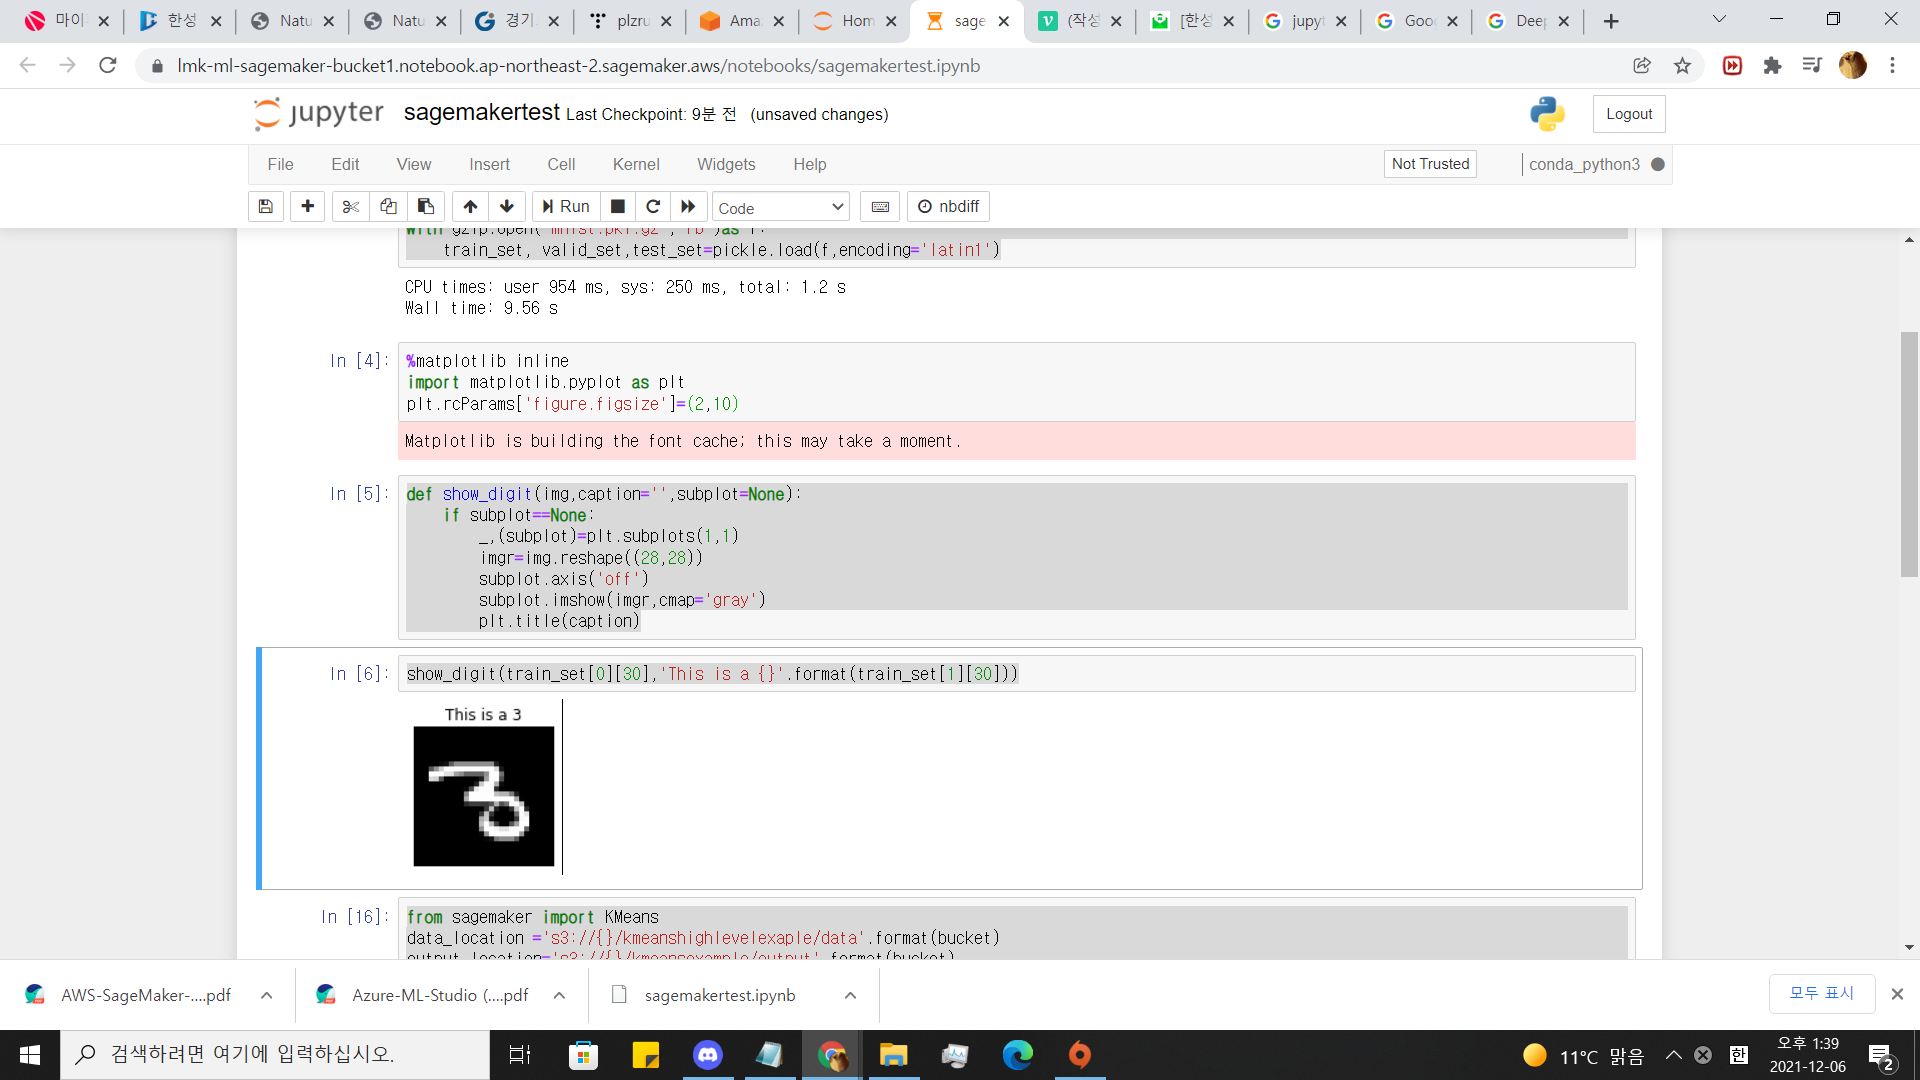
7.데이터를 s3에 업로드
from sagemaker import KMeans
data_location ='s3://{}/kmeanshighlevelexaple/data'.format(bucket)
output_location='s3://{}/kmeansexample/output'.format(bucket)

print('training data will be uploaded to : {}'.format(data_location))
print('training artifacts will be uploaded to :{}'.format(output_location))

kmeans =KMeans(role=role,
              train_instance_count=2,
              train_instance_type='ml.c4.xlarge',
              output_path=output_location,
               k=10,
               data_location=data_location)
8.데이터 학습
%%time
kmeans.fit(kmeans.record_set(train_set[0]))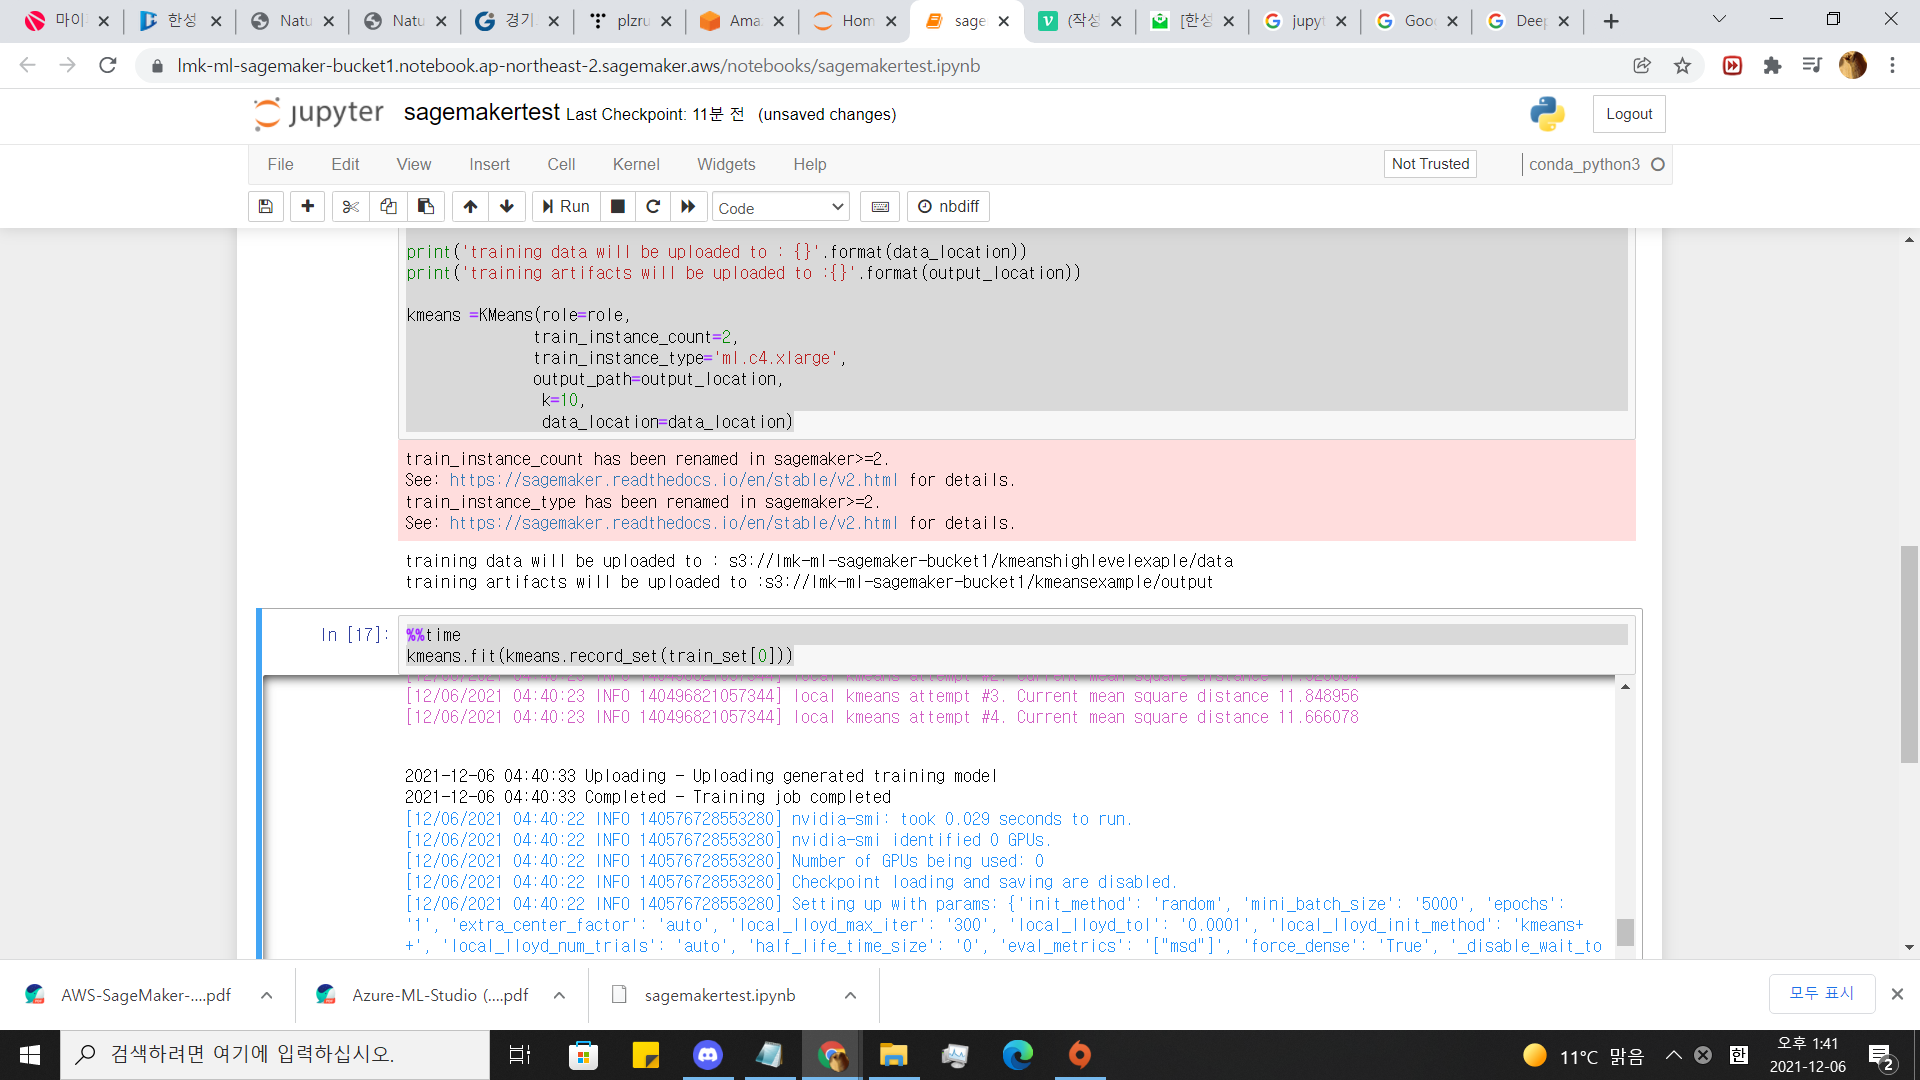
완료될때까지 기다립니다.
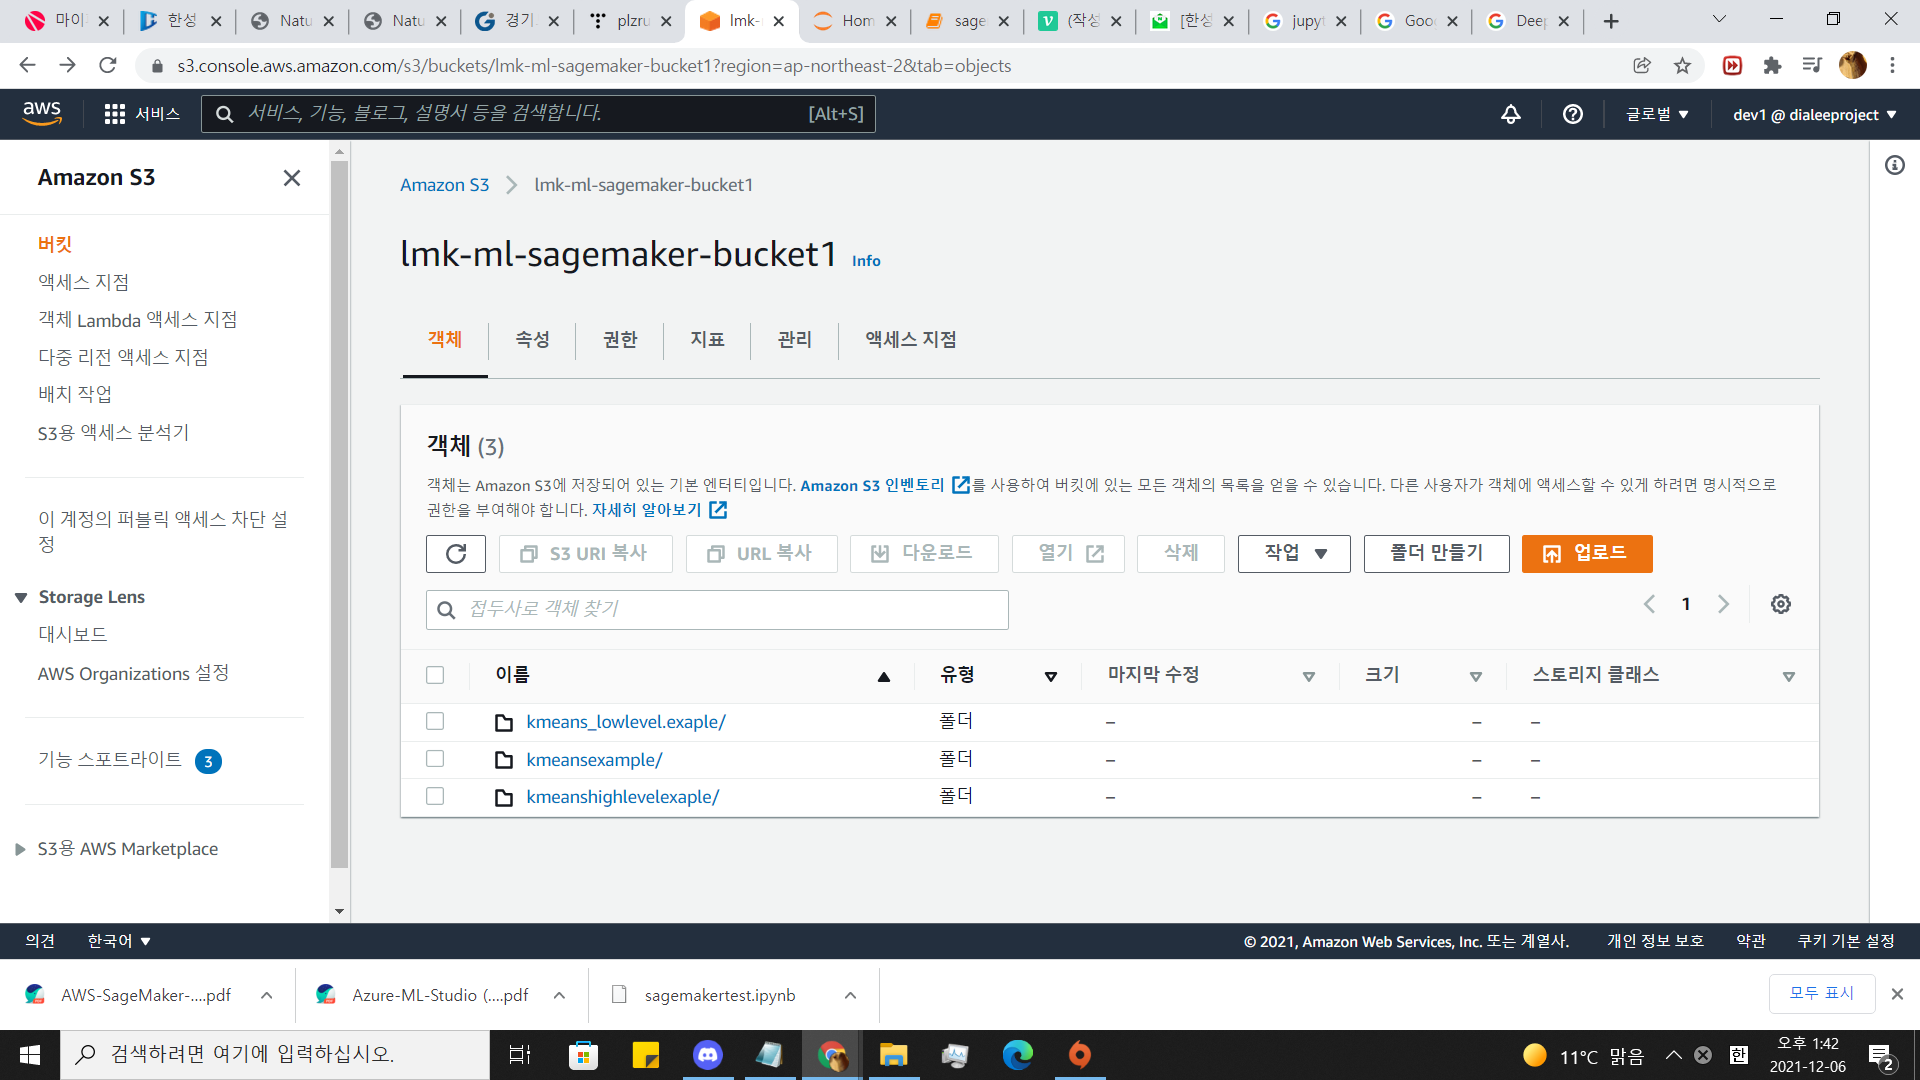
s3로 가면 데이터가 저장되어 있는 것을 확인 할 수 있다.
9.만들어진 딥러닝모델을 배치하기 (deploy)
%%time
kmeans_predictor =kmeans.deploy(initial_instance_count=1,
                               instance_type='ml.c4.xlarge')
10.예측 확인
result=kmeans_predictor.predict(valid_set[0][100])
print(result)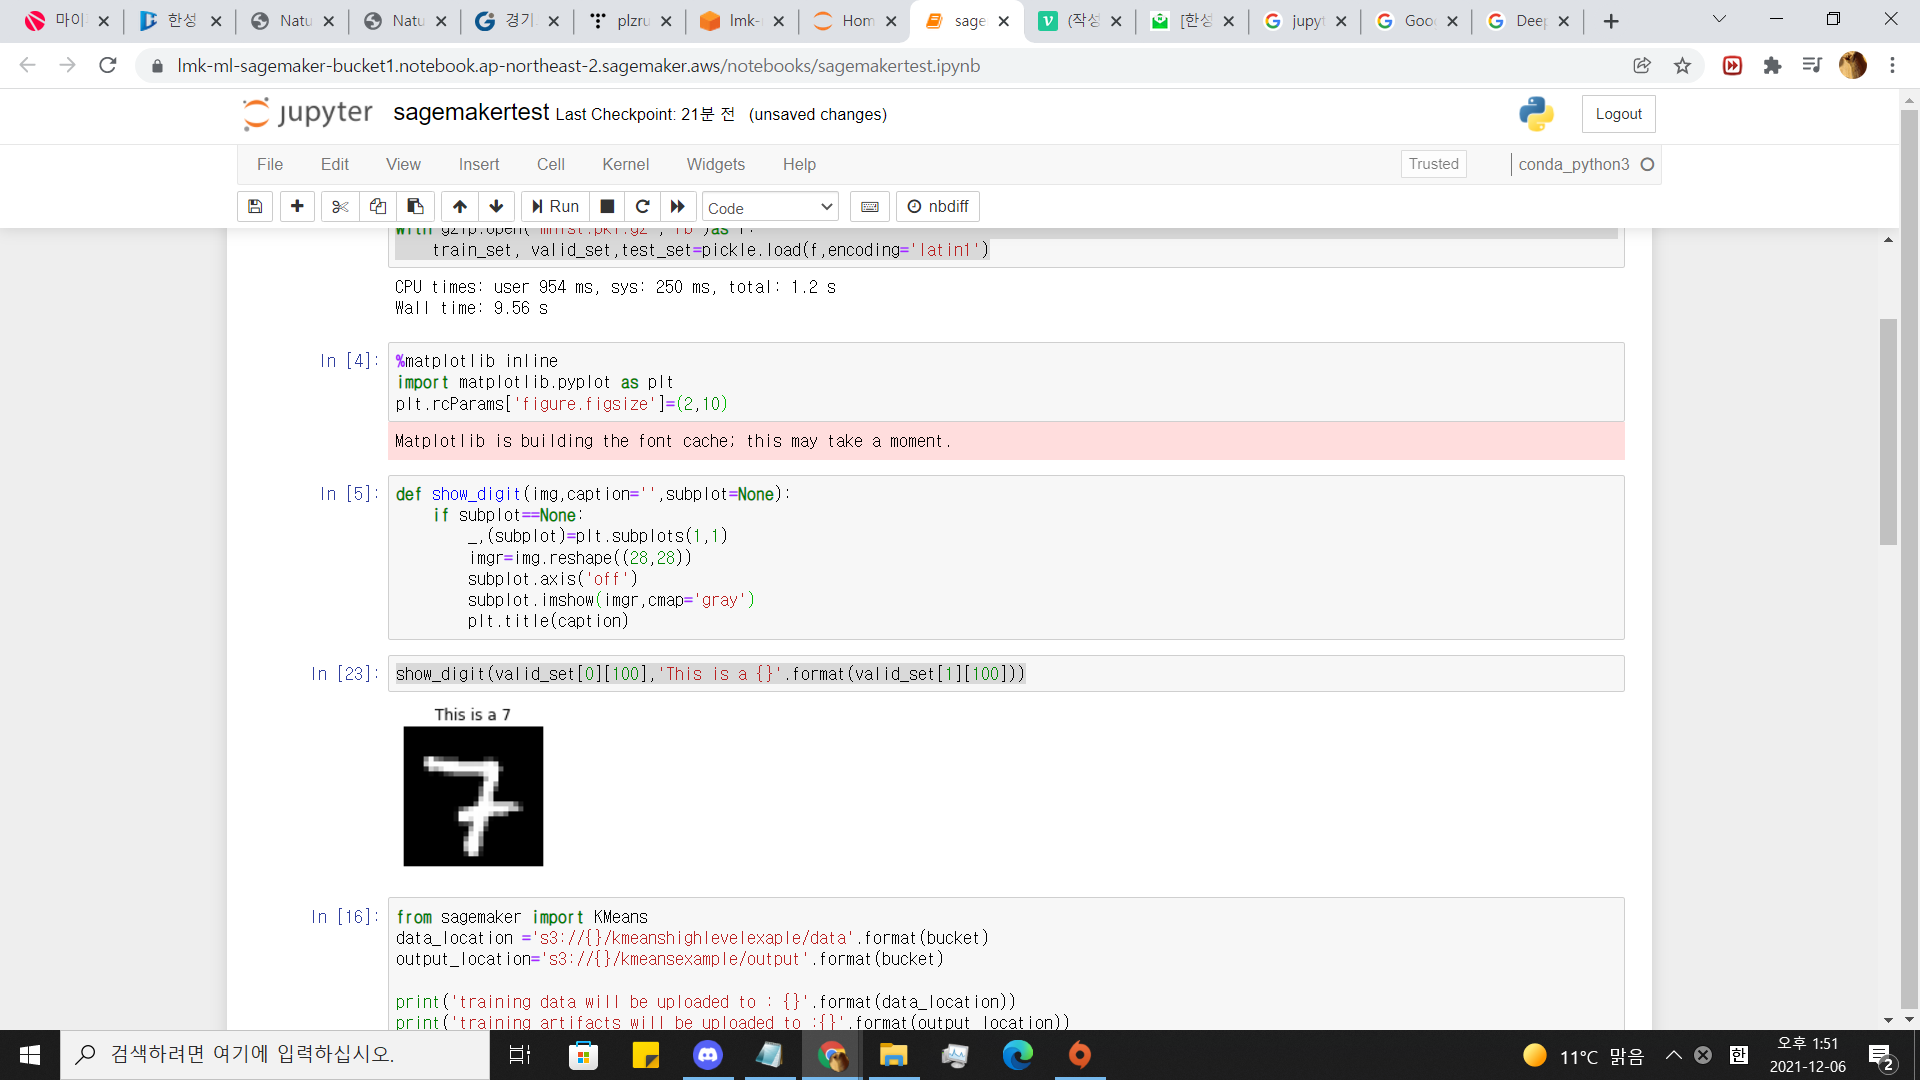
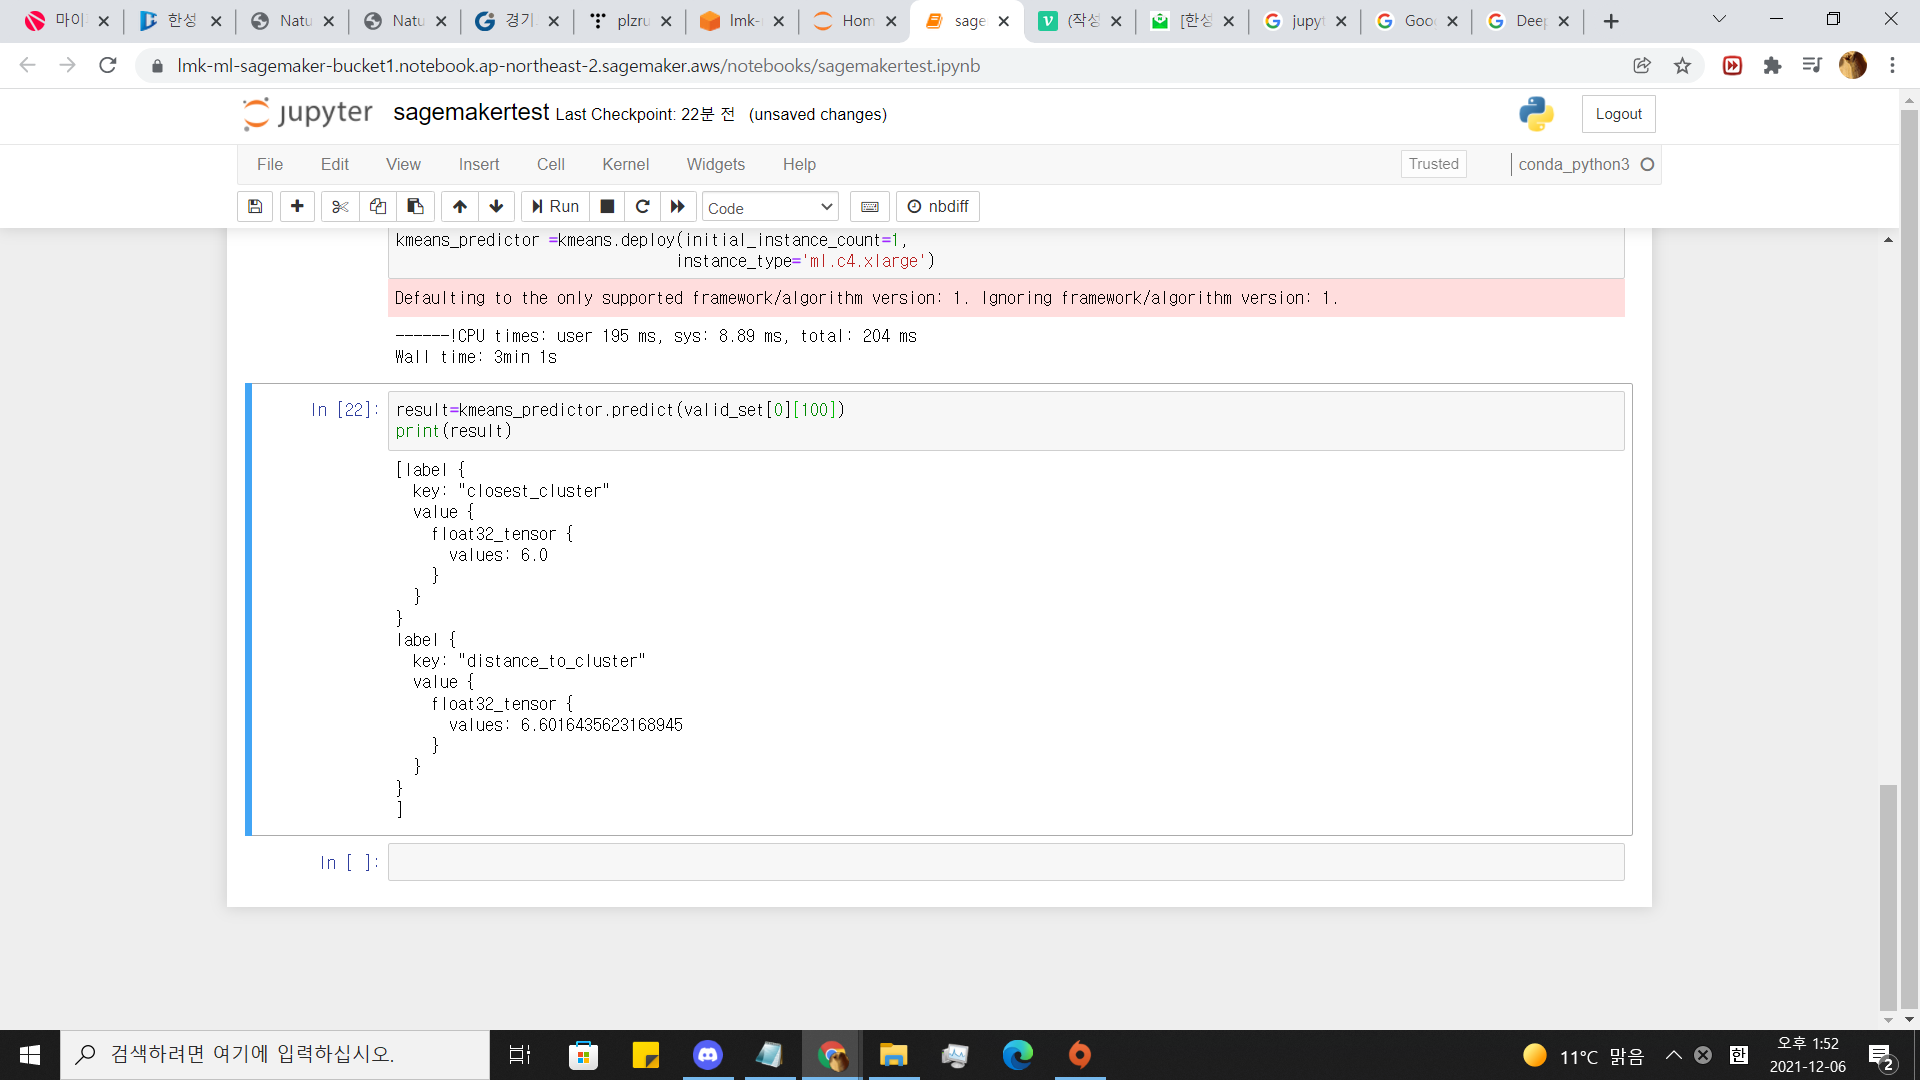
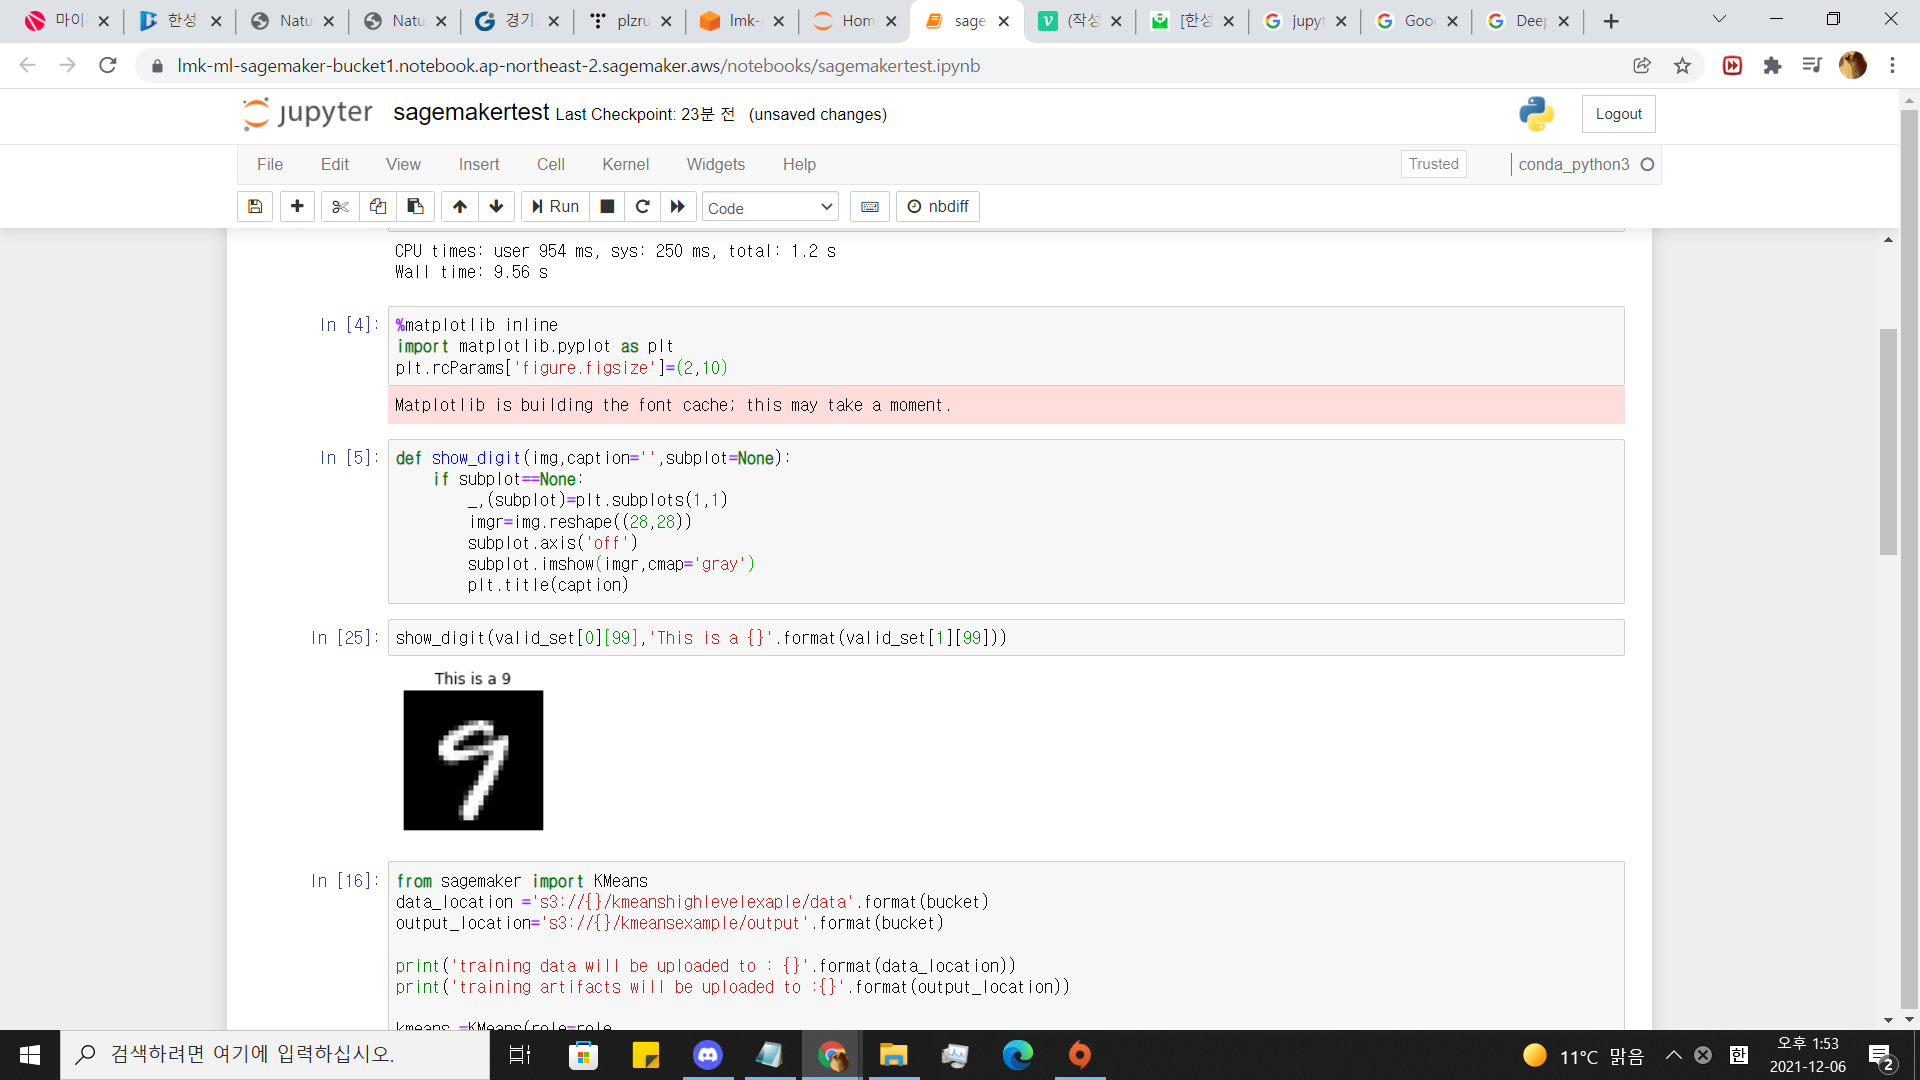
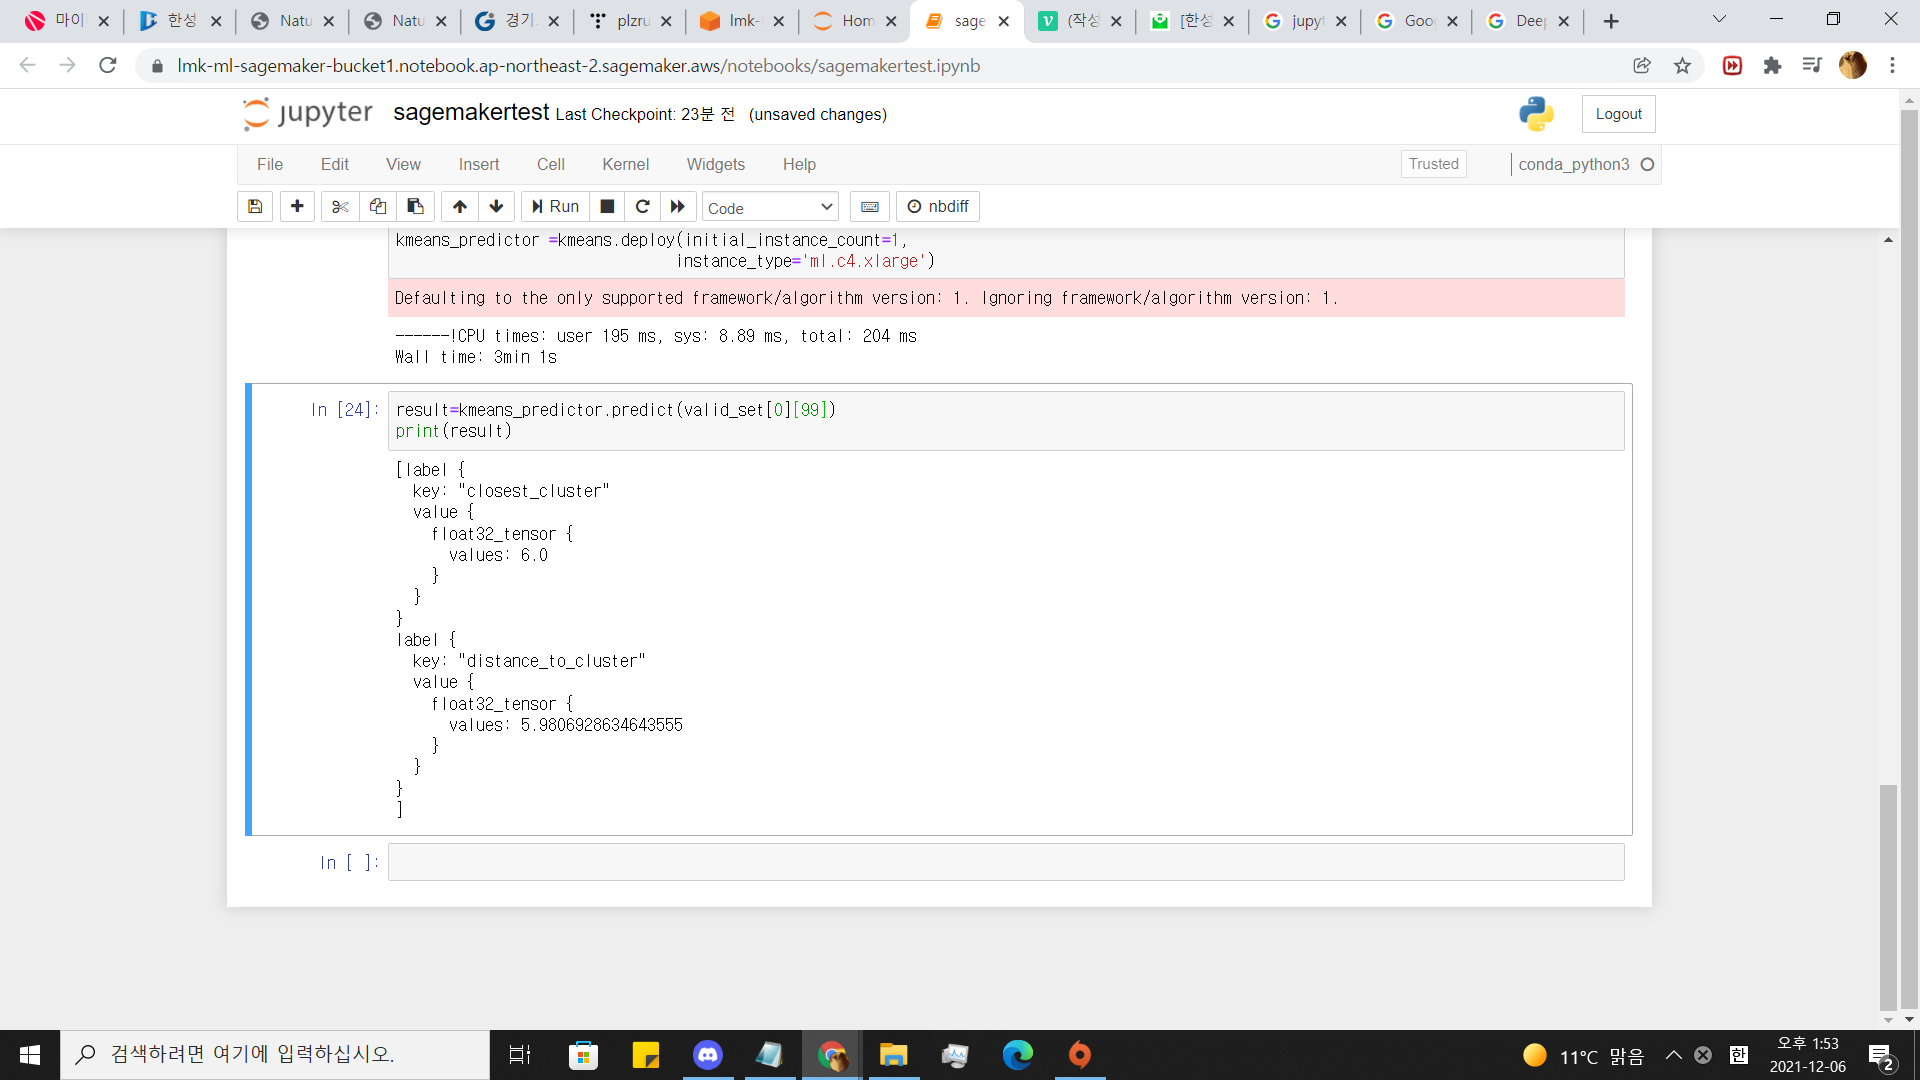
음 .정확도가 높진않네요 .
11.endpoint 확인해보기
sagemaker 대쉬보드로 이동해서 스크롤을 아래로 내려봅시다.
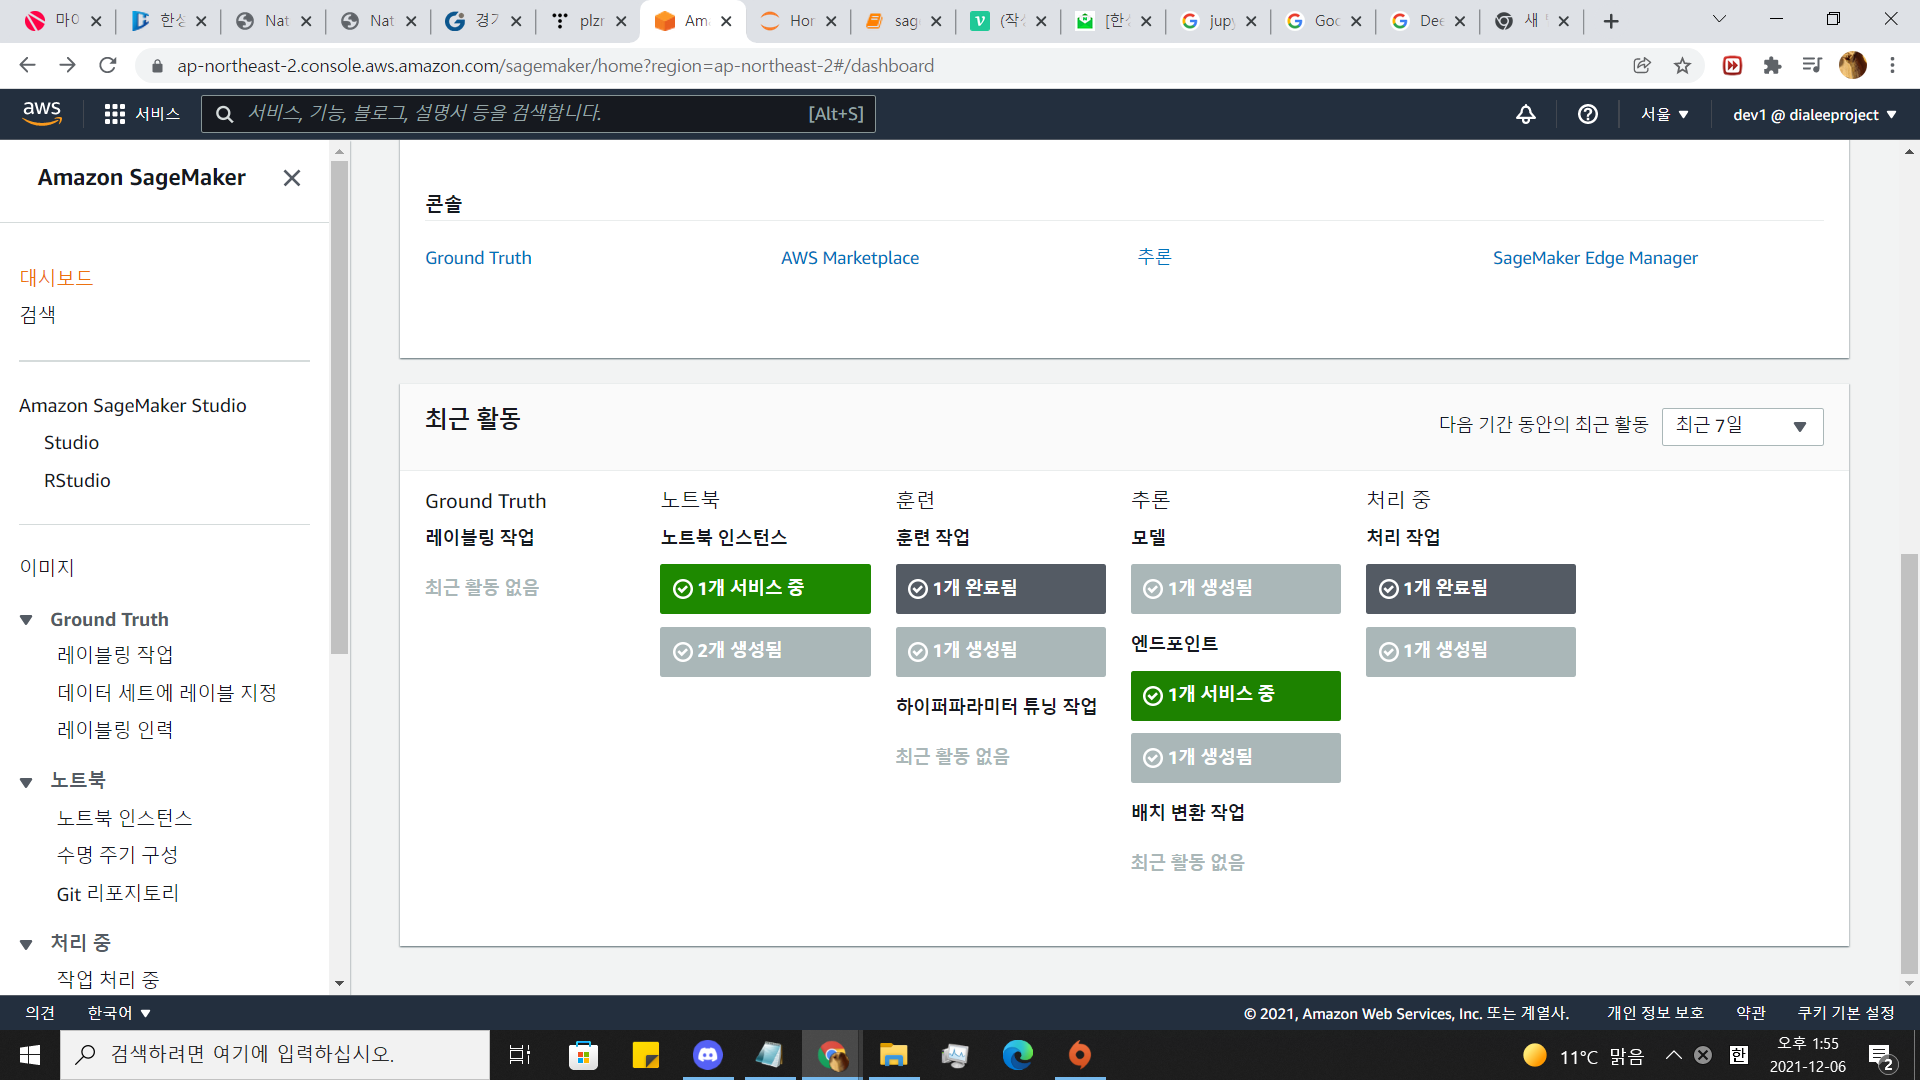
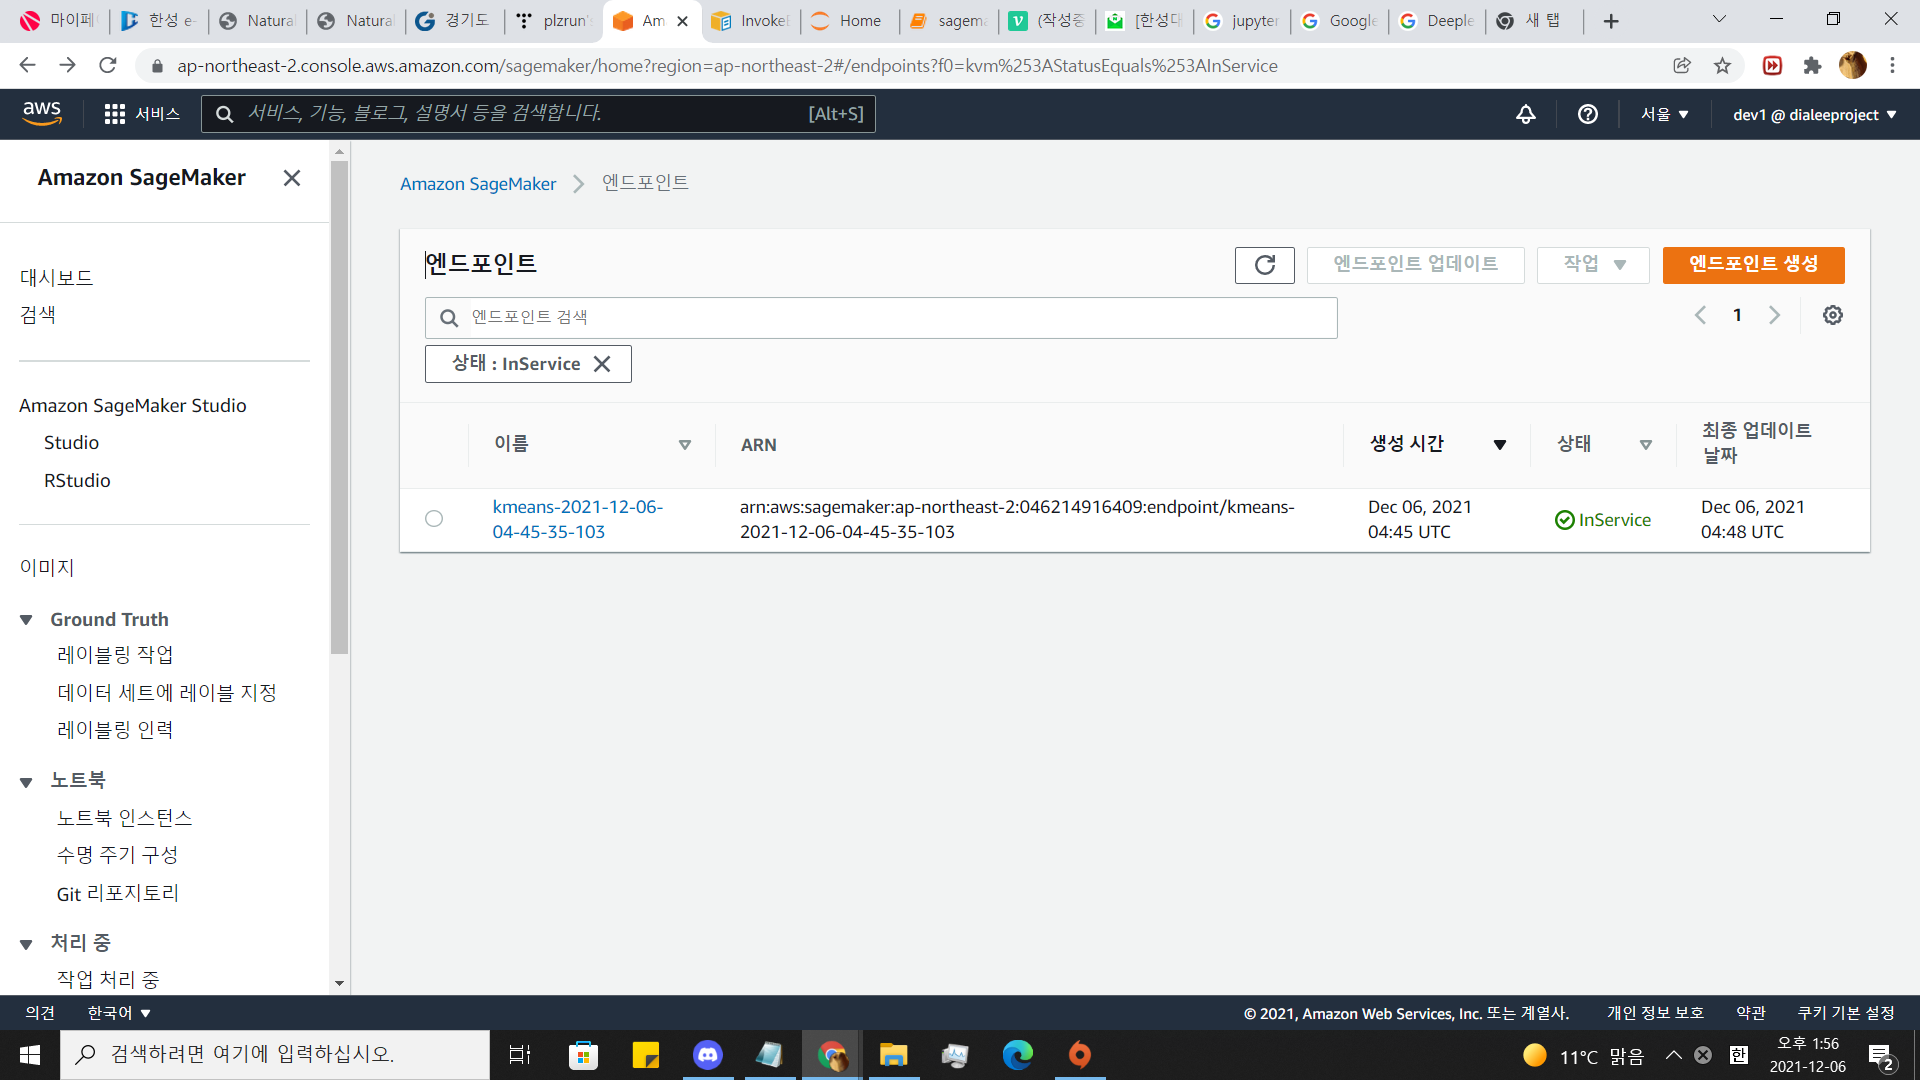
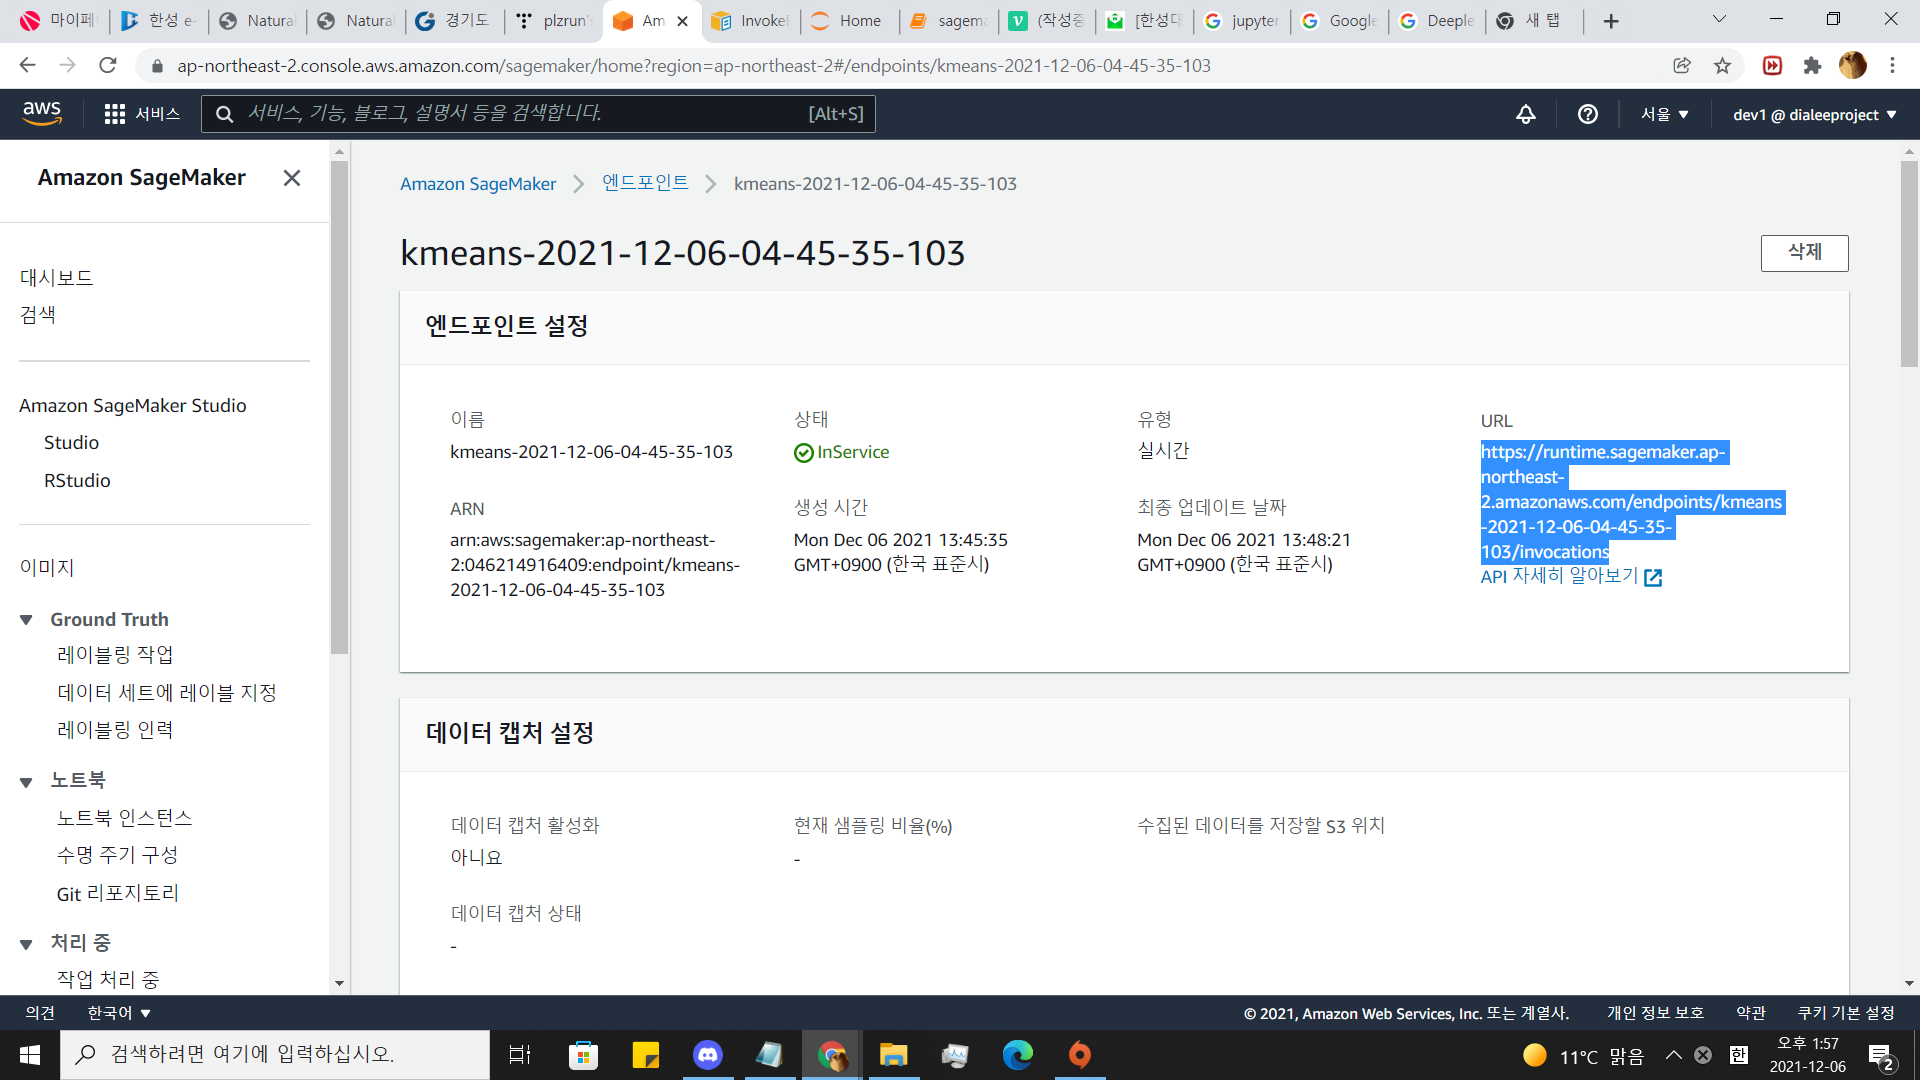
API자세히 보기에서 나와있는 방법으로 저 url에 정보를 보내면
10까지 우리가 구현한 예측방법으로 예측한 결과를 반환해 냅니다.
