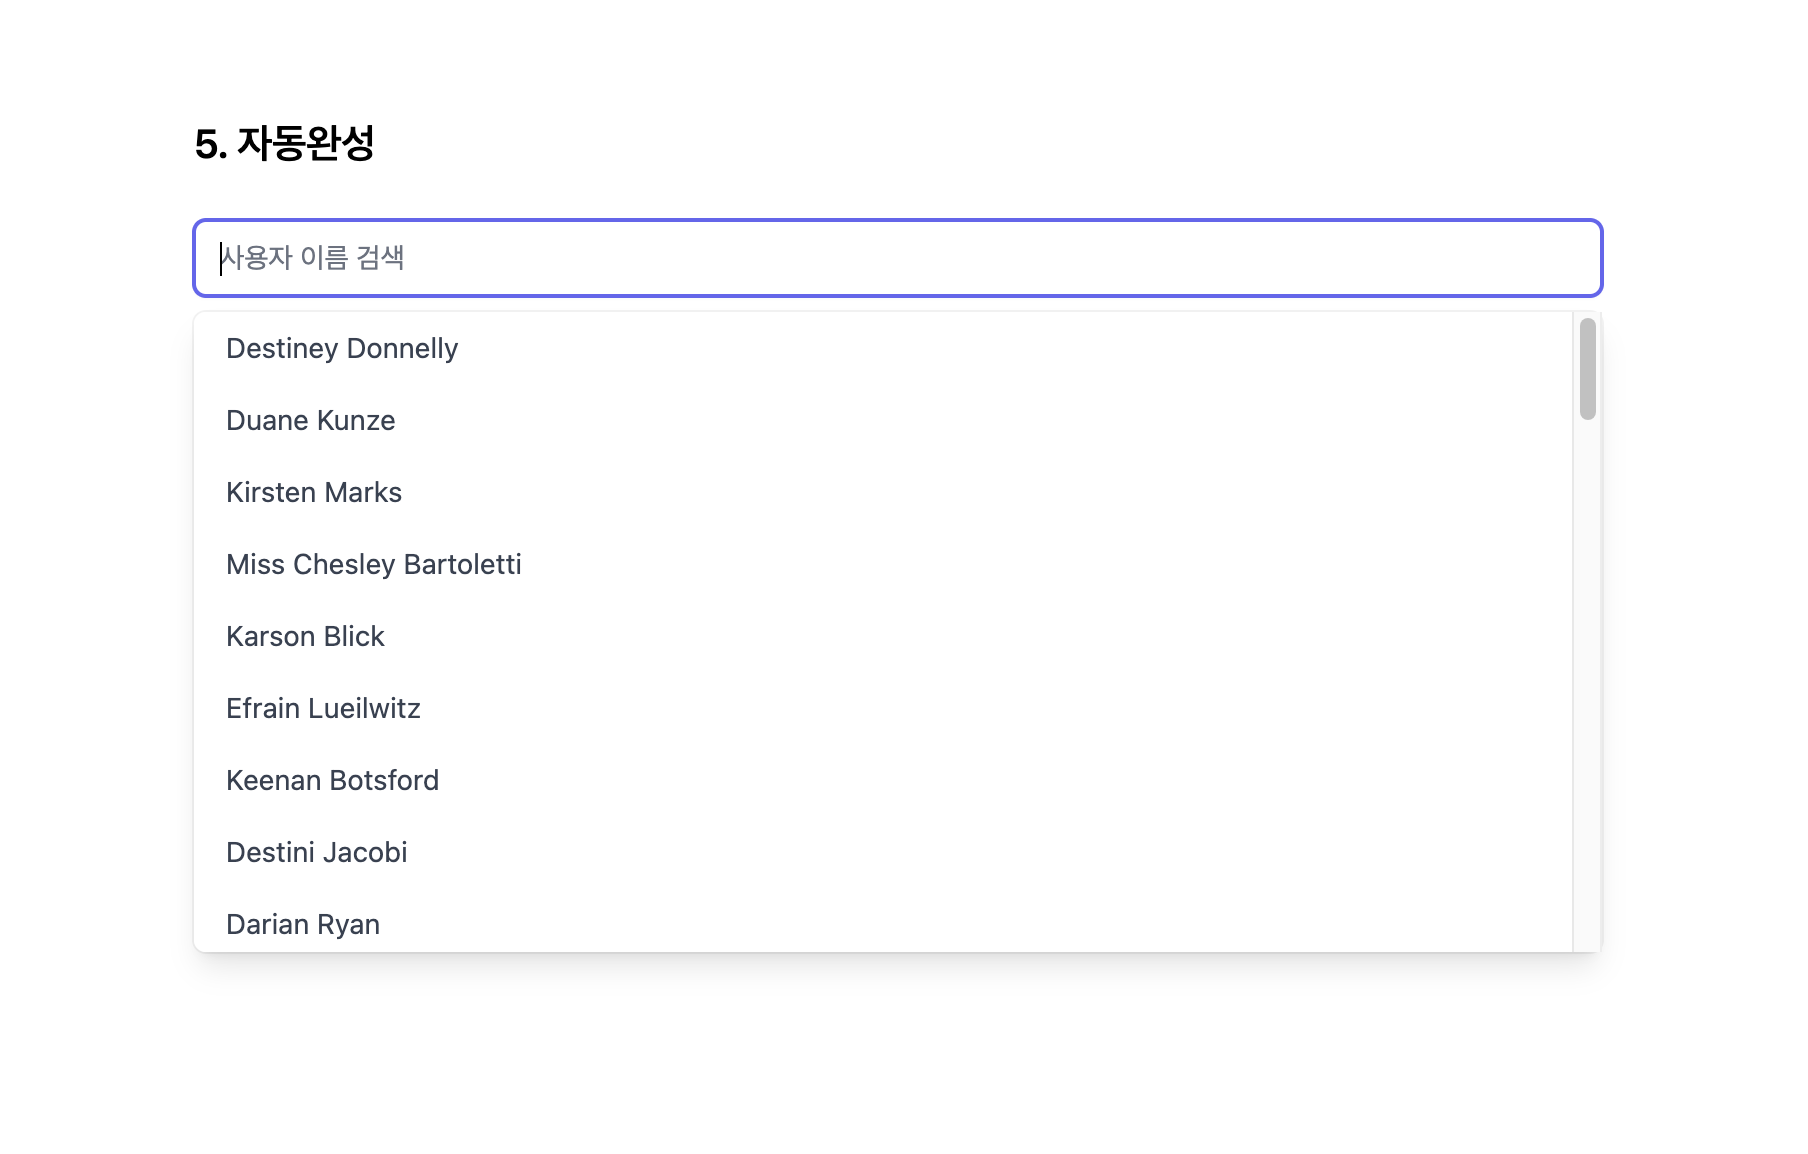
해당 글은 AutoComplete 컴포넌트에 대해서만 작성했습니다.
상세코드는 깃허브 에서 열람하실 수 있습니다.
AutoComplete
W3C - Combobox With List Autocomplete Example 위 예시를 참고하여 자동완성을 구현하기 위한 사항들을 아래와 같이 정리했습니다.
- 비어있는 input에서 아래 방향키로 리스트를 열 수 있어야 한다.
- 비어있는 input에서 아래 방향키를 눌렀을시 리스트의 첫아이템으로 포커스가 이동해야 한다.
- 상하 방향키로 리스트를 탐색할 수 있어야 한다.
- Escape 키를 눌렀을시 input의 내용이 삭제되고 리스트가 닫혀야 한다.
해당 조건들을 구현하기 위해 아래와 같은 방법을 사용했습니다.
1. 키보드 이벤트 할당하기
const inputRef = useRef();
const liRefs = useRef([]);

const focusOnInput = () => {
  if (inputRef.current) {
    inputRef.current.focus();
  }
};

const onListClick = (item) => {
  setKeyword(item);
  setOpen(false);
  focusOnInput();
};

const ARROW_DOWN = "ArrowDown";
const ARROW_UP = "ArrowUp";
const ESCAPE = "Escape";

const onInputkeyDown = (event) => {
  if (event.key === ARROW_DOWN) {
    setOpen(true);
    const first = liRefs.current[0];
    if (first) {
      first.focus();
    }
  }
  if (event.key === ESCAPE) {
    setOpen(false);
  }
};

const onListKeyDown = (event, index) => {
  const next = liRefs.current[index + 1];
  const prev = liRefs.current[index - 1];
  const first = liRefs.current[0];
  const last = liRefs.current[liRefs.current.length - 1];
  if (event.key === ARROW_DOWN) {
    event.preventDefault();
    if (next) {
      next.focus();
    } else {
      first && first.focus();
    }
  }
  if (event.key === ARROW_UP) {
    event.preventDefault();
    if (prev) {
      prev.focus();
    } else {
      last && last.focus();
    }
  }
  if (event.key === ESCAPE) {
    setKeyword("");
    if (inputRef.current) {
      focusOnInput();
    }
    setOpen(false);
  }
};
input 요소와 ul요소에 스크린리더에서 필요한 aira 속성들을 작성해주었습니다.
input 요소의 경우 autocomplete 속성은 aria에 해당하는 속성은 아니지만 브라우저가 기본으로 제공하는 자동완성 기능과 혼동될 수 있기에 off로 설정해주었습니다.
<form className="relative" onSubmit={onSubmit} ref={formRef}>
  <input
    ref={inputRef}
    type="search"
    className="block w-full border-gray-300 rounded-md shadow-sm focus:ring-indigo-500 focus:border-indigo-500 sm:text-sm"
    placeholder={placeholder}
    value={keyword}
    onChange={keywordChange}
    onFocus={inputFocus}
    onKeyDown={onInputkeyDown}
    role="combobox"
    aria-autocomplete="list"
    aria-expanded={list.length > 0 && open ? "true" : "false"}
    autoComplete="off"
    />

  {list.length > 0 && open && (
    <ul
      ref={ulRef}
      role="list"
      className={`${
      absolute ? "absolute" : "static"
                } origin-top-left left-0 mt-2 w-full rounded-md shadow-lg bg-white ring-1 ring-black ring-opacity-5 focus:outline-none max-h-80 overflow-y-auto`}
      >
      {list.map((item, index) => (
        <li key={index} role="option" aria-selected={keyword === item}>
          <button
            ref={(el) => (liRefs.current[index] = el)}
            type="button"
            className="block w-full px-4 py-2 text-sm text-left text-gray-700 hover:bg-gray-100 hover:text-gray-900 focus:bg-gray-50 focus:outline-none"
            onClick={() => {
              onListClick(item);
            }}
            onKeyDown={(event) => {
              onListKeyDown(event, index);
            }}
            >
            {item}
          </button>
        </li>
      ))}
    </ul>
  )}
</form>
리스트는 포커스가 가능하도록 button요소를 li태그 내에 작성했습니다.
button 요소를 사용하는대신 tabindex 속성을 li요소에 작성할수도 있습니다.
각 button 요소는 keyword가 변경될 시 liRefs.current를 빈 배열로 초기화 시켜준 후 레퍼런스를 동적으로 할당시켜주었습니다.
useEffect(() => {
  liRefs.current = [];
  if (!keyword.trim()) {
    setList(data);
    return;
  }
  const newList = data.filter(
    (item) => item.toLowerCase().indexOf(keyword.toLowerCase()) >= 0
  );
  setList(newList);
}, [keyword, data]);

<button ref={(el) => (liRefs.current[index] = el)} //...생략 />
위 코드들을 통해 input과 li 요소 간 키보드를 사용한 접근이 가능해졌습니다.
2. 포커스 아웃 감지하기
const formRef = useRef();
const ulRef = useRef();

const trackFocus = useCallback(
    (event) => {
      if (event.target.offsetParent !== formRef.current) {
        setOpen(false);
      }
    },
    [setOpen, formRef]
  );

const trackKey = useCallback(() => {
  setTimeout(() => {
    if (
      document.activeElement.offsetParent !== formRef.current &&
      document.activeElement.offsetParent !== ulRef.current
    ) {
      setOpen(false);
    }
  });
}, [setOpen, ulRef]);

useEffect(() => {
  document.addEventListener("click", trackFocus);
  document.addEventListener("keydown", trackKey);
  return () => {
    document.removeEventListener("click", trackFocus);
    document.removeEventListener("keydown", trackKey);
  };
}, [trackFocus, trackKey]);trackFocus와 trackKey 함수를 작성했습니다.
전자의 경우 마우스 사용자를 위해 작성된 함수로써 전체요소를 감싸는form 요소 외부에 포커스가 위치할시 리스트를 닫아줍니다.
후자의 경우 키보드 사용자를 위해 작성된 전자와 같은 동작을하는 함수입니다.
해당 함수에서 setTimeout을 사용하는 이유는 keydown 이벤트의 동작이 document.activeElement를 찾는 동작보다 더 앞서 발생하기 때문에 비동기적으로 처리해주어야 keydown 이벤트의 동작이 끝난 후 현재 포커스된 요소를 찾아줍니다.
위와 같은 방법을 통해 키보드 사용자와 마우스 사용자 모두 불편함 없이 자동완성 컴포넌트를 사용할수있게 되었습니다. 😄
