🔨 작업 코드
- 블록 그리기
전 포스팅에 이어서 블록을 만들어보려 한다.
canvas를 사용하면서 느끼는건데, 이 녀석.. 정말 좌표뿐이다. ㅋㅋ
블록을 만들어주기 위해 좌표를 잡아준다.
export class Block {
  // 블록의 x, y 좌표와 길이와 높이를 받는다.
  constructor(x, y, width, height) {
    this.width = width;
    this.height = height;
    this.x = x;
    this.y = y;
  }

  draw(ctx) {
    ctx.fillStyle = "tomato";
    ctx.beginPath();
    // 좌표를 받아 사각형을 만들어준다
    ctx.rect(this.x, this.y, this.width, this.height);
    ctx.fill();
  }
}
class App {
constructor() {
...
this.ball = new Ball(this.stageWidth, this.stageHeight, 60, 10);
// 임의로 블록의 크기를 지정
this.block = new Block(200, 300, 400, 30);
window.requestAnimationFrame(this.animate.bind(this));
}
...
animate() {
window.requestAnimationFrame(this.animate.bind(this));
this.ctx.clearRect(0, 0, this.stageWidth, this.stageHeight);
// 블록 그리기
this.block.draw(this.ctx);
this.ball.draw(this.ctx, this.stageWidth, this.stageHeight);
}
}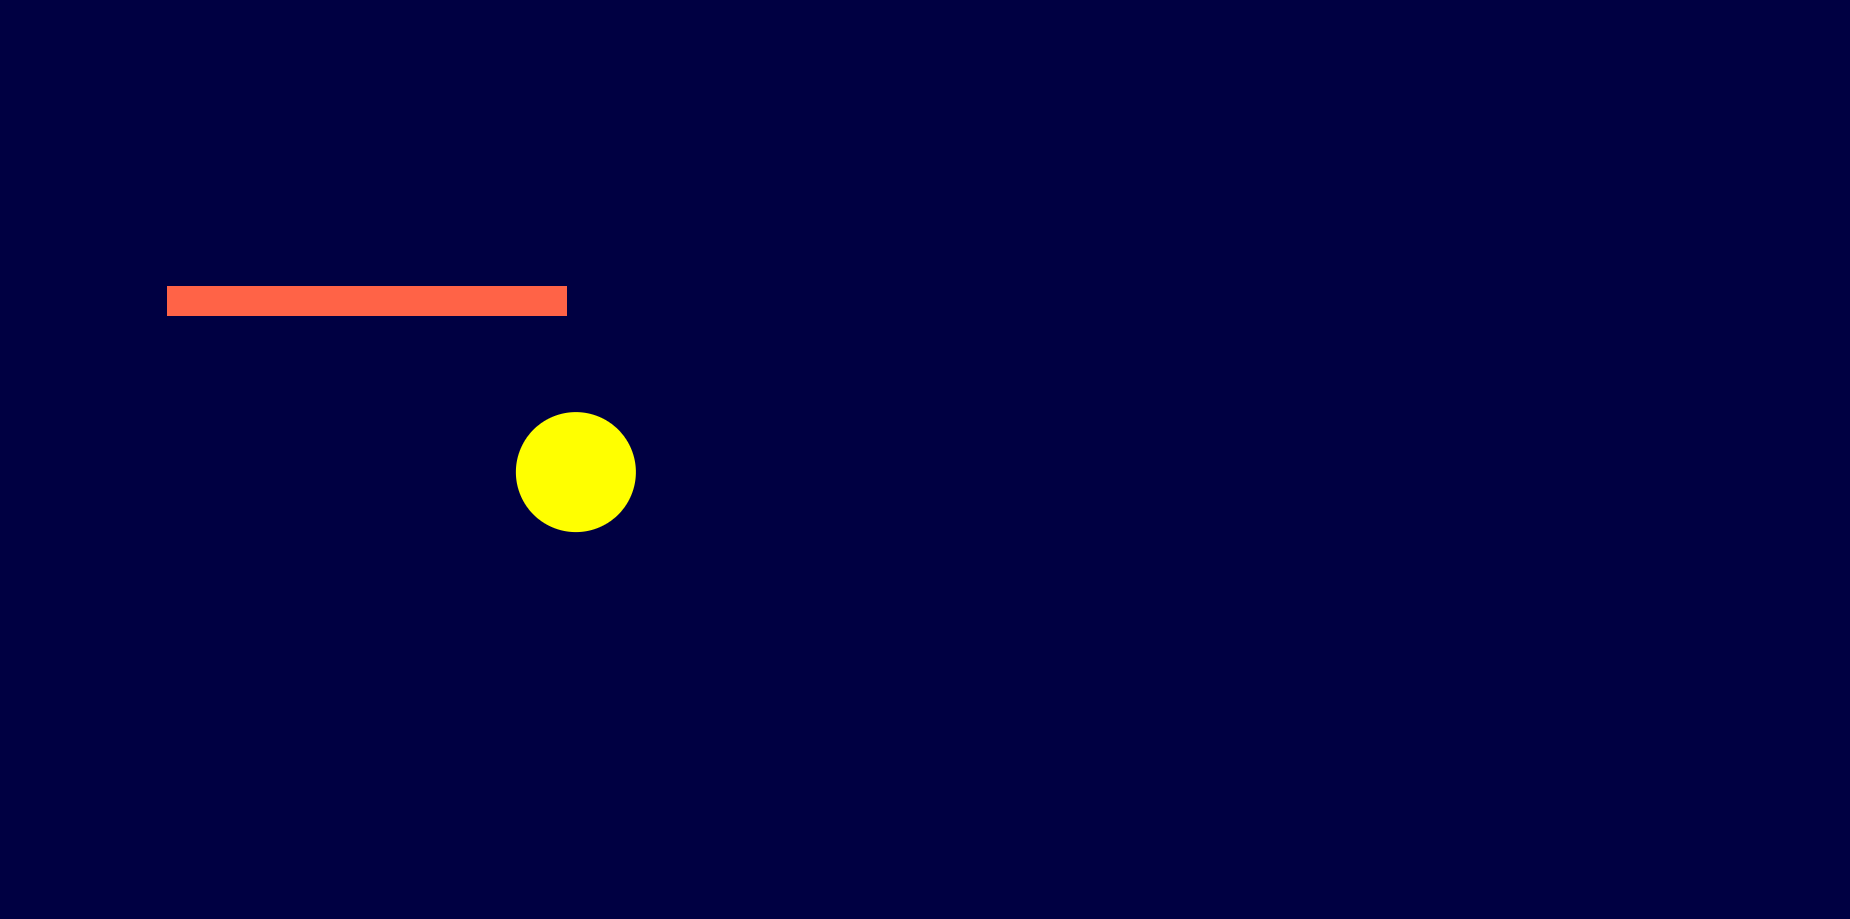
그럼 이렇게 블록이 하나 생긴다. 이렇게 두면 좀 밋밋하니까 블록에 moveTo, lineTo로 좌표를 이어서 입체처럼 보이게 만들어주자.
그러면..
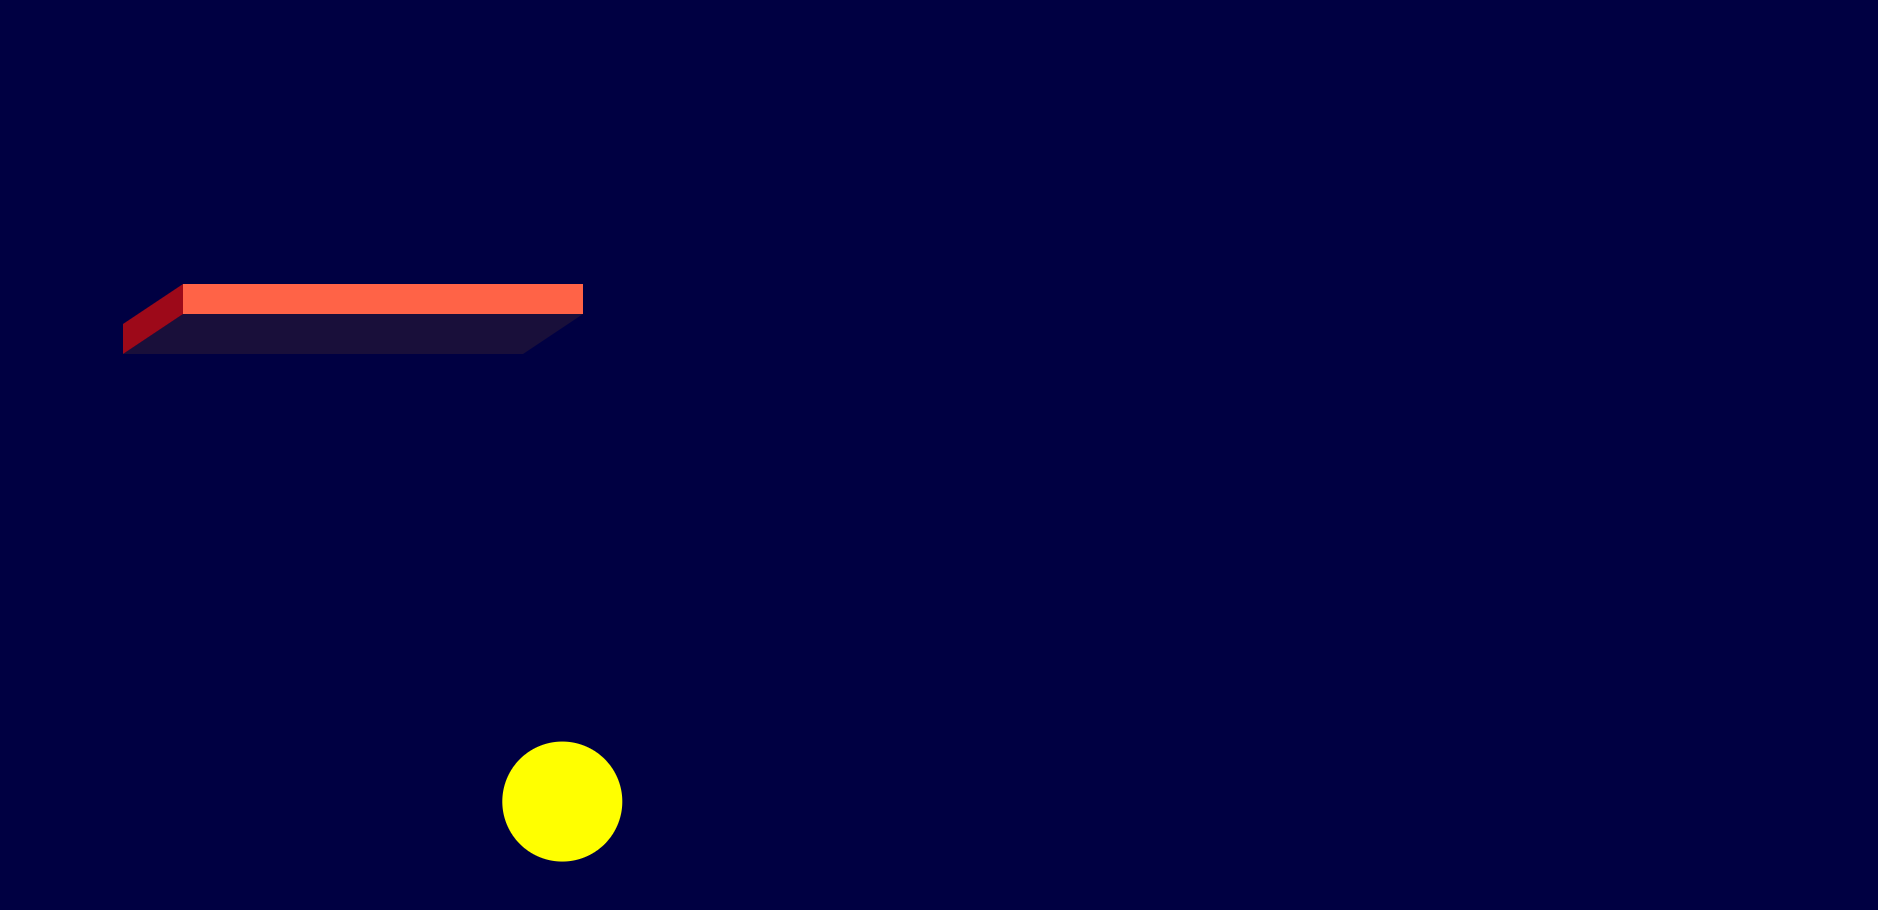
그럴싸한 블록이 만들어졌다! 하지만 아직 블록에 튕겨나가지 않으므로, 창에 튕기게 만든 것과 유사하게 블록도 함수를 만들어준다.
- 블록 형상화
class App {
  ...

  animate() {
    window.requestAnimationFrame(this.animate.bind(this));
    this.ctx.clearRect(0, 0, this.stageWidth, this.stageHeight);
    this.block.draw(this.ctx);
    // draw에 블록을 추가한 후
    this.ball.draw(this.ctx, this.stageWidth, this.stageHeight, this.block);
  }
}
export class Ball {
...
draw(ctx, stageWidth, stageHeight, block) {
this.x += this.vx;
this.y += this.vy;
this.bounceWindow(stageWidth, stageHeight);
// 블록 함수 추가
this.bounceBlock(block);
...
}
...
bounceBlock(block) {
const minX = block.x - this.radius;
const maxX = block.maxX + this.radius;
const minY = block.y - this.radius;
const maxY = block.maxY + this.radius;
// 블록 영역 정의
if (this.x > minX && this.x < maxX && this.y > minY && this.y < maxY) {
// 블록의 x, y 중 어느 쪽에 닿았는지 판별
const x1 = Math.abs(minX - this.x);
const x2 = Math.abs(maxX - this.x);
const y1 = Math.abs(minY - this.y);
const y2 = Math.abs(maxY - this.y);
const min1 = Math.min(x1, x2);
const min2 = Math.min(y1, y2);
const min = Math.min(min1, min2);
if (min === min1) {
this.vx *= -1;
this.x += this.vx;
} else if (min === min2) {
this.vy *= -1;
this.y += this.vy;
}
}
}
}그러면..
블록에 정상적으로 튀는 공의 모습을 볼 수 있다.
그런데, 여기서 문제가 하나 발생한다.
- 버그 발견 🔍
블록을 불가침 영역으로 지정했기 때문에, 처음 생성된 공이 블록 안에서 나타났을 경우,
공이 블록 안에 갇히는 현상이 나타난다.
이를 해결하기 위해, 조건문을 하나 지정해줬다.
- 버그 수정 ✅
class App {
  constructor() {
    ...
    this.block = new Block(200, 300, 400, 30);
    // 블록을 ball 안에 넣어준다.(블록의 좌표를 얻어야 하기 때문)
    this.ball = new Ball(this.stageWidth, this.stageHeight, 50, 5, this.block);

    window.requestAnimationFrame(this.animate.bind(this));
  }
export class Ball {
constructor(stageWidth, stageHeight, radius, speed, block) {
...
const diameter = this.radius * 2;
this.checkX = this.radius + Math.random() * (stageWidth - diameter);
this.checkY = this.radius + Math.random() * (stageHeight - diameter);
// 생성된 위치가 블록 안일 경우를 체크
this.checkXYWithBlock =
block.x - this.radius < this.checkX &&
this.checkX < block.maxX + this.radius &&
block.y - this.radius < this.checkY &&
this.checkY < block.maxY + this.radius;
// checkXYWithBlock이 참이면 블록 안에 공이 만들어진 것이므로
// 갇히는 것을 막기 위해 좌측 상단에 공이 나오게 지정
this.x = this.checkXYWithBlock ? this.radius : this.checkX;
this.y = this.checkXYWithBlock ? this.radius : this.checkY;
}
...
}이러면, 문제 없이 정상 작동하는 모습을 볼 수 있다!
- 추가 기능 구현
여기에서 끝내긴 좀 아쉬워서 공을 마음대로 움직이게 할 수는 없을까? 하는 생각에 마우스를 이용한 event를 추가로 만들어봤다. (drag & drop)
export class Ball {
  constructor(stageWidth, stageHeight, radius, speed, block) {
	...
    // 추가할 이벤트 함수를 변수로 선언 (그 이유는 뒤에서 말하겠다.)
    this.onMouseDown = this.mousedown.bind(this);
    this.onMouseUp = this.mouseup.bind(this);
    this.onMouseMove = this.mousemove.bind(this);
  }

  draw(ctx, stageWidth, stageHeight, block) {
    // mousedown 이벤트를 추가
    window.addEventListener("mousedown", this.onMouseDown);
    ...
  }

  setDirection() {
    // 현재 공의 방향을 변수에 저장
    this.vxDirection = this.vx < 0 ? -1 : 1;
    this.vyDirection = this.vy < 0 ? -1 : 1;
  }

  mousedown(event) {
    // 7. 다시 mousedown이 발생하면 맨 뒤에 발생했던 mouseup제거 (그 이유는 뒤에서 말하겠다.)
    window.removeEventListener("mouseup", this.onMouseUp);
    this.offsetX = event.clientX - this.x;
    this.offsetY = event.clientY - this.y;

	// 1. mousedown이 발생될 때 현재 공의 방향을 불러온다.
    this.setDirection();

    // 2. 만약 공 안에서 mousedown이 발생하면 mousemove를 이벤트를 실행
    if (
      Math.abs(this.offsetX) <= this.radius &&
      Math.abs(this.offsetY) <= this.radius
    ) {
      window.addEventListener("mousemove", this.onMouseMove);
    }
  }

  mousemove(event) {
    // 3. mousemove 이벤트 실행시 공이 멈추고 공이 마우스를 따라 이동
    this.x = event.clientX - this.offsetX;
    this.y = event.clientY - this.offsetY;

    this.vx = 0;
    this.vy = 0;

    // 4. 마우스를 떼면 mouseup 이벤트 실행
    window.addEventListener("mouseup", this.onMouseUp);
  }

  mouseup() {
    // 5. 공을 mousedown으로 집었을 때의 방향을 불러와 공이 다시 움직이도록 구현
    this.vx = this.speed;
    this.vy = this.speed;

    if (this.vxDirection < 0) {
      this.vx *= -1;
    }
    if (this.vyDirection < 0) {
      this.vy *= -1;
    }

	// 6. mousemove, mousedown 이벤트 제거
    window.removeEventListener("mousemove", this.onMouseMove);
    window.removeEventListener("mousedown", this.onMouseDown);
  }
}
🎉 그 결과

내 마음대로 조종할 수 있는 공이 완성됐다! (짝짝짝)
🩹 힘들었던 점
class에서 event를 추가 및 제거함에 있어 뜻대로 되지 않는 동작이 잦았다.
특히, addEventListener("mouseup", this.function) 요 함수 부분이 this.function.bind(this) 처럼 bind로 감싸주지 않으면 동작 자체를 안했다.
그래서 bind로 감싸고 실행해봤더니 이번엔 removeEventListener가 동작을 안했다.
(지금 생각해도 답답함 ㅋㅋ)
원리를 알고자 많이 찾아봤지만, 크게 이해가 되지 않았다.
그러다 bind에 관한 좋은 글 하나를 발견했다. -> bind 알아보기
const object = {
	name: 'object',
	getName() {
		return this.name;
	}
}

const getName = object.getName;
const bindGetName = object.getName.bind(object);

console.log(getName === bindGetName); // false
링크에 있는 글을 보면 위의 코드가 같지 않다는 것을 알 수 있다.
 class TryEvent {
    ...
	add() {
		this.element.addEventListener('click', this.click.bind(this));
	}

	remove() {
		this.element.removeEventListener('click', this.click);
		this.element.removeEventListener('click', this.click.bind(this));
	}
}
따라서 이 3개의 함수도 다 다른 값을 가지고 있다는 것이다.
그래서 removeEventListener가 동작하지 않았다. 없는 event를 제거하려고 했으니 말이다.
이를 해결해 주기 위해 함수를 this.function.bind(this) 로 선언하고 변수를 만들어 이 값을 할당해줬다.
- this.onMouseUp = this.mouseup.bind(this)
이러면 어디에서 event가 만들어져도 직접 함수 호출이 아닌 변수를 호출해 줌으로써 같은 event를 추가 및 제거할 수 있을 것이다. (지금 내 이해도로는 이게 최선이다 ㅠㅠ)
이렇게 가설을 세우고 실행하니 다행히도 event들이 정상적으로 작동했다!!!
그런데.. 또 문제가 하나 생겼다.
mouseup 이벤트에서 공의 방향을 기억하고 있던 탓인지,
공이 아닌 빈 화면에 마우스를 눌렀다 뗐는데 갑자기 공의 방향이 바뀌는 것이었다. ㅋㅋ
이를 없애주기 위해 여러가지 시도를 해봤지만... 영 마음에 들지 않아,
그냥 mousedown 이벤트가 다시 발생할 때 기존에 있던 mouseup 이벤트를 없애줬다.
원하는 기능 구현이 순탄치는 않았지만, 그래도 얻는게 있어서 뿌듯하다 😄