1. Request를 받아올 DTO 만들기
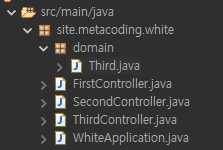
public class Third {
private Integer id;
private String title;
private String content;
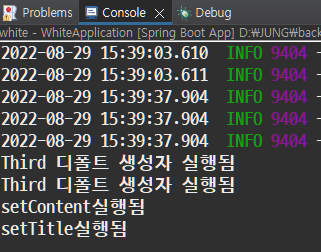
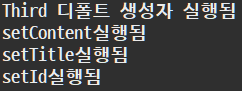
public Third() {
System.out.println("Third 디폴트 생성자 실행됨");
}
//생성자 안만들면 디폴트 생성자가 있기에 굳이 만들지 않아도 되나,
//리퀘스트 DTO가 잘 실행되는지 보기 위해 sysout출력을 하려고 만들었다.
public Integer getId() {
return id;
}
public void setId(Integer id) {
System.out.println("setId실행됨");
this.id = id;
}
public String getTitle() {
return title;
}
public void setTitle(String title) {
System.out.println("setTitle실행됨");
this.title = title;
}
public String getContent() {
return content;
}
public void setContent(String content) {
System.out.println("setContent실행됨");
this.content = content;
}
}2. POST, PUT 데이터 받기 (x-www-form-urlencoded 타입)
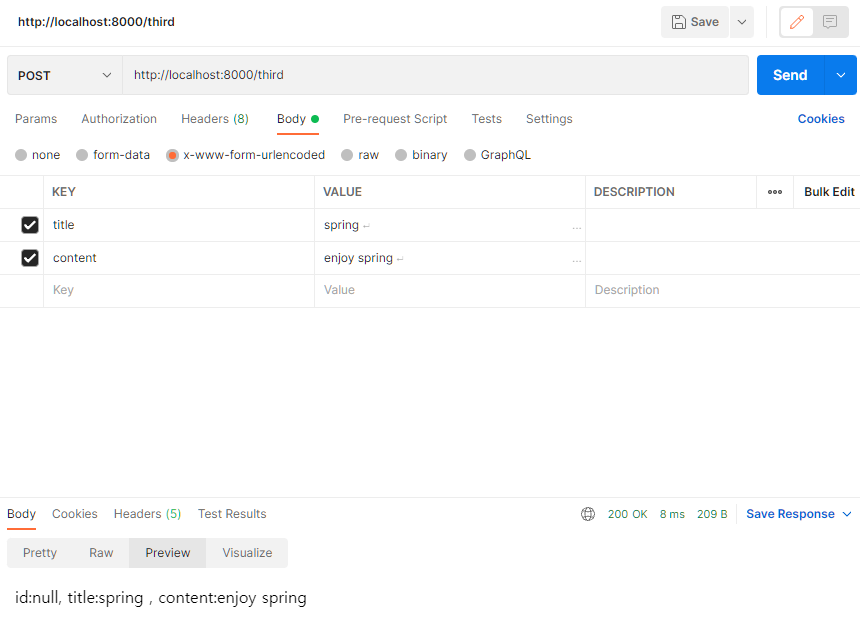
1) POST - DTO를 변수로 데이터 받기
@RestController
public class ThirdController {

	@PostMapping("/third")
	public String postData(Third third) {
		return "id:"+third.getId()+", title:"+third.getTitle()+", content:"+third.getContent();
	}
}
클래스를 타입으로 사용하면(Third third)
Spring이 자동으로 Third를 new하고(여기서 Third는 request를 받을 DTO다),
post로 보낸 데이터를 BR로 읽은 뒤 자동으로 파싱하여 setter를 실행한다. (이 역할은 DS가 한다, 디폴트 파싱 타입 : x-www-form-urlencoded)
→ 최종적으로 object를 만들어 준다.
id는 시퀀스로 자동으로 만들어지므로 body에 title과 content만 입력한다.
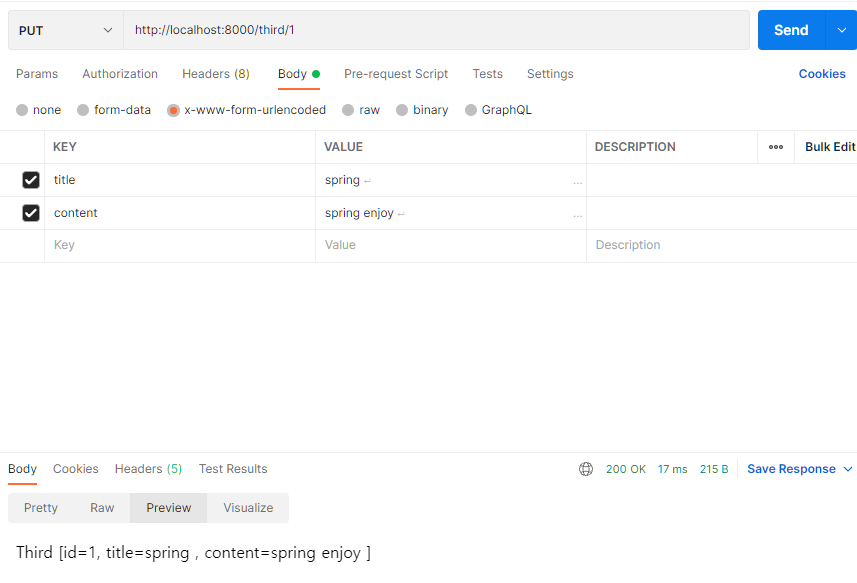
2) PUT - PK를 주소에 걸어 데이터 받기 + (toString 사용법)
Controller 코드
@PutMapping("/third/{id}") //데이터 일부만 수정하므로 where절에 걸리는 건(id) 주소로 보내야 함
	public String putData(@PathVariable Integer id, Third third) {
		return third.toString();
	}
DTO 코드
1. toString 메서드
//	@Override
//	public String toString() {
//		// TODO Auto-generated method stub
//		return super.toString();
//	}
Java의 Object 클래스는 toString 메서드를 들고 있다. Spring에서 toString을 import하면 위의 메서드가 Override되는데, toString은 모든 입력값을 문자열로 return 해주는 역할을 한다.
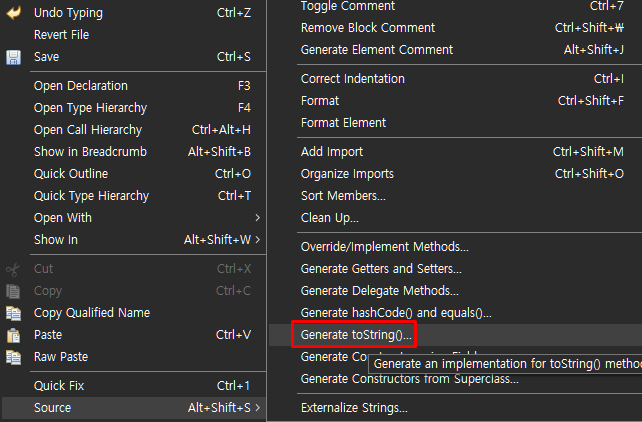
- 값을 확인할 수 있는 toString 메서드 만들기
실제로 이 코드가 필요한 것은 아니고, Source-Generate toString()...을 실행하면 아래의 코드가 만들어진다.
	@Override
	public String toString() {
		return "Third [id=" + id + ", title=" + title + ", content=" + content + "]";
	}
입력된 값을 확인하기 쉬워진다.
💻 where절에 걸 값 = id(PK)를 주소에 입력하고, 수정할 내용을 body에 입력하자.
🧐 DTO에 담길 내용?
사실 postData메서드에서는 id가 시퀀스로 부여되므로 DTO에 title과 content만 있어야 하는게 정확하고, 마찬가지로 putData메서드 또한 id는 수정하지 않으니 title과 content만 있는게 정확하다.
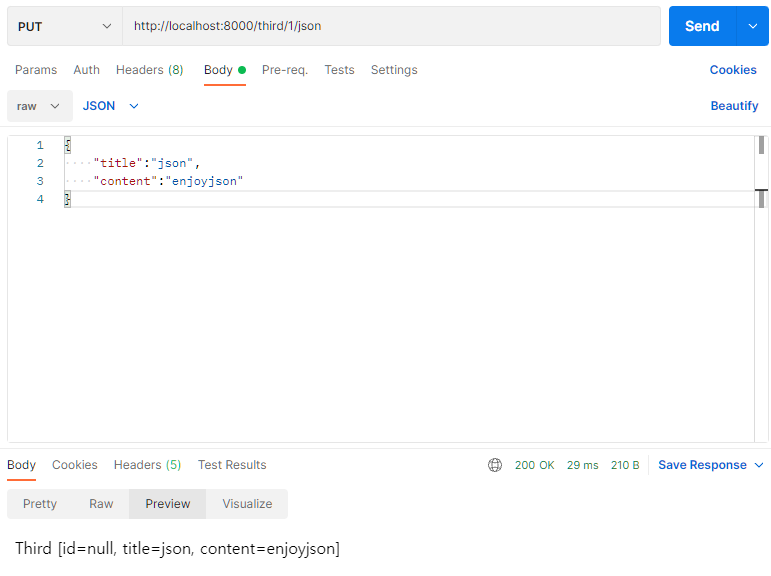
3. POST, PUT 데이터 받기 (json 타입) - @RequestBody
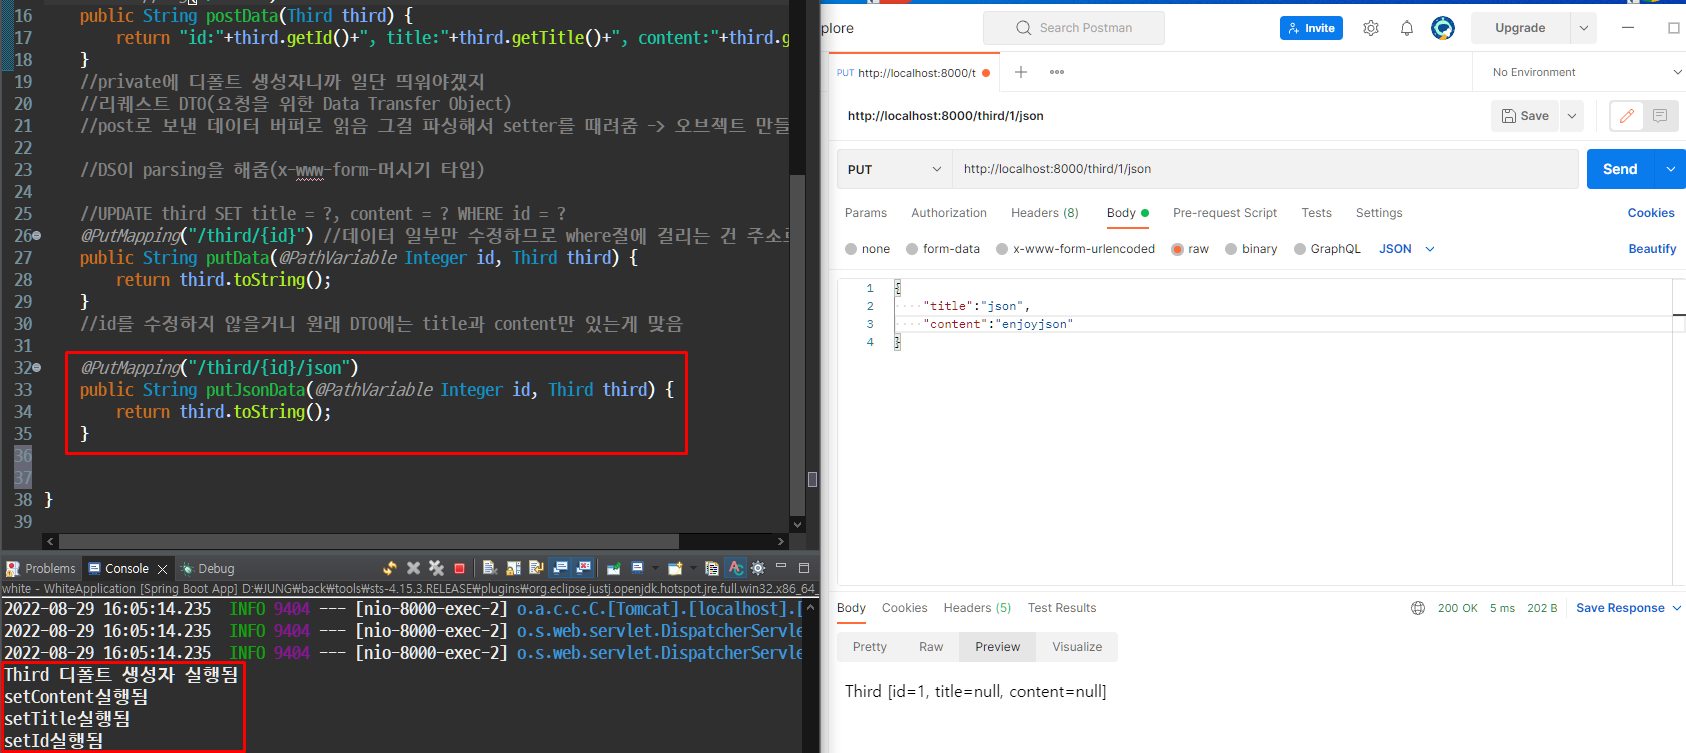
만약 데이터를 json 타입으로 보내면 Spring은 파싱하지 못해 null값이 뜬다. (Spring에서는 디폴트 생성자 new와 setContent, setTitle, setId가 실행되었음에도 null값이 뜨는 것을 확인할 수 있다.)
🤔 그렇다면 x-www-form-urlencoded 이외의 타입을 파싱하는 방법은 무엇일까?
💻 패러미터 앞에 @RequestBody를 import하면 된다. (특히 json 타입의 데이터를 읽고 싶을 때)
@RequestBody는 body에 담긴 값을 자바객체로 변환하는 역할을 한다. 즉, gson으로 파싱하는 역할을 수행해준 것이다.
반대로 @ResponseBody는 자바객체를 http에서 요청한 타입의 body로 Mapping하여 전송한다.
@PutMapping("/third/{id}/json")
	public String putJsonData(@PathVariable Integer id, @RequestBody Third third) {
		return third.toString();
	}