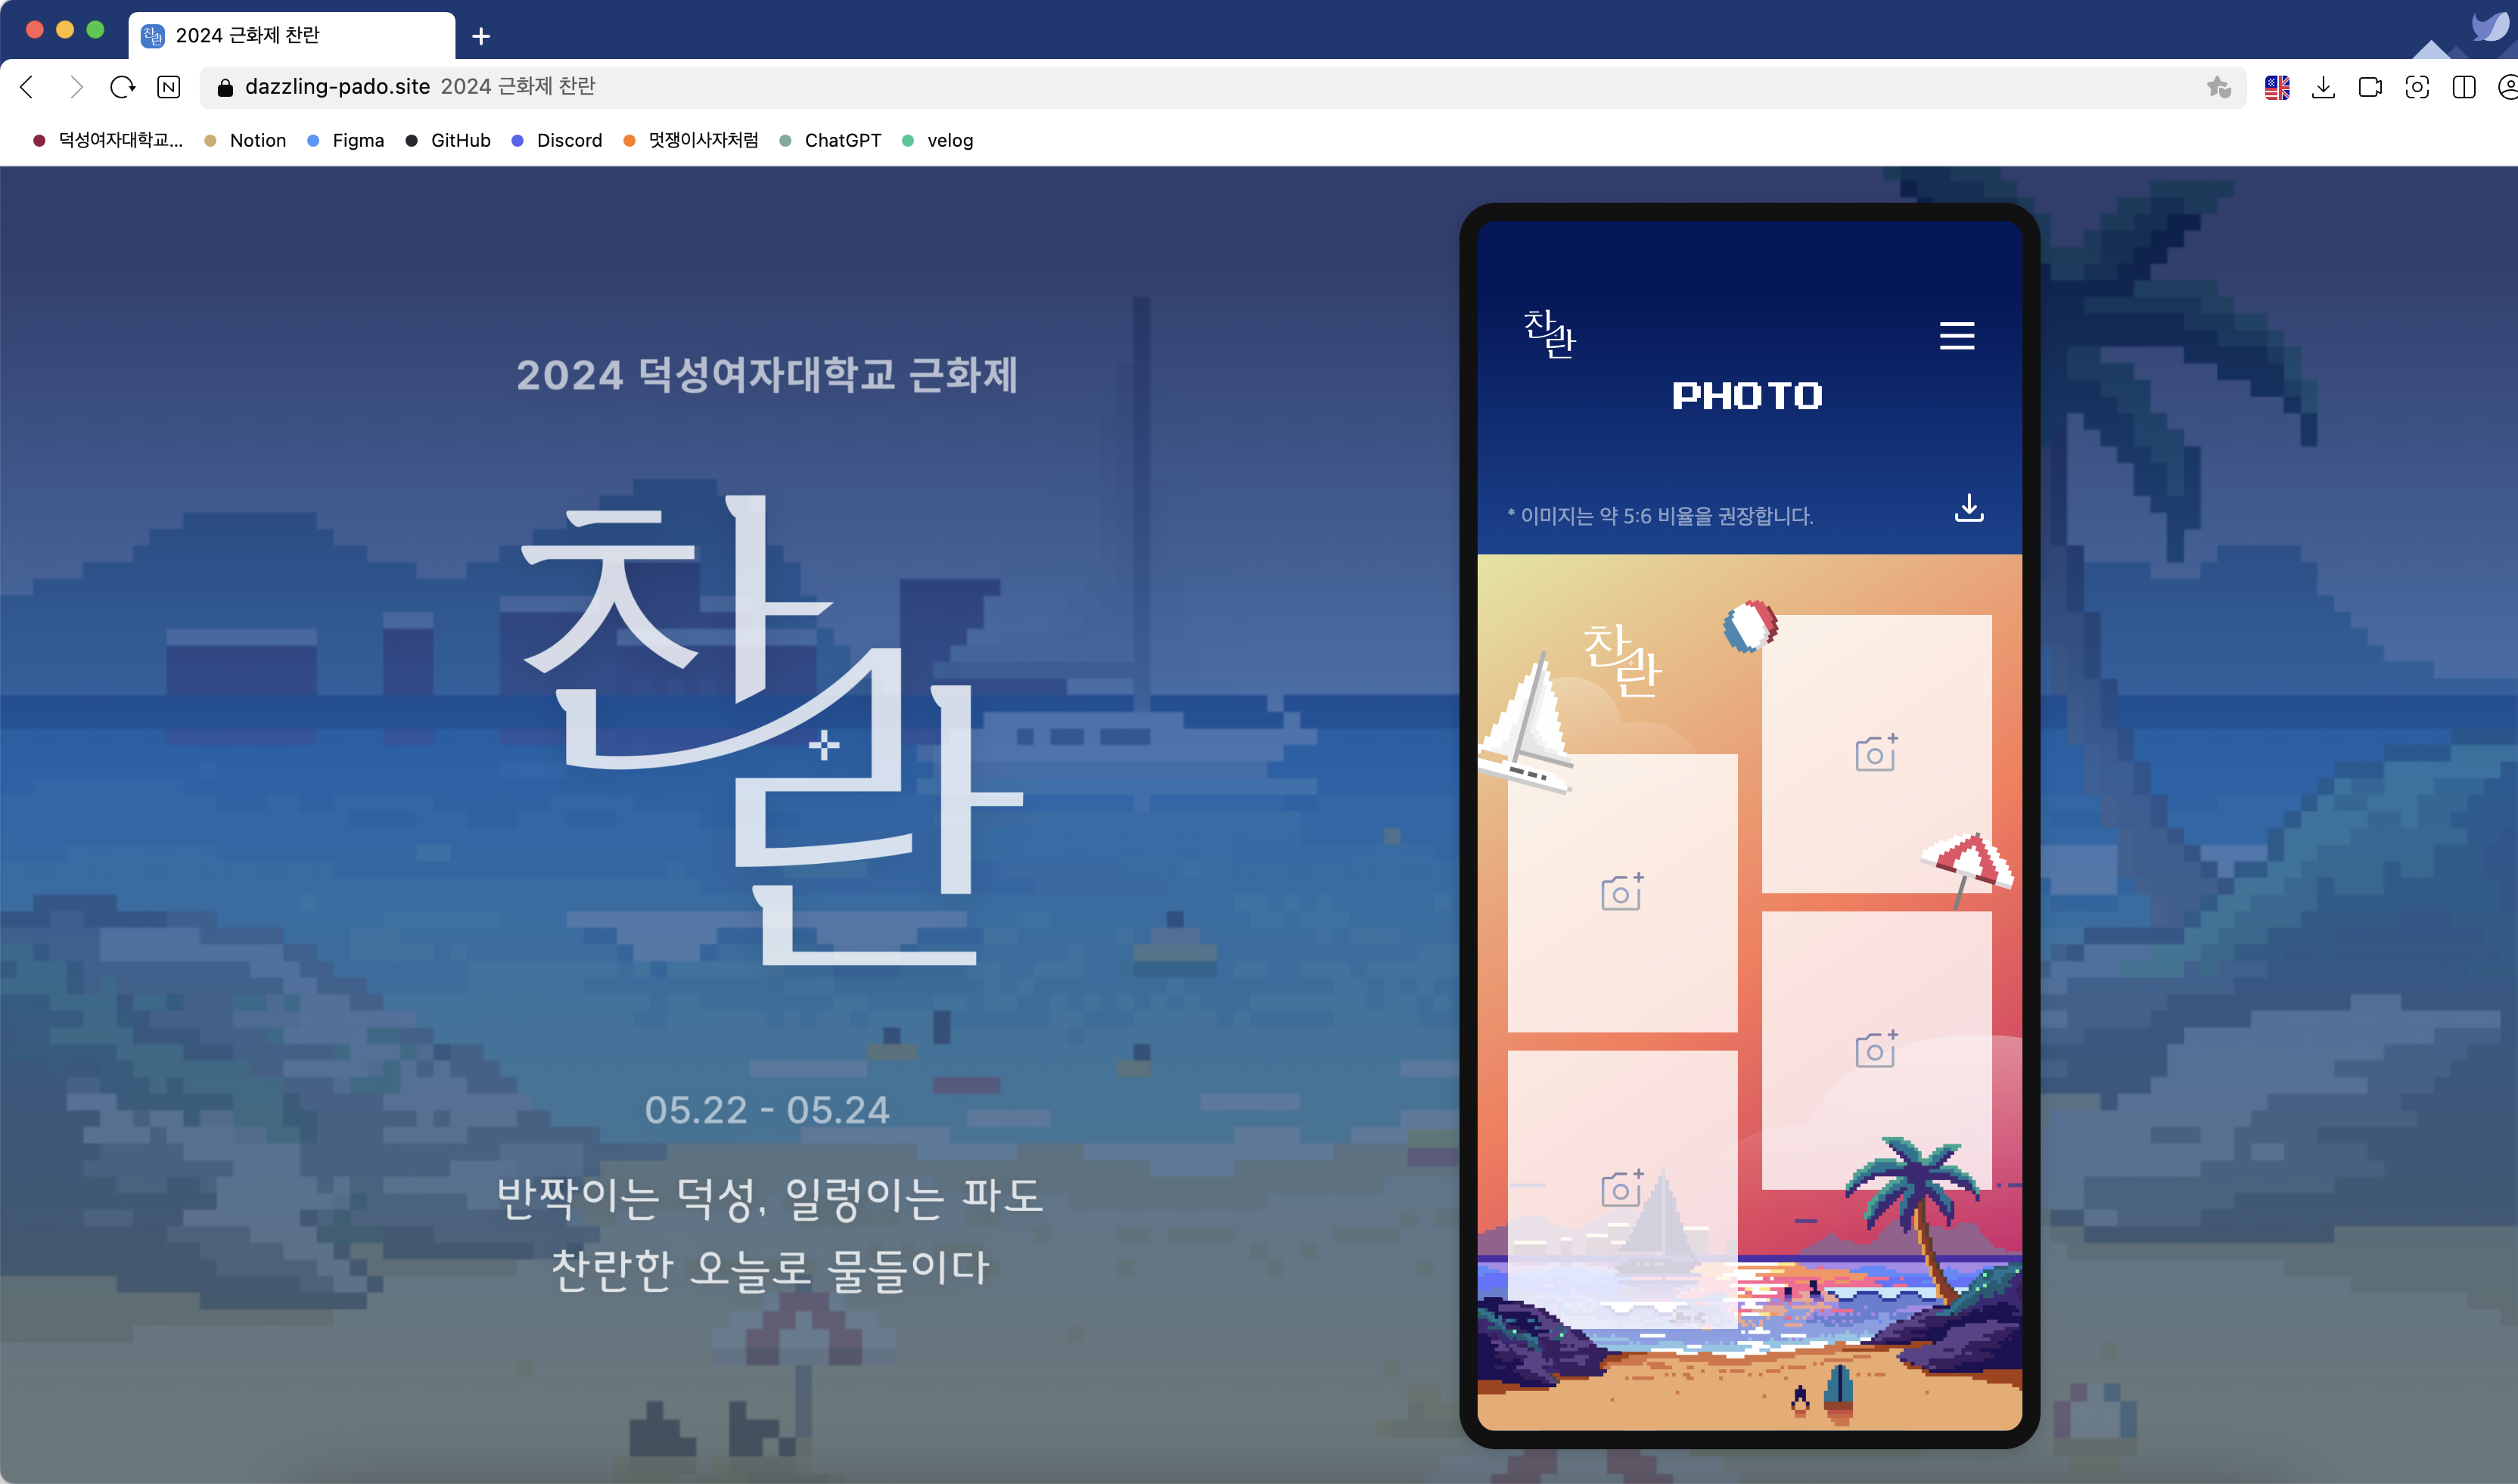
이미지 프레임을 캡쳐하고 다운하는 라이브러리
html2canvas
→ 여러 벨로그를 통해 이번에 진행한 프로젝트에서 이미지 프레임 부분을 캡쳐 후 다운한 방법, 그리고 라이브러리를 소개하려고 한다.
문제 발생 (html-to-image)
사실 기존에는,, html-to-image라는 라이브러리를 사용하려고 했다. html2canvas 라이브러리를 사용하면서 적용해준 css가 작동하지 않는 경우를 서치를 통해 보았기 때문이다. 하지만 가장 큰 이슈로 인해 html2canvas를 사용하게 되었다.
safari 및 ios 에서 제대로 저장되지 않는 이슈
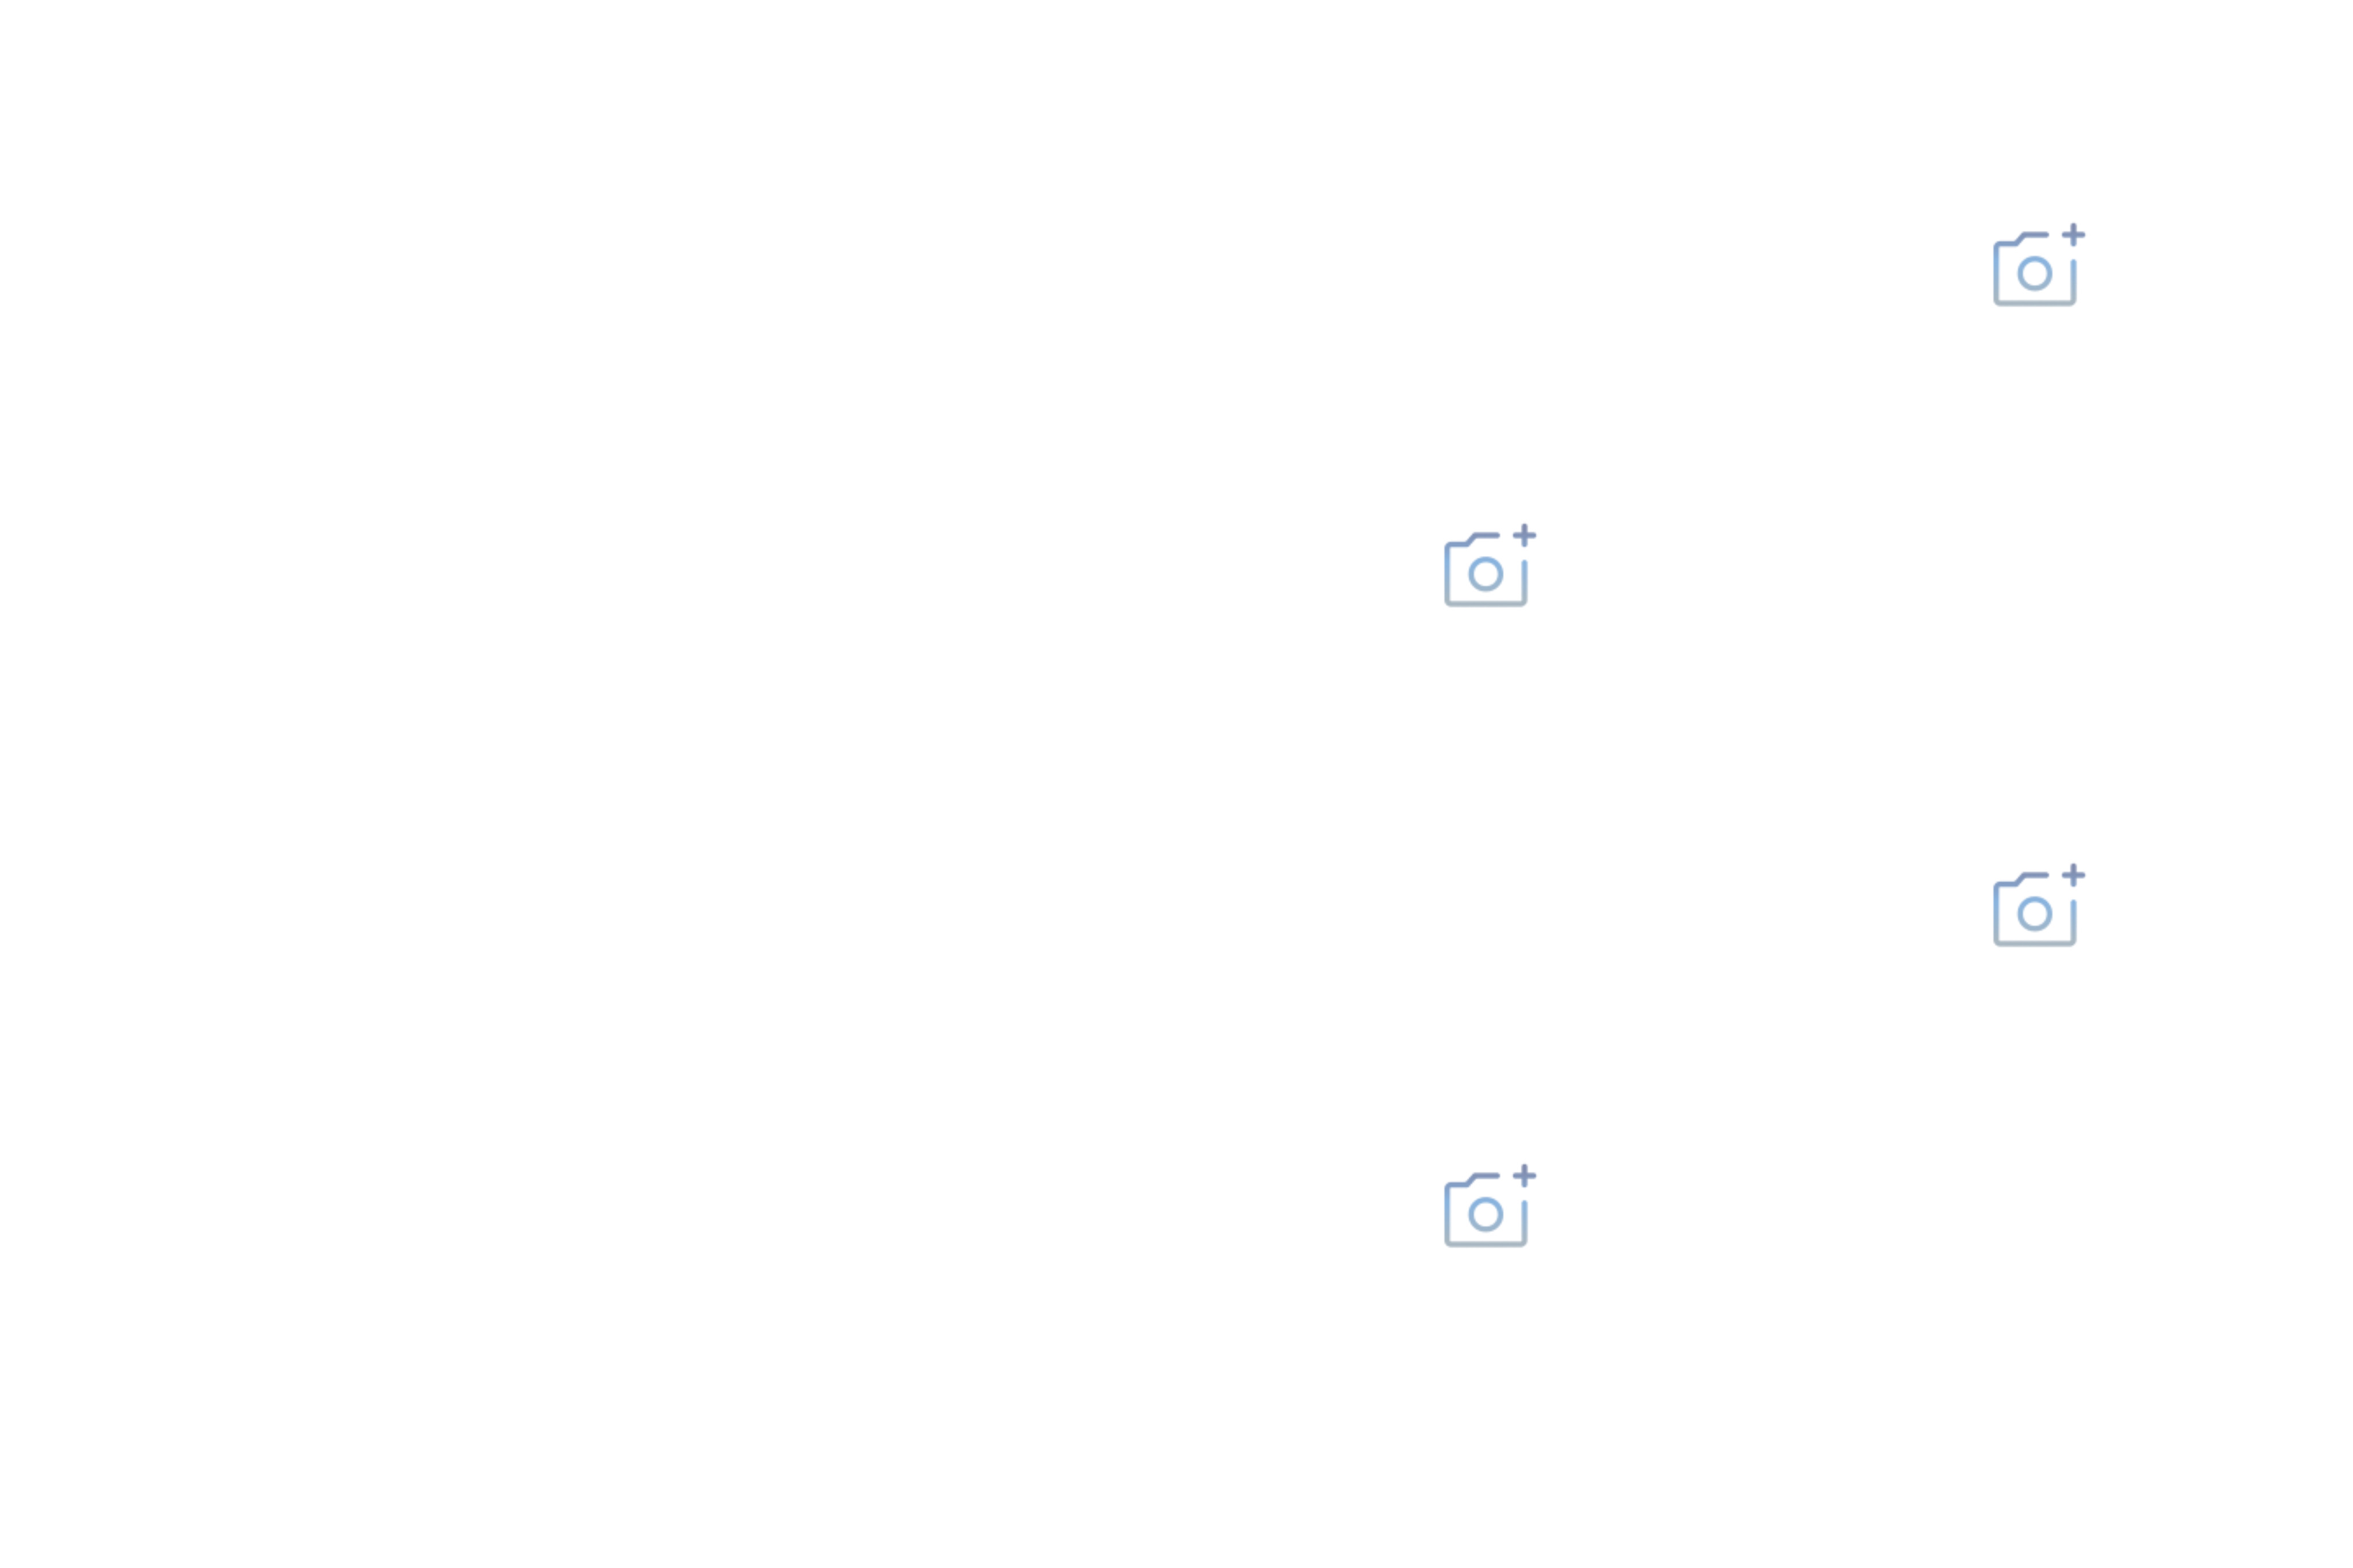
→ 위의 사진과 같이 프레임 없이 사진의 공간 부분만, 혹은 프레임과 라벨까지만 저장되는 경우가 대다수였고 랜덤으로 저장이 잘 되는 것을 확인할 수 있다.
- https://velog.io/@shinpanda/IOS-환경서-html-to-image-png-다운로드-문제1
- https://velog.io/@uuuuooii/html-to-image-iOS-Safari에서-이미지가-표시되지-않는-이슈
→ 위의 두 벨로그를 참고하여 일부 사파리에서는 캔버스를 제대로 렌더링하기 위해 약간의 지연이 생긴다는 것을 알 수 있었다. 하지만 렌더링 시간을 과하게 늘리는 방법도, 여러번 렌더링해서 시간을 늘리는 방법도 바람직하지 않으며 safari 환경에서만 수정한다고 해서 만능적인 해결이 될 순 없다는 것을 깨닫고 과감하게 라이브러리를 바꿔보기로 결정했다.
문제 해결 과정 (html2canvas)
정말 하루동안 붙잡고 있었던 게 무색하게도,, html2canvas를 사용하자마자 safari에서도 원하던 대로 잘 실행되기 시작했다. 하지만 바로 다른 에러를 마주할 수 있었다 🥲
html2canvas의 object-fix 미지원으로 인한 이미지 비율 문제
공식 문서에 따르면 현재 지원하지 않는 CSS 리스트는 다음과 같다.
- background-blend-mode
- border-image
- box-decoration-break
- box-shadow
- filter
- font-variant-ligatures
- mix-blend-mode
- object-fit
- repeating-linear-gradient()
- writing-mode
- zoom
하지만 프레임의 크기에 맞추어 사진을 넣어주고 싶었고 그렇기에 사용하고 있던 object-fit: cover; 라는 코드를 대체하여 코드를 작성할 필요가 있었다.
내가 사용한 방법은 2가지이고 그 중에서 2번 방법을 사용하였다.
- div 태그의 background-image 의 url 에 이미지를 삽입하여 다운
- props를 전달하여 경우에 따라 width, height 조절
→ 위의 벨로그를 참고하여 background-image 의 url 에 이미지를 삽입하여 (props로 url 전달) 이미지 비율을 맞추는 것에는 성공했지만 이미지의 해상도가 저하되는 문제가 발생하였다. 🙃 따라서, 다른 방법을 고안해야했고 그게 바로 2번 방법이었다
→ 벨로그에 추천한 patch-package를 사용해 직접 라이브러리에 object-fit 속성 코드를 삽입하는 방법은 배포 환경에서 사용해야하는 서비스이기 때문에 패스했다
object-fit: cover; 를 대체하는 방법
상위 요소에 overflow: hidden;을 적용을 한 후
가로가 긴 사진인지 세로가 긴 사진인지 판단 후 props를 전달하여 100%가 될 경우를 적용
useEffect(() => {
    const setDirection = (image) => {
      const width = image.naturalWidth;
      const height = image.naturalHeight;

      if (width === height) {
        // 가로와 세로 크기가 같을 경우
        setHorizontalImage(true); // 가로로 처리
      } else if (width > height) {
        setHorizontalImage(true); // 가로 이미지
      } else {
        setHorizontalImage(false); // 세로 이미지
      }
    };

    const image = document.getElementById(`img${index}`);
    if (image) {
      image.onload = () => {
        setDirection(image);
      };
    }
  }, [imagePreview]);


// 구조 부분
			<P.FilePreview $horizontal={horizontalImage}>
        {imagePreview && <img id={`img${index}`} src={imagePreview} alt="Preview" />}
      </P.FilePreview>
위와 같이 naturalWidth를 받아 이미지의 사이즈를 판단한 후 props를 전달하는 방식을 선택했다. styled-component를 사용하고 있었고 따라서 css는 다음과 같이 적용시켜주었다.
export const FilePreview = styled.div`
  width: 100%;
  height: 100%;
  overflow: hidden;
  display: flex;
  justify-content: center;
  align-items: center;
  z-index: 5;

  ${({ $horizontal }) =>
    $horizontal
      ? `
    img {
      height: 100%;
      width: auto;
    }
  `
      : `
    img {
      height: auto;
      width: 100%;
    }
  `}
`;
Input → heic 확장자 파일 문제 해결
테스트를 진행하다가 마주친 기묘한 문제,,
Input에서 아래와 같이 type을 파일로 받을 때 image/* 을 accept 시켜주어도 현재 아이폰 카메라로 찍히는 사진의 확장자인 heic는 허용해주지 않는 문제를 발견하였다. 따라서 .heic도 추가해주도록 코드를 추가적으로 작성했다.
<P.File
	type="file"
	name={`file${index}`}
	id={`file${index}`}
	accept="image/*, .heic"
	onChange={handleProfileImageChange}
/>
heic 이미지를 받을 수 있게 처리해주는 handleProfileImageChange 함수는 다음과 같다.
heic2any 라는 라이브러리를 사용
const handleProfileImageChange = async (event) => {
    const file = event.target.files[0];
    if (file) {
      // HEIC 이미지인지 확인
      const isHeic = file.type === "image/heic";

      if (isHeic) {
        // HEIC 이미지일 경우에만 디코딩
        const imageBuffer = await file.arrayBuffer();

        // 이미지를 Blob으로 변환
        const imageBlob = new Blob([imageBuffer]);
        const jpegBlob = await heic2any({ blob: imageBlob, toType: "image/jpeg" });

        // Blob URL 생성
        const imageUrl = URL.createObjectURL(jpegBlob);
        setImagePreview(index, imageUrl);
      } else {
        // HEIC가 아닌 경우는 기존 방식으로 처리
        const reader = new FileReader();
        reader.onloadend = () => {
          setImagePreview(index, reader.result);
        };
        reader.readAsDataURL(file);
      }
    }
  };
전체 해상도 문제 개선
사실 이 문제의 경우, 라이브러리를 변경해서 사용하고 싶어 서치하다가 해당 글을 발견하고 미리 적용해준 부분이다.
const canvas = await html2canvas(ref.current, { scale: 4 });
→ 중요한 부분은 { scale: 4 }을 통해서 다운받는 이미지의 사이즈를 4배로 키워 출력한 것이다.
const onCaptureClick = async () => {
    if (ref.current === null) {
      return;
    }

    const captureImg = async () => {
      if (ref.current) {
        const canvas = await html2canvas(ref.current, { scale: 4 });
        const element = document.createElement("a");
        element.href = canvas.toDataURL("image/png");
        element.download = "2024 근화제 찬란.png";
        element.click();
      }
    };

    captureImg();
  };
브라우저 별 다운로드 문제 해결
QA를 진행하면서 발견된 문제로,, PC와 아이폰 기본 브라우저인 사파리와 등을 제외하고 모바일 크롬 등에서 사진 다운로드가 진행되지 않은 문제가 있는 것을 발견할 수 있었다. 그래서 추가로 라이브러리를 사용해주었다.
file-saver
그래서 위의 코드를 아래와 같은 코드로 수정해주었다.
const onCaptureClick = async () => {
    if (ref.current === null) {
      return;
    }

    const captureImg = async () => {
      if (ref.current) {
        const canvas = await html2canvas(ref.current, { scale: 4 });
        canvas.toBlob((blob) => {
          if (blob !== null) {
            saveAs(blob, "2024 근화제 찬란.png");
          }
        });
      }
    };

    captureImg();
  };
최종 결과

위와 같이 원하는 프레임에 원하는 사진을 비율에 맞추어 잘 저장시켜준 것을 볼 수 있다.
즉, 설치해야 하는 라이브러리는 총 3가지이다.
1. html2canvas
2. heic2any
3. file-saver
일부 코드 (프레임 속 사진 박스 컴포넌트)
import React, { useState, useEffect } from "react";
import heic2any from "heic2any";
import * as P from "../styles/PhotoBoxStyle";

import PhotoCam from "../img/photo_cam_32x32.png";

function PhotoBox({ index, setImagePreview, imagePreview }) {
  const [horizontalImage, setHorizontalImage] = useState(false);

  const handleProfileImageChange = async (event) => {
    const file = event.target.files[0];
    if (file) {
      // HEIC 이미지인지 확인
      const isHeic = file.type === "image/heic";

      if (isHeic) {
        // HEIC 이미지일 경우에만 디코딩
        const imageBuffer = await file.arrayBuffer();

        // 이미지를 Blob으로 변환
        const imageBlob = new Blob([imageBuffer]);
        const jpegBlob = await heic2any({ blob: imageBlob, toType: "image/jpeg" });

        // Blob URL 생성
        const imageUrl = URL.createObjectURL(jpegBlob);
        setImagePreview(index, imageUrl);
      } else {
        // HEIC가 아닌 경우는 기존 방식으로 처리
        const reader = new FileReader();
        reader.onloadend = () => {
          setImagePreview(index, reader.result);
        };
        reader.readAsDataURL(file);
      }
    }
  };

  useEffect(() => {
    const setDirection = (image) => {
      const width = image.naturalWidth;
      const height = image.naturalHeight;

      if (width === height) {
        // 가로와 세로 크기가 같을 경우
        setHorizontalImage(true); // 가로로 처리
      } else if (width > height) {
        setHorizontalImage(true); // 가로 이미지
      } else {
        setHorizontalImage(false); // 세로 이미지
      }
    };

    const image = document.getElementById(`img${index}`);
    if (image) {
      image.onload = () => {
        setDirection(image);
      };
    }
  }, [imagePreview]);

  return (
    <P.PhotoBox>
      <P.UploadLabel htmlFor={`file${index}`}>
        {!imagePreview && <img src={PhotoCam} alt="이미지 업로드" />}
      </P.UploadLabel>
      <P.File
        type="file"
        name={`file${index}`}
        id={`file${index}`}
        accept="image/*, .heic"
        onChange={handleProfileImageChange}
      />
      <P.FilePreview $horizontal={horizontalImage}>
        {imagePreview && <img id={`img${index}`} src={imagePreview} alt="Preview" />}
      </P.FilePreview>
    </P.PhotoBox>
  );
}

export default PhotoBox;
import styled from "styled-components";

export const PhotoBox = styled.div`
  width: 152px;
  height: 184px;
  background-color: rgba(255, 255, 255, 0.8);
  display: flex;
  justify-content: center;
  align-items: center;
  position: relative;
  overflow: hidden;

  input[type="file"] {
    position: absolute;
    width: 100%;
    height: 100%;
    opacity: 0;
    cursor: pointer;
  }
`;

export const UploadLabel = styled.label`
  width: 100%;
  height: 100%;
  cursor: pointer;

  display: flex;
  justify-content: center;
  align-items: center;
  z-index: 15;

  position: absolute;
  left: 50%;
  transform: translateX(-50%);

  img {
    width: 32px;
    height: 32px;
  }

  &:hover {
    background-color: rgba(0, 0, 0, 0.2);
  }
`;

export const File = styled.input``;

export const FilePreview = styled.div`
  width: 100%;
  height: 100%;
  overflow: hidden;
  display: flex;
  justify-content: center;
  align-items: center;
  z-index: 5;

  ${({ $horizontal }) =>
    $horizontal
      ? `
    img {
      height: 100%;
      width: auto;
    }
  `
      : `
    img {
      height: auto;
      width: 100%;
    }
  `}
`;
화면을 캡쳐하여 프로젝트를 진행하고 싶은 누군가에게 도움이 되길,,, 🤧
