
Ch2. 자바스크립트 객체 지향 기본기
1️⃣ 객체와 클래스
01. 객체 지향 프로그래밍이란?
→ ‘객체’간의 상호작용을 중심으로 하는 프로그래밍
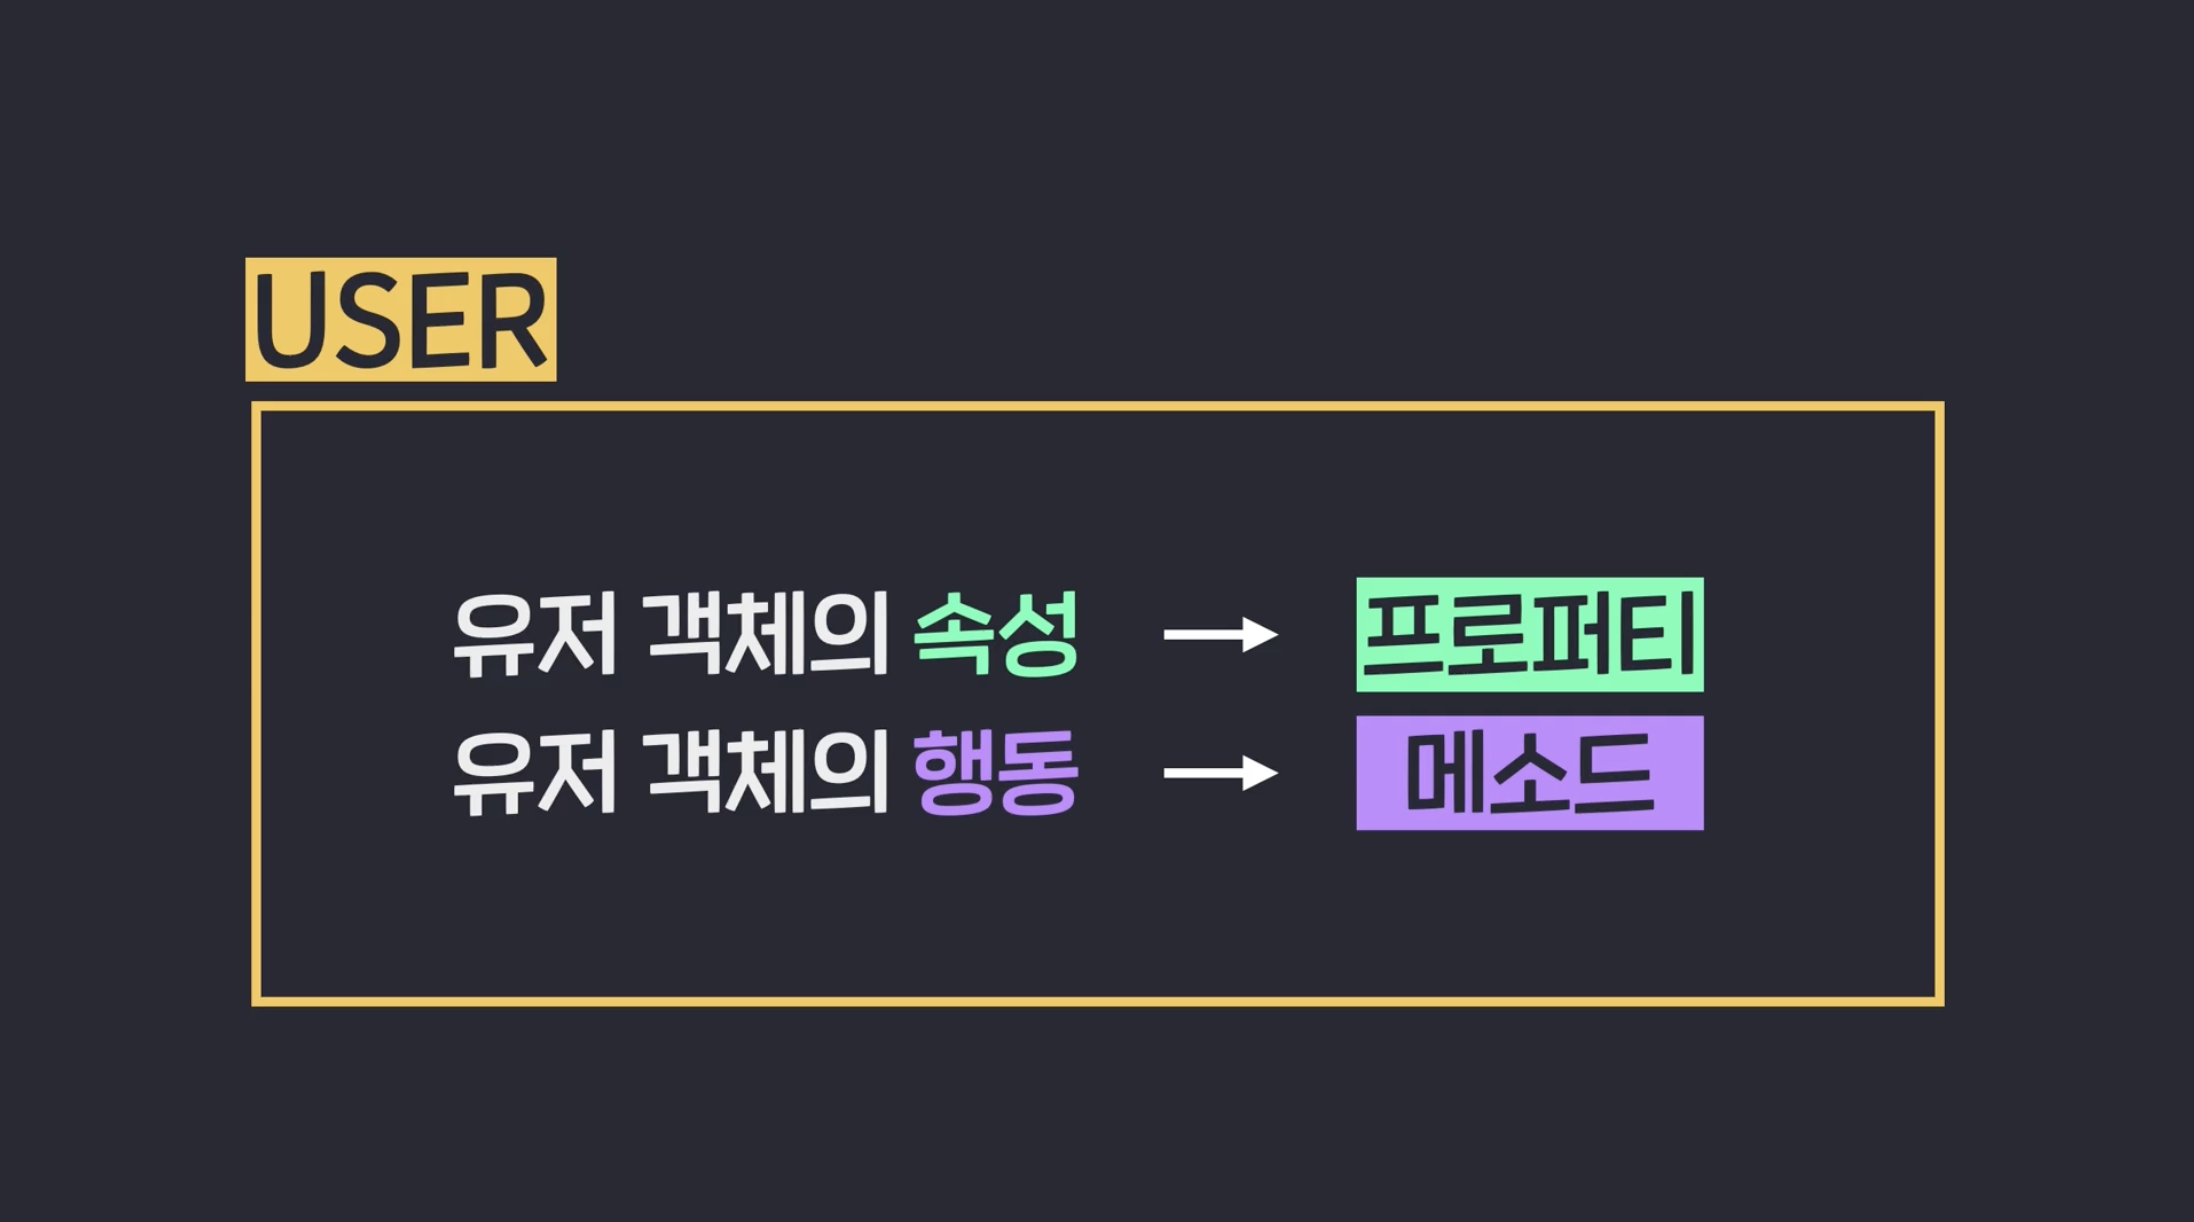
→ 프로퍼티와 메소드로 이루어진 각 객체들의 상호 작용을 중심으로 코드를 작성하는 것
- 객체의 상태를 나타내는 ‘변수’
- 객체의 행동을 나타내는 ‘함수’
VS 절차 지향 프로그래밍
→ 변수와 함수를 가지고 작업의 순서에 맞게 코드를 작성하는 것
02. 객체 만들기 1-1: Object-Literal
Object-Literal
→ 객체를 나타내는 문자열
→ 자바스크립트에서 객체를 생성할 수 있는 가장 기본적인 방법
03. 객체 만들기 1-2: Factory function
Factory Function
→ 객체를 생성해서 리턴하는 함수
function createUser(email, birthdate) {
  const user = {
    email,
    birthdate,
    buy(item) {
      console.log(`${this.email} buys ${item.name}`);
    },
  };
  return user;
}

const user1 = createUser("chirs123@google.com", "1992-03-21");
04. 객체 만들기 2: Constructor function
Constructor Function (생성자 함수)
→ 객체를 생성할 수 있는 함수
this : 매번 생성되는 해당 객체를 가리키는 역할
new를 붙여서 호출해야 해야 객체 생성 가능- 함수 이름은
대문자로 시작
function User(email, birthdate) {
  (this.email = email),
    (this.birthdate = birthdate),
    (this.buy = function (item) {
      console.log(`${this.email} buys ${item.name}`);
    });
}

const user1 = new User("chirs123@google.com", "1992-03-21");
05. 객체 만들기 3: Class
Class
constructor(생성자) : 객체가 생성될 때 실행
this : 생성되는 객체를 나타냄
- 프로퍼티(constructor 내부)와 메소드를 분리
class User {
  constructor(email, birthdate) {
    this.email = email;
    this.birthdate = birthdate;
  }

  buy(item) {
    console.log(`${this.email} buys ${item.name}`);
  }
}

const user1 = new User("chirs123@google.com", "1992-03-21");
06~07. 객체 만들기
생략
08. 객체 생성해보기
- 실습 코드
class Car {
  constructor(color, speed) {
    this.color = color;
    this.speed = speed;
  }

  run() {
    console.log(`Runs at ${this.speed}`);
  }
}

const car1 = new Car('blue', '100km/h');

car1.run();
09. 알고 넘어가야할 부분
객체 지향 프로그래밍이 가능한 언어의 2가지 종류
- 클래스 기반의 객체 지향 언어 →
Java - 프로토타입 기반의 객체 지향 언어 →
JavaScript
2️⃣ 객체 지향 프로그래밍의 4개의 기둥
🔅 객체 지향 프로그래밍의 4가지 기둥
1. 추상화
2. 캡슐화
3. 상속
4. 다형성
01~02. 추상화
→ 어떤 구체적인 존재를 원하는 방향으로 간략화해서 나타내는 것
ex. class를 설계하는 것
- 클래스명, 프로퍼티와 메소드 이름에 주의 (직관적)
03~05. 캡슐화
→ 객체의 특정 프로퍼티에 직접 접근하지 못하도록 막는 것
- 프로퍼티에 이상한 값을 설정하는 것을 방지하는 역할
getter,setter메소드
class User {
  constructor(email, birthdate) {
    this.email = email; **// email은 setter 메소드의 이름이 됨**
    this.birthdate = birthdate;
  }

  buy(item) {
    console.log(`${this.email} buys ${item.name}`);
  }

  **// getter 메소드 -> 프로퍼티의 값을 구하는 함수**
  get email() {
    return this._email;
  }

  **// setter 메소드**
  set email(address) {
    **// email 프로퍼티에 값을 설정할 때 사용**
    if (address.includes("@")) {
      **// _가 붙은 _email이라는 새로운 프로퍼티, 숨기고자 하는 프로퍼티의 이름**
      this._email = address;
    } else {
      throw new Error("invalid email address");
    }
  }
}

const user1 = new User("chirs123@google.com", "1992-03-21");
console.log(user1.email); **// getter 메소드 사용시 _ 없이 변수 사용 가능**-
완벽한 캡슐화를 하는 법
→ 클로저(Closure) : 어떤 함수와 그 함수가 참조할 수 있는 값들로 이루어진 환경을 하나로 묶은 것
클로저라는 개념으로 해당 환경을 함수와 함께 그대로 유지시켜주어
_email변수에 접근 가능클로저가 아닌 경우에는 아래와 같이
_email변수에 접근 불가
function createUser(email, birthdate) {
  let _email = email;

  const user = {
    birthdate,

    get email() {
      return _email;
    },

    set email(address) {
      if (address.includes('@')) {
        _email = address;
      } else {
        throw new Error('invalid email address');
      }
    },
  };

  return user;
}

const user1 = createUser('chris123@google.com', '19920321');
console.log(user1._email); // _ 추가 -> 접근 불가- 메소드도 캡슐화할 수 있어요
function createUser(email, birthdate) {
  const _email = email;
  let _point = 0;

  function increasePoint() {
    _point += 1;
  }

  const user = {
    birthdate,

    get email() {
      return _email;
    },

    get point() {
      return _point;
    },

    buy(item) {
      console.log(`${this.email} buys ${item.name}`);
      increasePoint();
    },
  };

  return user;
}

const item = {
  name: '스웨터',
  price: 30000,
};

const user1 = createUser('chris123@google.com', '19920321');
user1.buy(item);
user1.buy(item);
user1.buy(item);
console.log(user1.point);
user1.increasePoint(); // user1 객체로 increasePoint 직접 호출 불가
→ increasePoint가 유저 객체 안에서 적절한 곳에 사용되어야 하고, 아무렇게나 함부로 호출해서는 안 되는 메소드라고 가정하고 캡슐화
user1객체에는increasePoint라는 메소드가 없기 때문에 직접 호출 불가
06~08. 상속, super
→ 하나의 객체가 다른 객체의 프로퍼티와 메소드를 물려받는 것
extends를 통해 상속을 받아 중복 코드 삭제 → 코드의 재사용성이 좋아짐super를 통해 부모 클래스의constructor를 호출해주어야 실행 가능
class User { // 부모 클래스
  constructor(email, birthdate) {
    this.email = email;
    this.birthdate = birthdate;
  }

  buy(item) {
    console.log(`${this.email} buys ${item.name}`);
  }
}

class PremiumUser extends User { // 자식 클래스
  constructor(email, birthdate, level) {
	  super(email, birthdate);
    this.level = level;
  }

  streamMusicForFree() {
    console.log(`Free music streaming for ${this.email}`);
  }
}
09~11. 다형성
→ 많은 형태를 갖고 있는 성질
- 그대로 상속받지 않고 수정하는 경우 → 동일한 이름을 새롭게 정의
Overriding(오버라이딩): 덮어써서 작성 - 동일한 이름의 메소드를 간결하게 호출 가능
class User {
  // 부모 클래스
  constructor(email, birthdate) {
    this.email = email;
    this.birthdate = birthdate;
  }

  buy(item) {
    console.log(`${this.email} buys ${item.name}`);
  }
}

class PremiumUser extends User {
  // 자식 클래스
  constructor(email, birthdate, level, point) {
    super(email, birthdate);
    this.level = level;
    this.point = point;
  }

  buy(item) {
    // console.log(`${this.email} buys ${item.name}`);
    super.buy(item); // 부모 클래스의 buy 메소드를 호출 (동일한 내용을 호출 후 오버라이딩)
    this.point += item.price * 0.05;
  }

  streamMusicForFree() {
    console.log(`Free music streaming for ${this.email}`);
  }
}
12. instanceof 연산자
→ 현재 변수가 가르키는 객체가 어느 클래스로 만든 객체인지 확인하는 역할
console.log(user instanceof User); // true, false
console.log(user instanceof PremiumUser); // true, false
→ 자식 클래스로 만든 객체는 부모 클래스로 만든 객체로도 인정됨❗
13. static 프로퍼티와 static 메소드
→ 클래스에 직접적으로 딸려있는 프로퍼티와 메소드
→ 객체가 아닌 클래스 자체로 접근!
class Math {
  static PI = 3.14;

  static getCircleArea(radius) {
    return Math.PI * radius * radius;
  }
}

Math.PI = 3.141592;
Math.getCircleArea = function (width, height) {
  return width * height;
};

console.log(Math.PI);
console.log(Math.getCircleArea(4, 5));
➕ console.log(Date.now());
14~15. 4개의 기둥 정리
생략
16. 클래스는 파일 하나당 하나씩 넣어주는 게 좋아요
- 각 클래스와 메인 로직(main.js)을 파일별로 쪼개서 작성
- 코드를 좀더 편리하게 관리하기 위함
→ 파일 하나당 클래스 하나를 작성하고, 이를 외부에 공개해서 사용할 수 있도록 하는 방식을 주로 활용한다❗
