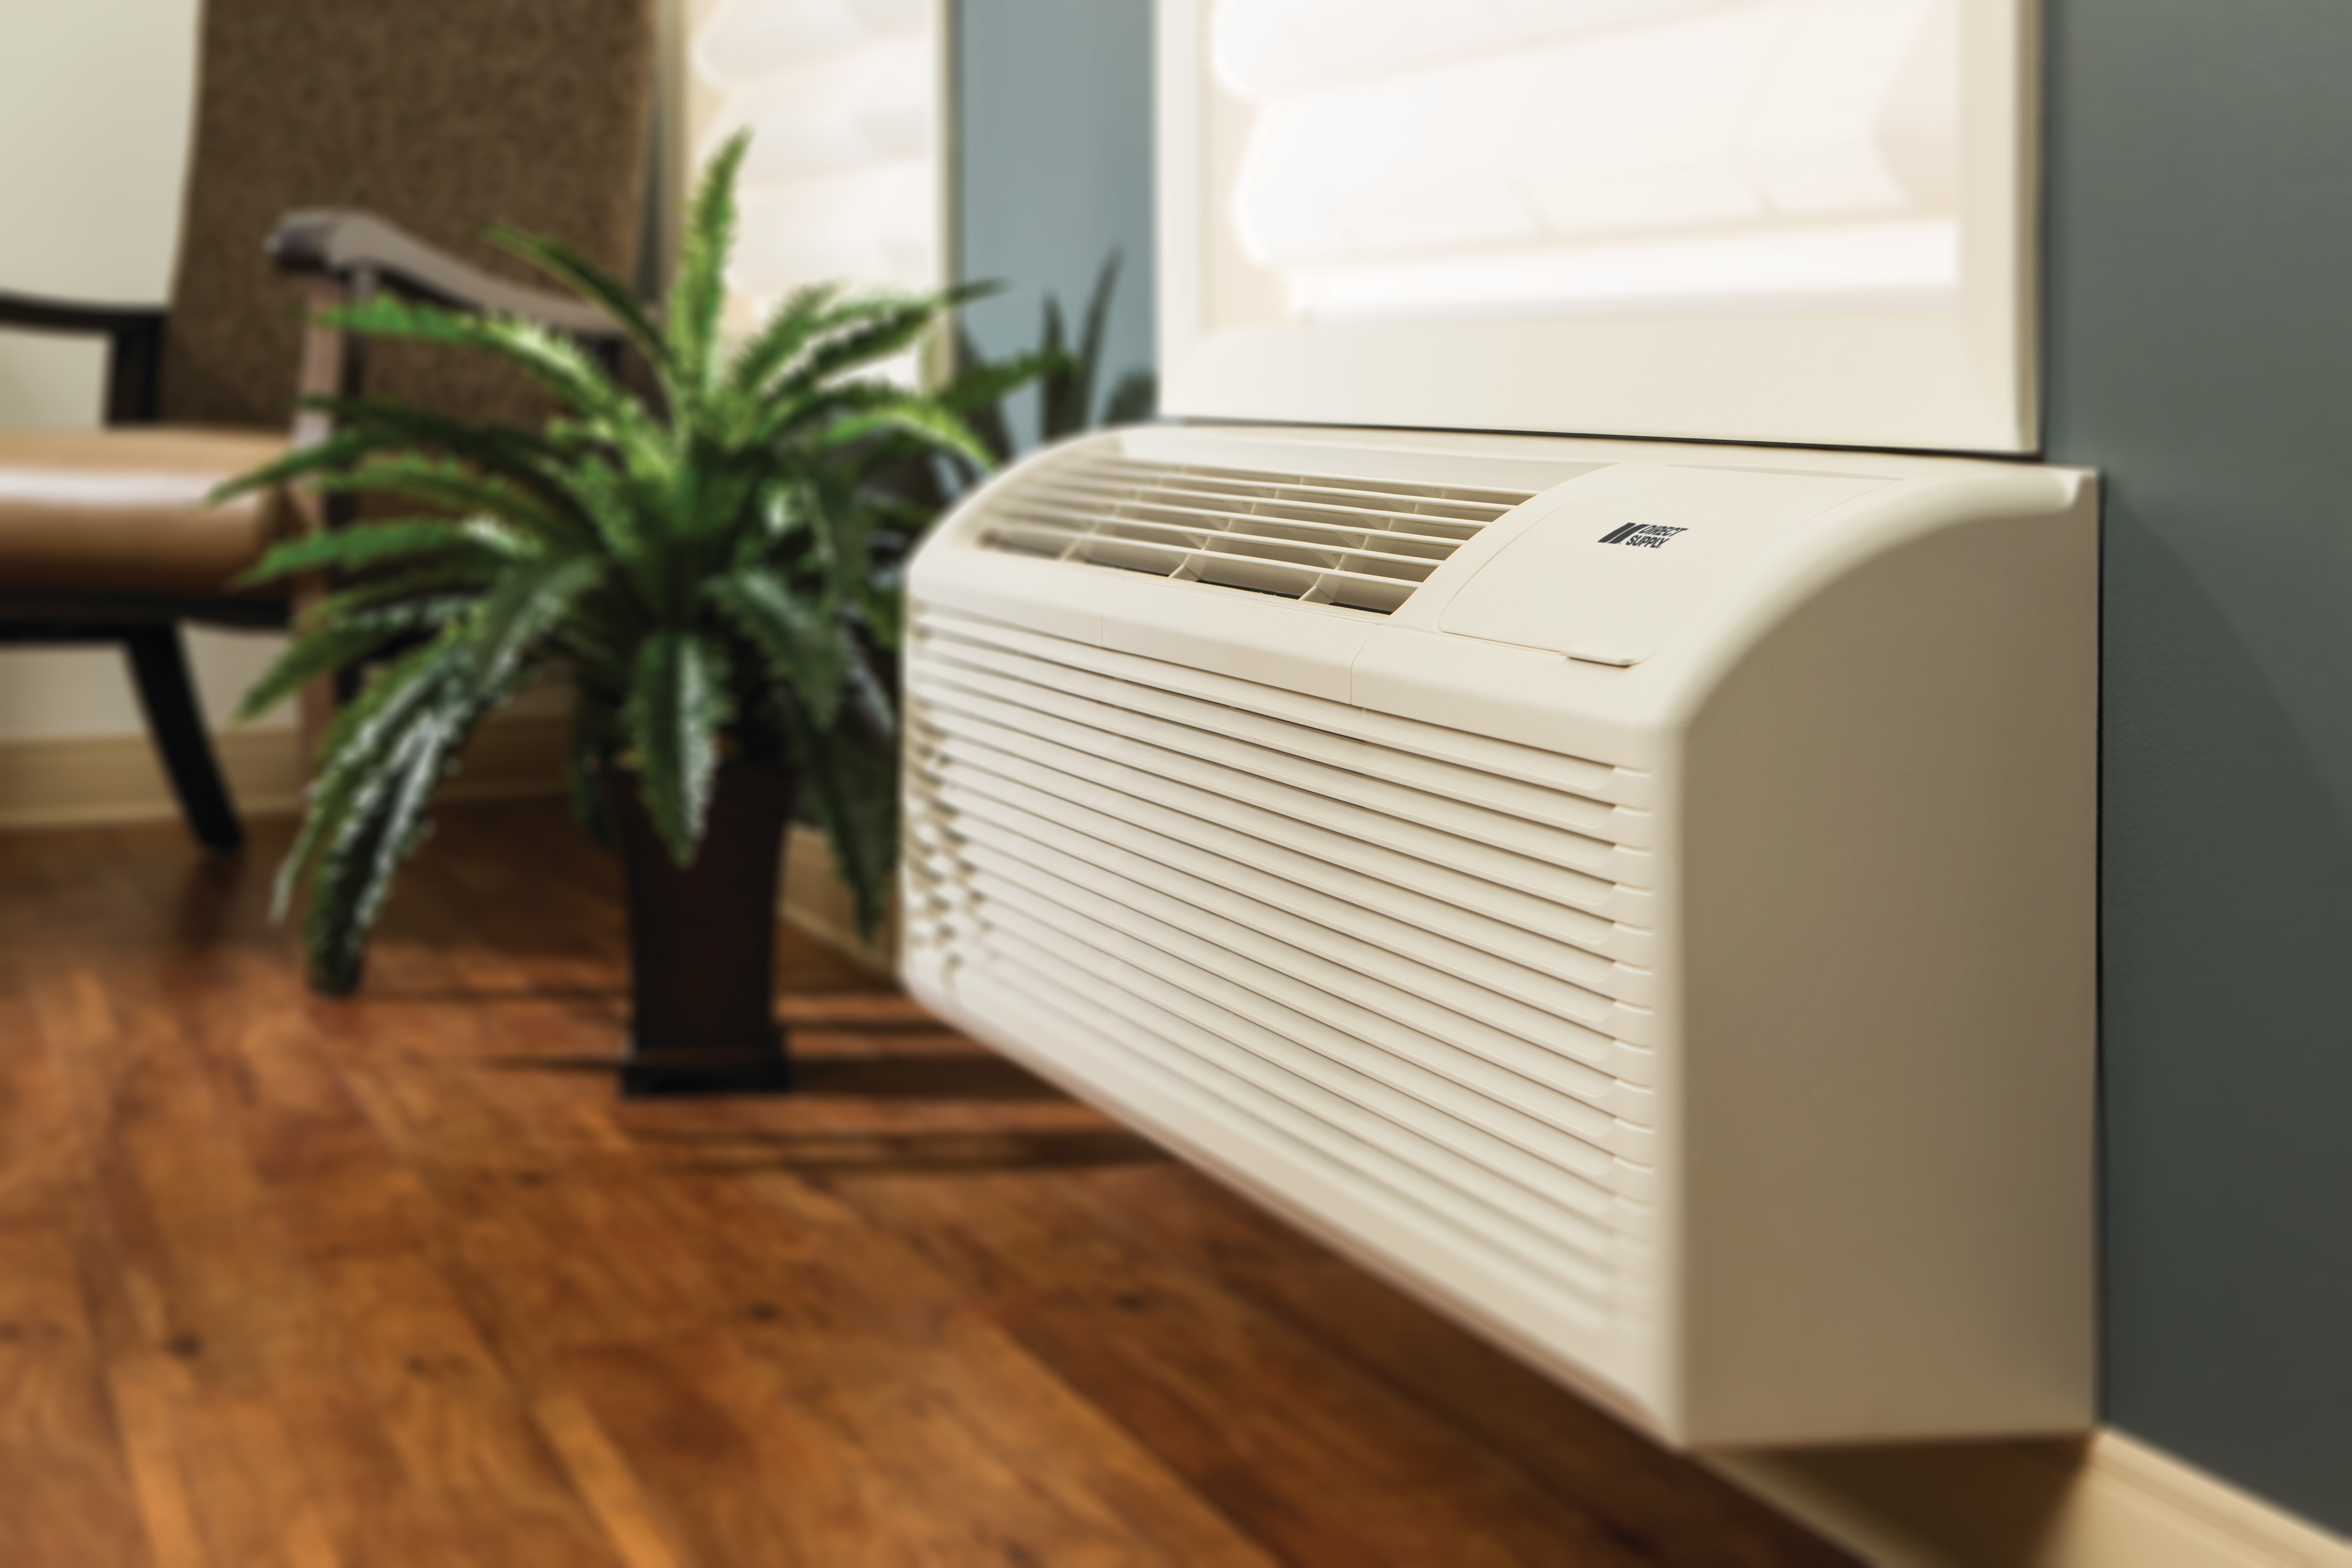
Portable Air Conditioner Installation Guide
Summer heat can be miserable. If you don’t have central air, a portable air conditioner can be your best friend. The best part is you don’t need to hire anyone to install it for you. In fact, you can have it set up and cooling your home in under 30 minutes if you know what you’re doing.
We’ll show you how. This guide will take you step by step through everything you need to know. How to pick the best location, how to test your seal, and more.
Materials Needed Before Starting
There are just a couple materials you should have before getting started. Most brands will include everything in their box that you need to install the portable AC yourself. However, it doesn’t hurt to make sure you have these items handy:
● The portable air conditioning unit
● Window Kit (usually included)
● Exhaust hose (usually included)
● Foam sealing tape
● Tape measure
● Screwdriver
The first thing you should do is read the instruction manual that came with your unit. While the installation is relatively universal among brands, there are always small differences. Reading your specific model will help you avoid small mistakes and save time.
Step 1: Find the Best Location for Your Unit
Believe it or not, location is important when using a portable AC. You want to place your unit near two objects: a window and an electrical outlet.
Try to keep your portable AC out of direct sunlight if possible. Sunlight shining on the unit will make it work harder and waste energy. Stay away from heat-producing objects like radiators or vents as well.
Ensure there is 20 inches of space around your unit on all sides. Air needs room to freely flow into and out of the machine. Without proper airflow, your AC unit will not be able to cool your room efficiently.
Try not to place the AC on the carpet if possible. A hardwood or tiled floor creates a flat surface for the AC to run on. Some units struggle on carpet and will not work as efficiently.
Step 2: Install the Window Kit
Your window kit is the panel that will go inside your window. It holds your exhaust hose in place and prevents hot air from outside from coming back in.
Installing your window kit is simple:
● Measure the width of your window.
● Adjust your window panel to match that width by sliding the two halves together or apart.
● Open your window and place the panel into the window opening.
● Close your window down on top of the panel.
● Ensure that no foam is blocking the hole that your exhaust hose will go into the panel.
If your window kit comes with foam seals, attach them to the edges of the panel. Measure and cut the foam to the length you need and stick it onto the panel to create an air-tight seal. This also helps prevent bugs and hot air from leaking into your room.
If your window is a slider, you follow the same steps. You may need to buy a larger panel or a sheet of plexiglass to fill in open spaces at the top of the window.
Step 3: Connect the Exhaust Hose
The exhaust hose allows hot air to vent out of your window and outdoors. If your hose isn’t connected, your AC will suck up cool air and then spit hot air back into the room.
To install your exhaust hose:
● Connect one end of the hose to the exhaust port on the back of your AC unit. Line up the hose connector with the port and twist to lock it into place.
● Connect the other end of the hose to the window adapter.
● Ensure that both ends of the hose are connected tightly. If not, hot air will leak into your room.
Try to keep your hose as short and straight as possible. Coiling your hose around the room will drastically reduce efficiency. Avoid bending or stretching it as well. Air cannot flow through bent hoses very well.
Step 4: Decide How You’ll Drain It
Did you know portable AC units remove moisture from the air? That moisture has to go somewhere. There are three different types of drainage systems:
Self-evaporative: These AC units evaporate the majority of the water into the exhaust hose. You will rarely have to manually empty anything.
Manual drain tank: Some units have a drain tank that fills up with water. These tanks need to be manually emptied every few hours if you plan on using your AC often.
Continuous drain hose: You connect a drain hose to your AC and run it into you drain or bucket.
Continuous drain hoses are ideal if you plan on using your unit for long periods of time.
Look at your manual to determine which system your unit uses. If your unit has a drain tank, make sure you can easily access it. There is nothing worse than moving furniture every time you want to empty the water tank.
Step 5: Plug In and Test
You’re almost done. Now it’s time to plug your unit in and start cooling your home.
Plug your AC into a grounded outlet. Do not use an extension cord unless your cord is rated to handle the electricity that your AC pulls. Portable AC units pull a lot of power and can cause lower-quality cords to overheat.
Turn your unit on and wait about 10 minutes. Set it to your desired mode and temperature while you do a final inspection around your window and hose connections. Feel around for any escaping warm air. If you find a leak, apply some extra foam tape to seal it off.
Your room should start to cool down after 10 minutes. If it doesn’t, double-check your hose for any kinks and ensure your window is sealed tightly.
Cooling Tips
Here are a couple tips to keep in mind:
● Close all windows and doors to the room you're cooling. You do not want any escaping cold air!
● Close blinds and curtains on windows that receive direct sunlight.
● Clean your air filter every other week during heavy use. Dirty filters reduce airflow which reduces efficiency.
● Keep your hose as short as you can.
Wall Venting
You can also vent your portable AC through an exterior wall. You will need to cut a small hole in the wall for the hose to fit through. We recommend hiring a contractor to do this. Once you have your hole, you can run the hose through it the same way you would with a window. Wall venting is great for rooms without windows you can access.
Portable Air Conditioner Installation Case Study
Learn how proper installation makes a portable AC work better
A homeowner bought a portable air conditioner for their one-bedroom apartment. They wanted to keep cool while staying on budget during a hot summer.
After installing the unit, they became irritated that it did not cool the room fast enough. The temperature stayed muggy most of the day, even though the AC was running constantly.
The homeowner checked the installation and noticed multiple problems. The exhaust hose was pulled tight to its max length. It was also bent around furniture which could restrict airflow. The window kit had gaps which could allow outdoor heat into the room.
They moved the portable AC closer to the window and shortened the hose. Next, they sealed every gap around the window vent kit using foam insulation tape. Curtains were kept closed during the day and they cleaned the filter.
Improvements they noticed right away:
● Faster cooling speeds
● Better airflow
● Lower energy bills
● Less stress on their air conditioner
● More comfortable temperatures indoors
As you can see from this example, proper installation makes a difference. Even a quality portable air conditioner will run inefficiently if the hose is too long or hot air can leak back into the room.
Source: https://www.energy.gov/energysaver/air-conditioning
FAQs About Portable Air Conditioner Installation Guide
Is installing a portable air conditioner difficult?
Portable AC units are made for easy DIY installment. Some units can be set up in under 30 minutes using the window kit, exhaust hose, and common household tools.
Do portable air conditioners need to vent to the outside?
Yes. Portable ACs remove heat and humidity from the air. That hot air needs to vent outside through a window, wall, ceiling, or other approved location. If not vented outdoors, the unit will blow room-temperature air.
Can I install my portable AC in a room without windows?
Yes. You’ll need to vent the hose somewhere else if there are no windows. Some homeowners vent portable air conditioners through walls, sliding doors, ceiling vents, or dedicated wall vent kits.
How far away from the wall should a portable air conditioner be?
Try to leave at least 20 inches (50 cm) of space between the AC and any obstruction. This allows adequate airflow around the unit. Without good airflow, your portable AC will be forced to work harder.
Can I plug my portable air conditioner into an extension cord?
It’s not recommended. Most portable air conditioners require a lot of power and are better plugged directly into a grounded wall outlet. An extension cord can be used if it’s the proper size.
Why isn’t my portable air conditioner cooling my room?
Issues with cooling are usually caused by one (or more) of the following problems:
● Poor sealing around window kit
● Kinked exhaust hose
● Dirty air filters
● Incorrect BTU size
● Blocked airflow
● Too much heat inside your home
● Incorrect vent installation
Troubleshooting these issues usually fixes cooling problems.
Where does the water from a portable air conditioner go?
Portable air conditioners have 3 ways to get rid of water:
● Self-evaporative technology
● Built-in collection tanks
● Continuous drain hoses
The drainage method will depend on the model you choose and your area’s humidity.
Should the exhaust hose be stretched out?
No. Keep your hose as short and straight as possible. Hoses with lots of bends, twists, or extensions won’t cool as efficiently.
Can I vent my portable air conditioner through the wall?
Yes. Venting through a wall is very common, especially for long-term installation. Many homeowners hire professional HVAC contractors to avoid wall damage and ensure proper sealing.
How do I increase my portable AC’s efficiency?
Portable air conditioner efficiency can be increased by:
● Sealing gaps around window kit
● Keeping the exhaust hose short
● Cleaning air filters
● Closing curtains/blinds
● Choosing the right BTU size
● Keeping doors/windows closed while operating
What size portable air conditioner do I need?
The right size depends on many factors like room size, ceiling height, insulation value, window direction, and number of occupants. Selecting the proper BTU size ensures your room cools effectively without overspending on energy.
How do I clean my portable air conditioner’s filter?
Air filters should be cleaned every 2 weeks during heavy-use seasons. Cleaning your filter allows for better airflow and improves your AC’s performance and longevity.