OpenGL
computer graphics baby들은 OpenGL를 통해 자기가 원하는 것을 만드는 것이 국룰이다.
하지만 파이썬에서는 OpenGL만으로 작업하기에는 까다롭기 때문에
다른 library의 도움을 받아야한다.
대표적으로 GLFW가 있다.
공식 문서를 참고하여 만들었다.
GLFW, 니가 뭘 할 수 있는데?
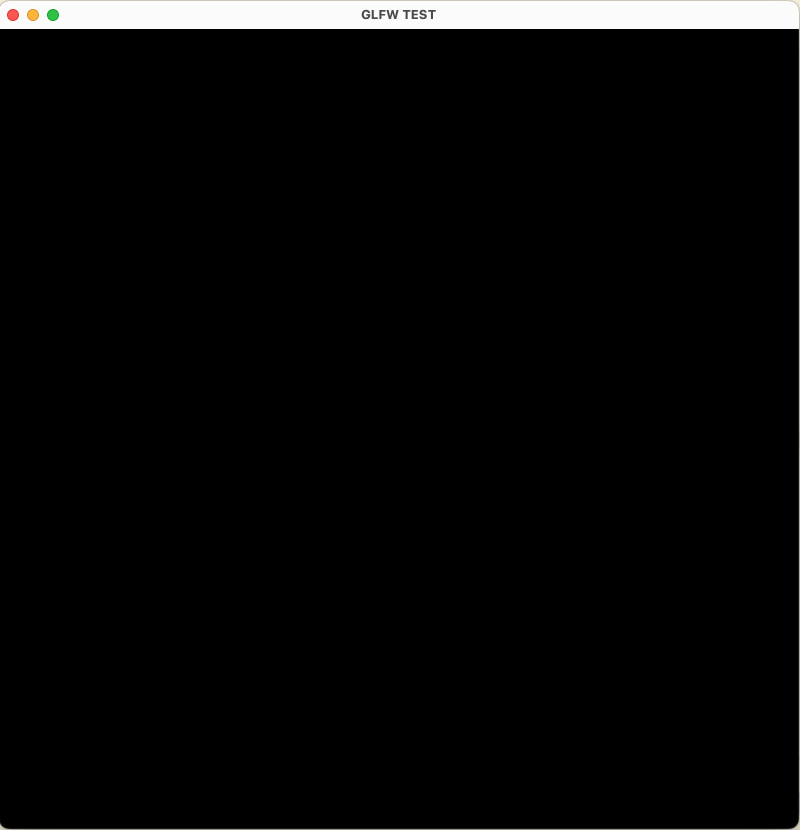
실행창 띄우기
GLFW를 통해 아래와 같이 귀여운 창을 띄울 수 있다.
이제 시작이야.
예시 코드
import glfw

def main():
    # Initialize the library
    if not glfw.init():
        return
    # Create a windowed mode window and its OpenGL context
    window = glfw.create_window(640, 480, "Hello World", None, None)
    if not window:
        glfw.terminate()
        return

    # Make the window's context current
    glfw.make_context_current(window)

    # Loop until the user closes the window
    while not glfw.window_should_close(window):
        # Render here, e.g. using pyOpenGL

        # Swap front and back buffers
        glfw.swap_buffers(window)

        # Poll for and process events
        glfw.poll_events()

    glfw.terminate()

if __name__ == "__main__":
    main()
위처럼 import해도 되지만 앞으로 아래와 같이 사용할 것이다.
from glfw.GLFW import *C에서와 같은 API를 사용할 수 있어 사용하기 편하다.
입력 handling
from glfw.GLFW import *

glfwSetKeyCallback(window, key_callback) # 키보드 입력
glfwSetCursorPosCallback(window, cursor_callback) # 마우스 커서 위치
glfwSetMouseButtonCallback(window, button_callback) # 마우스 클릭
glfwSetScrollCallback(window, scroll_callback) # 마우스 휠
대표적으로 4개만 제시하였다.
전체적인 코드를 써보면 다음과 같다. (glfwSetKeyCallback)
예시 코드
먼저 키보드 입력을 받았을 때 어떤 행동을 할 지 구현한다
def key_callback(window, key, scancode, action, mods):
    print(f"key: {key} action: {action}")
    if key==GLFW_KEY_ESCAPE and action==GLFW_PRESS:
        glfwSetWindowShouldClose(window, GLFW_TRUE)
위 코드는 ESC를 누르면 종료하고 누르는 버튼이 무엇인지 어떤 동작을 하는지 print한다.
이제 이 코드를 메인에서 glfw에 설정한다.
glfwSetKeyCallback(window, key_callback)전체적인 코드는..
from glfw.GLFW import *

def key_callback(window, key, scancode, action, mods):
    print(f"key: {key} action: {action}")
    if key==GLFW_KEY_ESCAPE and action==GLFW_PRESS:
        glfwSetWindowShouldClose(window, GLFW_TRUE)

def main():
    # Initialize the library
    if not glfwInit():
        return
    # Create a windowed mode window and its OpenGL context
    window = glfwCreateWindow(640, 480, "Hello World", None, None)
    if not window:
        glfwTerminate()
        return

    # Make the window's context current
    glfwMakeContextCurrent(window)

    glfwSetKeyCallback(window, key_callback)

    # Loop until the user closes the window
    while not glfwWindowShouldClose(window):
        # Render here, e.g. using pyOpenGL

        # Swap front and back buffers
        glfwSwapBuffers(window)

        # Poll for and process events
        glfwPollEvents()

    glfwTerminate()

if __name__ == "__main__":
    main()
def key_callback(window, key, scancode, action, mods):예를 들어 A(ㅁ)를 누른다면 65라는 값이 key에 포함되고
누를때는 action에 1 떼지 않는다면 2 뗀다면 0이 포함된다.
이런 방식으로 마우스 클릭, 마우스 스크롤 등도 핸들링할 수 있다.
SwapBuffer
컴퓨터는 보이는 화면을 front buffer (현재 보이는 화면) 과 back buffer(앞으로 보일 화면)을 구분하여 저장한다. glfw를 통해 두 버퍼를 교체해 연속적으로 어떤 화면이 보일지 rendering한다 .
glfwSwapBuffers(window)그외..
이 외에도 GLFW를 종료 flag 확인, context 만들기, 다양한 input을 받고 처리 등을 할 수 있다.
여기를 눌러 그 이상에 대해 알아보자.