로그인 기능을 꼭 만들고 글 쓰기 작업을 시작하지 않아도 된다.
필드에 Mock세션을 만들어서 가짜 로그인 정보를 만들어 놓고 해도 된다.
	private void mockSession(){
        User user = new User();
        user.setId(1);
        user.setUsername("ssar");
        session.setAttribute("principal", user);
    }
세션이 필요한 메소드에서는
mockSession(); 만 호출하면 된다
보드 컨트롤러 작성
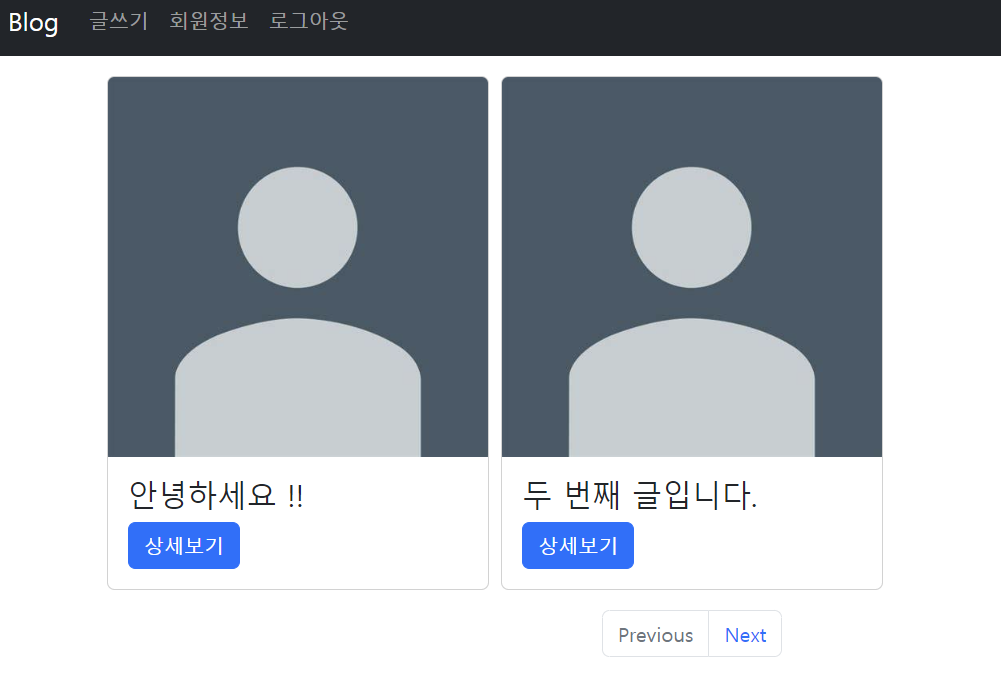
글 목록보기 기능 추가
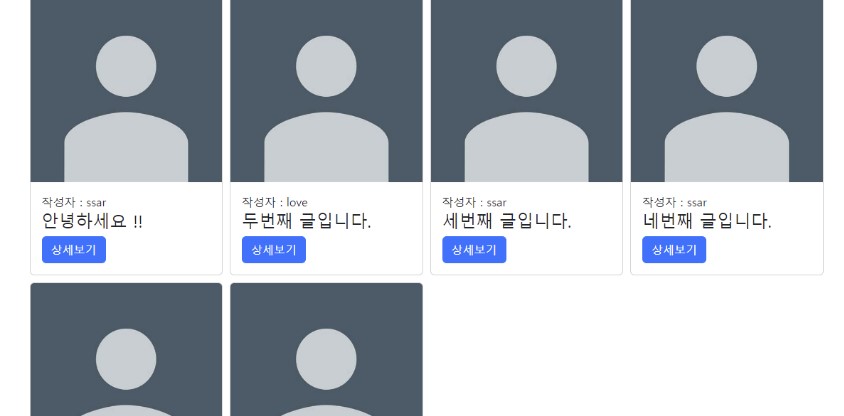
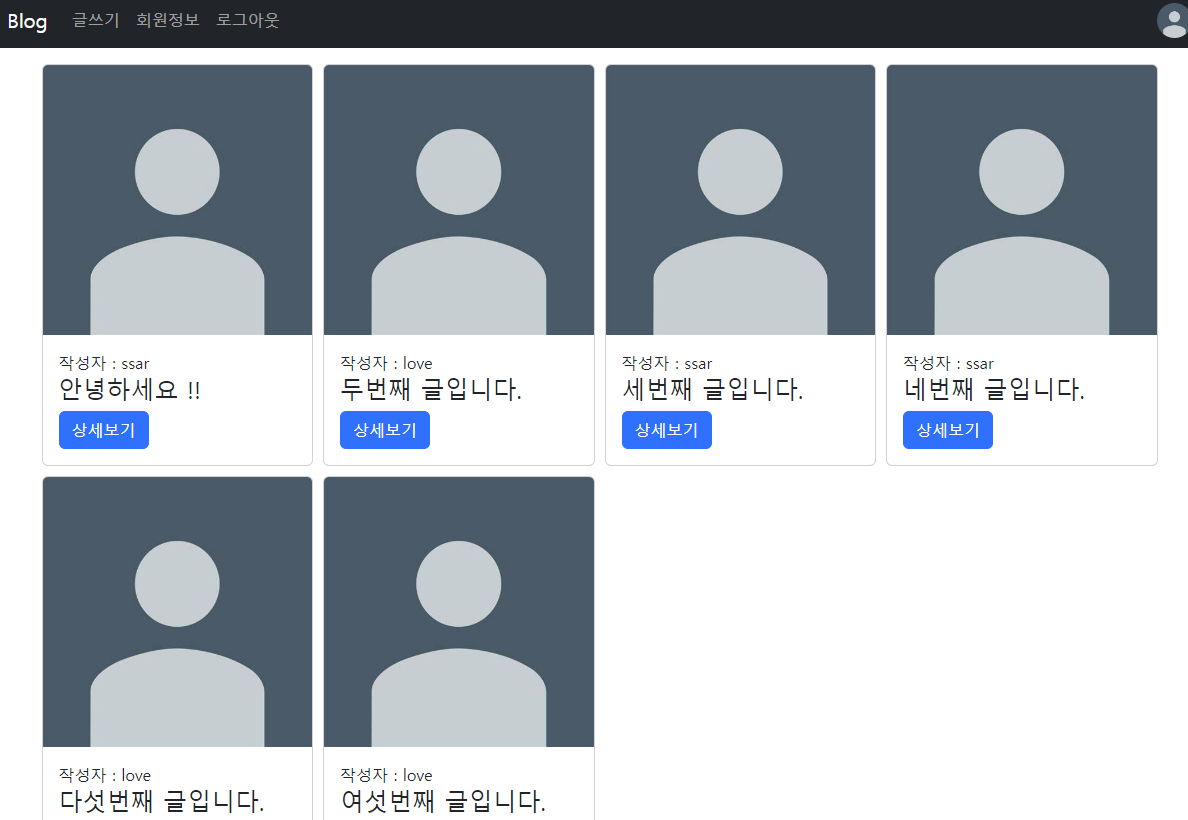
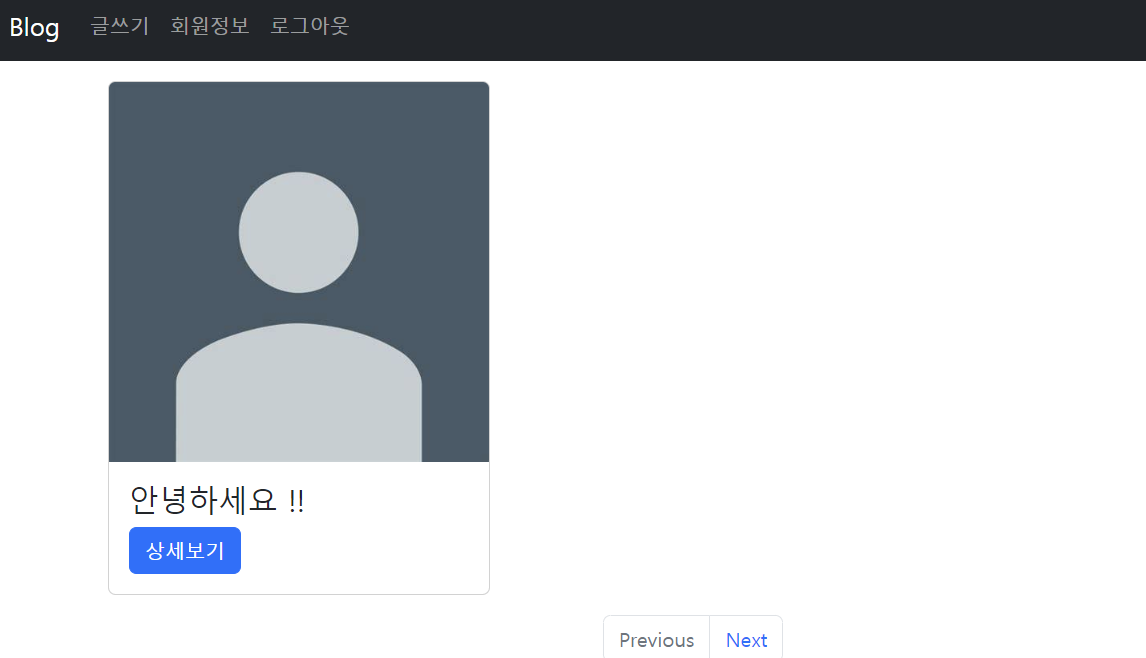
메인 화면에 글 목록이 나오게 하자
글 목록에만 필요한 데이터를 넣을 dto 생성 - BoardMainRespDto
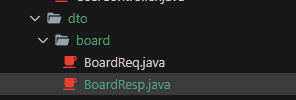
public class BoardResp {
    @Getter
    @Setter
    public static class BoardMainRespDto {
        private int id;
        private String title;
        private String username;
    }
}
해당 dto 에 데이터를 넣어줄 쿼리는
<select id="findAllWithUser" resultType="shop.mtcoding.blog.dto.board.BoardResp$BoardMainRespDto">
    select id, title,
      ( select username from user_tb where id = b.user_id ) username
      from board_tb b
</select>MyBatis는 특이하게 내부클래스를 연결할 때 $를 이용한다 -> BoardResp$BoardMainRespDto
메인으로 연결된 컨트롤러
    @GetMapping("/")
    public String main(Model model){
        model.addAttribute("boardList", boardRepository.findAllWithUser());
        return "user/main" ;
    }
MyBatis 라이브러리 도 유닛테스트를 할 수가 있는데 아래의 라이브러리를 이용하면 MyBatis가 필요한 환경만 만들어서 테스트를 할 수 있게 만들어 준다
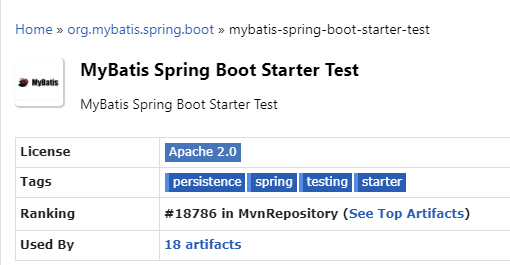
- 라이브러리 코드
testImplementation group: 'org.mybatis.spring.boot', name: 'mybatis-spring-boot-starter-test', version: '2.2.2'유닛 테스트를 해보자
@MybatisTest // MyBatis 테스트에 필요한 레파지토리 이하의 빈만 생성해줌
public class BoardRepositoryTest {
@Autowired
private BoardRepository boardRepository;
@Test
public void findAllWithUser_test() throws Exception {
//given
ObjectMapper om = new ObjectMapper();
//when
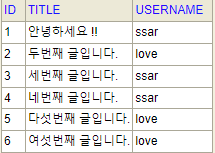
List<BoardMainRespDto> BoardMainRespDto = boardRepository.findAllWithUser();
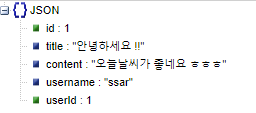
String responseBody = om.writeValueAsString(BoardMainRespDto); // 이녀석이 json 으로 변환해줌
System.out.println("테스트 : "+ responseBody); // 디버그 콘솔에 json 출력됨
//then
assertThat(BoardMainRespDto.get(5).getUsername()).isEqualTo("love"); // 통과
}
}라이브러리를 추가하면 @MybatisTest를 사용할 수가 있는데 MyBatis가 필요한 환경일때 레파지토리부터 DB까지만 Mock 인스턴스를 생성해준다.
ObjectMapper
-
@Controller에서 자바오브젝트를 리턴하면MessageConverter가json으로 파싱해주는데 이때 사용되는MessageConverter는MappingJacksonHttpMessageConverter라고 한다. -
MappingJacksonHttpMessageConverter는 json 을 처리하기 위한 자바 라이브러리인Jackson라이브러리의ObjectMapper를 이용하여 자바오브젝트를 json으로 파싱해준다. -
이를 똑같이 테스트 하기 위해서
Jackson 라이브러리의ObjectMapper클래스를 이용한다. -
ObjectMapper는 자바오브젝트와 json 사이에서 직렬화와 역직렬화를 해주는 메소드를 가지고 있다. -
ObjectMapper의writeValue()-(파일출력) /writeValueAsString()을 이용하면 자바오브젝트에 들어 있는 데이터를json으로 간단히 파싱할 수가 있다. -
여기서 주의점은
json으로 직렬화 시킬 클래스(BoardMainRespDto)에는Getter가 있어야 한다.
( 반대로 스프링에서key=valus의 데이터를 자바클래스에 파싱할때가 있는데 이때는 클래스가Setter를 가지고 있어야 한다. )
이후 Assertions.assertThat api 를 이용해서 쿼리가 정상적인지 json을 제대로 보냈는지 테스트 할 수가 있다.
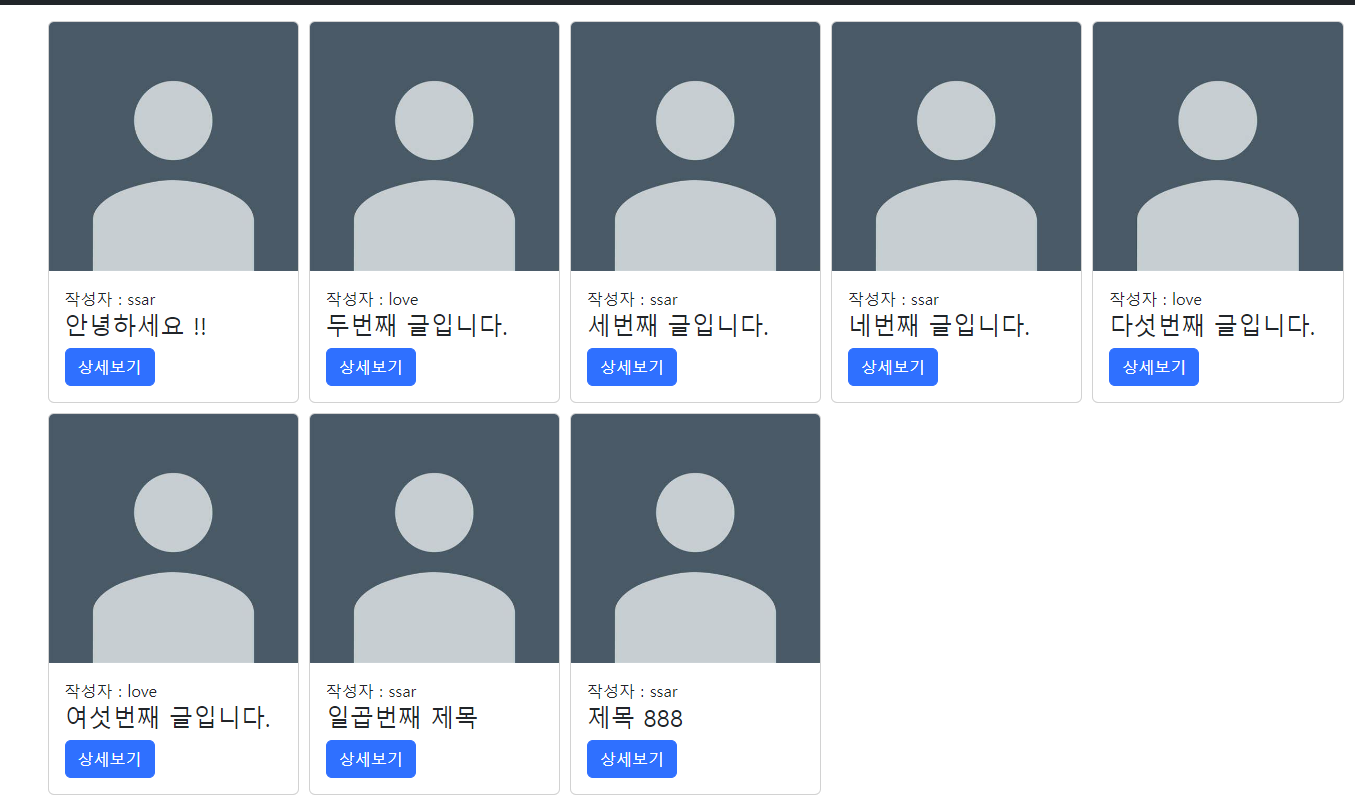
데이터를 받는 뷰의 jstl은 아래처럼 작성한다
<c:forEach items="${boardList}" var="board">
    <div class="card">
        <img class="card-img-top" src="images/profile.jpeg" alt="Card image">
        <div class="card-body">
            <div>작성자 : ${board.username} </div>
            <h4 class="card-title my-text-ellipsis">${board.title}</h4>
            <a href="/board/${board.id}" class="btn btn-primary">상세보기</a>
        </div>
    </div>
</c:forEach>
글 목록 데이터가 모델에 담기는지 간단히 테스트 한다
@AutoConfigureMockMvc
@SpringBootTest(webEnvironment = WebEnvironment.MOCK)
public class BoardControllerTest {

    @Autowired
    private ObjectMapper om;

    @Test
    public void main_test() throws Exception{
        //given
        //when
        ResultActions resultActions = mvc.perform(get("/"));

        Map<String, Object> map = resultActions.andReturn().getModelAndView().getModel();
        List<BoardResp.BoardMainRespDto> dtos =
        				(List<BoardResp.BoardMainRespDto>) map.get("boardList");
        //then
        // resultActions.andExpect(status().isOk());
        String responsebody = om.writeValueAsString(dtos);
        System.out.println("테스트 " + responsebody);
        assertThat(dtos.size()).isEqualTo(6);
        assertThat(dtos.get(0).getId()).isEqualTo(1);
    }
 }
메인화면
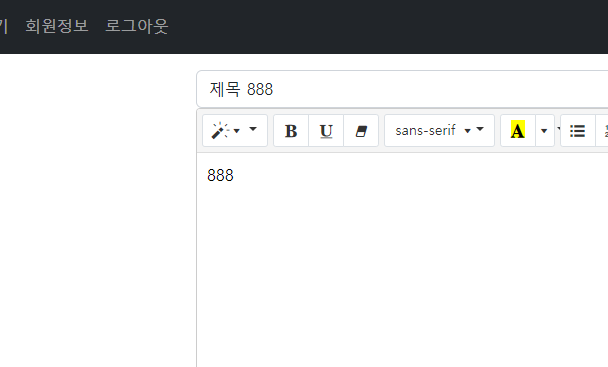
글 쓰기 기능 추가
글쓰기를 누르면 나오는 페이지
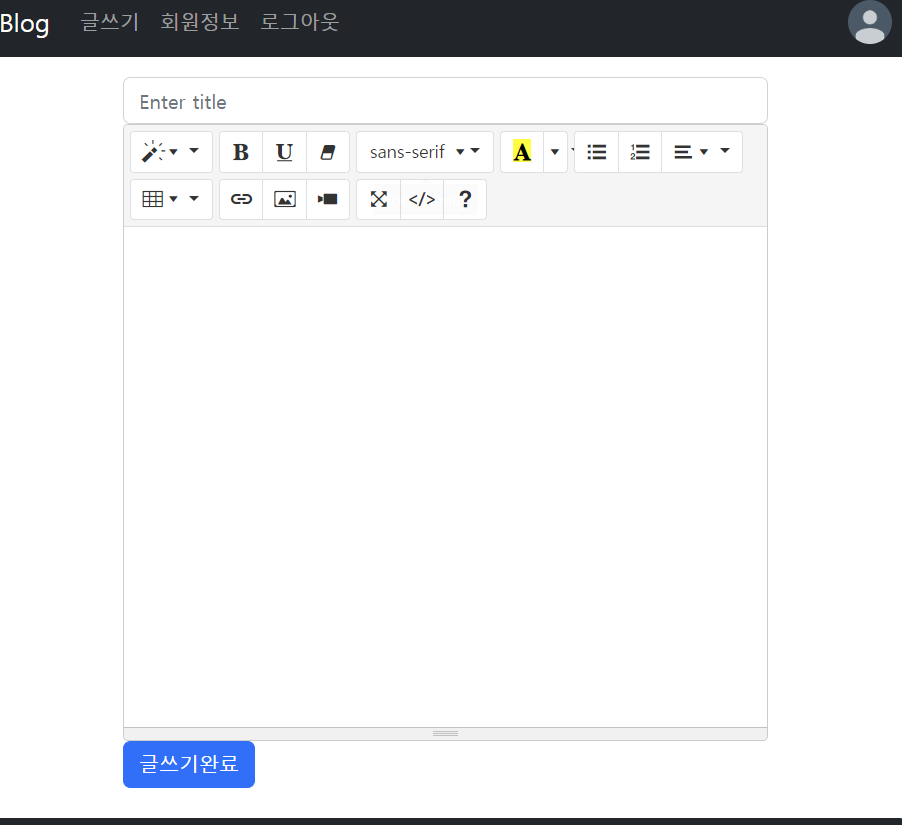
폼 태그로 데이터를 넘겼다
<form action="/board/Write" method="post">
    <input type="text" class="form-control" placeholder="Enter title" name="title">
    <textarea class="form-control summernote" rows="5" name="content" value=""></textarea>
    <button type="submit" class="btn btn-primary">글쓰기완료</button>
</form>
데이터를 받을 dto - BoardSaveReqDto
public class BoardReq {

    @Getter
    @Setter
    public static class BoardSaveReqDto{
        private String title;
        private String content;
    }
}
연결된 컨트롤러
@PostMapping("/board/Write")
@ResponseBody
public String boardWrite(BoardSaveReqDto boardSaveReqDto){
User principal = (User)session.getAttribute("principal");
if( principal == null ){
throw new CustomException("로그인이 필요한 페이지 입니다", HttpStatus.UNAUTHORIZED);
// 인증이 안돼었으면 401을 리턴해야한다 // 403 은 권한이 없을때 리턴해야한다.
}
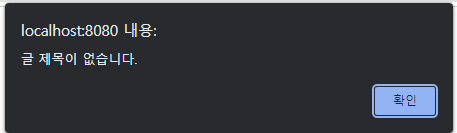
if ( boardSaveReqDto.getTitle() == null || boardSaveReqDto.getTitle().isEmpty() ){
throw new CustomException("글 제목이 없습니다.");
}
if ( boardSaveReqDto.getTitle().length() > 100 ){
throw new CustomException("제목의 허용길이 100자를 초과했습니다.");
}
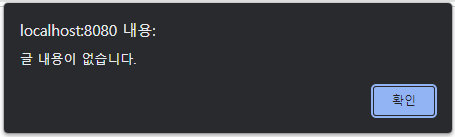
if ( boardSaveReqDto.getContent() == null || boardSaveReqDto.getContent().isEmpty() ){
throw new CustomException("글 내용이 없습니다.");
}
boardService.글쓰기(boardSaveReqDto, principal.getId());
return Script.href("/");
}컨트롤러의 책임은 유효성 검사이므로 입력된 파라미터가 유효한지 체크한다.
지금은 간단하게 적었지만 본래 완벽한 로직은 모든 시도를 막아야 한다.
이러한 작업은 AOP 란것을 이용해 편하게 할 수 있다고 한다. AOP는 차후에 알아보자.
에러에 따라 다른 상태코드를 응답할 경우 이전 포스팅에서 만들어 놓은 익셉션 핸들러를 이용한다.
@Getter
public class CustomException extends RuntimeException{
    private HttpStatus status;

    public CustomException(String msg, HttpStatus status){
        super(msg);  // 메세지는 조상이 처리
        this.status = status;
        // 경우에 따른 응답코드를 다르게 주고 싶어서 생성자의 파라미터로 추가했다.
    }

    public CustomException(String msg){
        this(msg, HttpStatus.BAD_REQUEST);
        // 메세지만 입력하면 기본적으로 400을 응답하는 익셉션 핸들러
    }
}
@RestControllerAdvice
public class CustomExceptionHandler {
@ExceptionHandler(CustomException.class)
public ResponseEntity<?> customException(CustomException e){
return new ResponseEntity<>(Script.back(e.getMessage()), e.getStatus());
// ResponseEntity 는 상태코드와 응답데이터(여기서는 메세지)를 리턴 !
}
}CustomException을 오버로딩 했으므로 필요할 경우 익셉션 핸들러에 두번째 파라미터를 넣어 다른 상태코드를 응답할 수 있다. ( 디폴트 = 400 )
ResponseEntity는 HttpEntity 를 구현한 클래스로써 상태코드와 응답데이터를 리턴해준다.
컨트롤러에서 사용되는 서비스 로직은
 	@Transactional
    public void 글쓰기(BoardSaveReqDto boardSaveReqDto, int userId){
        int result = boardRepository.insertBoard(
                     boardSaveReqDto.getTitle(),
                     boardSaveReqDto.getContent(),
                     userId);
        if ( result != 1 ){
            throw new CustomException("글 쓰기에 실패했습니다.", HttpStatus.INTERNAL_SERVER_ERROR);
            // 글쓰기 실패는 서버의 오류 -> 500 번대의 오류
            // 글을 너무 길게 넣으면 컨트롤러에서 잘라야함 -> 400 번대 오류
        }
    }
사용된 쿼리는
<insert id="insertBoard">
        insert into board_tb ( title, body, user_id, created_at)
            values ( #{title}, #{body}, #{userId}, now())
</insert>
컨트롤러의 익셉션 핸들러를 테스트 하자
@AutoConfigureMockMvc
@SpringBootTest(webEnvironment = WebEnvironment.MOCK)
public class BoardControllerTest {
    @Autowired
    private MockMvc mvc;

    private MockHttpSession mockSession;

    @BeforeEach  // MOCK 세션 생성
    public void setUp(){
        User user = new User();
        user.setId(1);
        user.setUsername("ssar");
        user.setPassword("1234");
        user.setEmail("ssar@nate.com");
        user.setCreatedAt(Timestamp.valueOf(LocalDateTime.now()));

        mockSession = new MockHttpSession();
        mockSession.setAttribute("principal", user);
    }

    @Test
    public void save_test() throws Exception { // 글 쓰기
        // given
        String requestBody = "title=제목1&content=내용1";

        // when
        ResultActions resultActions = mvc.perform(
                post("/board/Write")
                .content(requestBody)
                .contentType(MediaType.APPLICATION_FORM_URLENCODED_VALUE)
                .session(mockSession));
        // then
        resultActions.andExpect(status().is3xxRedirection());
    }
}
@BeforeEach 를 붙이면 클래스 내에 존재하는 각각의 @Test 를 실행하기 직전에 호출이 된다.
테스트를 하면 setUp()이 호출되어 MockHttpSession을 만들어 준다.
mvc.perform 의 작업에 세션이 필요할 경우 .session(mockSession) 으로 추가해 주면 된다.
requestBody에 변화를 줘서 익셉션 핸들러가 모두 제대로 동작하는지 테스트 하면 된다.
입력을 안하면 alert 뜨고 history.back() 으로 복귀한다.
글 상세보기 기능 추가
상세보기에만 필요한 데이터를 넣을 dto - BoardDetailRespDto
public class BoardResp {

    @Getter
    @Setter
    public static class BoardDetailRespDto {
        private int id;
        private String title;
        private String username;
        private String content;
        private int userId;
    }
}
상세보기 연결된 컨트롤러
    @GetMapping("/board/{id}")
    public String detail(@PathVariable int id, Model model){
        BoardDetailRespDto dto = boardRepository.findByIdWithUser(id);
        if ( dto == null ){
            return "redirect:/errorpage";
        }
        model.addAttribute("dto", dto);
        return "board/detail";
    }
상세보기 조회 쿼리
    <select id="findByIdWithUser" resultType="shop.mtcoding.blog.dto.board.BoardResp$BoardDetailRespDto">
        select id, title, content,
        b.user_id,
        ( select username from user_tb where id = b.user_id ) as username,
        created_at
        from board_tb b
        where id = #{id}
    </select>
상세보기는 간단해서 테스트할 필요가 없지만 테스트를 연습해보자
앞에서 연습해봤던 테스트 클래스에 @Test로 추가만 하면 된다
@Test
public void detail_test() throws Exception{
	int id = 1;
    ResultActions resultActions = mvc.perform(get("/board/"+id));
    // resultActions.andExpect(status().isOk());
    Map<String, Object> map = resultActions.andReturn().getModelAndView().getModel();
    BoardDetailRespDto ddd = (BoardDetailRespDto) map.get("dto"); // 다운캐스팅
    assertThat(ddd.getId()).isEqualTo(1);
    assertThat(ddd.getUsername()).isEqualTo("ssar");
    System.out.println("테스트 :" + om.writeValueAsString(ddd));
}
모델에는 key=value 형태로 저장이 되므로 getModel() 의 리턴은 Map<String, Object> 이 된다.
디버그 콘솔에 변환된 String 을 http://jsonviewer.stack.hu/ 로 확인을 하면 데이터가 모델에 들어간것을 확인할 수 있다.

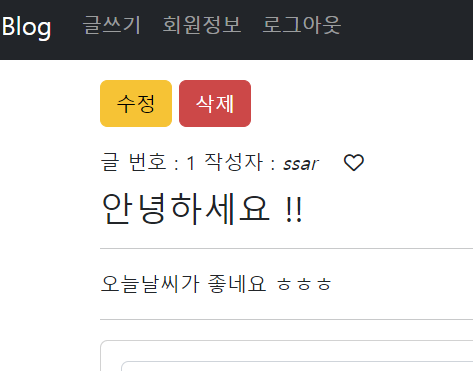
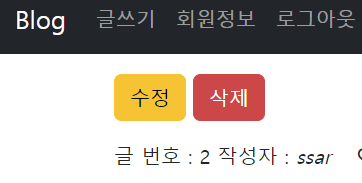
이제 상세보기 jsp 에서 ${dto.id} 같은 EL표현식으로 데이터를 뿌려주면 된다
수정과 삭제는 글을 쓴 본인만 할 수 있는 기능이므로
jstl의 <c:if test="${principal.id == dto.userId}" > 을 이용한다
글 삭제 기능 추가
get & delete요청은 바디데이터가 없다.
바디데이터가 없다고 get 요청으로 보내서 내부적으로 delete 처리를 한다면 심각한 보안문제가 발생할 수 있다.( ex. 관리자 권한으로 get->delete 할수도 )
따라서 delete요청은 자바스크립트를 통해 요청을 보내야 하는데 자바스크립트의 ajax를 이용해서 글 삭제 기능을 추가해보자
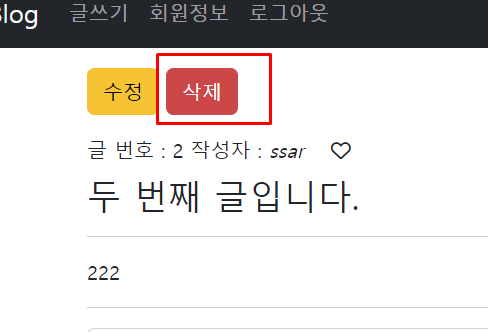
삭제할 버튼의 리스너에 deleteBoard() 를 등록하고 삭제할 게시글의 id를 넣는다.
<button type="button" onclick="deleteBoard(${dto.id})" class="btn btn-danger">삭제</button>삭제 버튼을 누르면 자바스크립트의 ajax를 이용해서 delete 요청을 한다
	<script>
        function deleteBoard(id) {
            $.ajax({
                type: "delete",
                url: "/board/"+id,
              	dataType: "json"
            }).done((res) => { // 2xx 일때

            }).fail((err) => { // 4xx 5xx 일때

            });
        }
	</script>
스크립트에서는 EL표현식을 사용하지 않는데 스크립트파일을 다른곳에 저장하고 스크립트를 연결시키면 스크립트 파일 내부에서는 EL표현식을 해석하지 못하기 때문이다.
익셉션 핸들러에서 json을 리턴해보자
"/board/"+id에 연결된 컨트롤러는 약간의 변형이 있다.
    @DeleteMapping("/board/{id}")
    @ResponseBody
    public ResponseEntity<?> boardDelete(@PathVariable int id){
        User principal = (User)session.getAttribute("principal");
        if( principal == null ){
            throw new CustomApiException("로그인이 필요한 페이지 입니다", HttpStatus.UNAUTHORIZED);
        }
        boardService.글삭제하기(id, null);

        return new ResponseEntity<>(new ResponseDto<>(1, "삭제 성공", null),HttpStatus.OK);
    }
CustomException 으로 익셉션을 만들면 new ResponseEntity<>(Script.back(e.getMessage()), e.getStatus()); 를 리턴하는 메소드와 연결되어 있으므로 <script> ... </script> 를 ajax로 리턴하게 된다.
ajax는 스크립트 내부에 있으므로 스크립트를 받으면 코드가 이상해진다.
통신에는 주로 json을 이용하고 ajax도 json을 받아야 하므로 ajax에 응답을 하는 컨트롤러는 json을 리턴해야한다.
@Controller + @ResponseBody 일때 스프링의 MessageConverter 가 발동되고 자바 오브젝트를 리턴하면 MappingJacksonHttpMessageConverter 가 json으로 파싱해 json을 리턴하므로 메소드에 @ResponseBody 을 붙이고 리턴할 데이터를 담을 클래스를 하나 만들어야 한다.
@AllArgsConstructor
@Getter
@Setter
public class ResponseDto<T> {
    private int code;
    private String msg;
    private T data;
}
이제 ResponseEntity<?>에 new ResponseDto<>를 담아서 리턴하면 MessageConverter 에 의해 json으로 파싱이 된다.
정상적인 접근이 아닐때 익셉션 처리를 하게 되는데 기존의 CustomException 는 String을 리턴하므로
ajax에 응답하기 위해서는 익셉션도 json을 리턴하도록 만들어야 한다
json을 리턴하는 익셉션을 만들어보자
이미 만들어 놓은 CustomException 을 살짝 변형해서 CustomApiException 을 만든다
@Getter
public class CustomApiException extends RuntimeException{

    private HttpStatus status;

    public CustomApiException(String msg, HttpStatus status){
        super(msg);
        this.status = status;
    }
    public CustomApiException(String msg){
        this(msg, HttpStatus.BAD_REQUEST); // 기본적으로 400 리턴
    }
}
@RestControllerAdvice
public class CustomExceptionHandler {
@ExceptionHandler(CustomApiException.class)
public ResponseEntity<?> CustomApiException(CustomApiException e){
return new ResponseEntity<>(new ResponseDto<>(-1, e.getMessage() ,null), e.getStatus());
}
}CustomApiException 이 발생하면 ResponseEntity를 리턴하게 된다.
ResponseEntity는 HttpEntity 를 구현한 클래스로써 상태코드(e.getStatus())와 응답데이터(ResponseDto<>)를 리턴해준다.
호출되는 서비스는
    @Transactional
    public void 글삭제하기(int id, int userId) {
        Board boardPS = boardRepository.findbyId(id);
        if (boardPS == null ){
            throw new CustomApiException("존재하지 않는 게시글을 삭제할 수 없습니다.");
        }
        if ( boardPS.getUserId() != userId ){
            throw new CustomApiException("해당 게시글을 삭제할 권한이 없습니다.", HttpStatus.FORBIDDEN); // 403
        }
        try {
            boardRepository.deleteBoard(id);
        } catch (Exception e) {
            throw new CustomApiException("서버에 일시적인 문제가 생겼습니다.", HttpStatus.INTERNAL_SERVER_ERROR); //500
        }
    }
DB도 내부적으로 익셉션 처리를 한다.
익셉션을 호출하는쪽으로 던지면(throw) 개발자가 처리하기 쉽지만 내부적으로 try-catch 되는 경우에는 익셉션이 발생하는 메소드를 다시 try-catch로 감싸서 개발자가 처리해야 한다.
또는 쿼리를 수행하는 메소드가 실패하면 -1을 리턴하므로 if 조건으로 문제가 생겼을 경우 익셉션을 발생시켜도 된다.
( 추가적으로 서버에서 익셉션이 발생하면 CustomServerException 를 만들어서 여러 정보를 남겨야 한다. )
유닛 테스트를 해보자
만들어 놓은 테스트 클래스 재사용하고 @Test의 코드는
	@Test
    public void boardDelete_test() throws Exception{
        int id = 1;

        ResultActions resultActions = mvc.perform(delete("/board/"+id).session(mockSession));
        String responseBody = resultActions.andReturn().getResponse().getContentAsString();
        System.out.println("테스트 : "+ responseBody);
        resultActions.andExpect(status().isOk());

        // resultActions.andExpect(jsonPath("$.code").value(1)); // json 이 제대로 전송됐는지 테스트
    }
다양한 변형을 통해 만들어 놓은 익셉션이 제대로 json을 리턴하는지 테스트 하면 된다


서버 오류를 만들려고 쿼리에 일부러 오타를 내봤다

CustomApiException 을 이용한 익셉션 처리는 자바오브젝트를 리턴하므로 MessageConverter 에 의해서 json 으로 파싱이 된다.
$.ajax({
type: "delete",
url: `/board/${id}`,
dataType: "json"
}).done((res) => { // 2xx 일때
console.dir(res);
}).fail((err) => { // 4xx 5xx 일때
console.dir(err);
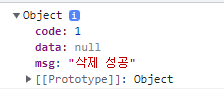
});dataType: "json" 으로 명시해 놓으면 ajax가 들어온 json 데이터를 자바스크립트 오브젝트로 파싱해준다.
console.dir(); 으로 리턴 받은 json의 데이터를 확인할 수가 있다.
- 2xx 일 경우 (.done)
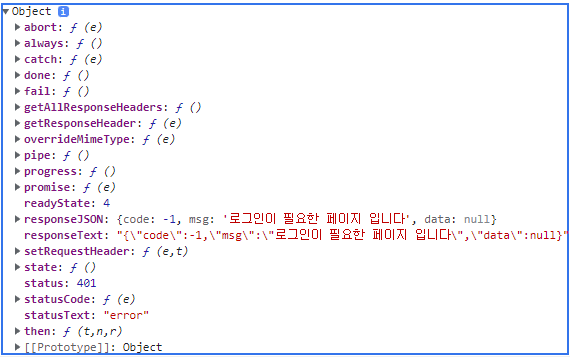
- 4xx, 5xx 일 경우 (.fail)
자바스크립트 오브젝트를 참고해서 다시 ajax를 작성하면
<script>
$.ajax({
type: "delete",
url: `/board/${id}`,
dataType: "json"
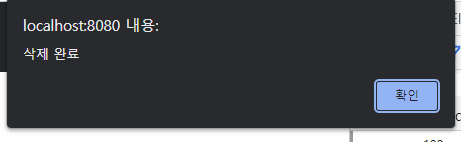
}).done((res) => { // 2xx 일때
alert(res.msg);
location.href = '/';
}).fail((err) => { // 4xx 5xx 일때
alert(err.responseJSON.msg);
location.href = '/';
});
</script>실패했을 경우의 오브젝트err 는 responseJSON 내부에 응답한 json이 있으므로 alert(err.responseJSON.msg);로 작성한다.
두번째 글을 삭제해보자
글 수정하기 기능 추가
글을 수정하기 위해서는 로그인되어 있는 상태에서 내가 쓴 글이 맞는지 한번 확인해야 한다
<c:if test="${principal.id == dto.userId}">
    <div class="mb-3">
        <a href="/board/${dto.id}/updateForm" class="btn btn-warning">수정</a>
        <button id="btn-delete" class="btn btn-danger" onclick="deleteBoard()">삭제</button>
    </div>
</c:if>
수정 버튼은 수정 페이지로 연결시켜 준다.
    @GetMapping("/board/{id}/updateForm")
    public String updateForm(@PathVariable int id, Model model){
        User principal = (User)session.getAttribute("principal");
        if( principal == null ){
            throw new CustomException("로그인이 필요한 페이지 입니다", HttpStatus.UNAUTHORIZED);
        }
        Board boardPS = boardRepository.findbyId(id);
        if ( boardPS == null ){
            throw new CustomException("존재하지 않는 게시글입니다.");
        }
        if ( principal.getId() != boardPS.getUserId()){
            throw new CustomException("게시글을 수정할 권한이 없습니다.", HttpStatus.FORBIDDEN);
        }
        model.addAttribute("board", boardPS);
        return "board/updateForm";
    }
코드 컨벤션을 통해서 insert, update, delete가 아닌 작업은 컨트롤러에서 간단하게 만들기로 했다.
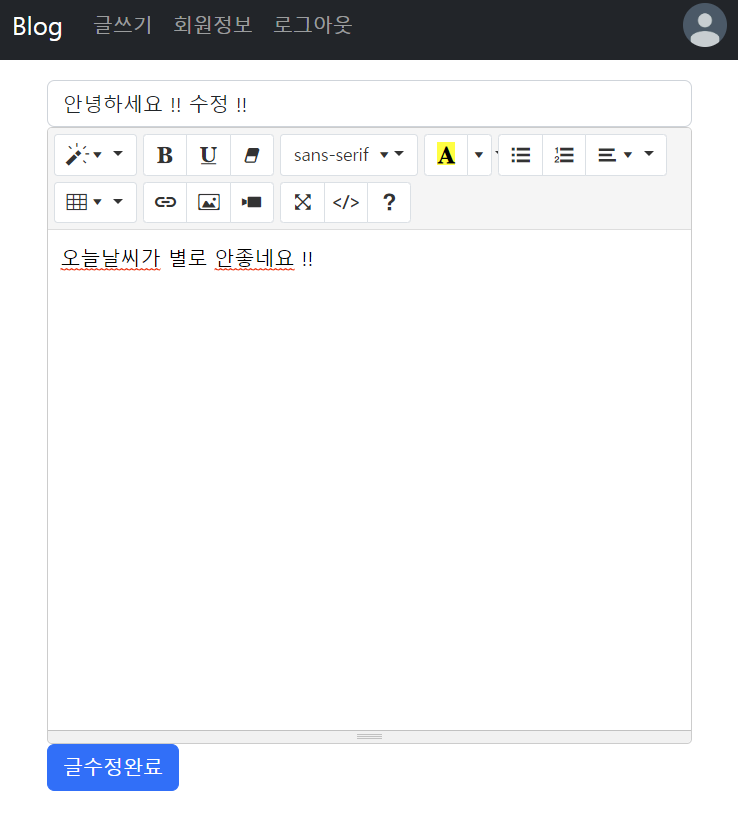
처음 수정 페이지는 이전에 작성한 상태로 렌더링 되어야 한다.
마찬가지로 EL 표현식( ${board.body} )으로 데이터를 뿌려준다.
수정데이터를 폼태그로 넘겼다.
<form action="/borad/${board.id}/update" method="post">
    <input type="text" class="form-control" placeholder="Enter title" name="title" value="${board.title}">
    <textarea class="form-control summernote" rows="5" name="content">${board.content}</textarea>
    <input type="hidden" name="id" value="${board.id}">
    <button type="submit" class="btn btn-primary">글수정완료</button>
</form>
익셉션 핸들러를 이용한 응답
@PutMapping("/borad/{id}")
@ResponseBody
public ResponseEntity<?> boardUpdate(@PathVariable int id, @RequestBody BoardUpdateRqeDto bu){
User principal = (User)session.getAttribute("principal");
if( principal == null ){
throw new CustomApiException("로그인이 필요한 페이지 입니다", HttpStatus.UNAUTHORIZED);
}
if (bu.getTitle() == null || bu.getTitle().isEmpty()) {
throw new CustomApiException("글 제목이 없습니다.");
}
if (bu.getContent() == null || bu.getContent().isEmpty()) {
throw new CustomApiException("글 내용이 없습니다.");
}
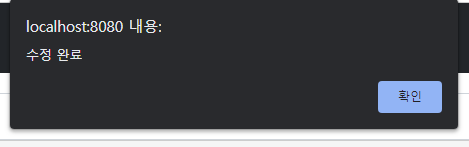
boardService.글수정하기(bu, id, principal.getId());
return new ResponseEntity<>(new ResponseDto<>( 1, "수정 완료",null), HttpStatus.OK);
}@RequestBody 가 json을 받으면 내부적으로 ObjectMapper 의 readValue(json, '자바오브젝트'.class) 가 발동해서 클래스의 필드로 데이터를 넣어준다.
컨트롤러의 익셉션 처리를 테스트 해보자
    @Test
    public void updateForm_test() throws Exception{

        int id = 1;
        ResultActions resultActions = mvc.perform(get("/board/"+id+"/updateForm")
        							     .session(mockSession));
        BoardDetailRespDto b = (BoardDetailRespDto)resultActions.andReturn()
        						.getModelAndView().getModel().get("dto");
        assertThat(b.getId()).isEqualTo(1);
        // resultActions.andExpect(status().isOk());
    }

    @Test
    public void boardUpdate_test() throws Exception{
        String requestBody = "title=22&content=23&userId=1245";
        int id = 2;
        ResultActions resultActions = mvc.perform(post("/borad/"+id+"/update")
                                         .content(requestBody)
                                         .contentType(MediaType.APPLICATION_FORM_URLENCODED_VALUE)
                                         .session(mockSession));

        resultActions.andExpect(status().isOk());
    }
다양한 조건 변화를 통한 테스트 결과


컨트롤러가 문제없이 작동하므로 서비스 로직을 만들어 보자
서비스 로직
    @Transactional
    public void 글수정하기(BoardUpdateRqeDto boardUpdateRqeDto, int principalId) {
        if ( boardUpdateRqeDto.getUserId() != principalId){
            throw new CustomException("글 수정 권한이 없습니다.", HttpStatus.FORBIDDEN);
        }
        Board board = boardRepository.findbyId(boardUpdateRqeDto.getId());
        if (board == null) {
            throw new CustomException("존재하지 않은 글을 수정할 수 없습니다.");
        }
        try {
            boardRepository.updateBoard(
                boardUpdateRqeDto.getTitle(),
                boardUpdateRqeDto.getContent(),
                boardUpdateRqeDto.getId());
        } catch (Exception e) {
            throw new CustomApiException("서버에 일시적인 문제가 생겼습니다.", HttpStatus.INTERNAL_SERVER_ERROR);
}<update id="updateBoard">
update board_tb set title=#{title}, body=#{body} where id=#{id}
</update>서비스로직도 비슷한 방법으로 테스트하면 된다
첫번째 글을 수정해보면
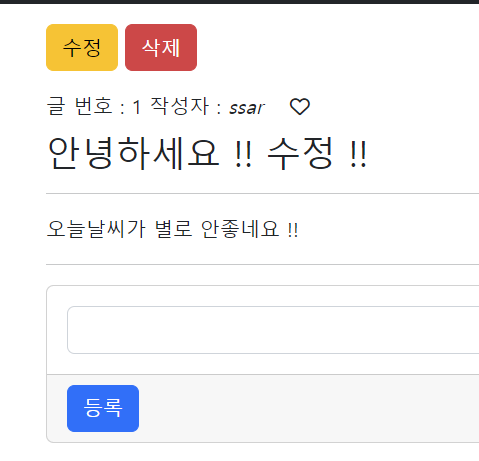
글이 수정된걸 볼 수 있다
이렇게 블로그의 핵심 로직을 만들어 봤다.
다음 포스팅에서는 좀 더 세부적인 기능을 추가해보자