오픈api promise객체 이용하기
기존 내용에 구독하라고 뜨던것은 다른 정보까지 있는 api 이고
이번에 사용하는 내용은 일부 기능만 사용하는것 이기에https://api.openweathermap.org/data/2.5/weather?lat=${position.latitude}&lon=${position.longitude}&appid=${apiKey}으로 사용하면 문제없이 동작함
fetch(
  `https://api.openweathermap.org/data/2.5/weather?lat=${position.latitude}&lon=${position.longitude}&appid=${apiKey}`
).then((res) => {
  console.log(res);
});
then을 사용해서 완료되면 받아오도록 실행하면
좀더 세부적인 데이터까지 나오게 되었음
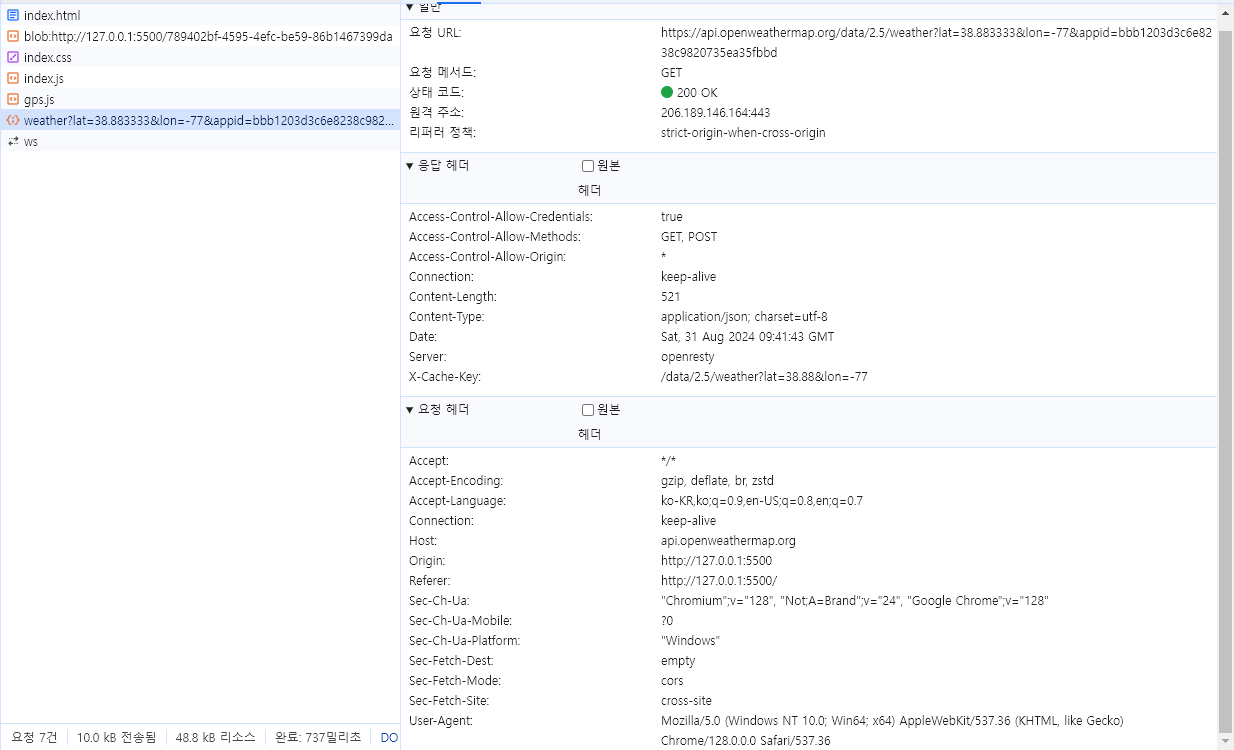
네트워크 탭에서도 확인이 가능함
네트워크 탭에서 알맞은 이름을 눌러보면 우측에 데이터들이 나오는데
세부 내용을 쉽게 확인이 가능하다.
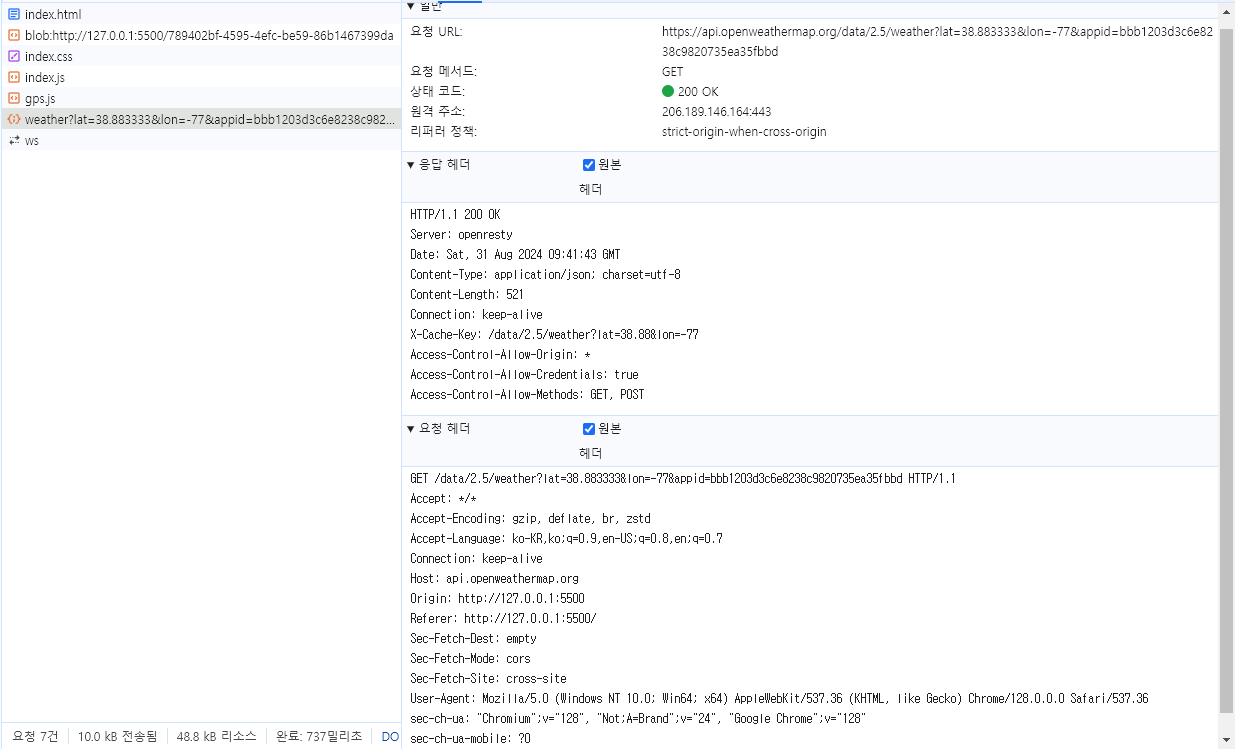
응답 헤더 내용중
content-type: application/json; charset=utf-8
컨텐츠가 json 타입이라는걸 알 수 있으니 받아온 데이터를 json으로 바꿔보자fetch( `https://api.openweathermap.org/data/2.5/weather?lat=${position.latitude}&lon=${position.longitude}&appid=${apiKey}` ).then((res) => { console.log(res.json()); });또한 fetch 내부의 then 의 데이터를 return 으로 내보내주면
fetch에도 then을 붙여서 받아줄 수 있다.fetch( `https://api.openweathermap.org/data/2.5/weather?lat=${position.latitude}&lon=${position.longitude}&appid=${apiKey}` ).then((res) => { return res.json(); }).then((json) => { console.log(json) });
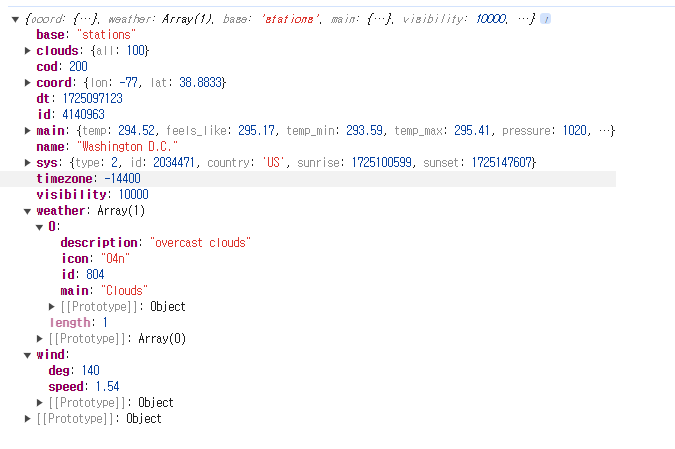
정상적으로 되면 위처럼 표기된다.


.json을 사용한 이유
기존에 배운 내용중에 JSON.parse() 가 있었는데
이번에는 .json 이라는 기능을 사용했음.JSON.parse()는 응답 바디만 존재할 때 사용이 가능하고
응답 헤더가 존재하면 사용이 불가능하다.그래서 이번 promise 객체로 받아온것은 헤더까지 존재했기에 .json을 사용한것.
.json은 바디뿐 아니라 헤더까지 있어도 정상적으로 동작함.
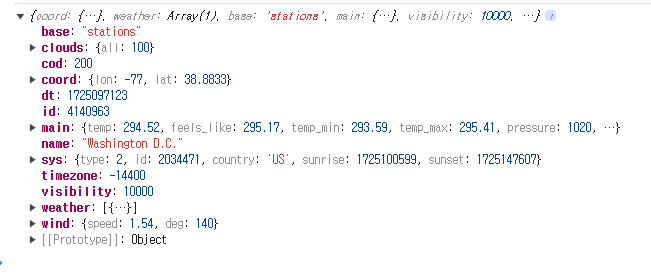
받아온 json 확인하기
받아온 데이터를 보면
clouds 구름
wind 바람
등등 날씨에 관한 내용을 볼 수 있는데
사용할것을 골라보자면
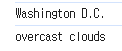
- name: 지역 이름
- weather[0].description : 현재 날씨
weather은 배열이라서 0은 인덱스를 의미함fetch( `https://api.openweathermap.org/data/2.5/weather?lat=${position.latitude}&lon=${position.longitude}&appid=${apiKey}` ).then((res) => { return res.json(); }).then((json) => { console.log(json.name) console.log(json.weather[0].description) });
이렇게 원하는 데이터만 뽑을 수도 있음.
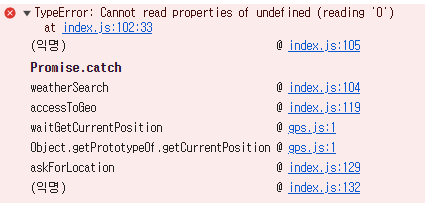
catch
요청을 보냈을 때 요청이 제대로 이루어지지 않았을때 원인이 무엇인지 확인할때 도와줌.
fetch(
  `https://api.openweathermap.org/data/2.5/weather?lat=${position.latitude}&lon=${position.longitude}&appid=${apiKey}`
).then((res) => {
  return res.json();
}).then((json) => {
  console.log(json)
  console.log(json.name)
  console.log(json.weather[0].description)
})
  .catch((err) => {
  console.log(err)
});
위와 같은 코드가 있다면
fetch 부분의 코드가 동작할때 문제가 없다면 catch부분까지 넘어가지 않지만
문제가 생기면 catch 로 넘어가서 err에 에러 메세지가 보관되어 console 을 통해 출력되도록 할 수 있다.fetch의 주소를 조금 수정하여 에러를 직접 발생시켜보자
이처럼 콘솔에 어떤 에러가 발생하는지 출력되는데
console.log 가 아닌 console.error형식으로도 받을 수있다.
기본 내용은 동일하지만 에러의 세부적인 내용을 볼 수 있음.