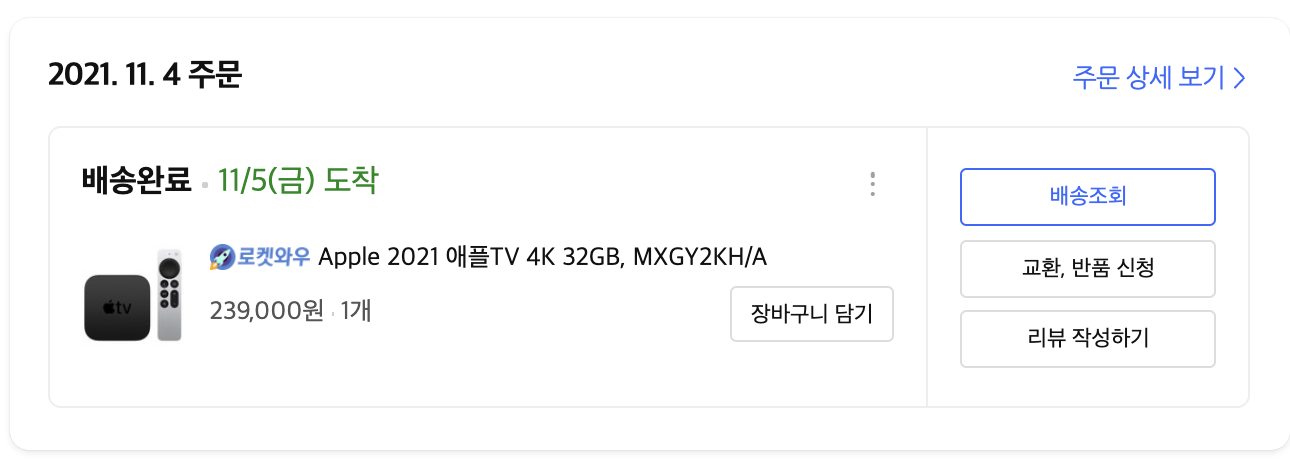
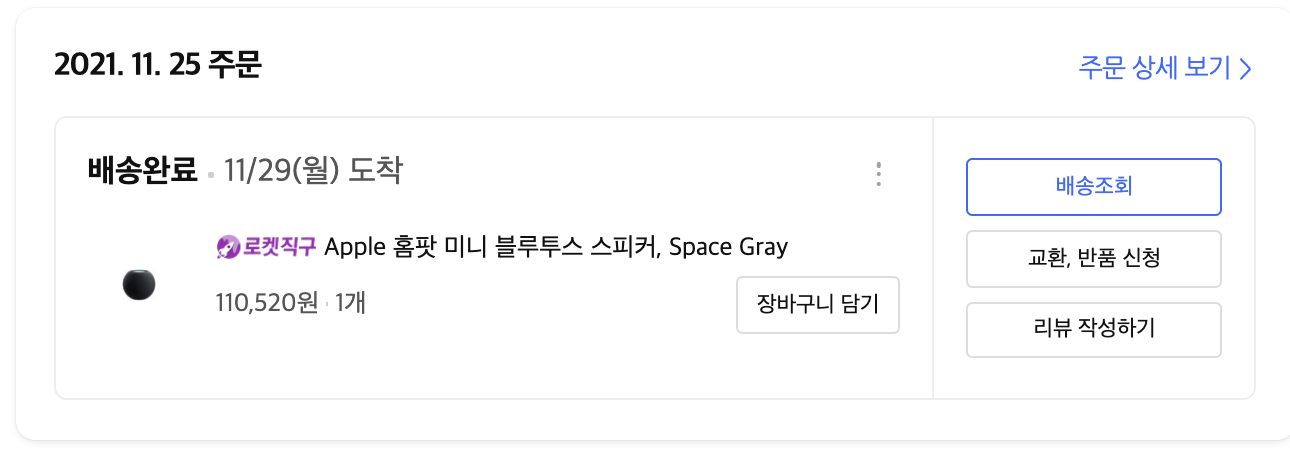
Apple TV & Homepod mini


단순히 TV 연결을 위해서 사용하고 있었지만, 또 다시 IoT 개발을 시작할려고 한다.
기존 시스템
수동 실행
침대에 누으면 "헤이클로바 전기장판 켜줘"
출근 전에 "헤이클로바 방불 꺼줘"
퇴근 후에 "헤이클로바 방불 켜줘"
타임 트리거 실행
06:00 전기장판 OFF
06:00 방 불 ON
06:00 클로바 알람
23:00 전기장판 ON (외박인 경우에도 켜지는 문제가 있어서 수동으로 변경)
23:00 샤오미 무드등 ON
이런 루틴으로 살고 있다.
이 중에서 출퇴근 전후의 방 불에 대해서 시간이 고정적이지 않으므로 타임 트리거를 실행하기 어려웠다.
그런 와중에 HomeKit 을 이용하면 Apple 기기도 자동화를 사용할 수 있다라는걸 확인하고 진행하기로 마음 먹었다.
https://github.com/homebridge/HAP-NodeJS
nodeJS를 이용해서 HomeKit을 연동할 수 있는 라이브러리가 있다.
const hap = require("hap-nodejs");

const Accessory = hap.Accessory;
const Characteristic = hap.Characteristic;
const CharacteristicEventTypes = hap.CharacteristicEventTypes;
const Service = hap.Service;

const accessoryUuid = hap.uuid.generate("hap.examples.switch");
const accessory = new Accessory("Example Swtich Accessory Name", accessoryUuid);

const switchService = new Service.Switch("Example Switch");

const onCharacteristic = switchService.getCharacteristic(Characteristic.On);

currentSwitchState = false;
// with the 'on' function we can add event handlers for different events, mainly the 'get' and 'set' event
onCharacteristic.on(CharacteristicEventTypes.GET, callback => {
  console.log("Queried current swtich state: " + currentSwitchState);
  callback(undefined, currentSwitchState);
});
onCharacteristic.on(CharacteristicEventTypes.SET, (value, callback) => {
  console.log("Setting switch state to: " + value);
  currentSwitchState = value;
  callback();
});

accessory.addService(switchService);

// once everything is set up, we publish the accessory. Publish should always be the last step!
accessory.publish({
  username: "17:51:07:F4:BC:8B",
  pincode: "123-45-678",
  port: 47129,
  category: hap.Categories.SWITCH, // value here defines the symbol shown in the pairing screen
});

console.log("Accessory setup finished!");
예제를 조금 변경해서 Switch 연동을 위한 코드를 완성했다.
이와 Switchbot을 연동하는 과정을 추후에 진행하도록 해야겠다.
