Nest JS 공식문서
https://docs.nestjs.com/first-steps
npm i -g @nestjs/cli
nest new project-name
프로젝트를 설치해 보면 src 폴더 안에 다음과 같은 구조로 되어 있다.
src
 | main.ts			# 앱의 시작점
 | app.module.ts		# 앱의 루트 모듈
 | app.controller.ts		# 앱의 컨트롤러
앱 시작하기
npm install
npm run start
Controller
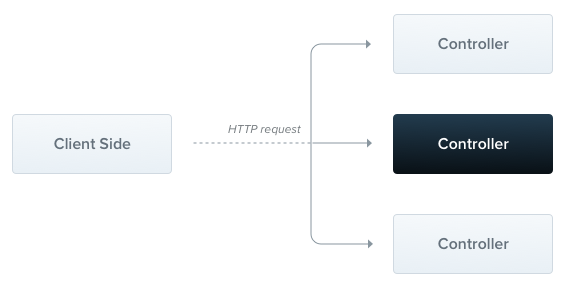
Request와 Response를 처리하는 로직으로 특정 라우터에 붙여서 구체적인 요청을 받아 처리한다.
Nest에서 기본 컨트롤러는 class와 decorators를 사용하여 만든다.
라우팅
nest g controllers cats src 폴더 안에 cats 이라는 폴더와 cats.controller.ts 파일이 생성된다.
src/cats/cats.controller.ts
import { Controller, Get } from "@nestjs/common";

@Controller("cats")
export class CatsController {
  @Get()
  findAll(): string {
    return "This action returns all cats";
  }
}@Get()은 Nest에게 HTTP request들의 EndPoint를 구체적으로 지정하는 역할을 한다.
위의 예시는 GET / cats에서 동작하는 컨트롤러이다.
npm run start로 서버 실행 후 localhost:3000/cats 에 들어가보면 아래의 문구가 뜰 것이다.

request Method 데코레이터에서도 EndPoint를 지정할 수 있는데 예를 들어 @Get('profile')를 사용하면 GET /cats/profile 동작하는 컨트롤러가 만들어진다.
src/cats/cats.controller.ts
import { Controller, Get } from "@nestjs/common";

@Controller("cats")
export class CatsController {
  @Get('profile')
  findAll(): object {
    return {
      'id' : 1,
      'name' : '뚱이',
      'age' : 6
    }
  }
}
localhost:3000/cats/profile

Request Object
Nest는 Request 객체에 접근하는 방식을 데코레이터로 제공한다.
src/cats/cats.controller.ts
import { Controller, Get, Req } from "@nestjs/common";
import { Request } from "express";

@Controller("cats")
export class CatsController {
  @Get()
  findAll(@Req() requset: Request): string {
    console.log(requset);
    return 'This action returns all cats';
  }
}
Next는 query나 body를 직접 꺼내오지 않고 제공되는 데코레이터로 사용할 수 있다.
@Param
src/cats/cats.controller.ts
import { Controller, Get, Req, Param } from "@nestjs/common";
import { Request } from "express";

@Controller("cats")
export class CatsController {
  @Get(':id')
  find(@Param('id') id) {
    return 'Result Id: ' + id
  }
}
localhost:3000/cats/1

@Query
src/cats/cats.controller.ts
import { Controller, Get, Req, Param } from "@nestjs/common";
import { Request } from "express";
@Controller("cats")
export class CatsController {
@Get()
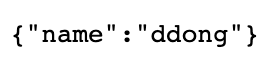
findCats(@Query('name') name) {
return { name };
}
}GET 요청과 함께 QueryString을 함께 보낼 수도 있다.
http://localhost:3000/cats?name=%ddong
Resource
@Get 뿐만 아니라 @Post, @Put, @Delete 등 일반적인 HTTP request를 데코레이터로 사용할 수 있다.
이제부터는 Status Code도 사용해본다. 응답 코드를 @HttpCode()로 작성하면 된다. 기본은 200과 201이며 에러 코드는 400, 500 등이 있다.
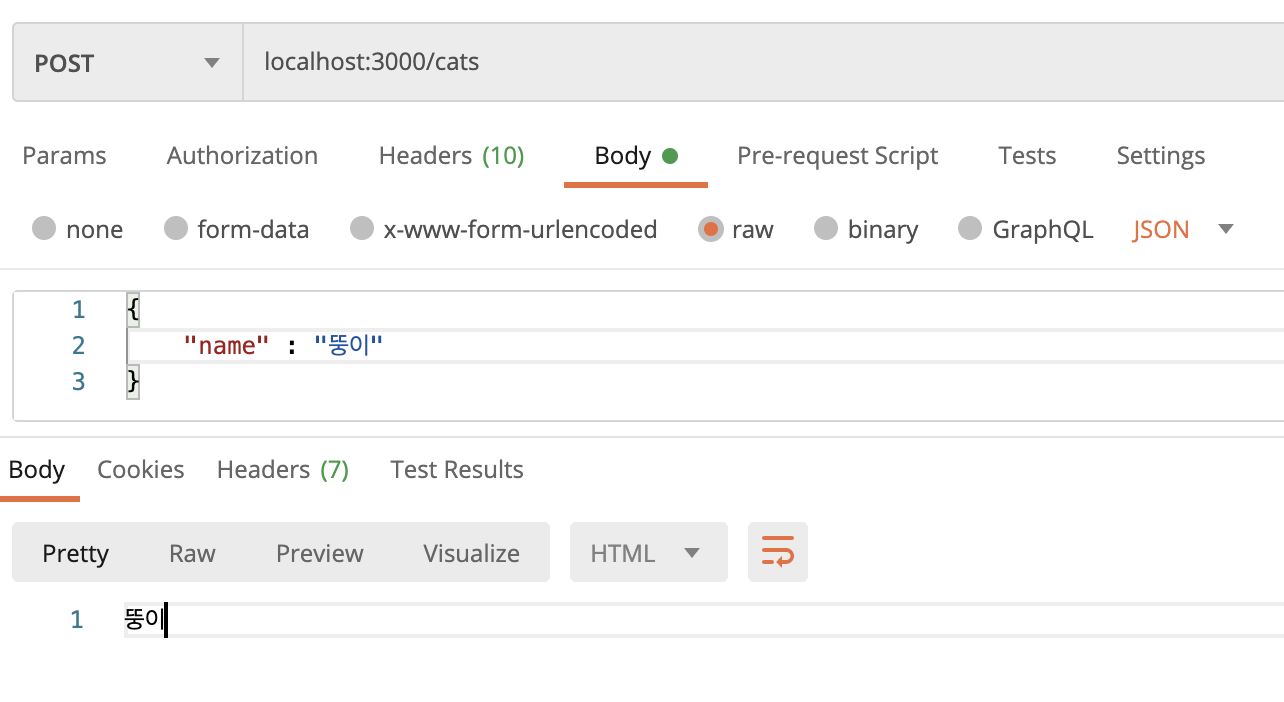
@Post
src/cats/cats.controller.ts
import { Controller, Post } from "@nestjs/common";

@Controller("cats")
export class CatsController {
  @Post()
  @HttpCode(201)
  createCats(@Body('name') name) {
    return name;
  }
}
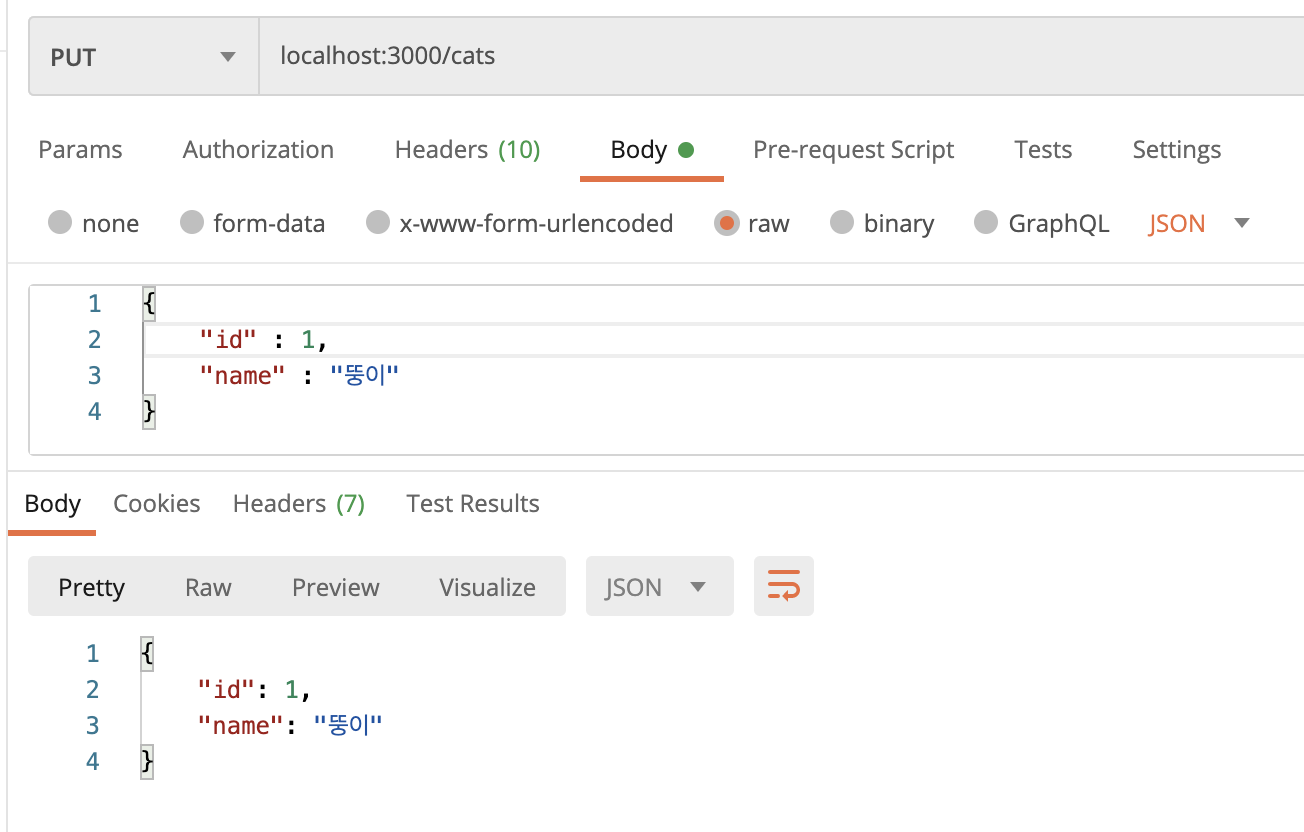
@Put
src/cats/cats.controller.ts
import { Controller, Put } from "@nestjs/common";

@Controller("cats")
export class CatsController {
  @Put()
  @HttpCode(200)
  updateCats(@Body('id') id, @Body('name') name) {
    return { id, name };
  }
}