- customize에 적합하기 때문에 매우 powerful한 tool이 airflow이다!
pluginoperator- Hook : external tool과 interact를 허용해주는 역할(보통 operator가 실행되기 이전에 Hook을 통해 통신함)
- elasticsearch : 효율적인 방식으로 대규모 데이터를 검색하는 방법을 제공하는 검색 엔진, 간단히 말해 분석할 로그가 많은 경우 elasticsearch가 유용하게 사용 가능하다.
Elasticsearch 설치
$ curl -fsSL https://artifacts.elastic.co/GPG-KEY-elasticsearch | sudo apt-key add -
$ echo "deb https://artifacts.elastic.co/packages/7.x/apt stable main" | sudo tee -a /etc/apt/sources.list.d/elastic-7.x.list
$ sudo apt update && sudo apt install elasticsearch
$ pip install elasticsearch==7.10.1
-> elasticSearch 설치 완료
- Elasticsearch 시작
$ sudo systemctl start elasticsearch - Elasticsearch 작동하는지 확인
$ curl -X GET 'http://localhost:9200'
Customize 가능한 영역?
- Operators
- View
- Hooks : third party tool과 interact
-> 거의 대부분!
Plugin
AirflowPluginClass로부터 상속받아서 적용한다.- Plugin은 Lazy Loaded.
(설정이 변경되면restart를 시켜줘야 한다. 그렇지 않으면 적용되지 않는다.)
Hook 이용 Postgres data -> Elasticsearch
Airflow UI에서connection만든다. (기존의 postgres 삭제 후 새로)$ sudo -u postgres psql
- 변경 (postgres가 password인 경우)
postgres=# ALTER USER postgres PASSWORD 'postgres'; - 확인
postgres=# SELECT * FROM connection;
$ curl -X GET "http://localhost:9200/connections/_search" -H "Content-type: application/json" -d '{"query":{"match_all":{}}}'
index connection에 data가 존재하는지를 확인
- data not found가 나온다면 데이터를 넣어주지 않은 것.
- Airflow의 connection 설정이 Elasticsearch에 옮겨진 것을 확인할 수 있다.
- Airflow UI Log 확인
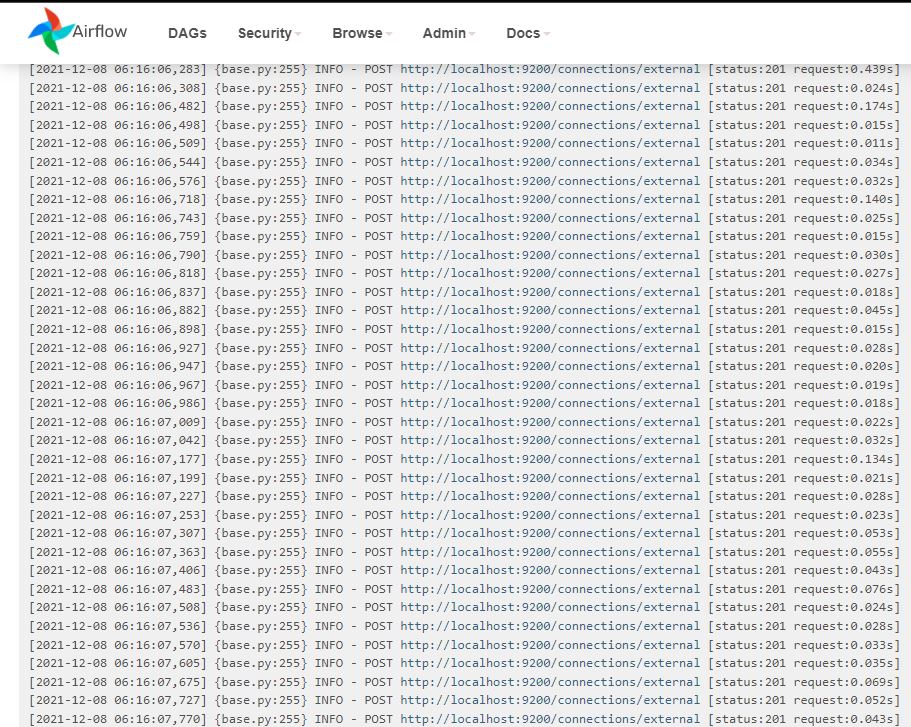
- 터미널에서 확인

기타)
- 매크로(macro)는 runtime에 작업 instance에 동적 정보를 전달하는 방법