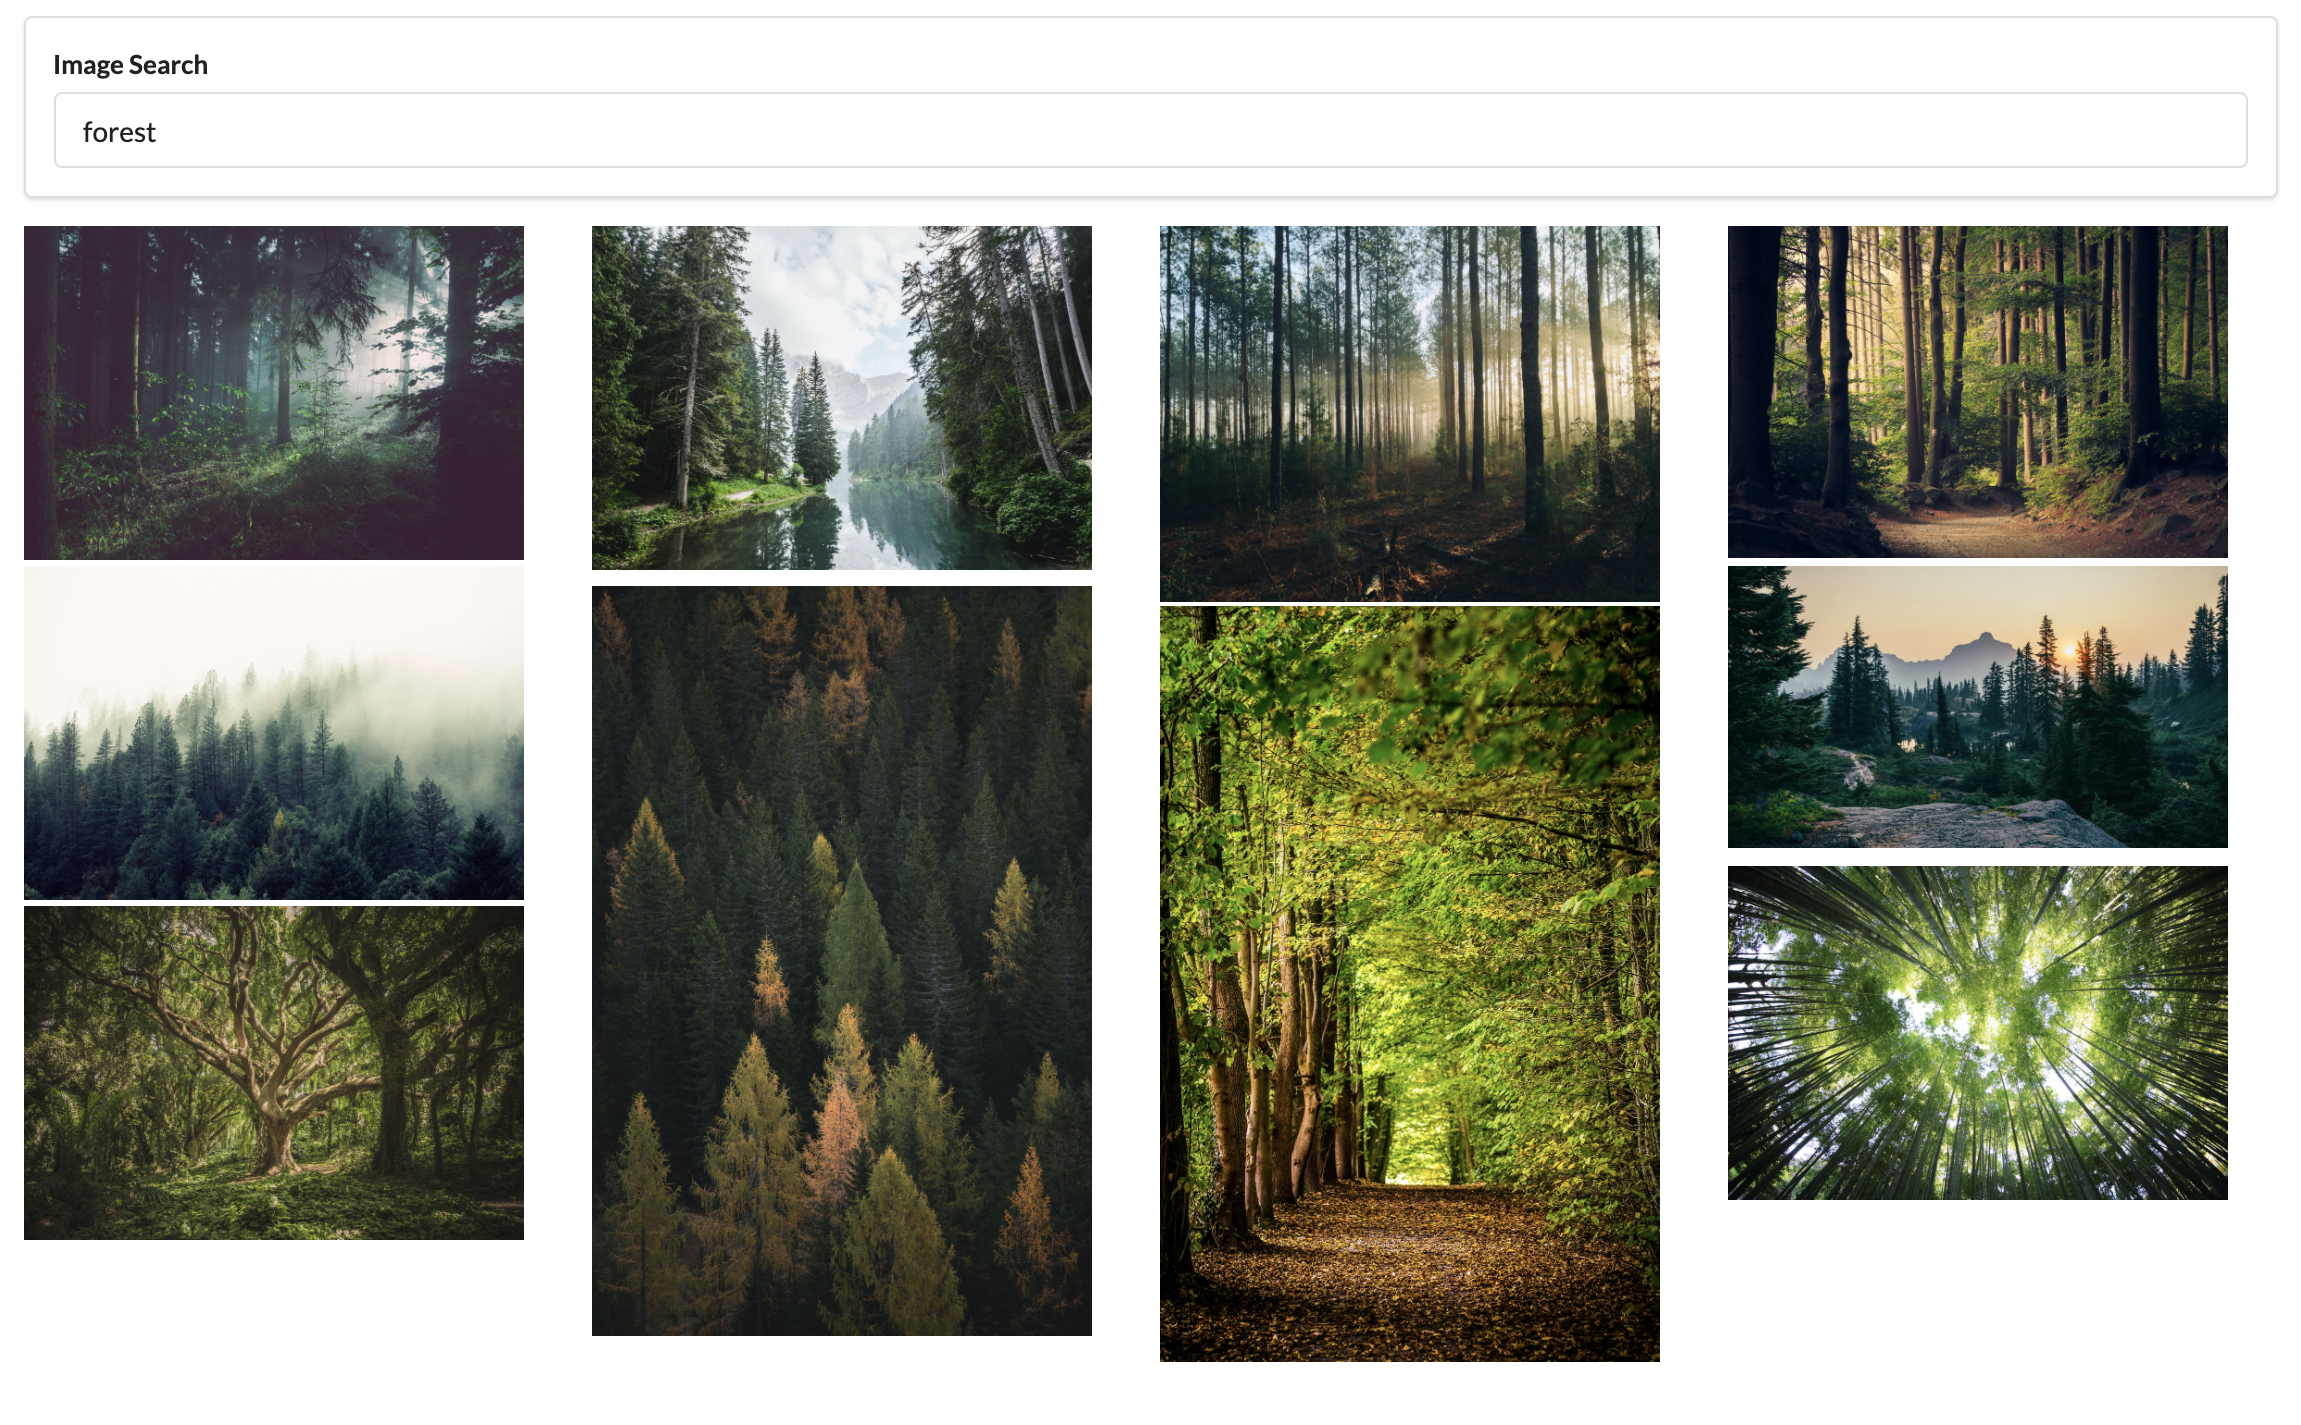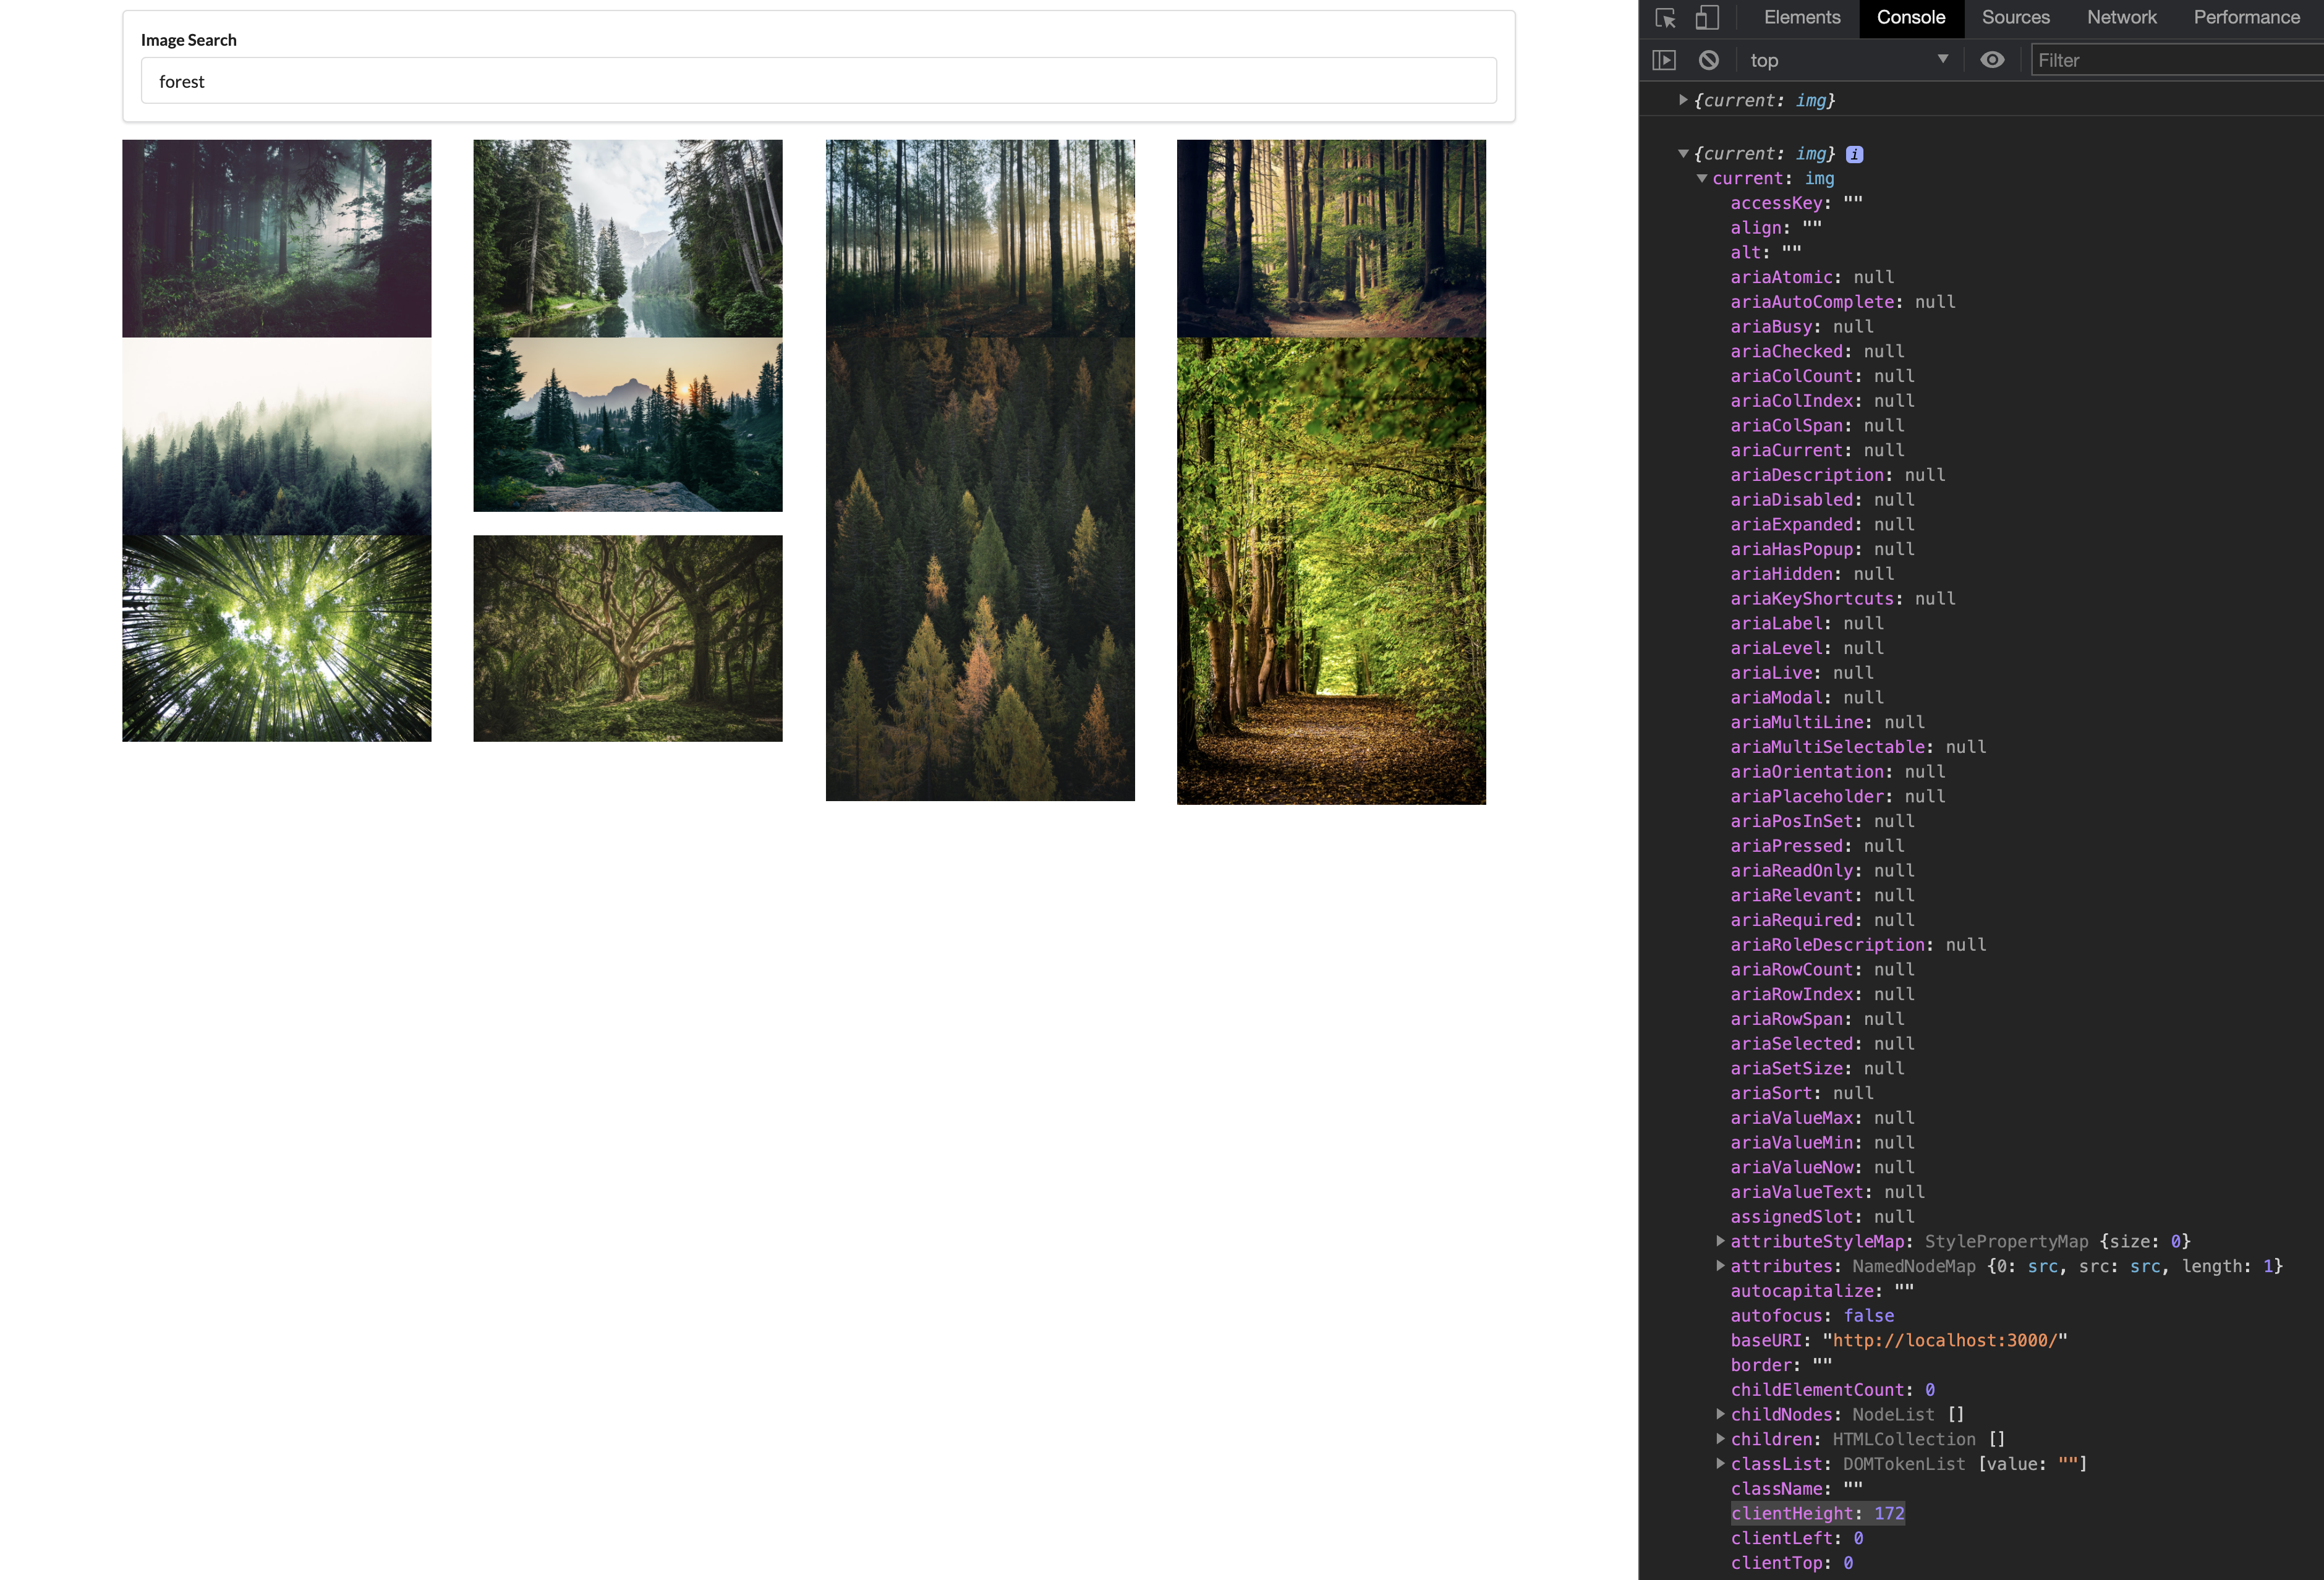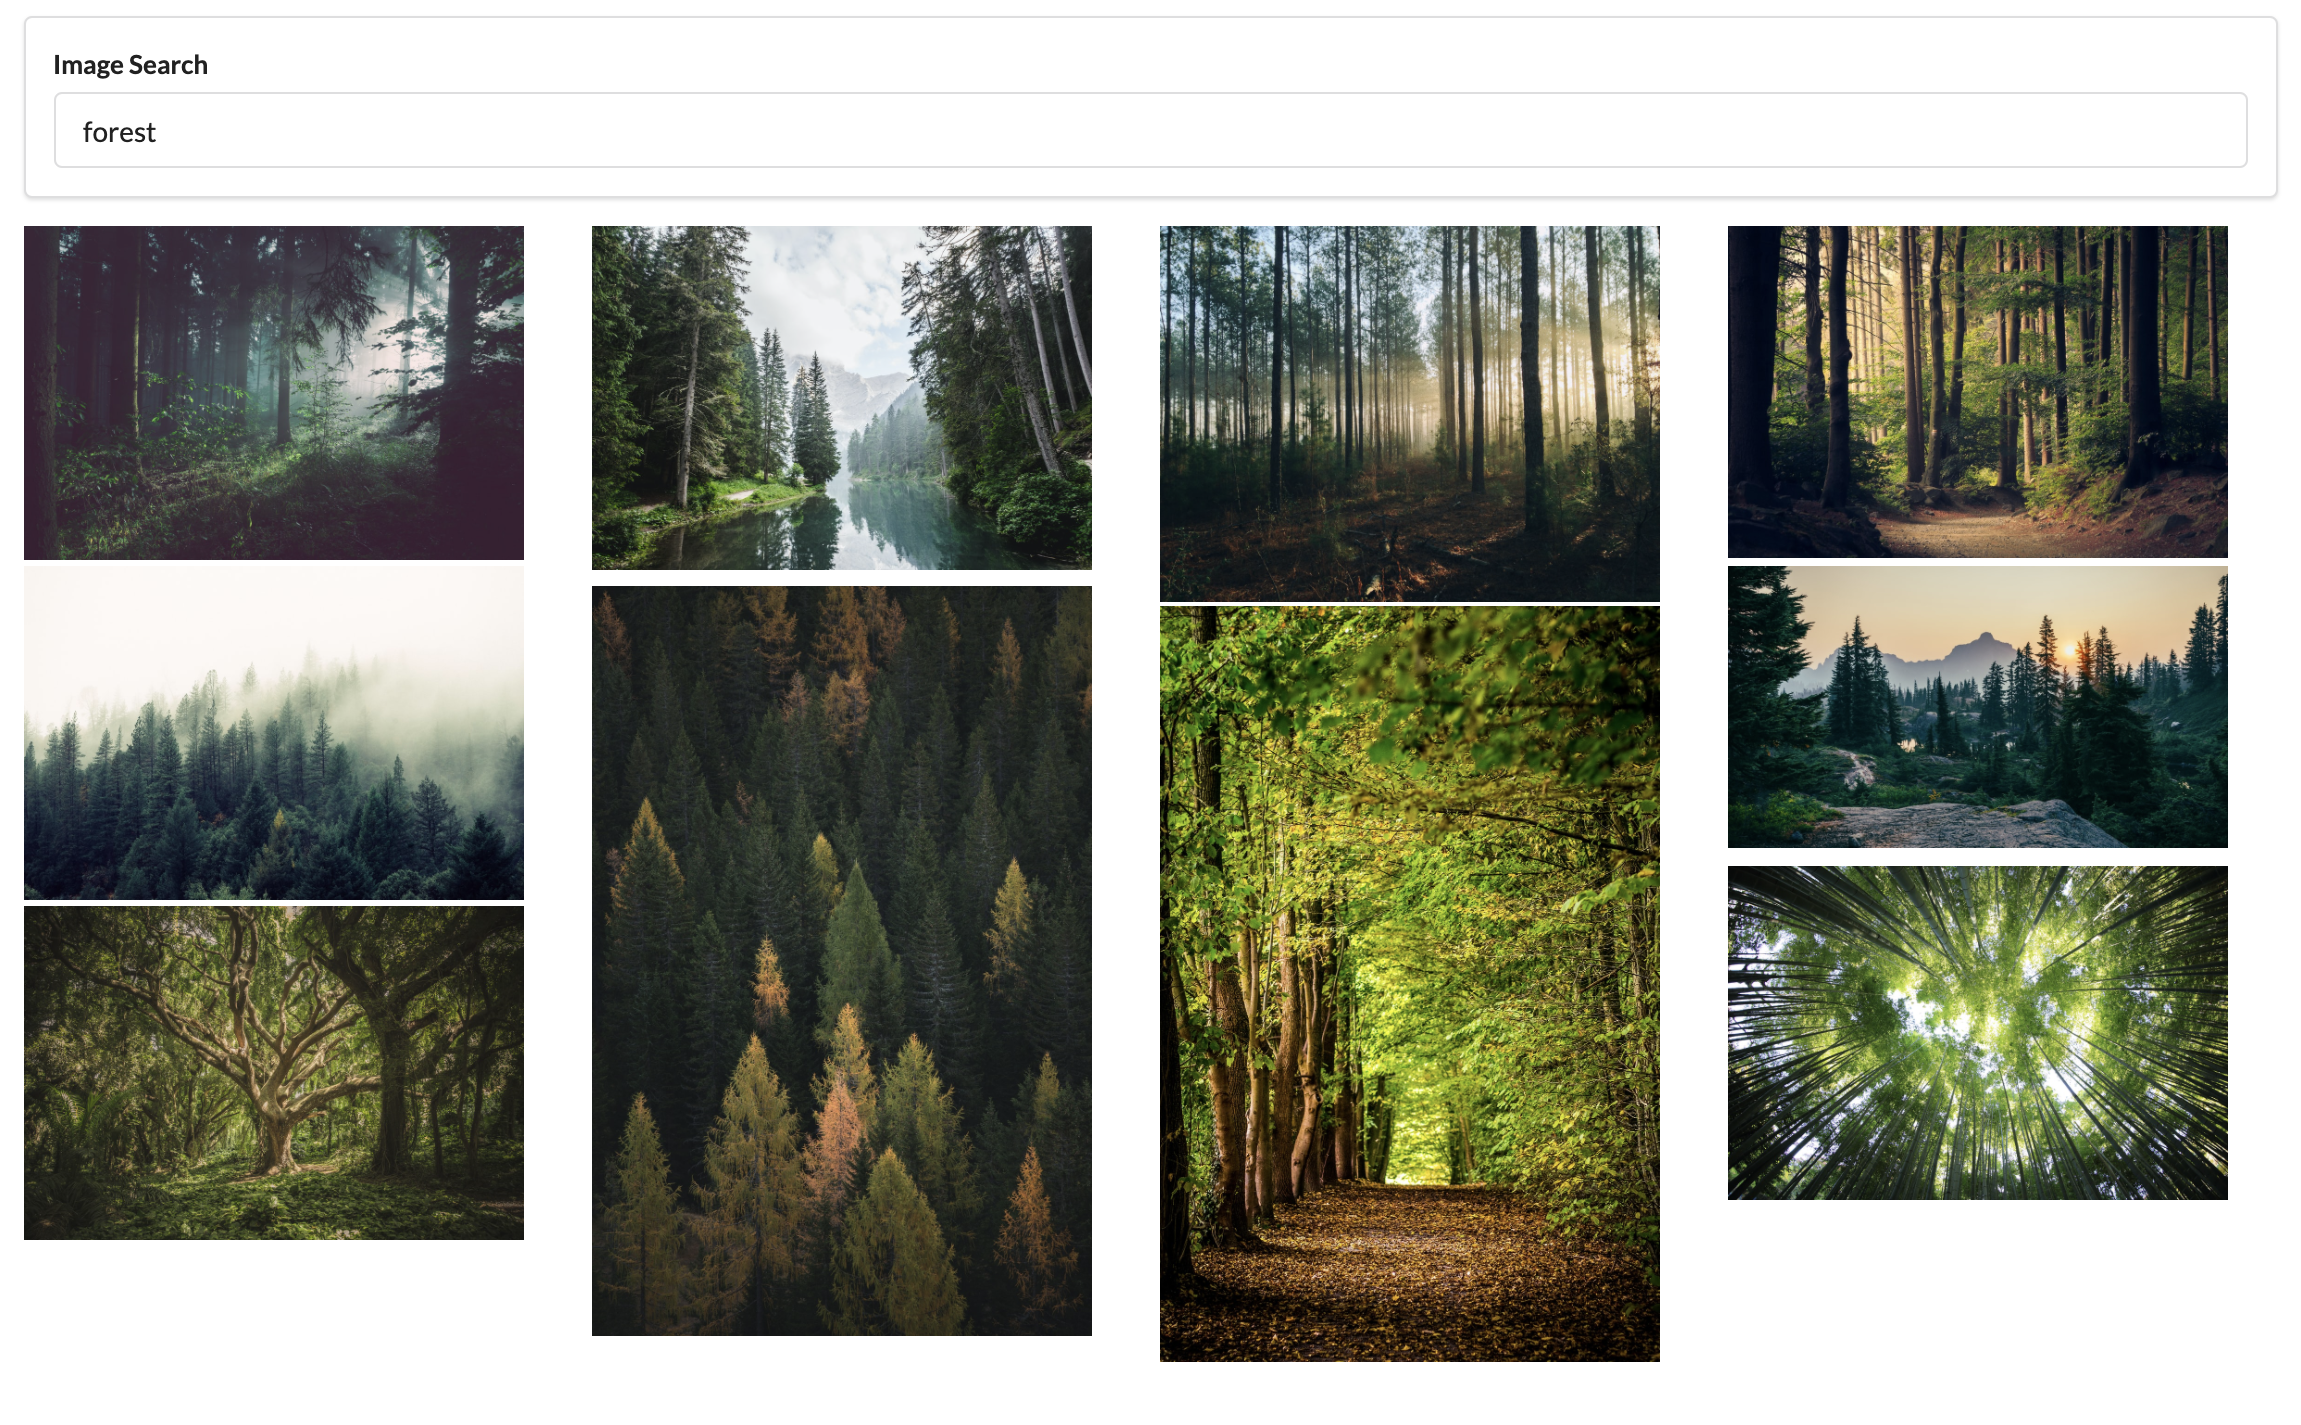
검색어를 입력하면 Unsplash API를 사용해 사진들을 렌더링하는 간단한 앱을 만드려고 한다. (위의 사진은 완성본이다.) CSS Grid 속성을 사용해 각 사진에 똑같은 넓이를 부여했는데, 사진의 높이가 제각각이다. 이를 어떻게 해결할까?
다음과 같은 절차를 통해 해결할 것이다.
- ImageCard 컴포넌트를 통해 개별 이미지를 렌더링한다.
- DOM에 접근해서 이미지의 높이를 구한다.
- 이미지 높이를 상태에 저장해서, ImageCard 를 리렌더링한다.
- 리렌더링할때, CSS Grid 의 grid-row-end 속성값을 부여하여, 각 이미지에 맞는 적절한 공간을 차지하도록 설정한다.
💡 리액트에서는 DOM에 어떻게 접근할까?
일단 document.querySelector('img') 와 같이 직접적인 돔조작은 하지 않는다. React way가 아니다. 리액트에서는 Ref 시스템을 제공한다. Ref는 reference 의 준말로, 컴포넌트가 렌더링할 jsx 에 붙여서 그 돔에 접근 가능하도록 해주는 기능이다. 사용법은 다음과 같다.
- constructor 함수 내에서 변수를 하나 만든다. (this.imageRef)
- 그 변수를 엘리먼트의 ref 속성에 할당한다.
class ImageCard extends React.Component {
  constructor(props) {
    super(props);

    this.imageRef = React.createRef();
  }

  componentDidMount() {
    console.log(this.imageRef);
  }

  render() {
    const { description, urls } = this.props.image;

    return (
      <div>
        <img ref={this.imageRef} alt={description} src={urls.regular} />
      </div>
    );
  }
}
위와 같은 형태로 img 엘리먼트를 렌더링하면, 콘솔에서 다음과 같이 확인할 수 있다.

여기서 clientHeight 속성을 통해 이미지의 높이를 알 수 있다. 재밌는 것은, this.imageRef.current.clientHeight 으로 콘솔 로그를 해보면 0이 찍힌다는 사실이다. 왜 객체를 열어볼 땐 높이가 찍히는데, clientHeight을 바로 찍으면 0으로 보일까?
왜냐하면 콘솔에 이미지 높이를 로깅하는 바로 그 순간, 사실 이미지 로딩이 끝나지 않았기 때문이다. 개발자 도구는 사실 fancy 한 측면이 있어서, 객체는 우리가 화살표를 눌러서 펼쳐보는 순간에 찾아서 보여지는 것이다. 우리가 화살표를 누를 쯤에는 이미지 로딩이 끝났으므로 정확한 높이값을 확인할 수 있다. 그럼 컴포넌트에서는 어떻게 clientHeight 값에 접근할 수 있을까?
💡 이미지 로딩이 끝난 후, DOM 에 접근하기
로딩이 끝나는 걸 기다렸다가 어떤 작업을 실행하고 싶다면, 간단히 'load' 이벤트 리스너를 사용하고 콜백함수를 할당하면 된다. 아래와 같이 코드가 변경될 것이다.
componentDidMount() {
    this.imageRef.current.addEventListener("load", this.setSpans);
  }

setSpans = () => {
    console.log(this.imageRef.current.clientHeight);
  };
콜백함수인 this.setSpans 의 this 값을 올바르게 설정하기위해, setSpans 를 화살표 함수로 처리하였다.
💡 부록: CSS Grid 를 활용해 각 이미지에 알맞은 높이 설정하기
기본적인 CSS 는 다음과 같이 설정되어 있다. 한 grid의 폭은 250px 이상 1fr 이하의 공간을 차지하고, 높이는 10px 씩 차지한다.
.image-list {
  display: grid;
  grid-template-columns: repeat(auto-fill, minmax(250px, 1fr));
  grid-gap: 0 10px;
  grid-auto-rows: 10px;
}

.image-list img {
  width: 250px;
}
이 상태에서 개별 이미지에 grid-row-end: span 3 과 같이 할당하면, 그 이미지는 위에서부터 세 개의 grid 공간을 차지하게 된다. 따라서 우리의 목적은 이미지 높이에 맞게 span 개수 설정을 하는 것이다. 컴포넌트에 완성된 코드는 다음과 같다.
class ImageCard extends React.Component {
  constructor(props) {
    super(props);

    this.state = { spans: 0 };
    this.imageRef = React.createRef();
  }

  componentDidMount() {
    this.imageRef.current.addEventListener("load", this.setSpans);
  }

  setSpans = () => {
    const height = this.imageRef.current.clientHeight;
    // height 은 개별 이미지의 높이
    // 10은 grid-auto-rows 설정값
    const spans = Math.ceil(height / 10);

    this.setState({ spans });
  };

  render() {
    const { description, urls } = this.props.image;

    return (
      <div style={{ gridRowEnd: `span ${this.state.spans}` }}>
        <img ref={this.imageRef} alt={description} src={urls.regular} />
      </div>
    );
  }
}
간단한 사진앱이 완성되었다.

