Nest CLI란?
-
nest 기본 프로젝트 폴더들을 만들어준다.
-
npm i -g @nestjs/cli
패키지가 설치 되면 nest 명령어를 사용할 수 있다. -
nest new project-name을 사용하면 된다.
main.ts 파일
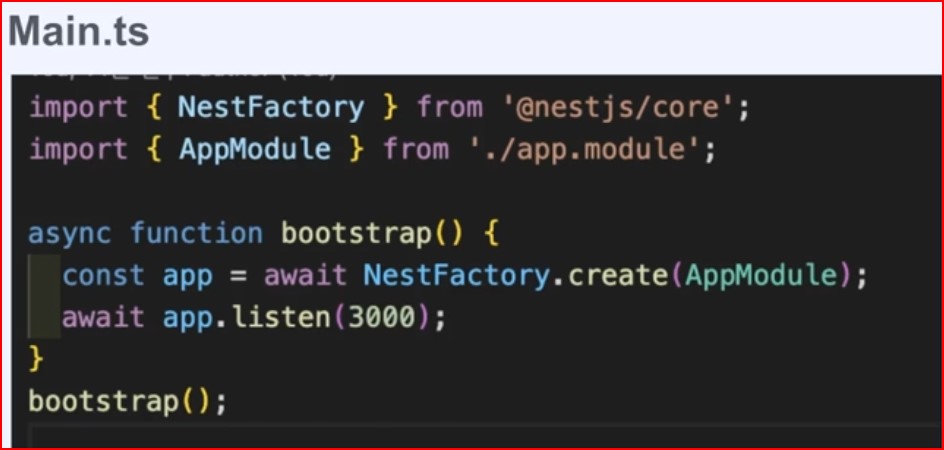
- nest 부트스트랩 애플리케이션을 실행하는 파일이다.
- NestFactory 클래스를 사용하여 NestJs 애플리케이션을 생성하고,
생성된 애플리케이션에 필요한 미들웨어 및 모듈을 등록하고 HTTP 서버를 시작한다.
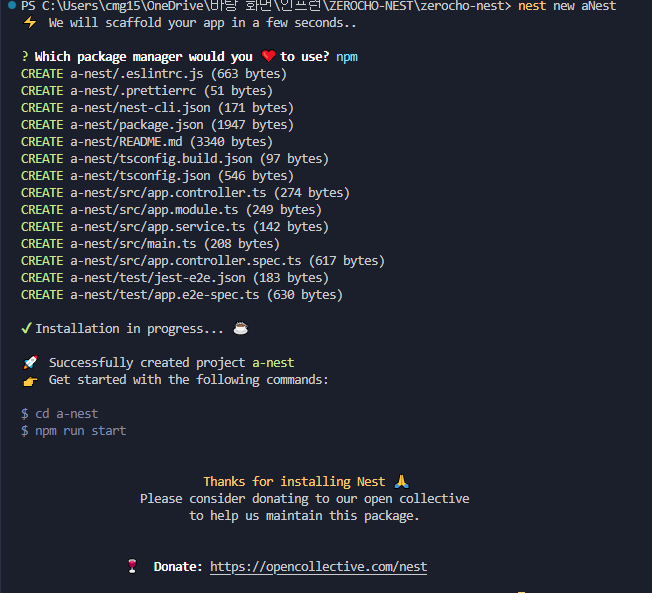
nest new aNest
aNest라는 nest 폴더를 만들어준다
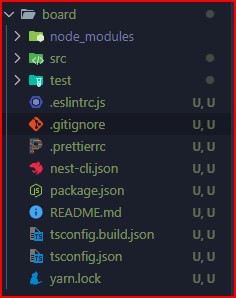
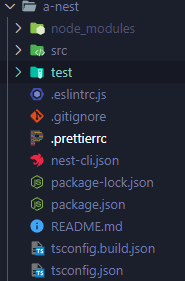
그러면 요렇게 폴더가 생성되는데 나는 aNest로 생성했지만 nest에서 a-nest로 바꿨다.
nest start로 시작해보자. (localhost:3000)
nest의 nodemon처럼 할 수 있다.
공식 문서에 Hot Reload
npm i --save-dev webpack-node-externals run-script-webpack-plugin webpack 자주 바뀐다고 한다.
hot reload에서 복사해서
webpack-hmr.config.js에 복사한다.
후에 공식문서 대로 하면 된다(노드몬)
const nodeExternals = require('webpack-node-externals');
const { RunScriptWebpackPlugin } = require('run-script-webpack-plugin');
module.exports = function (options, webpack) {
return {
...options,
entry: ['webpack/hot/poll?100', options.entry],
externals: [
nodeExternals({
allowlist: ['webpack/hot/poll?100'],
}),
],
plugins: [
...options.plugins,
new webpack.HotModuleReplacementPlugin(),
new webpack.WatchIgnorePlugin({
paths: [/\.js$/, /\.d\.ts$/],
}),
new RunScriptWebpackPlugin({ name: options.output.filename, autoRestart: false }),
],
};
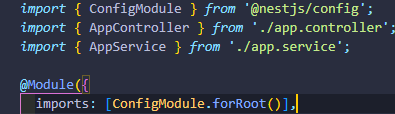
};npm i --save @nestjs/config 이거 설치해라. 모듈 사용하기 전에 이걸 하면 모듈에서 사용을 할 수 있게 해줘야한다.
그러면 dotenv같은 모듈들을 사용할 수 있다.
forRoot를 하는 이유는 forFeature, register이런 것들이 붙는 게 있는데 안에 괄호 안에 중괄호를 넣고 설정을 넣을 수 있다.

개발 경험치 쌓는 곳