웹폰트란?
웹폰트란, 사용자가 가지고 있지 않은 폰트를 서버에서 다운로드하여 사용하는 방식이다.
눈누, Google Fonts 등의 사이트들에서 웹폰트 주소를 복사해서 사용하는데,
눈누의 경우에는 다음과 같이 @font-face 선택자를 사용하여 웹폰트를 사용할 수 있다. style 태그 안이나 루트 css 파일에 추가한다.
@font-face {
    font-family: 'SDSamliphopangche_Outline';
    src: url('https://cdn.jsdelivr.net/gh/projectnoonnu/noonfonts-20-12@1.0/SDSamliphopangche_Outline.woff') format('woff');
    font-weight: normal;
    font-style: normal;
}
적용 시에는 css 파일이나 style 태그 안에 다음과 같이 사용한다.
body {
	font-family: 'SDSamliphopangche_Outline';
}
구글 폰트의 경우, <head>안에서 <link>로 추가하거나 @import명령문을 사용한다.
<link rel="preconnect" href="https://fonts.googleapis.com">
<link rel="preconnect" href="https://fonts.gstatic.com" crossorigin>
<link href="https://fonts.googleapis.com/css2?family=Josefin+Sans:ital,wght@0,100..700;1,100..700&display=swap" rel="stylesheet"><style>
@import url('https://fonts.googleapis.com/css2?family=Josefin+Sans:ital,wght@0,100..700;1,100..700&display=swap');
</style>
적용하는 방법은 다음과 같다.
// <uniquifier>: Use a unique and descriptive class name
// <weight>: Use a value from 100 to 700

.josefin-sans-<uniquifier> {
  font-family: "Josefin Sans", serif;
  font-optical-sizing: auto;
  font-weight: <weight>;
  font-style: normal;
}
유의점
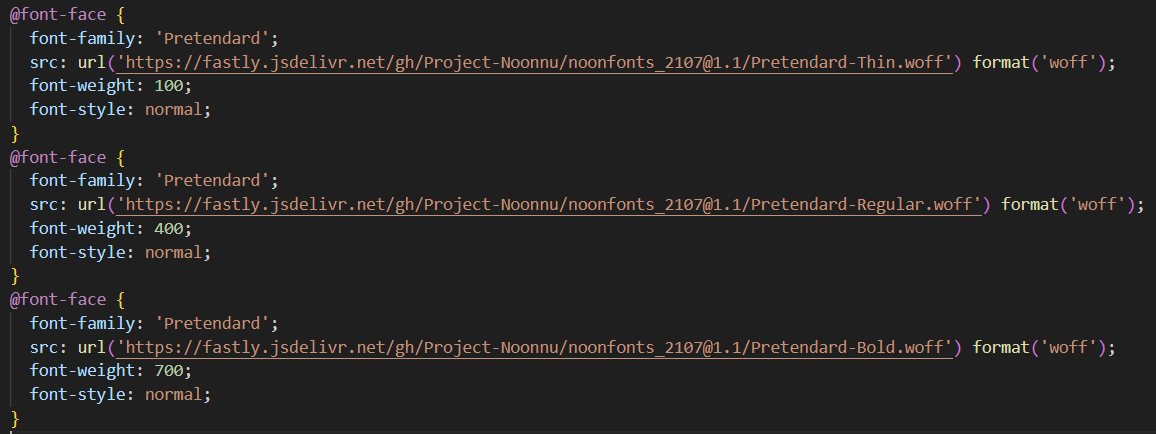
폰트의 다양한 굵기를 사용하고 싶다면, 다음과 같이 @font-face 선택자로 그 굵기에 해당하는 웹폰트들을 모두 추가해야 한다. 그렇지 않으면 normal, bold 두 가지 굵기밖에 사용하지 못한다.

넓이보다 깊이있게