[node.js + express] 백엔드 서버 개발 시작하기
Node.js + Express 로 백엔드 서버 시작하기
처음 Node.js로 백엔드 서버를 시작할 때, 무엇부터 설정해야 할지 막막한 경우가 많습니다.
이 글에서는 Node.js + Express 환경에서 백엔드 서버를 처음부터 세팅하는 과정을 이미지와 함께 차근차근 설명합니다.
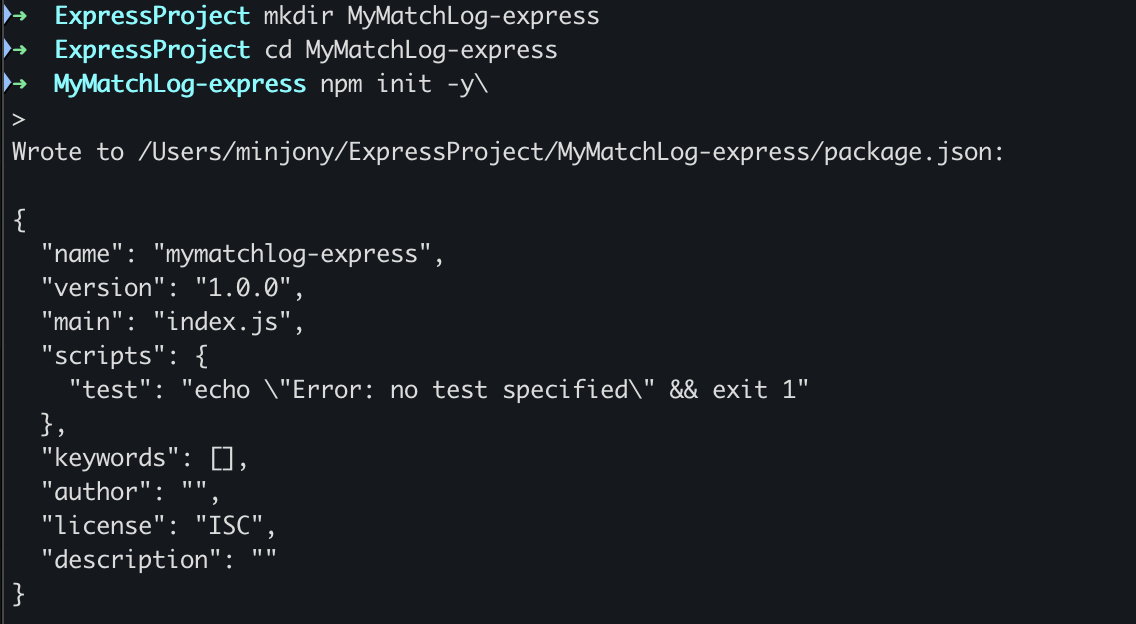
🗂️ 1. 프로젝트 폴더 생성 및 초기화
mkdir my-backend
cd my-backend
npm init -y
위 명령어로 package.json이 생성됩니다.
⚙️ 2. Express 설치
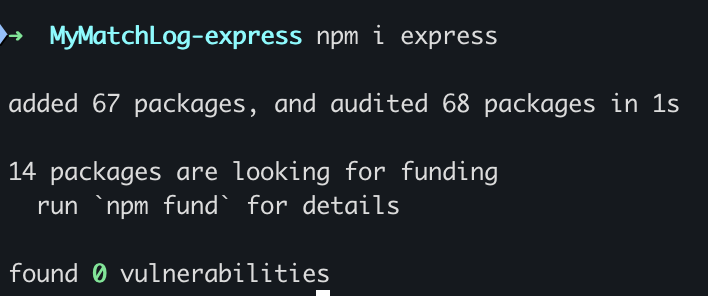
npm install express설치가 완료되면 package.json의 dependencies 항목에 express가 추가됩니다.
📝 3. 서버 코드 작성
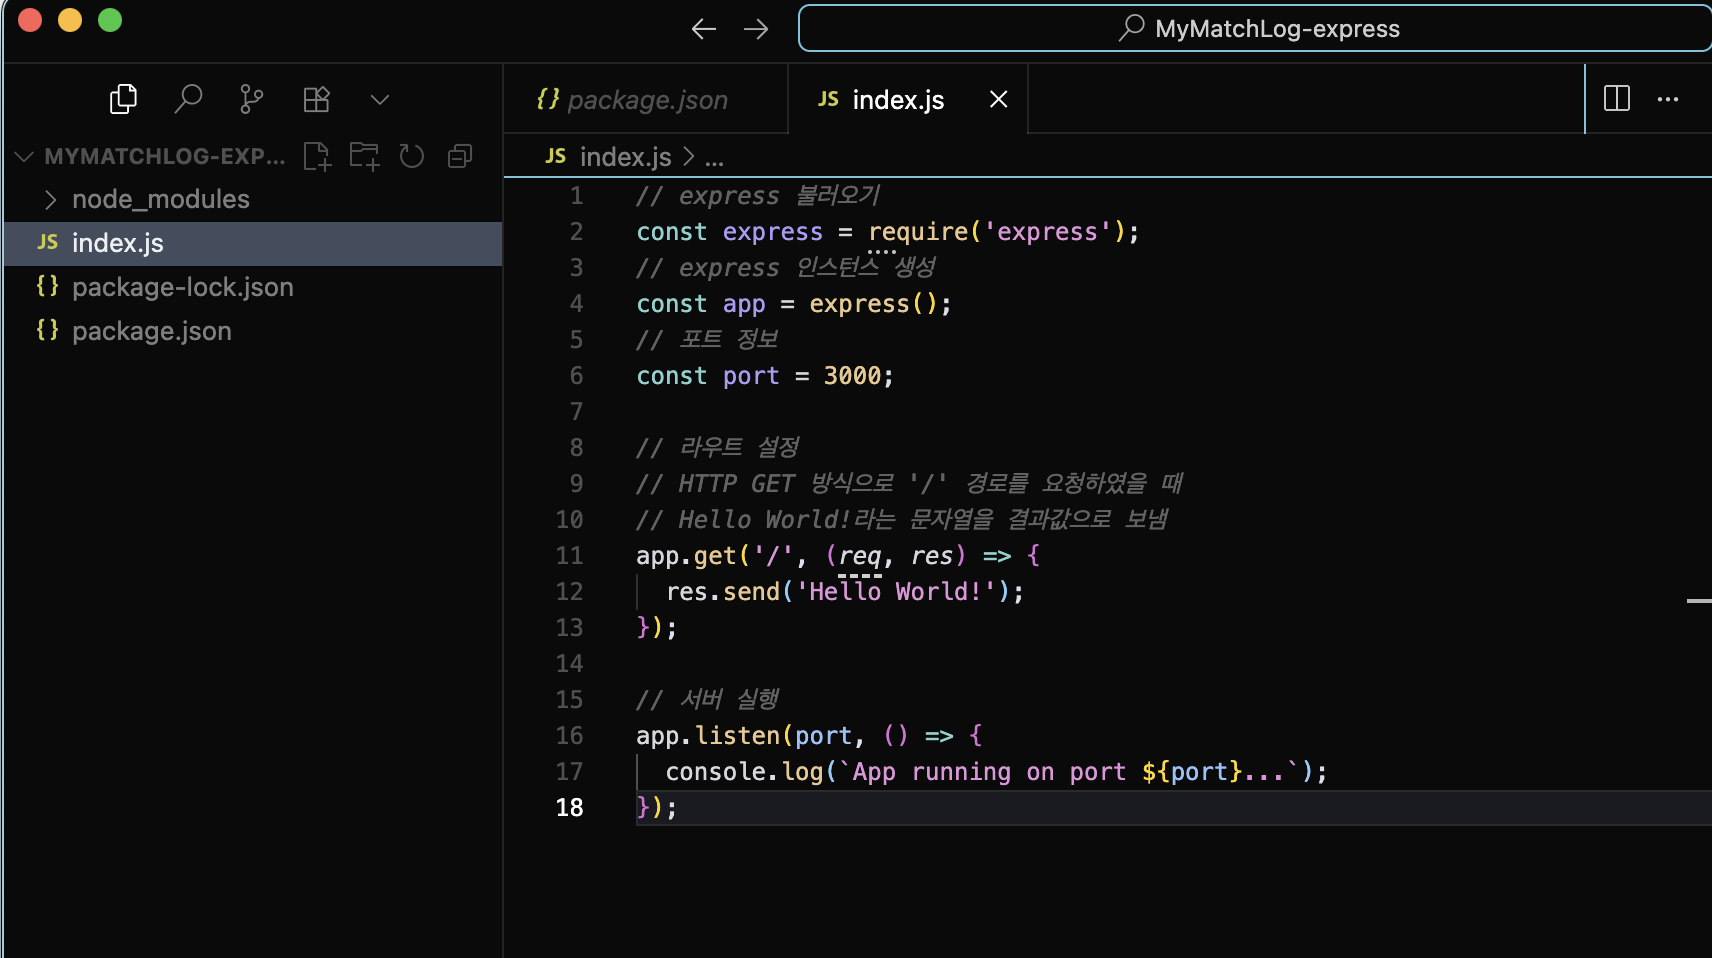
index.js 또는 app.js 파일을 생성하고 아래와 같이 기본 서버 코드를 작성합니다.
const express = require('express');
const app = express();
const port = 3000;

app.get('/', (req, res) => {
  res.send('Hello World!');
});

app.listen(port, () => {
  console.log(`Server listening at http://localhost:${port}`);
});
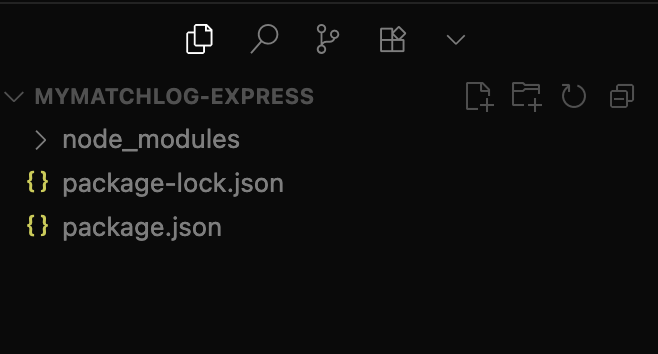
작성 후 프로젝트 구조는 다음과 같이 생깁니다.
🚀 4. 서버 실행
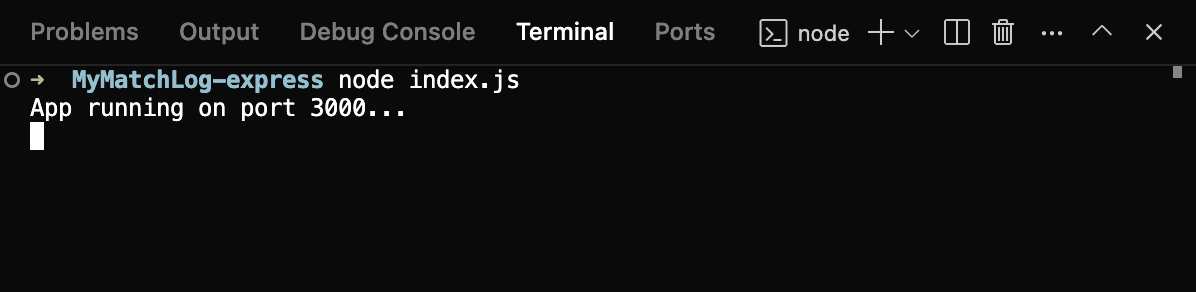
node index.js정상 실행되면 아래와 같은 메시지가 출력됩니다.
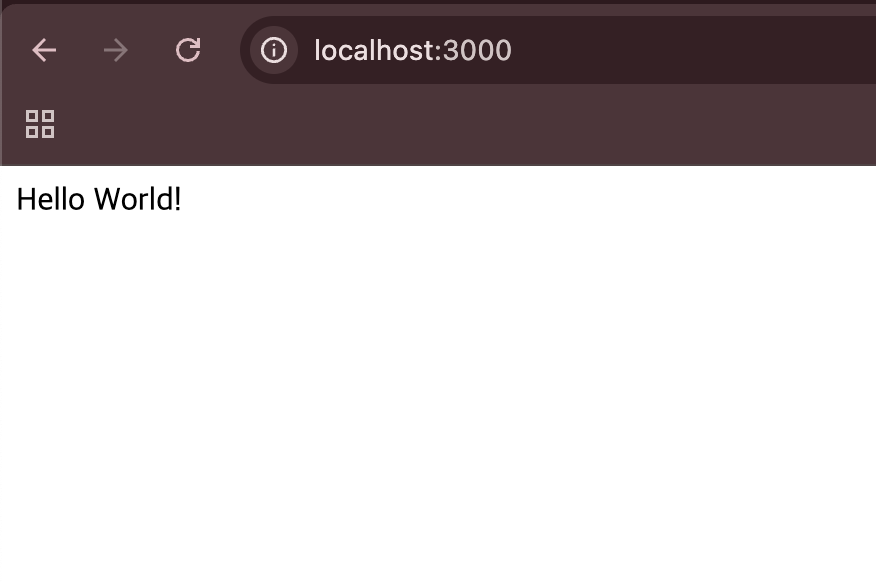
브라우저에서 http://localhost:3000에 접속하면 다음과 같이 확인할 수 있습니다.
🔁 5. 코드 변경 시 자동 재시작 (nodemon)
npm install --save-dev nodemonpackage.json의 scripts 항목에 다음을 추가합니다.
"scripts": {
  "start": "node index.js",
  "dev": "nodemon index.js"
}
이제 npm run dev 명령어로 서버를 실행하면, 코드 수정 시 자동으로 재시작됩니다.
🧪 6. 테스트용 라우트 추가
추가로 새로운 라우트를 만들어보며 API 구조도 확장할 수 있습니다.
app.get('/ping', (req, res) => {
  res.json({ message: 'pong' });
});
Postman 등으로 호출해보면 다음과 같이 확인됩니다.
📦 7. Express 구조 분리 예시
기초 구조를 마친 후에는, Express 서버 구조를 아래와 같이 분리해보는 것도 좋습니다.
my-backend/
├── routes/
│   └── index.js
├── app.js
└── index.js
구조를 나누면 코드의 유지보수성이 좋아집니다.
✨ 마무리
이제 Express 서버의 기초를 세팅할 수 있게 되었습니다. 다음 단계로는 다음을 시도해보세요:
.env환경변수 설정- CORS 설정
- JSON Body 파싱 (
express.json()) - 파일 업로드, DB 연결 등
🔐 TIP: 실서비스를 위한 보안 설정은 반드시 따로 신경써야 합니다 (helmet, rate-limiter 등).
Velog by @minjonyyy