.png)
⭐Back-end
JSP
Notice 클래스 및 NoticeService 생성하기
Notice.java
public class Notice {

	private int id;
	private String title;
	private String writerId;
	private String content;
	private Date regDate;
	private int hit;
	private String files;

	public Notice() {

	}

	public Notice(int id, String title, String writerId, String content, Date regDate, int hit, String files) {
		super();
		this.id = id;
		this.title = title;
		this.writerId = writerId;
		this.content = content;
		this.regDate = regDate;
		this.hit = hit;
		this.files = files;
	}

	public int getId() {
		return id;
	}

	public void setId(int id) {
		this.id = id;
	}

	public String getTitle() {
		return title;
	}

	public void setTitle(String title) {
		this.title = title;
	}

	public String getWriterId() {
		return writerId;
	}

	public void setWriterId(String writerId) {
		this.writerId = writerId;
	}

	public String getContent() {
		return content;
	}

	public void setContent(String content) {
		this.content = content;
	}

	public Date getRegDate() {
		return regDate;
	}

	public void setRegDate(Date regDate) {
		this.regDate = regDate;
	}

	public int getHit() {
		return hit;
	}

	public void setHit(int hit) {
		this.hit = hit;
	}

	public String getFiles() {
		return files;
	}

	public void setFiles(String files) {
		this.files = files;
	}

	@Override
	public String toString() {
		return "Notice [id=" + id + ", title=" + title + ", writerId=" + writerId + ", content=" + content
				+ ", regDate=" + regDate + ", hit=" + hit + ", files=" + files + "]";
	}

}
NoticeService.java
public class NoticeService {

	public List<Notice> getList() throws ClassNotFoundException, SQLException {

		return getList("title", ""); // getList의 인자가 있든 없든(사용자의 검색 요청이 없을 때도) getList 오버로드 함수를 실행시켜주기 위해 해당 코드 작성
	}

	public List<Notice> getList(String field, String query) throws SQLException, ClassNotFoundException {

		List<Notice> list = new ArrayList<>();

		String url = "jdbc:oracle:thin:@hi.namoolab.com:1521/xepdb1";
		// 필터링, 정렬 그룹핑, .... -> SQL에서 진행할 것
		String sql = "SELECT * FROM NOTICE";

		Class.forName("oracle.jdbc.OracleDriver");
		Connection con = DriverManager.getConnection(url, "NEWLEC", "11111"); // 서블릿 프로세스가 끝나면 연결이 끊어짐
		Statement st = con.createStatement();
		ResultSet rs = st.executeQuery(sql);

		while(rs.next()) {

			// Notice 데이터 DB에서 가져오기
			int id = rs.getInt("id");
			String title = rs.getString("title");
			String writerId = rs.getString("writer_id");
			String content = rs.getString("content");
			Date redDate = rs.getDate("regDate");
			int hit = rs.getInt("hit");
			String files = rs.getString("files");

			// 가져온 Notice 데이터를 list에 담아주는 작업
			Notice notice = new Notice();
			notice.setId(id);
			notice.setTitle(title);
			notice.setWriterId(writerId);
			notice.setContent(content);
			notice.setRegDate(redDate);
			notice.setHit(hit);
			notice.setFiles(files);

			list.add(notice);

		}

		rs.close();
		st.close();
		con.close(); // 동접가가 많게 하려면 연결을 끊어줘야 함
			     // connection은 제일 마지막에 연결 끊기(연결 끊을 때는 역순으로 끊어주기)
		             // 위 코드로 성능 개선 가능
		return list;

	}

}
Notice 데이터를 화면에 출력하기
list.jsp
<%@page import="com.newlecture.web.entity.Notice"%>
<%@page import="com.newlecture.web.service.NoticeService"%>
<%@page import="java.util.List"%>
<%@page import="java.util.ArrayList"%>
<%@ page language="java" contentType="text/html; charset=UTF-8"
    pageEncoding="UTF-8"%>

<%
	NoticeService noticeService = new NoticeService();
	List<Notice> list = noticeService.getList();
 %>

<tbody>
    <% for(Notice n : list) {%> <!-- Notice 사용자 정의 자료형으로 만들어진 list 순환하기 -->
        <tr>
            <td class="w-1"><%=n.getId()%></td> <!-- list를 돌며 setting된 값 가져오기 -->
            <td class="truncate text-align-left"><a href=""><%=n.getTitle()%></a></td>
            <td class="w-2"><%=n.getWriterId()%></td>
            <td class="w-2"><%=n.getRegDate()%></td>
            <td class="w-1"><%=n.getHit()%></td>
        </tr>
    <% }%>
</tbody>
SQL
산술 연산 - 덧셈
- '+' 부호는 숫자만 더할 수 있다.
SELECT 1 + 1 FROM DUAL; --DUAL: 연산자 이용하고 싶을 때 사용 가능한 테이블
SELECT '1' + 1 HIT FROM DUAL; -- 홑따옴표 안의 숫자는 숫자로 처리됨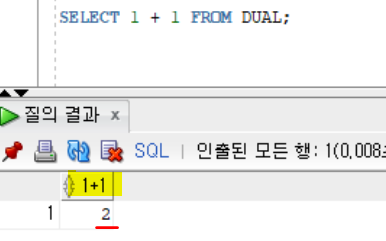

- '||' 를 이용해 문자열을 더할 수 있다.
SELECT '3' || 10 FROM DUAL;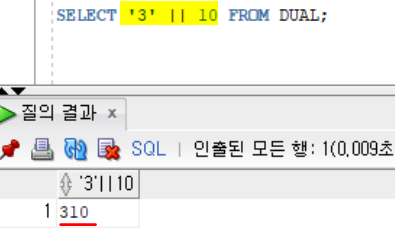
⭐Front-end
CSS, JavaScript
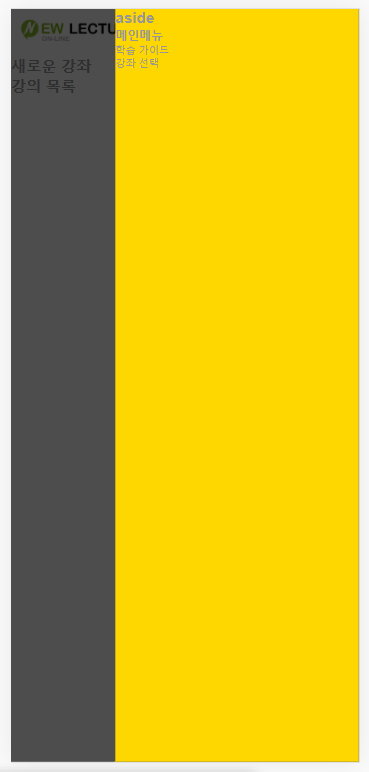
예제 1) aside 나타내기
HTML
<body>
    <header id="header">
        <h1 class="logo"><a href=""><img src="../images/logo-sm.png"></a></h1>
        <nav class="header-menu">
            <h1 class="d-none">헤더 버튼</h1>
            <ul>
                <li><a class="icon icon-find" href="">검색 버튼</a></li>
                <li><a class="icon icon-menu" href="">햄버거 버튼</a></li>
            </ul>
        </nav>
    </header>
    <aside id="aside"> <!--햄버거 버튼 클릭 시 aside 나타나게 하기-->
        <h1>aside</h1>
        <nav>
            <h1>메인메뉴</h1>
            <ul>
                <li>학습 가이드</li>
                <li>강좌 선택</li>
            </ul>
        </nav>
    </aside>
    <section>
        <h1>새로운 강좌</h1>
    </section>
    <section>
        <h1>강의 목록</h1>
    </section>
    <footer></footer>
</body>
JavaScript
window.addEventListener("load", function() {
    var header = document.querySelector("#header");
    var menuButton = header.querySelector(".icon-menu"); // 햄버거 버튼

    menuButton.onclick = function(e) {
        e.preventDefault();  // a 태그 클릭 시 페이지가 새로고침되는 기본 행위를 막기

        var screen = document.createElement("div");
        var aside = document.querySelector("#aside");

        screen.style.position = "fixed"; /*absolute가 아닌 fixed로 변경*/
        screen.style.left = "0px";
        screen.style.top = "0px";

        screen.style.width = "100%";
        screen.style.height = "100%";
        screen.style.backgroundColor = "black";
        screen.style.opacity = 0;
        screen.style.transition = ".5s"; /*0.5초 동안 바뀜*/

        setTimeout(function() { /*setTimeout을 하지 않았을 때는 opacity = 0 다음에 opacity = 0.7이 덮어씌워져서 적용됨*/
                                /*opacity = 0과 opacity = 0.7이 동시에 적용되지 않게 하기*/
            screen.style.opacity = 0.7;
        }, 0);

        document.body.append(screen);

        screen.ontransitionend = function() { // screen의 transition이 끝난 후 아래 이벤트 시작하게 하기
            aside.style.position = "fixed";
            aside.style.left = "100%";
            aside.style.top = "0px";

            aside.style.width = "70%";
            aside.style.height = "100%";
            aside.style.zIndex = 10;
            aside.style.backgroundColor = "gold";
            aside.style.transition = ".5s"; /*0.5초 동안 바뀜*/

            setTimeout(function() {
                aside.style.left = "30%" // screen의 transition이 끝난 후 aside가 나타나게 하기
            }, 0);
        }
    }
});
결과 화면
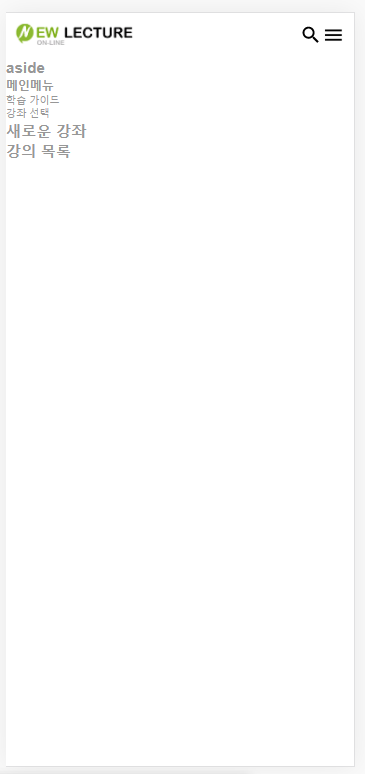
예제 2) screen, aside 없애기
JavaScript
screen.onclick = function() { // 검은 스크린 클릭시 아래 이벤트 발생
    // 역방향으로 슬라이드 되도록 애니메이션 설정
    aside.style.transition = "initial";
    aside.style.height = "initial";
    aside.style.position = "static";
    aside.style.backgroundColor = "initial";
    screen.remove();
}
결과 화면
JavaScript
이벤트 트리거
.png)
- 실제로 Click 이벤트가 발생하지 않았지만, 이벤트를 호출하고 싶을 때 사용할 수 있다.
예제) 파일 선택 버튼
HTML
<section id="ex9">
        <style>
            #ex9 .upload-box {
                width: 500px;
                height: 300px;
                border: 1px solid gray;
                box-shadow: 2px 3px 9px hsl(0, 0%, 47%);
                padding: 10px;
            }
        </style>
  	<h1>파일 업로드 - DND & Trigger</h1>
        <div class="upload-box">
            <button class="btn-sel">파일 선택</button> <!--.btn-file의 이벤트를 .btn-sel로 견인하는 방식(트리거)으로 사용-->
            <input class="btn-file d-none" type="file"> <!--d-none 클래스를 부여해 해당 버튼 보이지 않게 함-->
        </div>
</section>
JavaScript
window.addEventListener("load", function() {
    var section = document.querySelector("#ex9");

    var selButton = section.querySelector(".btn-sel");
    var fileButton = section.querySelector(".btn-file");

    selButton.onclick = function(e) {
        var event = new MouseEvent("click", {
            'view': window,
            'bubbles': true,
            'cancelable': true
        });

       fileButton.dispatchEvent(event); // fileButton에게 이벤트 위임
      			                // selButton 클릭 시 fileButton을 클릭한 것과 동일한 이벤트 발생
    }
});
결과 화면

DND - Drag and Drop
- dragenter
- 마우스가 대상 객체의 위로 처음 진입할 때 발생
- dragover
- 드래그하면서 마우스가 대상 객체의 위에 자리 잡고 있을 때 발생
- ondragover 속성은 드래그되는 대상 객체가 어느 요소 위에 놓일 수 있는지를 설정
- 기본적으로 HTML 요소는 다른 요소의 위에 위치할 수 없으므로, 다른 요소 위에 위치할 수 있도록 만들기 위해서는 놓일 장소에 있는 요소의 기본 동작을
event.preventDefault()로 막아야 한다.
- dragleave
- 드래그가 끝나서 마우스가 대상 객체의 위에서 벗어날 때 발생
- drop
- 드래그가 끝나서 드래그하던 객체를 놓는 장소에 위치한 객체에서 발생
- ondrop 속성을 이용해 drop 이벤트에 대한 동작 설정 가능
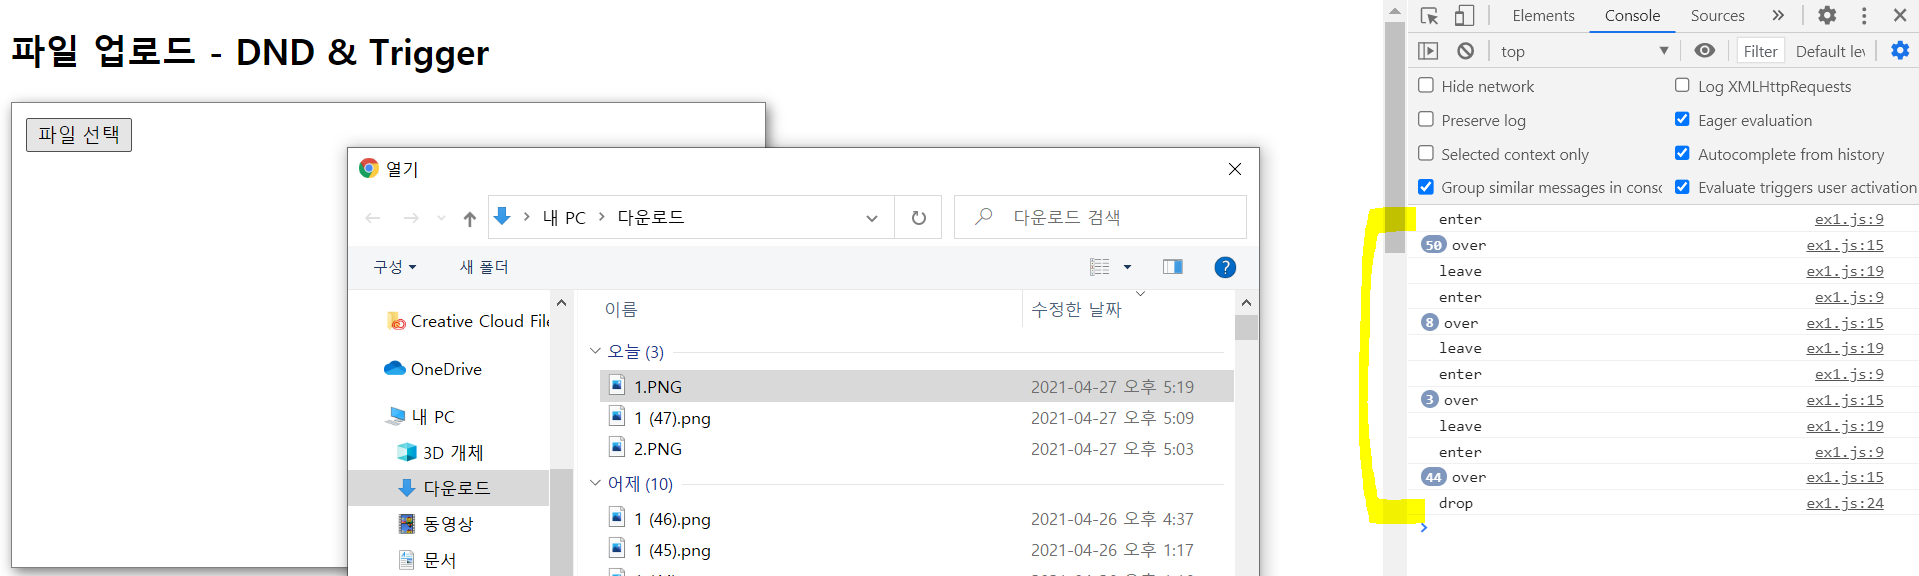
예제) 파일 업로드
JavaScript
window.addEventListener("load", function() {
    var section = document.querySelector("#ex9");

    var uploadBox = section.querySelector(".upload-box");
    var selButton = section.querySelector(".btn-sel");
    var fileButton = section.querySelector(".btn-file");

    uploadBox.ondragenter = function(e) {
        console.log("enter");
    }

    uploadBox.ondragover = function(e) { // over는 drop 존 위에 올라와있다는 의미
                                         // drop 존 위에 올라와있을 때, file 크기가 업로드 가능한 크기를 초과, 유효한 파일이 아니라는 것 등을 알려줄 수 있는 영역
        e.preventDefault();
        console.log("over");
    }

    uploadBox.ondragleave = function(e) {
        console.log("leave");
    }

    uploadBox.ondrop = function(e) {
        e.preventDefault(); // 링크를 열지 않게 하기 위해 기본 행위 막기
        console.log("drop");
    }
});
결과 화면
참고 사이트
.png)
Minju's Tech Blog