
✅ Jotai v2와 친해지기
reference: https://tutorial.jotai.org/quick-start/intro
(금일 학습 목표: 공식문서 Tutorial을 통해 Jotai의 컨셉에 익숙해지자)
1. 소개
어마어마하게 좋은 전역 상태 관리 라이브러리라는 뜻.
2. Creating your first atom ⚛
2-1. Description ✍️

useAtom 함수에 atom(=지정한 전역 상태)을 전달하고, useState와 동일한 방식으로 사용한다.
2-2. Code 👨💻
import { atom, useAtom } from 'jotai';

const counter = atom(0);

export default function Page() {
  const [count, setCounter] = useAtom(counter);
  const onClick = () => setCounter(prev => prev + 1);
  return (
    <div>
      <h1>{count}</h1>
      <button onClick={onClick}>Click</button>
    </div>
  )
}
atom 함수를 통해 생성한 counter라는 전역상태를 useAtom에 전달한 뒤, 클릭마다 숫자를 증가하는 카운터 버튼을 구현한 예제
3. Theme Switcher ⚛
3-1. Description ✍️
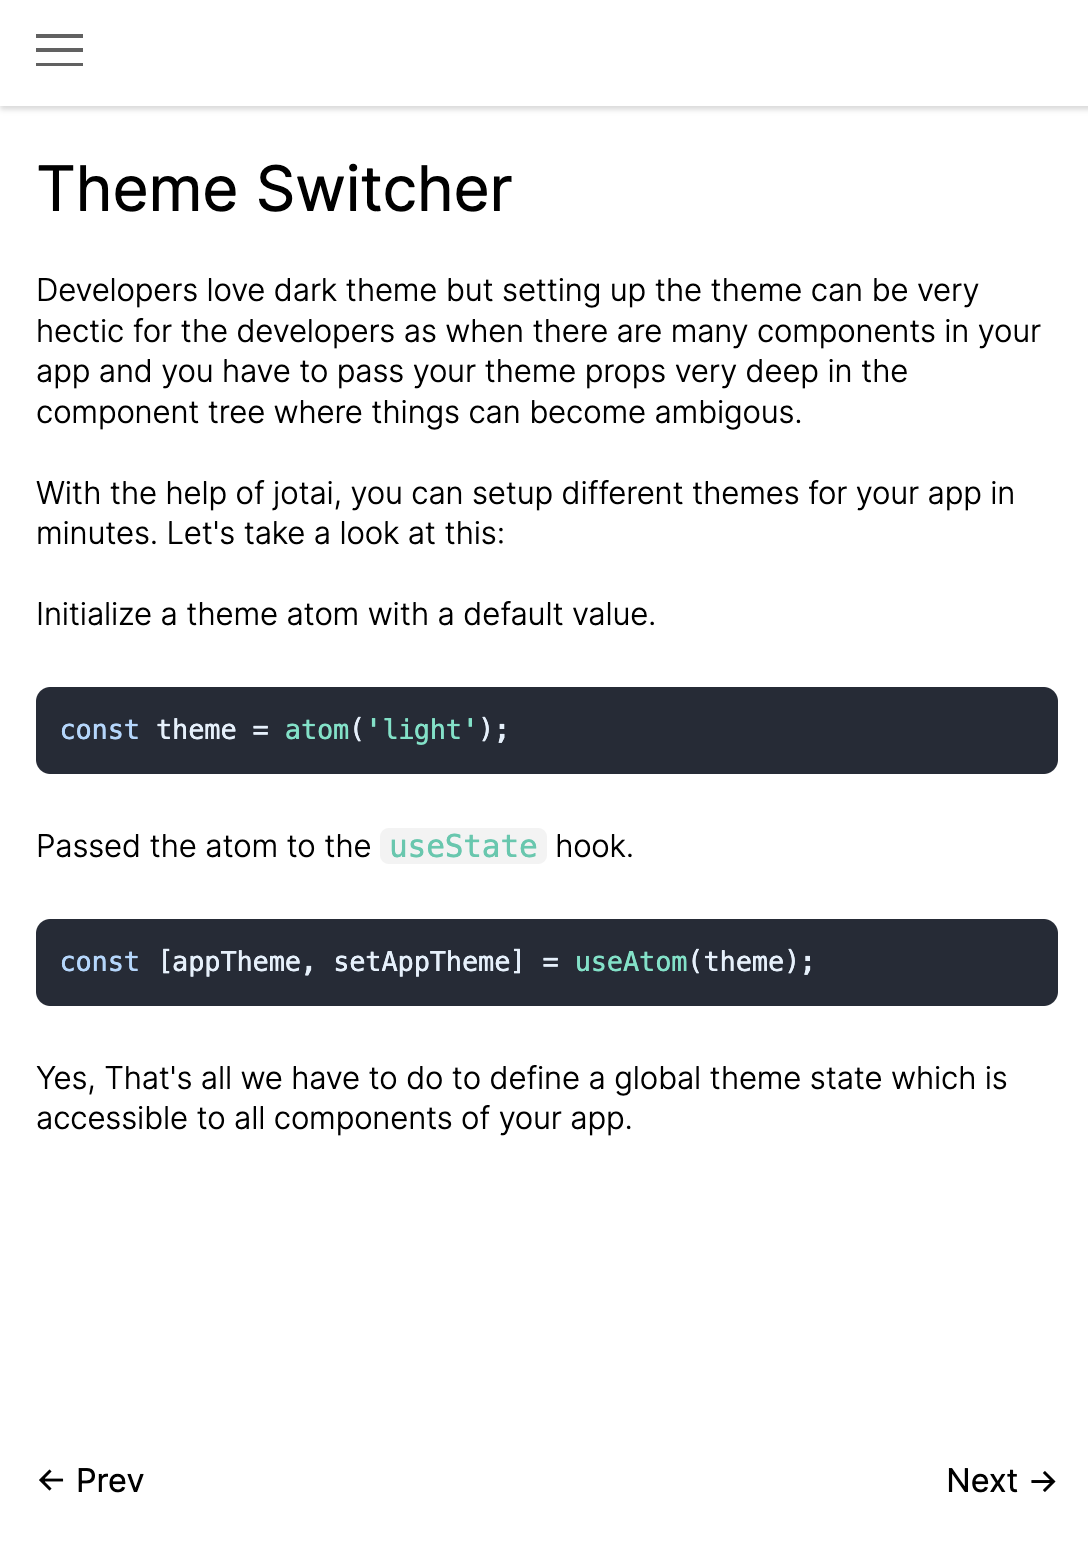
다크모드를 구현하는 과정에서 props drilling 이슈가 발생할 수 있는데, Jotai를 통해 가볍게 구현할 수 있다.
3-2. Code 👨💻
import { atom, useAtom } from 'jotai';

const theme = atom('light');

export default function Page() {
  const [appTheme, setAppTheme] = useAtom(theme);
  const handleClick = () => setAppTheme(appTheme === 'light'? 'dark': 'light');
  return (
    <div className={appTheme}>
      <h1>This is a theme switcher</h1>
      <button onClick={handleClick}>{appTheme === 'light'? 'DARK': 'LIGHT'}</button>
    </div>
  )
}
4. Persisting state value ⚛
4-1. Description ✍️
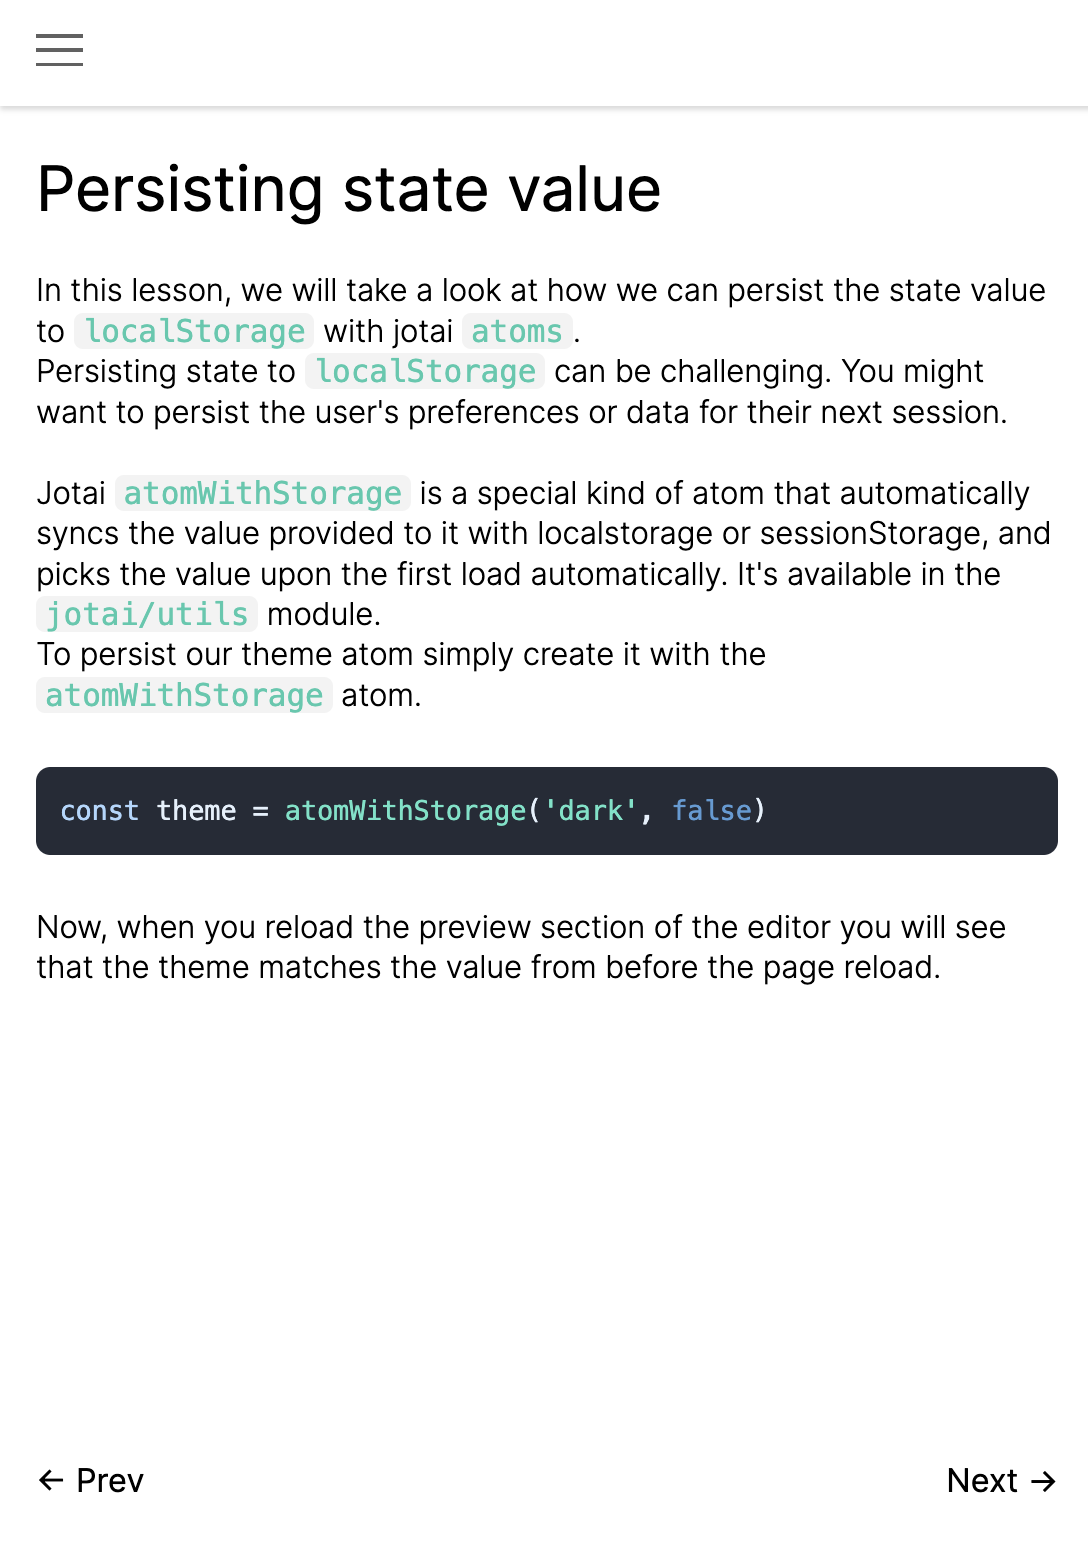
state value를 localstorage를 통해 유지해야 하는 case에 대한 설명이다. atom을 생성할 때, atom 함수가 아니라 atomWithStorage 함수에 persist 하고 싶은 값을 전달하면, state value가 localstorage에 저장되어 유지된다.
4-2. Code 👨💻
import { useAtom } from 'jotai';
import { atomWithStorage } from 'jotai/utils';

const theme = atomWithStorage('dark', false);

export default function Page() {
  const [appTheme, setAppTheme] = useAtom(theme);
  const handleClick = () => setAppTheme(!appTheme);
  return (
    <div className={appTheme? 'dark': 'light'}>
      <h1>This is a theme switcher</h1>
      <button onClick={handleClick}>{appTheme? 'DARK': 'LIGHT'}</button>
    </div>
  )
}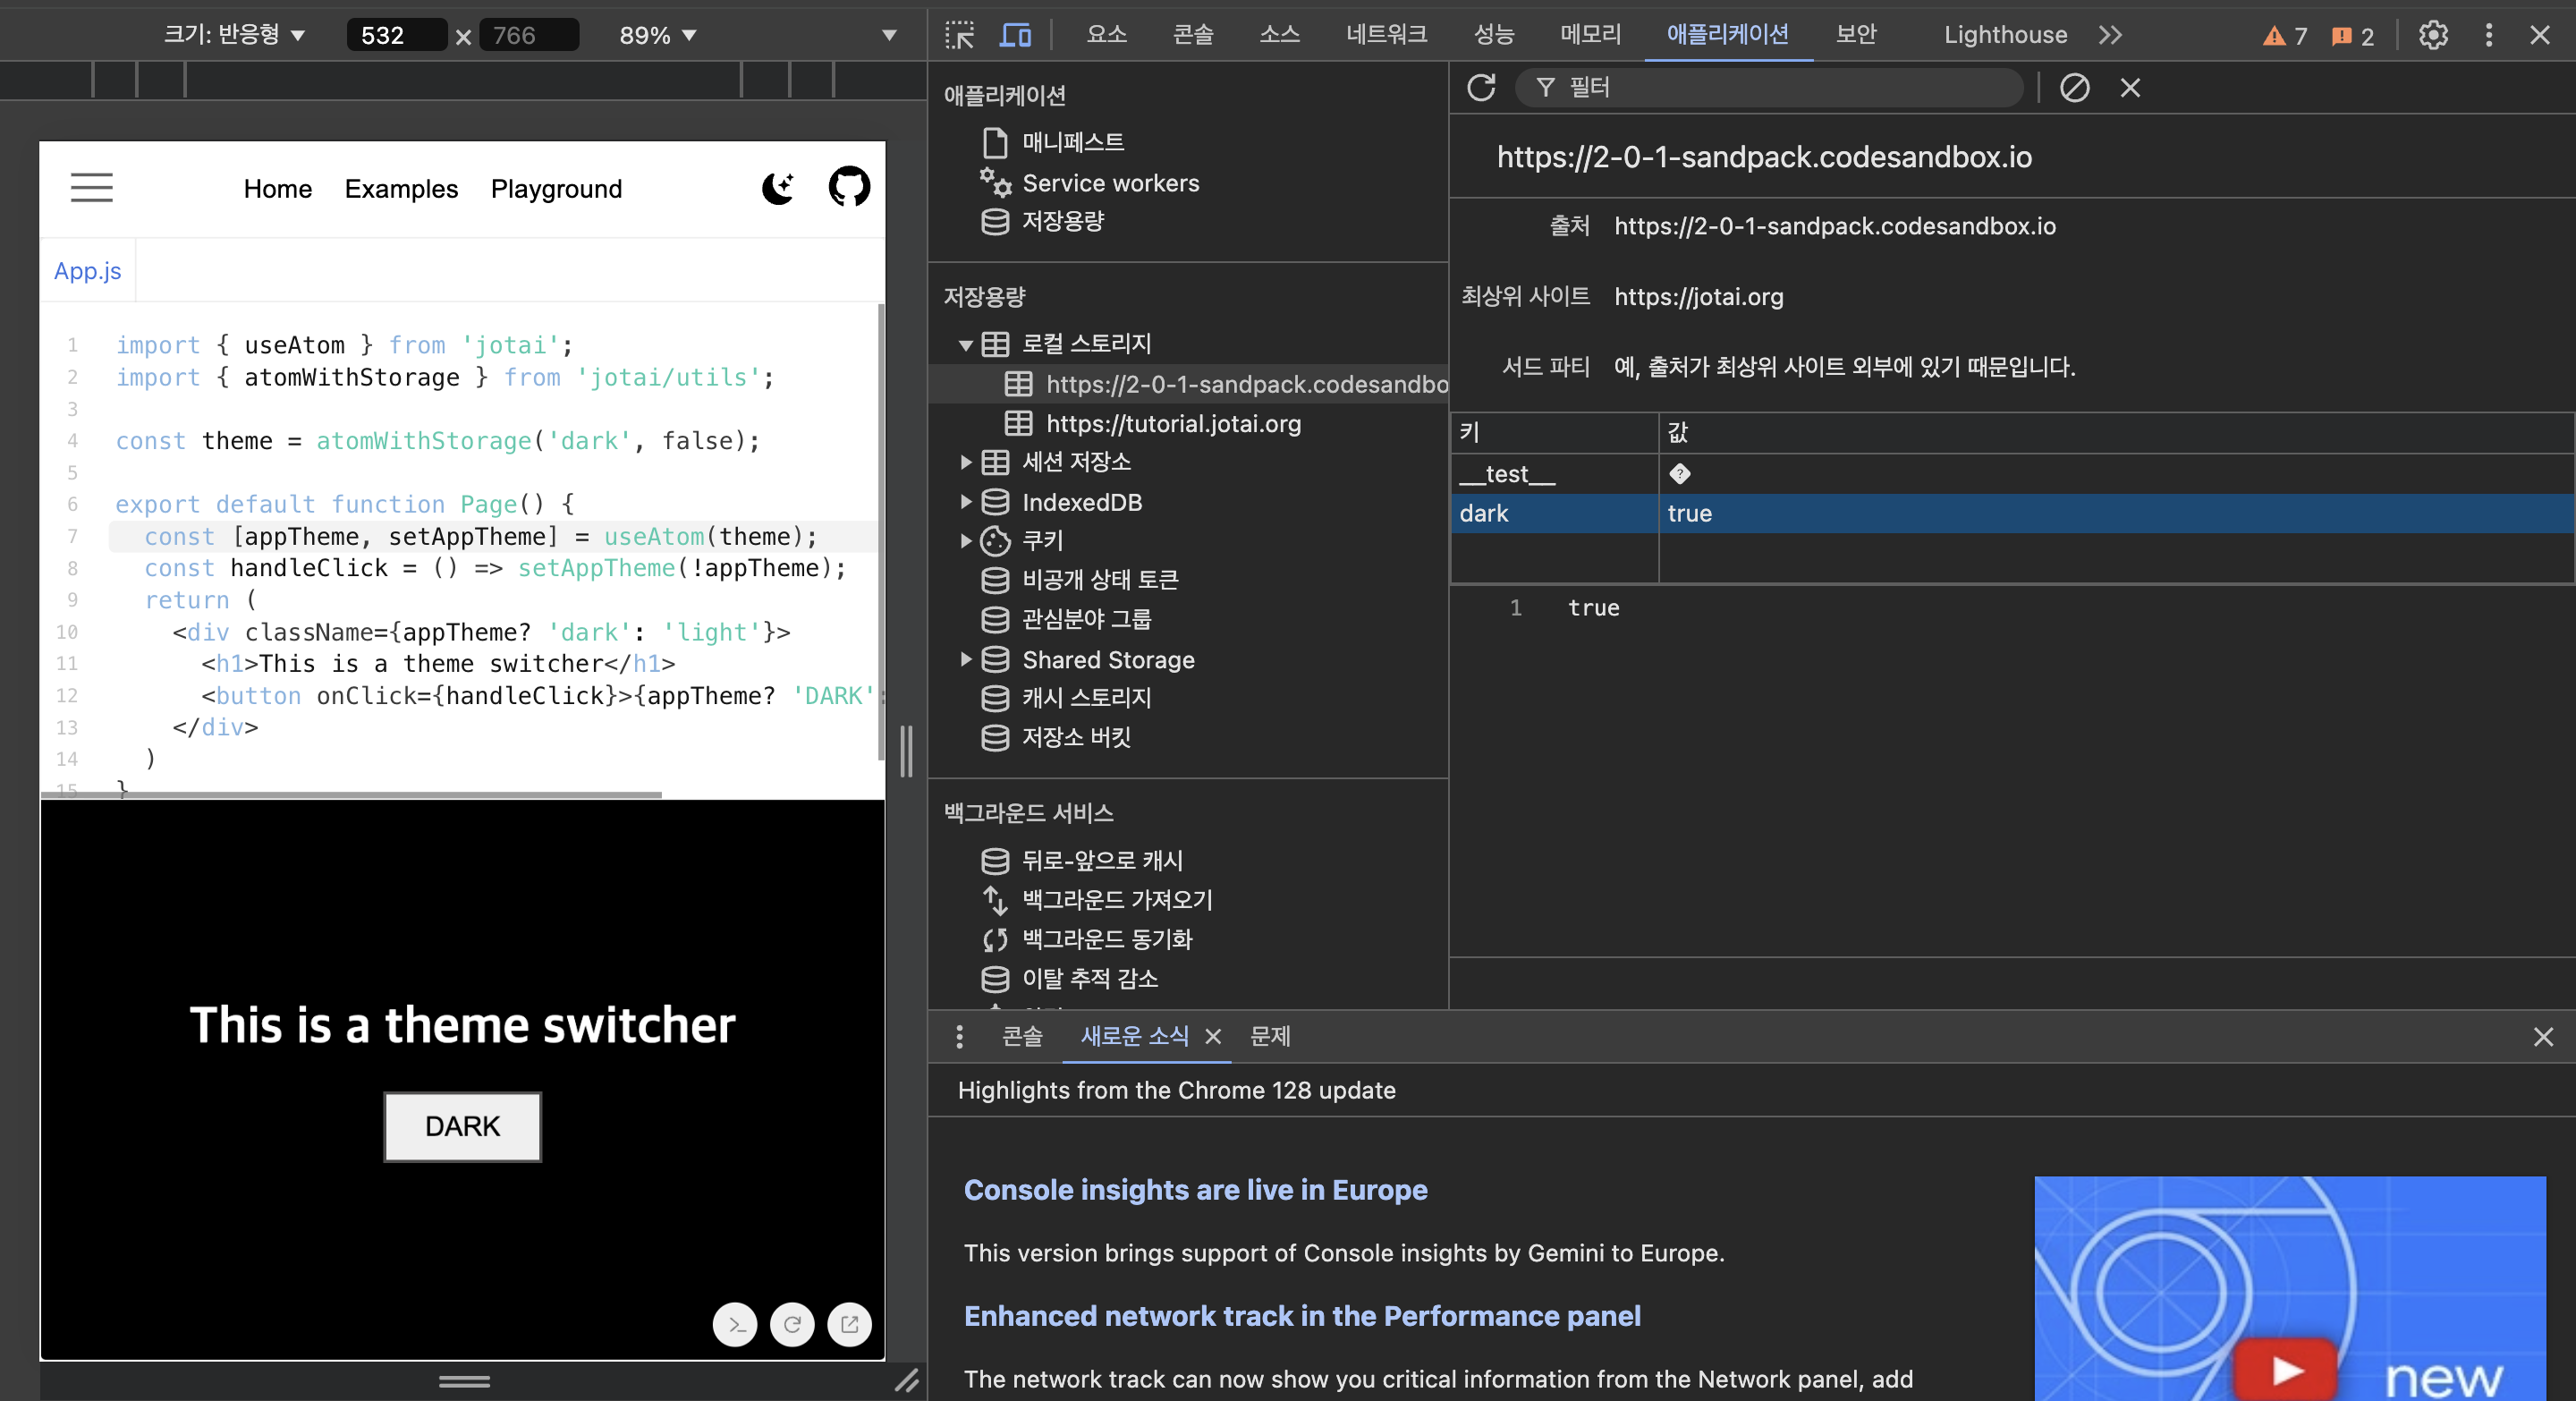
atomWithStorage 함수에 전달하는 'dark'는 localstorage에서 사용할 key에 해당하고, 'false'는 dark key에 해당하는 value이다.
토글 버튼에 의해 true일 때에는 다크모드, false일 때에는 화이트모드가 적용되며, localstorage에 state value가 저장되어 있기에 새로고침을 해도 원하는 모드가 지속됨을 확인할 수 있다.
5. Read Only atoms ⚛
5-1. Description ✍️
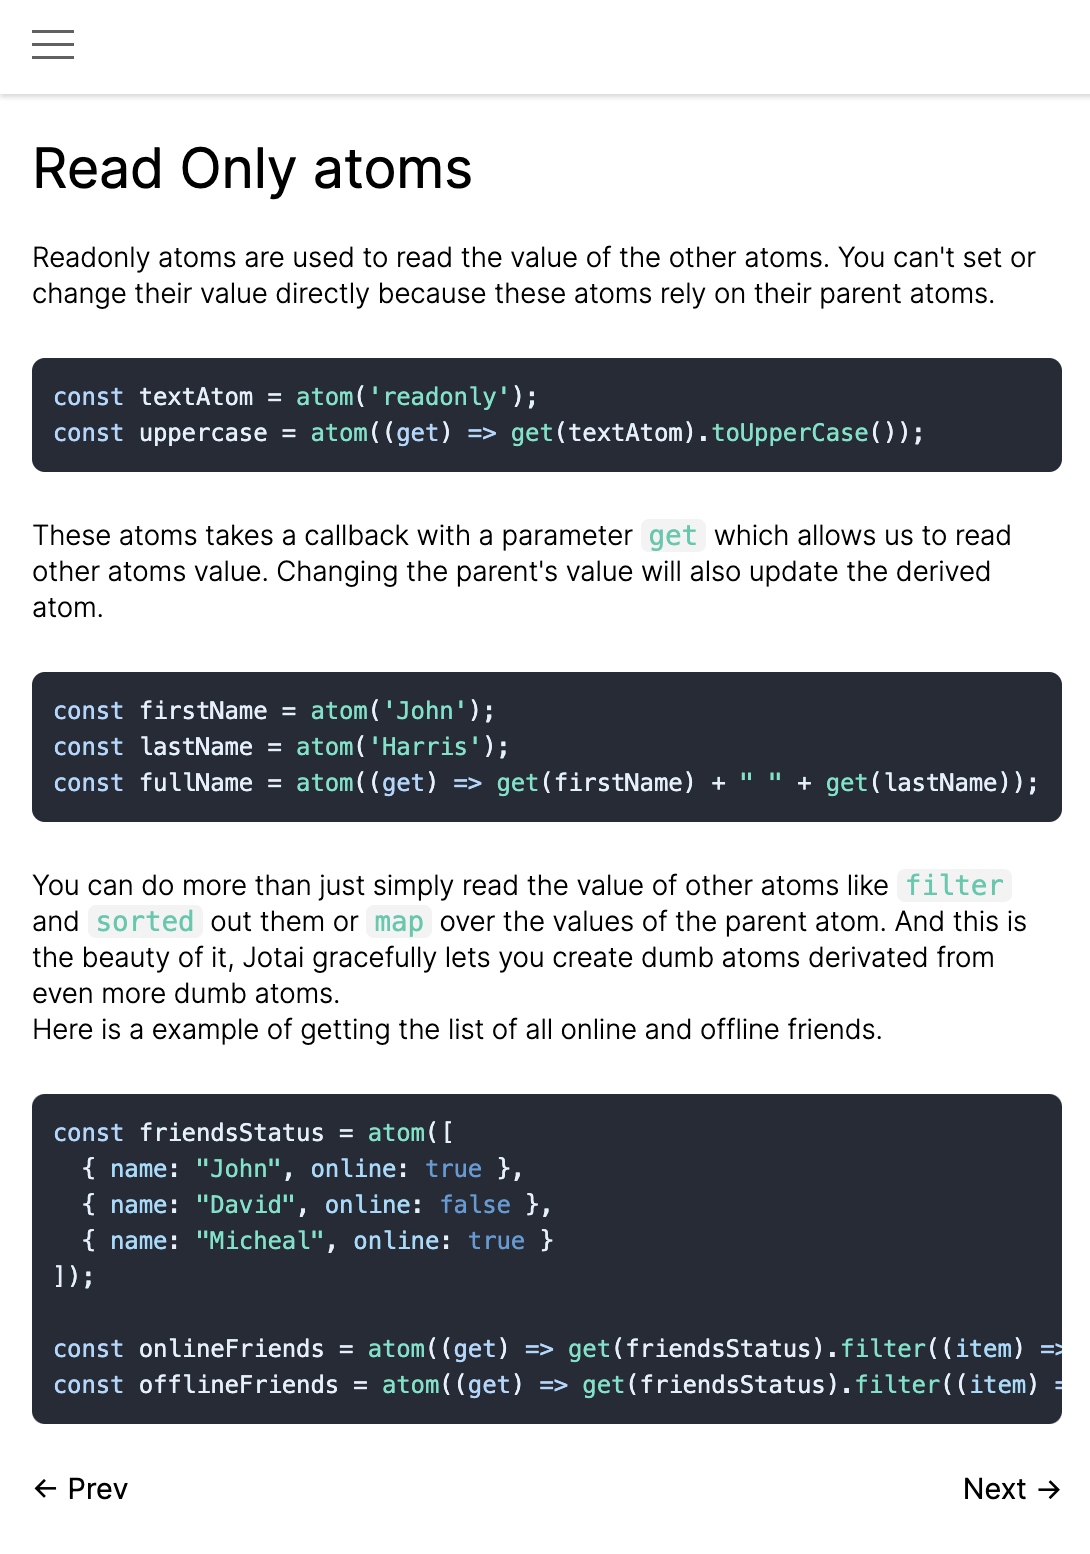
initialValue가 'readonly'로 설정되어 있는 textAtom(=부모 atom)을, uppercase라는 read only atom(=자녀 atom)을 통해 read하고 계산하는 모습이다.
코드 자체는 어려울 것이 없다. "왜 이런 방식을 취하지?"가 계속 마음에 남았다. 결국 '응집성'과 '재사용성'이 그 이유일 것이라는 추론을 했다.
여러 컴포넌트에서 동일한 방식으로 변환된 값을 사용해야 하는 경우에, read only atom이라는 형태로 상태 변환 로직이 응집되어 있으면, 일관된 방식으로 해당 로직을 활용함으로써 재사용성을 높일 수 있기 때문이다.
5-2. Code 👨💻
import { atom, useAtom } from 'jotai';

const textAtom = atom('readonly atoms')
const uppercase = atom((get) => get(textAtom).toUpperCase())

export default function Page() {
  const [lowercaseText, setLowercaseText] = useAtom(textAtom);
  const [uppercaseText] = useAtom(uppercase);
  const handleChange = (e) => setLowercaseText(e.target.value);
  return (
    <div className="app">
      <input value={lowercaseText} onChange={handleChange} />
      <h1>{uppercaseText}</h1>
    </div>
  )
}
인풋 필드에 text를 입력하면 setLowercaseText 함수에 의해 textAtom이 업데이트되고, read only atom인 uppercase에 의해 자동적으로 대문자로 변환됨을 보여주는 로직이다.
const [uppercaseText] = useAtom(uppercase); 말 그대로 읽기 전용으로 활용하고 있는 모습이다.
6. Write Only atoms ⚛
6-1. Description ✍️
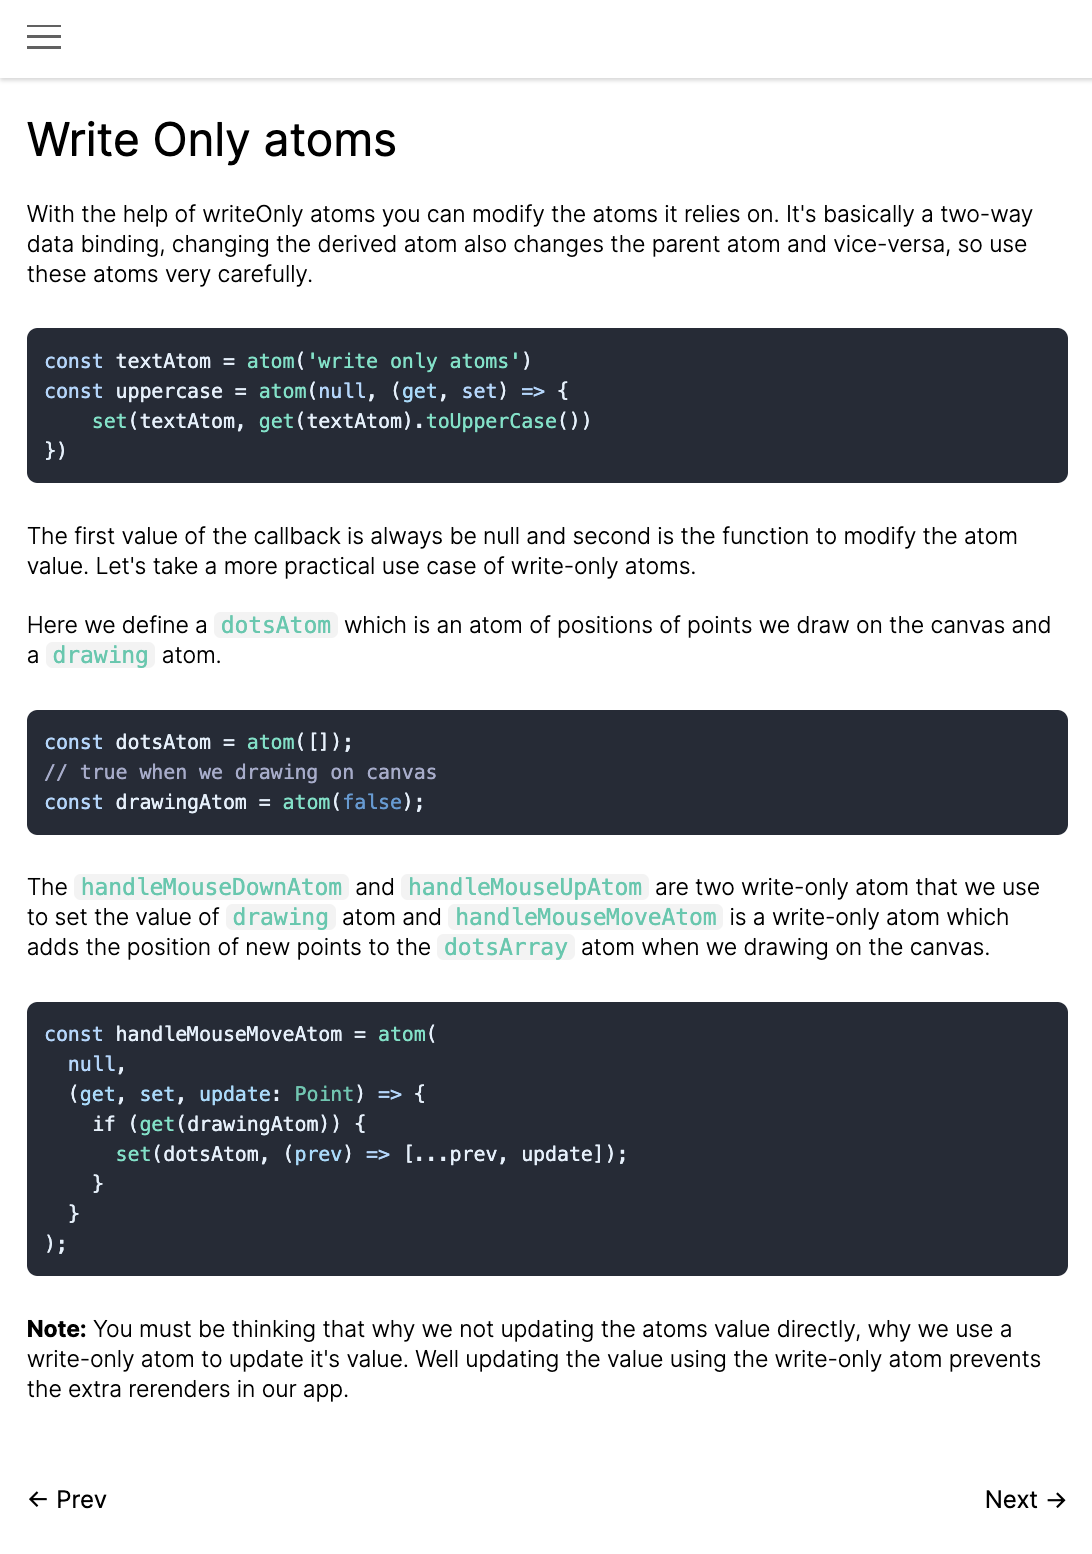
write Only atom을 생성하고 활용하는 본질은, '불필요한 re-rendering 방지'에 있다. 이게 무슨 말일까?
6-2. Code 👨💻
import { atom, useAtom } from "jotai";

const dotsAtom = atom([]);

const drawingAtom = atom(false);

const handleMouseDownAtom = atom(
  null,
  (get, set) => {
    set(drawingAtom, true);
  }
);

const handleMouseUpAtom = atom(null, (get, set) => {
  set(drawingAtom, false);
});

const handleMouseMoveAtom = atom(
  null,
  (get, set, update: Point) => {
    if (get(drawingAtom)) {
      set(dotsAtom, (prev) => [...prev, update]);
    }
  }
);

const SvgDots = () => {
  const [dots] = useAtom(dotsAtom);
  return (
    <g>
      {dots.map(([x, y], index) => (
        <circle cx={x} cy={y} r="2" fill="#aaa" key={index} />
      ))}
    </g>
  );
};

const SvgRoot = () => {
  const [, handleMouseUp] = useAtom(
    handleMouseUpAtom
  );
  const [, handleMouseDown] = useAtom(
    handleMouseDownAtom
  );
  const [, handleMouseMove] = useAtom(
    handleMouseMoveAtom
  );
  return (
    <svg
      width="100vw"
      height="100vh"
      viewBox="0 0 100vw 100vh"
      onMouseDown={handleMouseDown}
      onMouseUp={handleMouseUp}
      onMouseMove={(e) => {
        handleMouseMove([e.clientX, e.clientY]);
      }}
    >
      <rect width="100vw" height="100vh" fill="#eee" />
      <SvgDots />
    </svg>
  );
};

const App = () => (
  <>
    <SvgRoot />
  </>
);

export default App;
화면 상에서 마우스 드래그로 점을 찍는 예제다.
사실 write only atoms 파트를 이해하는데, 아니 납득하는 데 오랜 시간이 걸렸다. 단순히 jotai 활용을 넘어서 rendering에 대한 본질을 다루는 파트였기 때문이다.
6-3. re-rendering 🎨
보통 state나 props의 update에 의해 re-rendering이 된다고 알고 있다. 사실이다. 절반만 사실이다.
re-rendering의 절차를 풀어서 설명하면, 1)변화를 감지한 뒤 -> 2)변경된 상태를 반영하여 화면을 다시 그린다, 두 절차로 구분된다.
따라서 상태의 변화가 있었다 할지라도, 그것이 컴포넌트 상에 반영되지 않는다면 re-rendering이 일어나지 않는다.
위 코드에서 SvgDots 컴포넌트는 dotsAtom이라는 변경된 상태를 컴포넌트 상에서 반영하고 있기 때문에 re-rendering이 발생하는 것이 맞다.
다만 부모 컴포넌트인 SvgRoot 컴포넌트에서는 Write only atoms를 통해, 분리된 환경에서 상태를 업데이트할 뿐 Read 작업은 수행하지 않고 있다. 이 부분이 바로 '불필요한 re-rendering을 방지함'에 대한 작업이다.
7. Read Write atoms ⚛
7-1. Description ✍️
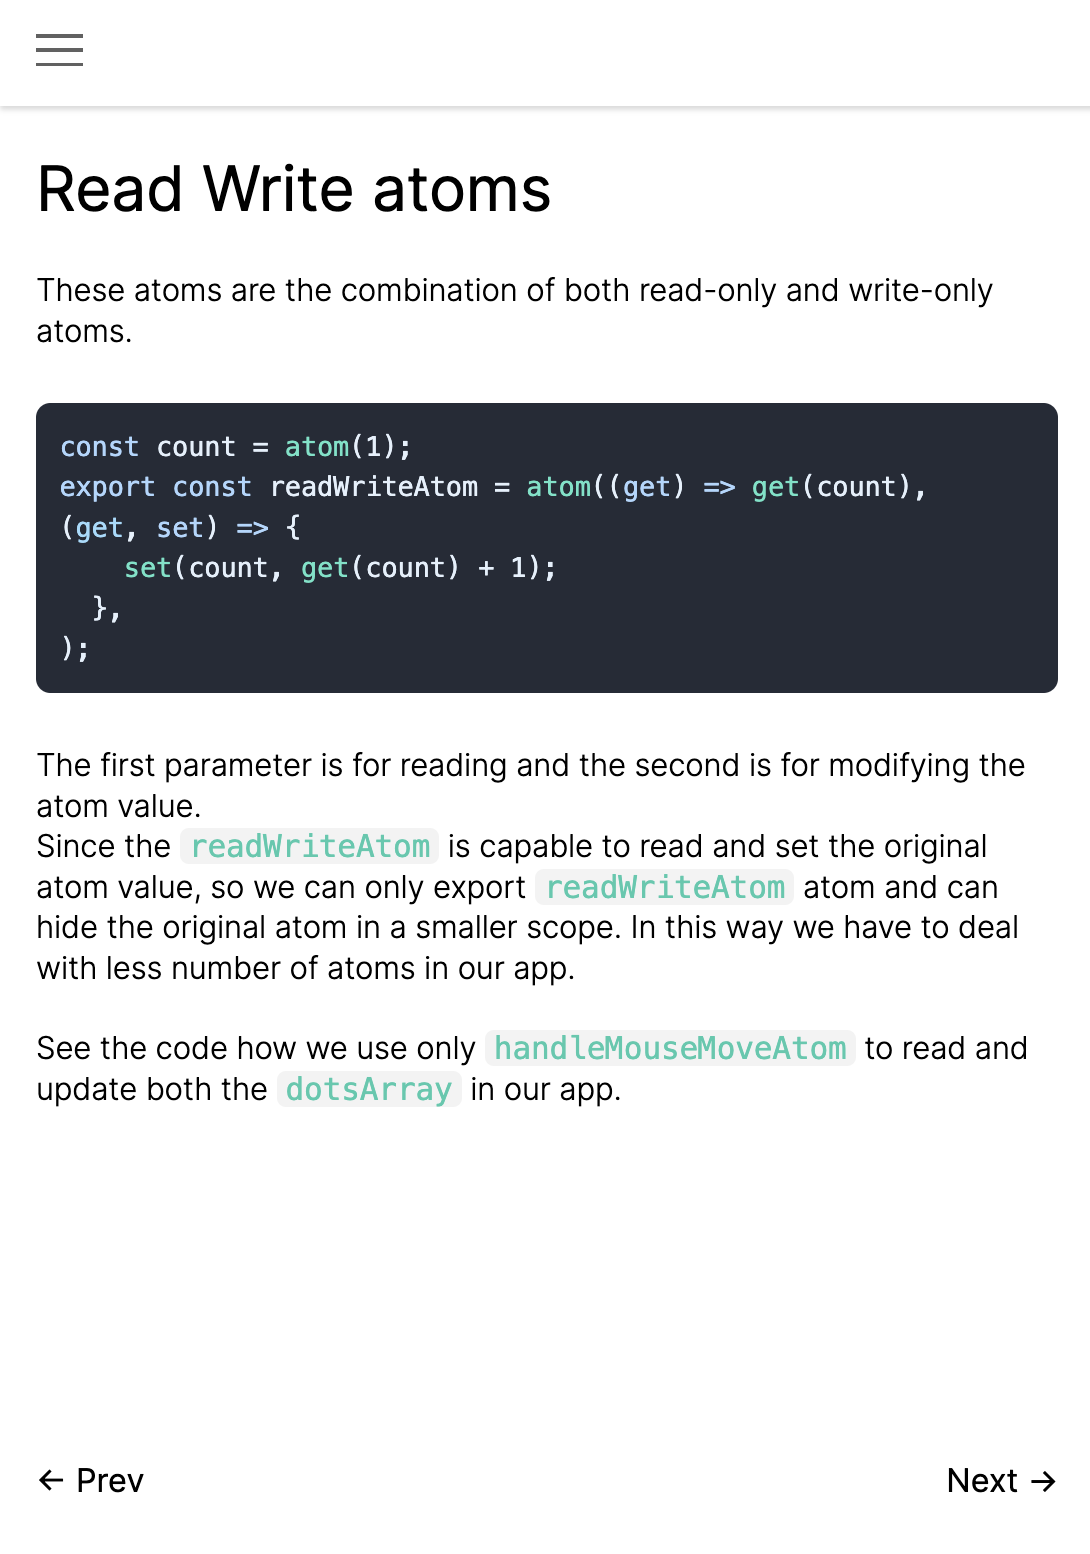
짬짜면이다. readWriteAtom는 두 개의 함수를 받는다. Read를 위한 함수와, Write를 위한 함수를 atom에 전달해서 짬짜면의 기능을 수행한다. 앱에서 처리해야 할 atom의 수를 줄일 수 있다는 장점이 있다.
아래의 코드는 짬짜면을 통해 dotsArray를 읽고 업데이트하는 코드 예제다.
7-2. Code 👨💻
import { atom, useAtom } from "jotai";

const dotsAtom = atom([]);

const drawingAtom = atom(false);

const handleMouseDownAtom = atom(
  null,
  (get, set) => {
    set(drawingAtom, true);
  }
);

const handleMouseUpAtom = atom(null, (get, set) => {
  set(drawingAtom, false);
});

const handleMouseMoveAtom = atom(
  (get) => get(dotsAtom),
  (get, set, update: Point) => {
    if (get(drawingAtom)) {
      set(dotsAtom, (prev) => [...prev, update]);
    }
  }
);

const SvgDots = () => {
  const [dots] = useAtom(handleMouseMoveAtom);
  return (
    <g>
      {dots.map(([x, y], index) => (
        <circle cx={x} cy={y} r="2" fill="#aaa" key={index} />
      ))}
    </g>
  );
};

const SvgRoot = () => {
  const [, handleMouseUp] = useAtom(
    handleMouseUpAtom
  );
  const [, handleMouseDown] = useAtom(
    handleMouseDownAtom
  );
  const [, handleMouseMove] = useAtom(
    handleMouseMoveAtom
  );
  return (
    <svg
      width="100vw"
      height="100vh"
      viewBox="0 0 100vw 100vh"
      onMouseDown={handleMouseDown}
      onMouseUp={handleMouseUp}
      onMouseMove={(e) => {
        handleMouseMove([e.clientX, e.clientY]);
      }}
    >
      <rect width="100vw" height="100vh" fill="#eee" />
      <SvgDots />
    </svg>
  );
};

const App = () => (
  <>
    <SvgRoot />
  </>
);

export default App;
적용한 모습이다. 짬짜면을 제외하고 특별한 논점은 없다.
8. Atom Creators ⚛
8-1. Description ✍️
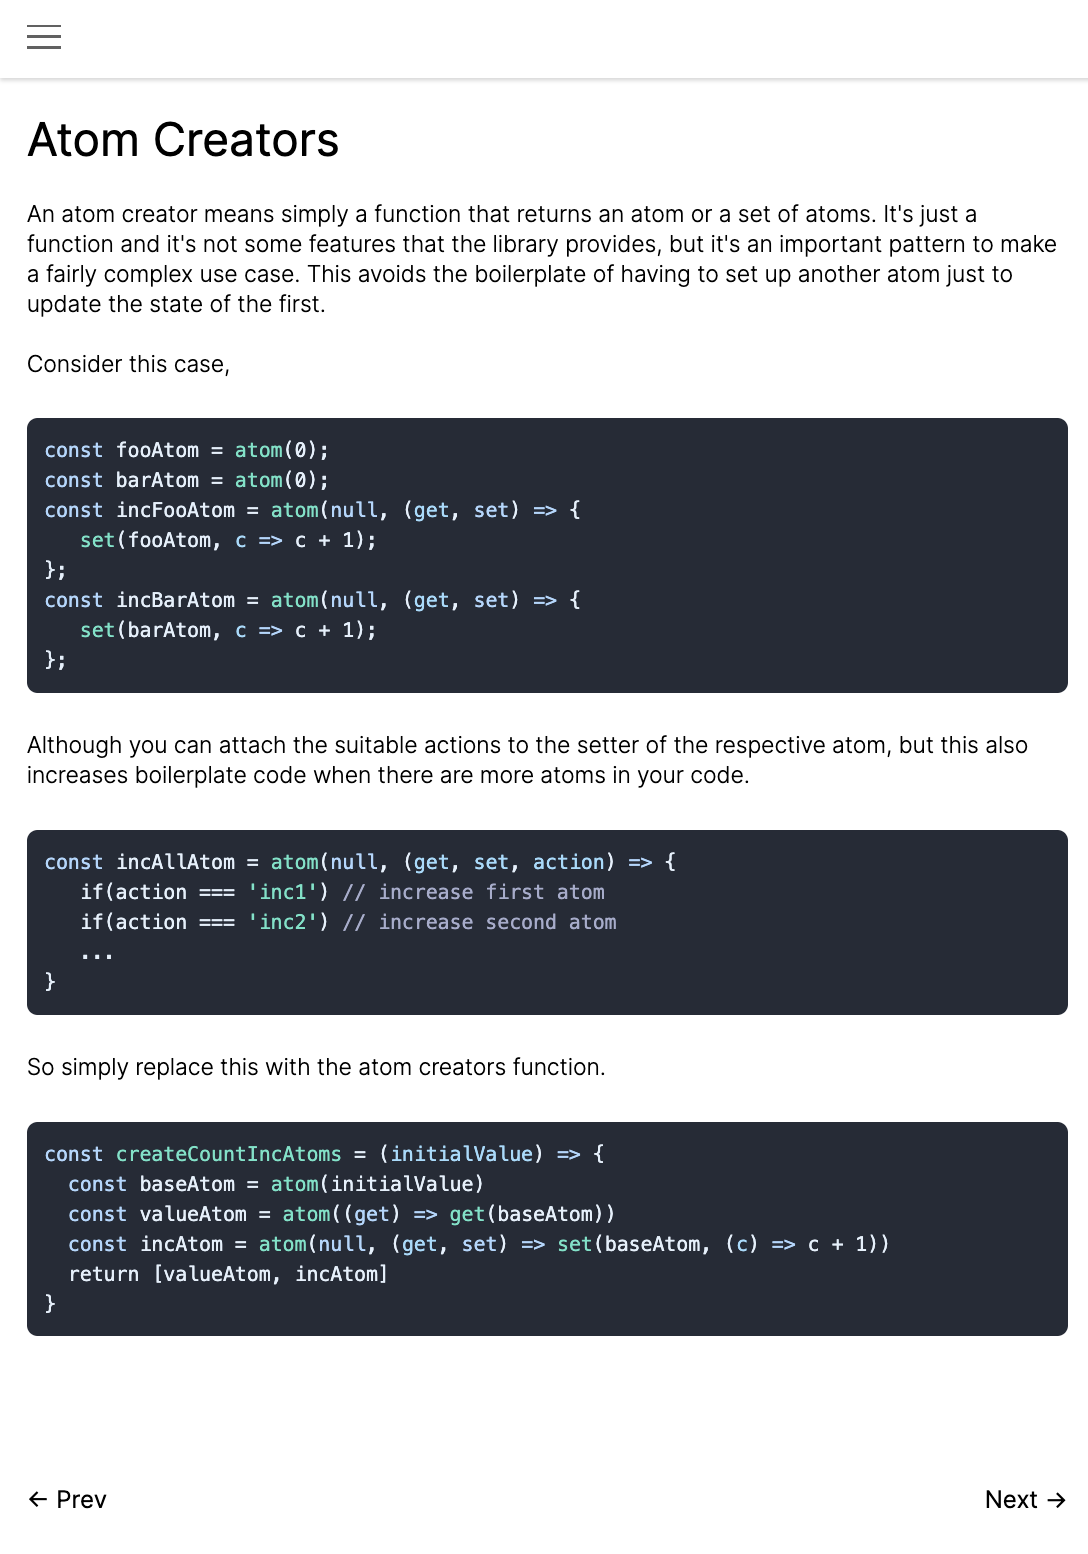
Atom Creator는 여러 atom을 반환하는 함수다. 새로운 상태와 업데이트 로직을 정의할 때 새롭게 Boilerplate를 만들어야 하는 소요를 줄이기 위함이다.
8-2. Code 👨💻
import { atom, useAtom } from 'jotai'

const createCountIncAtoms = (initialValue) => {
  const baseAtom = atom(initialValue)
  const valueAtom = atom((get) => get(baseAtom))
  const incAtom = atom(null, (get, set) => set(baseAtom, (c) => c + 1))
  return [valueAtom, incAtom]
}

const [fooAtom, fooIncAtom] = createCountIncAtoms(0)
const [barAtom, barIncAtom] = createCountIncAtoms(0)

function App() {
  const [fooCount] = useAtom(fooAtom)
  const [, incFoo] = useAtom(fooIncAtom)
  const [barCount] = useAtom(barAtom)
  const [, incBar] = useAtom(barIncAtom)

  const onClick1 = () => {
    incFoo()
  }

  const onClick2 = () => {
    incBar()
  }

  return (
    <div className="app">
      <div>
        <span>{fooCount}</span>
        <button onClick={onClick1}>incFoo</button>
      </div>
      <div>
        <span>{barCount}</span>
        <button onClick={onClick2}>incBar</button>
      </div>
    </div>
  )
}

export default App
상태와 업데이트 로직이 동일한 경우, Atom Creator 패턴을 따르지 않는다면 다음과 같은 코드 반복이 일어나게 될 것이다.
const fooBaseAtom = atom(0);
const fooValueAtom = atom((get) => get(fooBaseAtom));
const fooIncAtom = atom(null, (get, set) => set(fooBaseAtom, (c) => c + 1));

const barBaseAtom = atom(0);
const barValueAtom = atom((get) => get(barBaseAtom));
const barIncAtom = atom(null, (get, set) => set(barBaseAtom, (c) => c + 1));
남은 Tutorial 주제:
- Async Read Atoms ⚛
- Async Write Atoms ⚛
- Utils ⚛
- Integrations ⚛