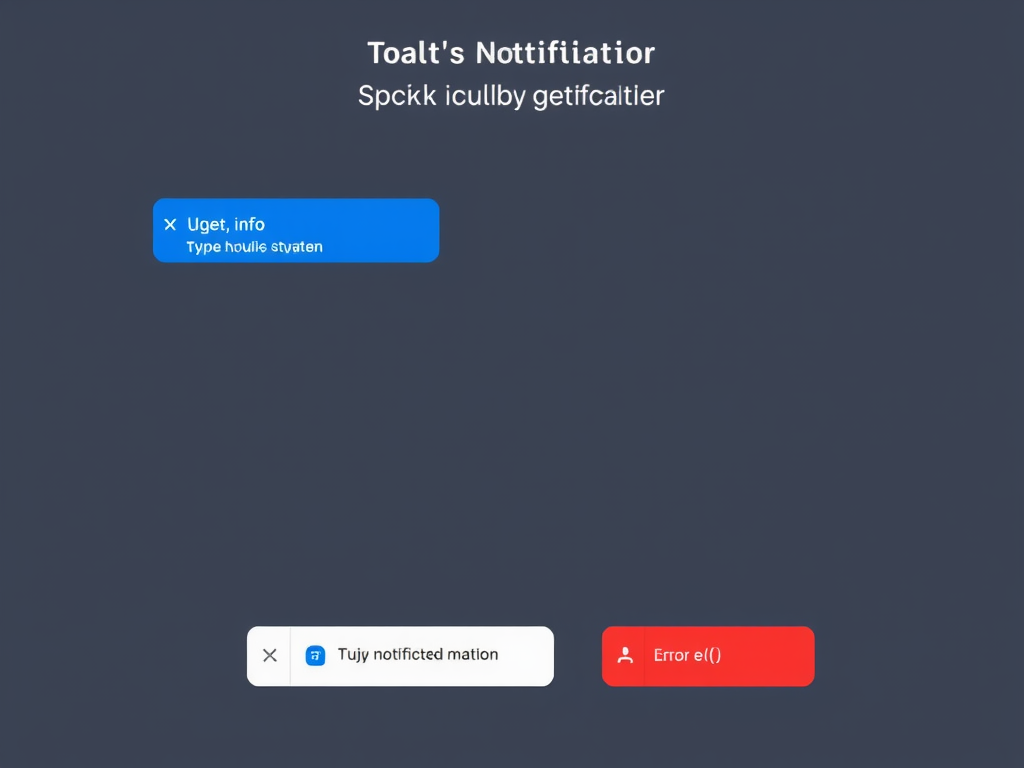
웹 / 앱을 사용하면서 Toast 메시지는 한번쯤 본 거 같다
하지만 이걸 구현해본적은 없었는데 이번 강의를 통해 구현해보게되었다.
과정
1. Zustand store에 등록
2. 화면 구현
3. 기능 구현
1. Zustand store에 등록
Zustand를 사용하여 토스트 메시지를 관리하는 상태를
store에 등록한다.
// toastStore.ts
export type ToastType = 'info' | 'error';

export interface ToastItem {
  id: number;
  message: string;
  type: ToastType;
}

interface ToastStoreState {
  toasts: ToastItem[];
  addToast: (message: string, type?: ToastType) => void;
}

export const useToastStore = create<ToastStoreState>(set => ({
  toasts: [],
  addToast: (message, type = 'info') => {
    set(state => ({
      toasts: [...state.toasts, {message, type, id: Date.now()}],
    }));
  },
}));
id , message , type 을 toasts 배열로 받고
type = 'info'라면 toast 메시지를 추가하는 기능이다.
2. 기능을 사용하는 화면 구현
기능을 만들었으면 이제 사용해야 한다.
//useToast.ts
const showToast = useToastStore(state => state.addToast);

 <>
      {toasts.map(toast => (
        <Toast
          key={toast.id}
          id={toast.id}
          message={toast.message}
          type={toast.type}
        />
      ))}
    </>

// 스타일 생략
//toasts.ts
 <p>
        {type === 'info' && <FaInfoCircle />}
        {type === 'error' && <FaBan />}
        {message}
      </p>
      <button onClick={handleRemoveToast}>
        <FaPlus />
      </button>
여기는 앞서 스토어에서 만들었던 addToast를 가져오고
알맞은 값들을 전달해주면 된다.
위의 코드는 useToast라는 커스텀 훅을 통해 스토어에서 addToast를 가져온 후 하위 컴포넌트인 Toast에 데이터를 전달한다.
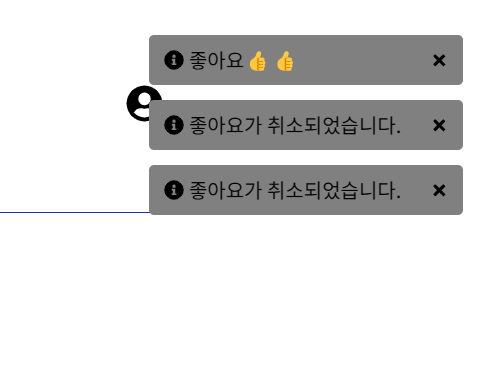
3. 기능 구현
이번엔 좋아요를 눌렀을 때 Toast 메시지가 보이게 하므로
좋아요를 클릭하는 부분에 이번 기능을 추가해주면 된다.
// useBookDetail.ts

const {showToast} = useToast();


likeBook(book.id).then(() => {
        setBook({
         // 코드 생략
      showToast('좋아요👍👍');
🤔후기
그 전에는 드롭다운이나 탭의 경우 zustand를 사용하지 않고 바로 구현을 했는데 이번엔 상태 관리 라이브러리까지 사용하니 살짝 복잡해진 거 같다.
지속적으로 사용하며 빨리 익숙해지고 싶다

웹 개발자가 되고픈