Computer_vision_4
import numpy as numpy
import sys
import matplotlib.pyplot as plt
import cv2
import torch
from torchvision.io import read_image
from torchvision import models, transforms, datasets

device = torch.device('cuda' if torch.cuda.is_available() else 'cpu')
import cv2
import sys
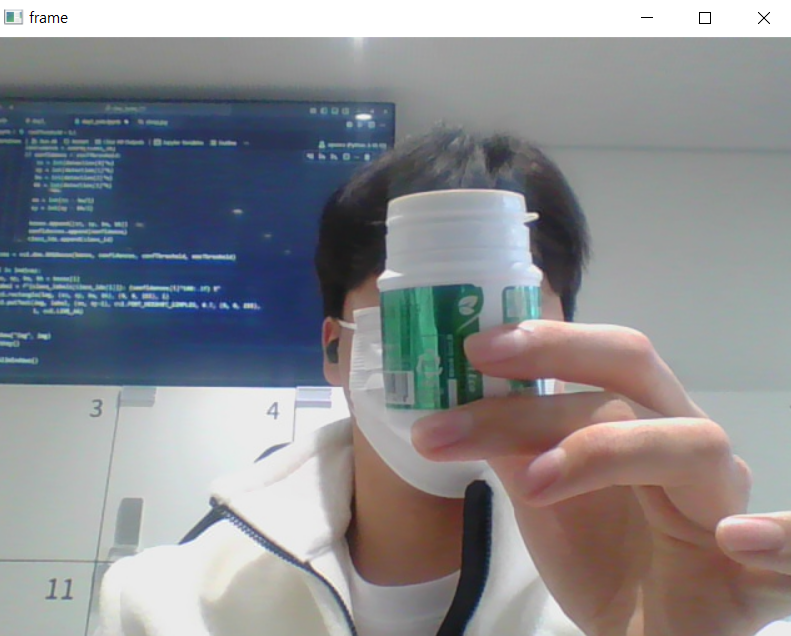
# 비디오 캡처 설정
cap = cv2.VideoCapture(0)
if not cap.isOpened():
print('Video open failed')
sys.exit()
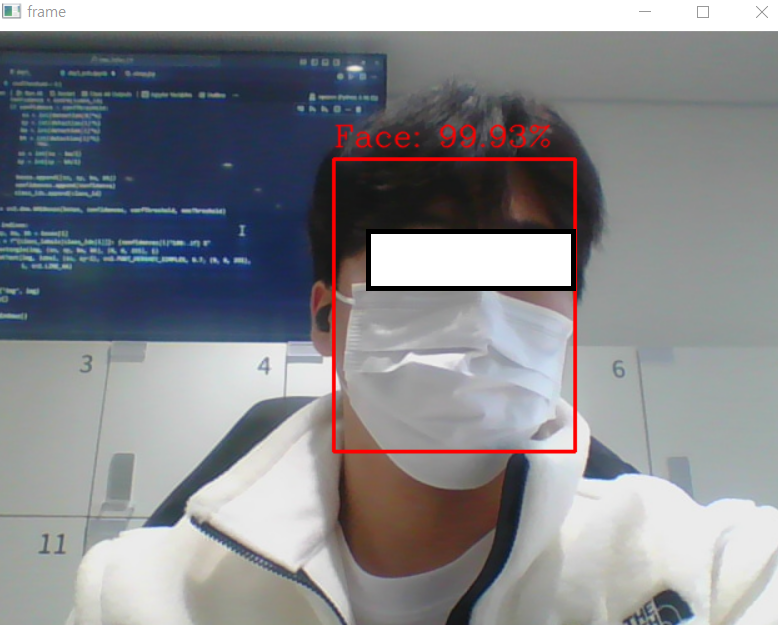
# 얼굴 감지 모델 및 설정 파일 로드
model = "opencv_face_detector_uint8.pb" # 모델 파일 (다운로드 필요)
config = "opencv_face_detector.pbtxt" # 설정 파일
face_net = cv2.dnn.readNet(model, config)
if face_net.empty(): # 네트워크 로드 실패 확인
print('Net read failed')
sys.exit()
# 실시간 얼굴 감지
while True:
ret, frame = cap.read()
if not ret:
break
# 이미지 전처리 (Blob 생성)
blob = cv2.dnn.blobFromImage(frame, 1.0, (300, 300), (104, 177, 123), swapRB=False)
face_net.setInput(blob)
out = face_net.forward()
# 감지된 얼굴 정보 처리
detections = out[0, 0] # 첫 번째 출력 레이어 결과
h, w = frame.shape[:2] # 이미지 높이와 너비
threshold = 0.5 # 신뢰도 기준
for i in range(len(detections)):
confidence = detections[i, 2] # 신뢰도
if confidence > threshold:
# 얼굴 바운딩 박스 좌표
x1 = int(detections[i, 3] * w)
y1 = int(detections[i, 4] * h)
x2 = int(detections[i, 5] * w)
y2 = int(detections[i, 6] * h)
# 바운딩 박스 그리기
cv2.rectangle(frame, (x1, y1), (x2, y2), (0, 0, 255), 2)
# 신뢰도 텍스트 표시
label = f"Face: {confidence * 100:.2f}%"
cv2.putText(frame, label, (x1, y1 - 10), cv2.FONT_HERSHEY_COMPLEX,
0.8, (0, 0, 255), 1, cv2.LINE_AA)
# 결과 프레임 출력
cv2.imshow('frame', frame)
# ESC 키를 누르면 종료
if cv2.waitKey(30) == 27:
break
# 자원 해제
cap.release()
cv2.destroyAllWindows()
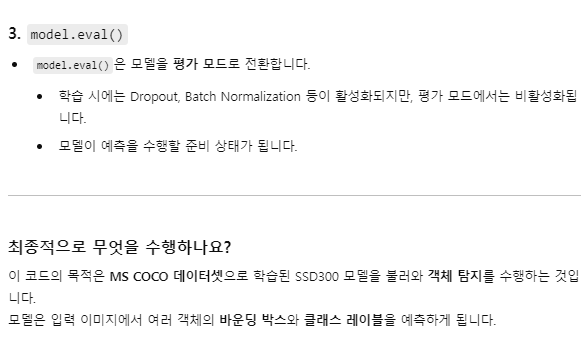
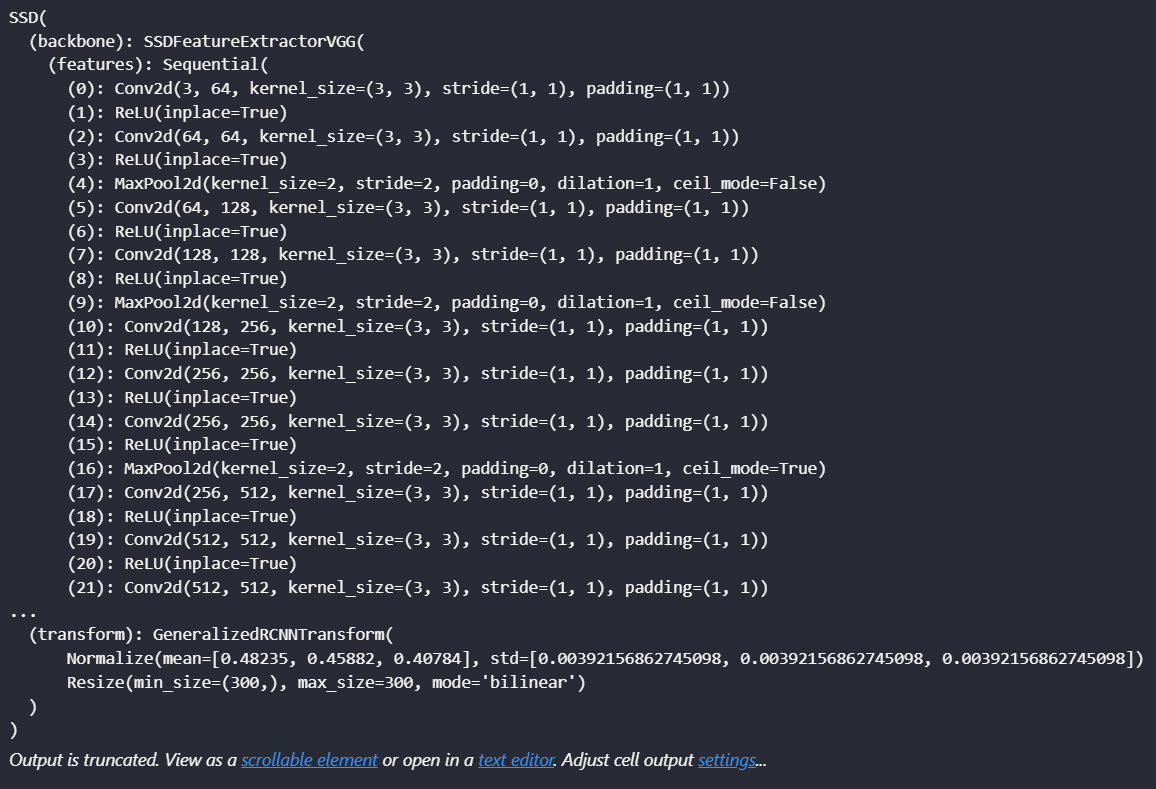
weights = models.detection.SSD300_VGG16_Weights.COCO_V1
model = models.detection.ssd300_vgg16(weights = weights).to(device)

model.eval()
import torchvision.transforms as transforms
import torchvision.datasets as datasets
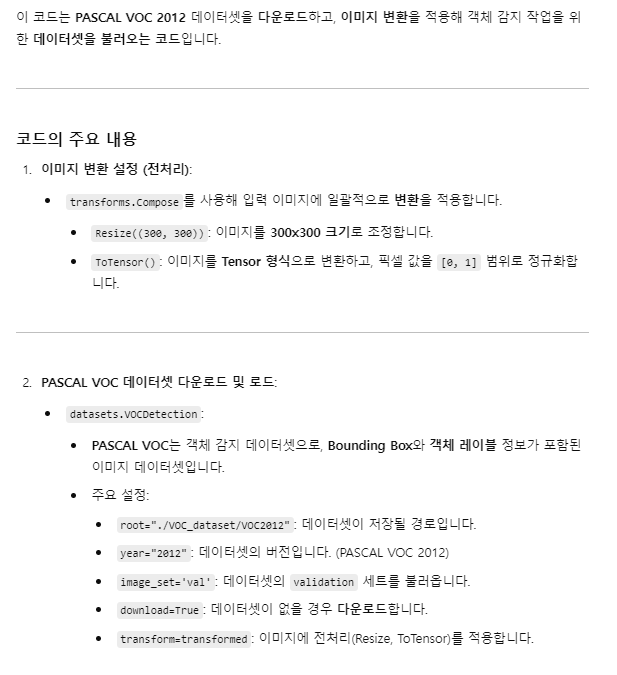
# 이미지 변환 설정 (전처리)
transformed = transforms.Compose([
transforms.Resize((300, 300)), # 이미지 크기 조정
transforms.ToTensor() # 이미지를 Tensor로 변환
])
# VOC 데이터셋 다운로드 및 설정
dataset = datasets.VOCDetection(
root="./VOC_dataset/VOC2012", # 데이터셋 경로
year="2012", # 데이터셋 버전
image_set='val', # 'train' 또는 'val' 선택
download=True, # 데이터셋 다운로드 여부
transform=transformed # 이미지 전처리 적용
)
print("Dataset length:", len(dataset))
Yolo v10 시작
## Yolo v10
!pip install ultralytics
import numpy as np
import sys
import matplotlib.pyplot as plt
import cv2

from ultralytics import YOLO
cap = cv2.VideoCapture("./fig/video/vtest.avi")
if not cap.isOpened():
print("Video open failed")
sys.exit()
model = YOLO("yolov10m.pt")
# 객체 탐지 결과의 신뢰도(Confidence)가 0.6보다 클 때만 화면에 표시함.
threshold = 0.6
while True:
ret, frame = cap.read() # cap.read()를 통해 비디오에서 프레임을 하나씩 읽습니다.
if not ret: # ret이 False인 경우 루프를 종료.
break
# YOLO model을 사용해 현재 frame에서 객체를 탐지함.
detection = model(frame, verbose = False)[0] # verbose=False : model 실행 중 출력 log를 표시하지 않도록 설정함.
# [0] : 탐지된 결과를 한 개의 list로 받기 위한 인덱싱임.
# 탐지 결과 필터링
# detection.boxes.data : 객체 탐지 결과를 반환함. 각 data는 list 형태
# [x1, y1, x2, y2, confidence, class_id] 형태임.
# confidence : 탐지된 객체의 신뢰도.
for data in detection.boxes.data.tolist():
confidence = data[4]
# 임계값 기준으로 필터링
if confidence > threshold:
xmin, ymin, xmax, ymax = int(data[0]), int(data[1]), int(data[2]), int(data[3])
# 화면에 프레임 출력
# 객체가 탐지된 frame을 화면에 표시
# OpenCV의 imshow를 통해 프레임이 표시됨.
cv2.imshow("frame", frame)
if cv2.waitKey(30) == 27:
break
cap.release()
cv2.destroyAllWindows()

## 1. 비디오 파일 열기
cap = cv2.VideoCapture("./fig/video/vtest.avi")

if not cap.isOpened():
    print("Video open failed")
    sys.exit()
## 2. Yolo model load
model = YOLO("yolov10m.pt")

## 3. 객체 감지 임계값 및 타이머 설정.
threshold = 0.6 # 객체 감지 시 신뢰도가 0.6 이상인 객체만을 대상으로 함.
tm = cv2.TickMeter() # 시간 측정을 위한 OpenCV의 타이머 객체임.

## 4. 프레임 읽기 및 처리.
while True:
    # 타이머를 reset하여 시간 측정을 초기화함.
    tm.reset()
    # cp.read() : 비디오의 프레임을 읽음. ret:False면 video의 끝에 도달한 것.
    ret, frame = cap.read()

    if not ret:
        break

    ## 5. 객체 감지 및 시간 측정
                # model(frame) : 현재 frame에서 객체를 감지.
                # verbose = False : 감지 중간 과정의 로그 출력을 비활성화함.
    detection = model(frame, verbose = False)[0]

    # 개체 감지의 실행 시간을 측정함.
    tm.start()
    detection = model(frame, verbose = False)[0]
    # 개체 감지의 실행 시간을 측정함.
    tm.stop()
    # tm.getTimeMilli() : 측정된 시간을 밀리초(ms) 단위로 반환함.
    total = tm.getTimeMilli()

    ## 6. 감지된 객체 처리

    # detection.boxes.data.tolist() : 감지된 개체들의 정보를 list 형태로 가져욤.
        # data[0] ~ data[3] : 객체의 바운딩 박스 좌표(xmin, ymin, xmax, ymax).
        # data[4] : 객체의 감지도 신뢰도 점수

    # 조건 : confidence > threshold 이면 해당 객체를 바운딩 박스의 좌표로 처리함.
    for data in detection.boxes.data.tolist():
        confidence = data[4]


        if confidence > threshold:
            xmin, ymin, xmax, ymax = int(data[0]), int(data[1]), int(data[2]), int(data[3])
    ## 7. 홤면에 프레임 표시
    # cv2.imshow() : 감지 결과를 화면에 출력함
    # cv2.waitKey(30) : 30ms 마다 키 입력을 기다립니다.
    cv2.imshow("frame", frame)

    if cv2.waitKey(30) == 27:
        break
## 8. 리소스 정리
# cap.release() : video 파일을 닫고 리소스를 해제합니다.
# cv2.destroyAllWindows() : 열려 있는 모든 OpenCV 창을 닫습니다.
cap.release()
cv2.destroyAllWindows()

AI