
🦊다이나믹한 코린이의 하루
어제 새벽까지 youtube.py -> app.py -> list.html로 데이터를 보낼 방법을 찾다가 결국 혼자 해낼 수 있는 일이 아니라는 결론을 내렸다.
일정이 끝나고 저녁에 강남 스파르타 본진을 찾아가서 튜터님께 도움을 요청했고, 튜터님은 새로운 방법을 추천해주셨다. DB를 이용하는 것이다. DB를 이용하면
- 저장된 데이터만 보여주는 것이기 때문에 속도 빠름
- app.py의 크기를 줄일 수 있음
중요한 장점이 있고 이러한 이유 때문에 앞서 미니프로젝트를 할 때에도 먼저 db에 데이터를 넣고, 그 데이터를 html로 보여준 것이었다. 중요한 것을 배웠다.😮
D-9 추가된 기능
- modal 추가
- google youtube data 추출, 리스트 완성
- DB구조 재정비
👉 modal 기능 추가
modal button
<button type="button" class="btn btn-primary" data-toggle="modal" data-target="#exampleModal" data-whatever="@mdo">보관함에 저장</button>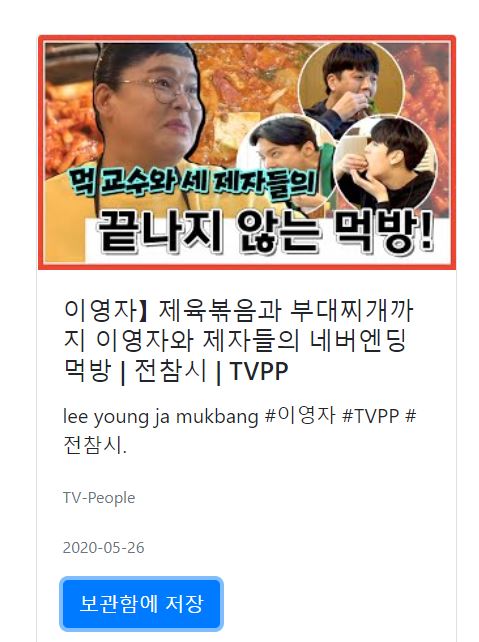
modal body
modal과 연결할 버튼을 만들었다.
<div class="modal fade" id="exampleModal" tabindex="-1" role="dialog" aria-labelledby="exampleModalLabel" aria-hidden="true">
<div class="modal-dialog" role="document">
<div class="modal-content">
<div class="modal-header">
<h5 class="modal-title" id="exampleModalLabel">식당 정보를 입력해주세요</h5>
<button type="button" class="close" data-dismiss="modal" aria-label="Close">
<span aria-hidden="true">×</span>
</button>
</div>
<div class="modal-body">
<form>
<div class="form-group">
<label for="recipient-name" class="col-form-label">식당 이름 : </label>
<input type="text" class="form-control" id="recipient-name">
</div>
<div class="form-group">
<label for="recipient-name" class="col-form-label">분류 : </label>
<div class="form-check form-check-inline">
#한식
</div>
<div class="form-check form-check-inline">
#중식
</div>
<div class="form-check form-check-inline">
#양식
</div>
<div class="form-check form-check-inline">
#일식
</div>
<div class="form-check form-check-inline">
#분식
</div>
</div>
<div class="form-group">
<label for="recipient-name" class="col-form-label">위치 : </label>
<div class="form-check form-check-inline">
#신촌,홍대
</div>
<div class="form-check form-check-inline">
#강남,역삼
</div>
<div class="form-check form-check-inline">
#일산,화정
</div>
<div class="form-check form-check-inline">
#기타
</div>
</div>
<div class="form-group">
<label for="message-text" class="col-form-label">메모 : </label>
<textarea class="form-control" id="message-text"></textarea>
</div>
</form>
</div>
<div class="modal-footer">
<button type="button" class="btn btn-secondary" data-dismiss="modal">Close</button>
<button type="button" class="btn btn-primary">저장</button>
</div>
</div>
</div>
</div>자세한 코드는 여기를 참고
modal의 body를 만들어주었다.
inputbox, radiobutton, textarea를 이용해서 영상에 나온 식당 이름, 메뉴 분류, 위치, 메모를 입력받는다.
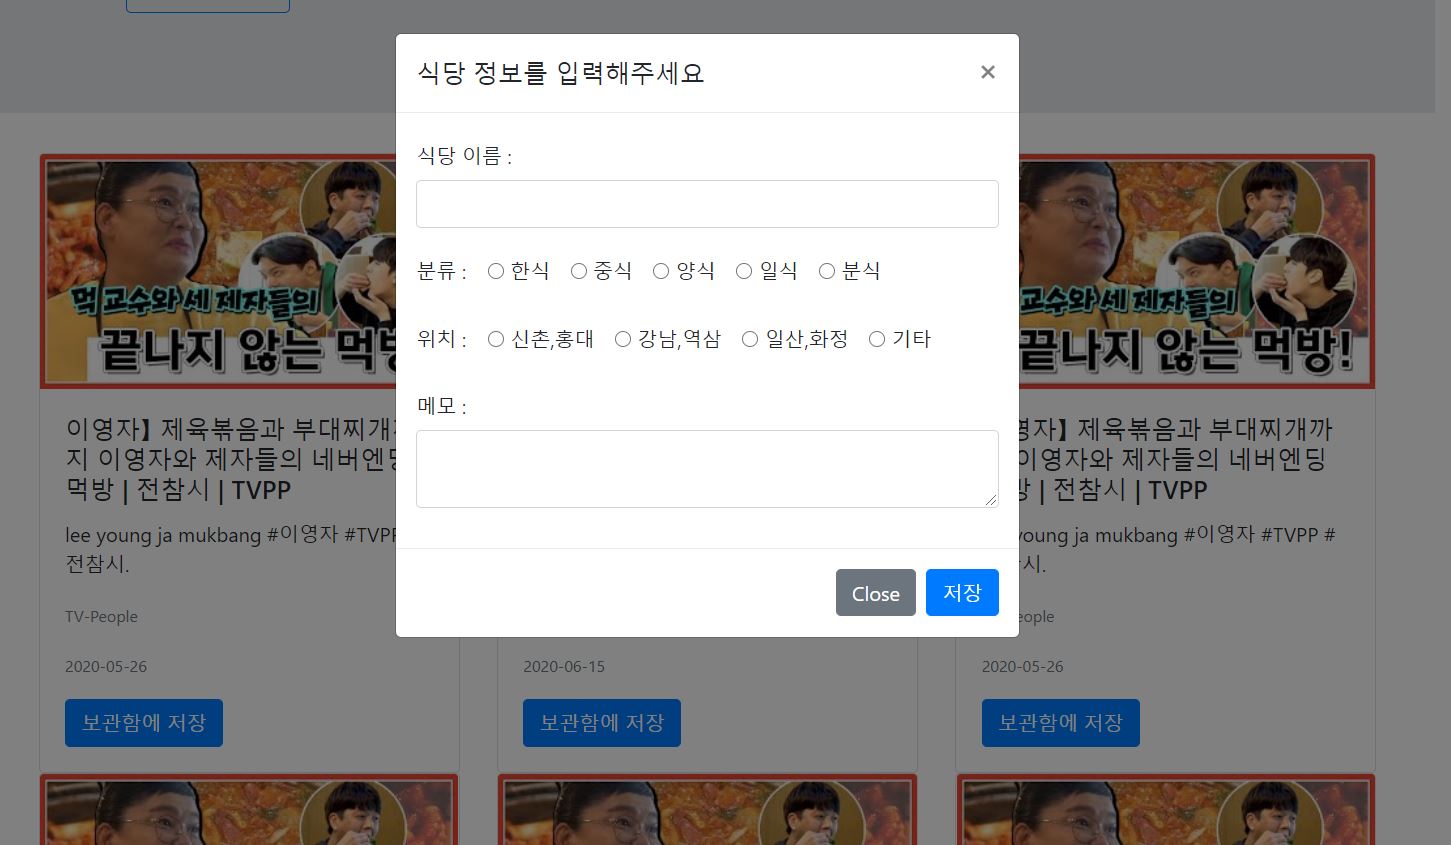
버튼을 누르면 이렇게 사용자에게 데이터를 받을 수 있는 창이 뜨고,
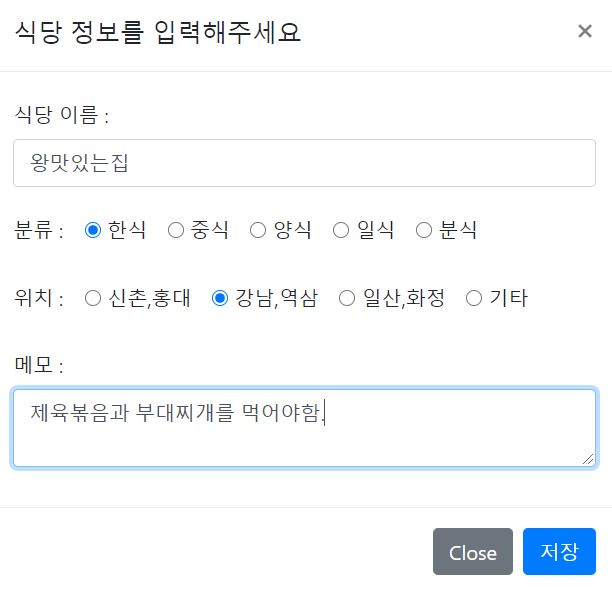
데이터를 입력받을 수 있다.
동그란 버튼은 radio버튼으로 같은 name으로 묶인 버튼끼리는 중복체크를 막아주는 기능이 있다.
🧐 modal은 부트스트랩을 통해 가져올 수 있다.
👉 google youtube api 수정
from googleapiclient.discovery import build
from googleapiclient.errors import HttpError
from oauth2client.tools import argparser
from pymongo import MongoClient
client = MongoClient('localhost', 27017)
db = client.dbproject


DEVELOPER_KEY = ""
YOUTUBE_API_SERVICE_NAME = "youtube"
YOUTUBE_API_VERSION = "v3"

def youtube_search(q_value):
  youtube = build(YOUTUBE_API_SERVICE_NAME, YOUTUBE_API_VERSION,
    developerKey=DEVELOPER_KEY)


  search_response = youtube.search().list(
    q = '이영자먹방',
    order = "date",
    part = "snippet",
    maxResults = 50
    ).execute()

  # print(search_response)
  videos = []
  descriptions = []
  thumbnails = []
  channelTitles = []
  publishTimes = []


  for search_result in search_response.get("items", []):
    if search_result["id"]["kind"] == "youtube#video":
      videos.append("%s (%s)" % (search_result["snippet"]["title"],
                                 search_result["id"]["videoId"]))
      descriptions.append("%s (%s)" % (search_result["snippet"]["description"],
                                 search_result["id"]["videoId"]))
      thumbnails.append("%s (%s)" % (search_result["snippet"]["thumbnails"]["medium"],
                                   search_result["id"]["videoId"]))
      channelTitles.append("%s (%s)" % (search_result["snippet"]["channelTitle"],
                                    search_result["id"]["videoId"]))
      publishTimes.append("%s (%s)" % (search_result["snippet"]["publishTime"],
                                    search_result["id"]["videoId"]))

doc = {
	#???
}


if __name__ == "__main__":
  argparser.add_argument("--q", help="Search term", default="Google")
  argparser.add_argument("--max-results", help="Max results", default=25)
  args = argparser.parse_args()

try:
  youtube_search(args)
except HttpError as e:
  print("An HTTP error %d occurred:\n%s"% (e.resp.status, e.content))
유튜브의 영상정보는
{
'kind': 'youtube#searchResult',
 'etag': 'wrESSOp_dPwQ8ANEBzqnpyyloX4',
 'id': {'kind': 'youtube#video', 'videoId': 'MZCohV5ZNus'},
 'snippet':{
	'publishedAt': '2020-05-26T07:00:07Z',
	'channelId': 'UC1cWTErb7vw_UmmuB0dYgsQ',
	'title': '【이영자】 제육볶음과 부대찌개까지 이영자와 제자들의 네버엔딩 먹방 | 전참시 | TVPP',
	 'description': 'lee young ja mukbang #이영자 #TVPP #전참시.',
	 'thumbnails': {'default': {'url': 'https://i.ytimg.com/vi/MZCohV5ZNus/default.jpg(이거메인사진)', 'width': 120, 'height': 90}, 'medium': {'url': 'https://i.ytimg.com/vi/MZCohV5ZNus/mqdefault.jpg(중간크기 같은사진)', 'width': 320, 'height': 180}, 'high': {'url': 'https://i.ytimg.com/vi/MZCohV5ZNus/hqdefault.jpg(더큰사진)', 'width': 480, 'height': 360}},
	'channelTitle': 'TV-People',
	 'liveBroadcastContent': 'none',
	 'publishTime': '2020-05-26T07:00:07Z'
	}
}
이런 모양을 가지고 있다.
여기에서 snippet의 title과 description, thumbnails, channelTitle, publishedTime을 추출해서 새로운 리스트로 만들었다.
🤕 새롭게 찾아온 고비
네 개의 리스트에서 같은 인덱스에 해당하는 것 끼리 묶어서 딕셔너리를 만들고 그것을 db에 insert 해야한다.
즉,
titles = ['a','b','c','d']
thumbnails = ['1','2','3','4']
desc = ['ㄱ','ㄴ','ㄷ','ㄹ']
이라는 리스트가 있으면,
dic = {
'title' : 'a',
'thumbnail' : '1',
'desc' : 'ㄱ'
}
dic = {
'title' : 'b',
'thumbnail' : '2',
'desc' : 'ㄴ'
}
dic = {
'title' : 'c',
'thumbnail' : '3',
'desc' : 'ㄷ'
}
이렇게 세 개의 딕셔너리 구조로 DB에 넣어야하는데... 새로운 고비가 될 것 같다.
👉 변경사항 : DB구조 재정비
기존 계획은 크롤링한 데이터를 가공하지 않고 그대로 html로 가져오려 했으나
- 이미 본 영상을 삭제할 수 없다.
- 영상의 순서가 바뀌지 않는다.
- 검색기능을 추가할 경우 속도가 지나치게 느릴 수 있다.
이러한 이유로 크롤링한 데이터를 DB에 넣어놓고 사용자에게 제공하는 쪽으로 계획이 변경되었다.
수정된 DB구조
{
	#영상list
	'title': '여기에 영상 제목'
	'description': '여기에 영상 설명'
	'thumbnail': '썸네일 이미지'
	'channelTitle': '채널명'
	'publishTime': '영상업로드시간'
}
{
	#내 보관함의 영상list
	'title': '여기에 영상 제목'
	'description': '여기에 영상 설명'
	'thumbnail': '썸네일 이미지'
	'channelTitle': '채널명'
	'publishTime': '영상업로드시간'
   	 #사용자입력정보
    	'restaurant': '식당 이름'
	'menu': '한식/양식/중식/일식/분식'
	'위치': '신촌홍대/강남역삼/일산화정'
	'memo': '메모'
}
✍todo list
상단바의 메뉴를 통해 페이지 이동시키기.영상리스트->보관함 중간에 사용자한테 데이터를 받을 방법 생각해보기.(새로운 페이지 or 부트스트랩 modal)youtube.py에서 받은 정보를 어떻게 화면에 출력할지!!!🙀- api 세부사항 구상하기(어떤 정보를 주고 받을 지)
- 보관함 UI 만들기
- DB에 유튜브 데이터 넣기
- 영상을 어떻게 보여줄지 (youtube영상url로 이동)
마치며...
처음 C언어 배울 떄의 즐거움을 요새 다시 느끼고 있다. 물론 하나 완성되면 다음이 고비고 그 다음이 또 고비지만 그럴듯한 내 작품이 완성되어가고 있는게 눈에 보여서 즐겁다. 이 정도 고생은 할만 한 것 같다.( •̀ ω •́ )✧
